
DIGITNOW C101
DIGITNOW Film & Slide Scanner C101 User Manual
Model: C101
Brand: DIGITNOW
1. Introduction
This user manual provides comprehensive instructions for the DIGITNOW Film & Slide Scanner, Model C101. This device is designed to convert various film and slide formats into digital JPEG images, allowing you to preserve and share your memories. Please read this manual thoroughly before operating the scanner to ensure proper use and optimal performance.

Figure 1: DIGITNOW Film & Slide Scanner C101 main unit.
2. Key Features
- High Resolution Scanning: Converts films and slides into 22-megapixel JPEG images.
- Multi-Format Compatibility: Supports 35mm, 126, 110, and Super 8 films, as well as slides and negatives.
- Large LCD Display: Features a tilt-up 3.5-inch LCD screen for easy viewing and operation.
- Versatile Connectivity: Includes HDMI output for TV viewing, USB for PC connection, and an SD card slot for direct saving.
- User-Friendly Interface: Intuitive controls for quick scanning and image management.
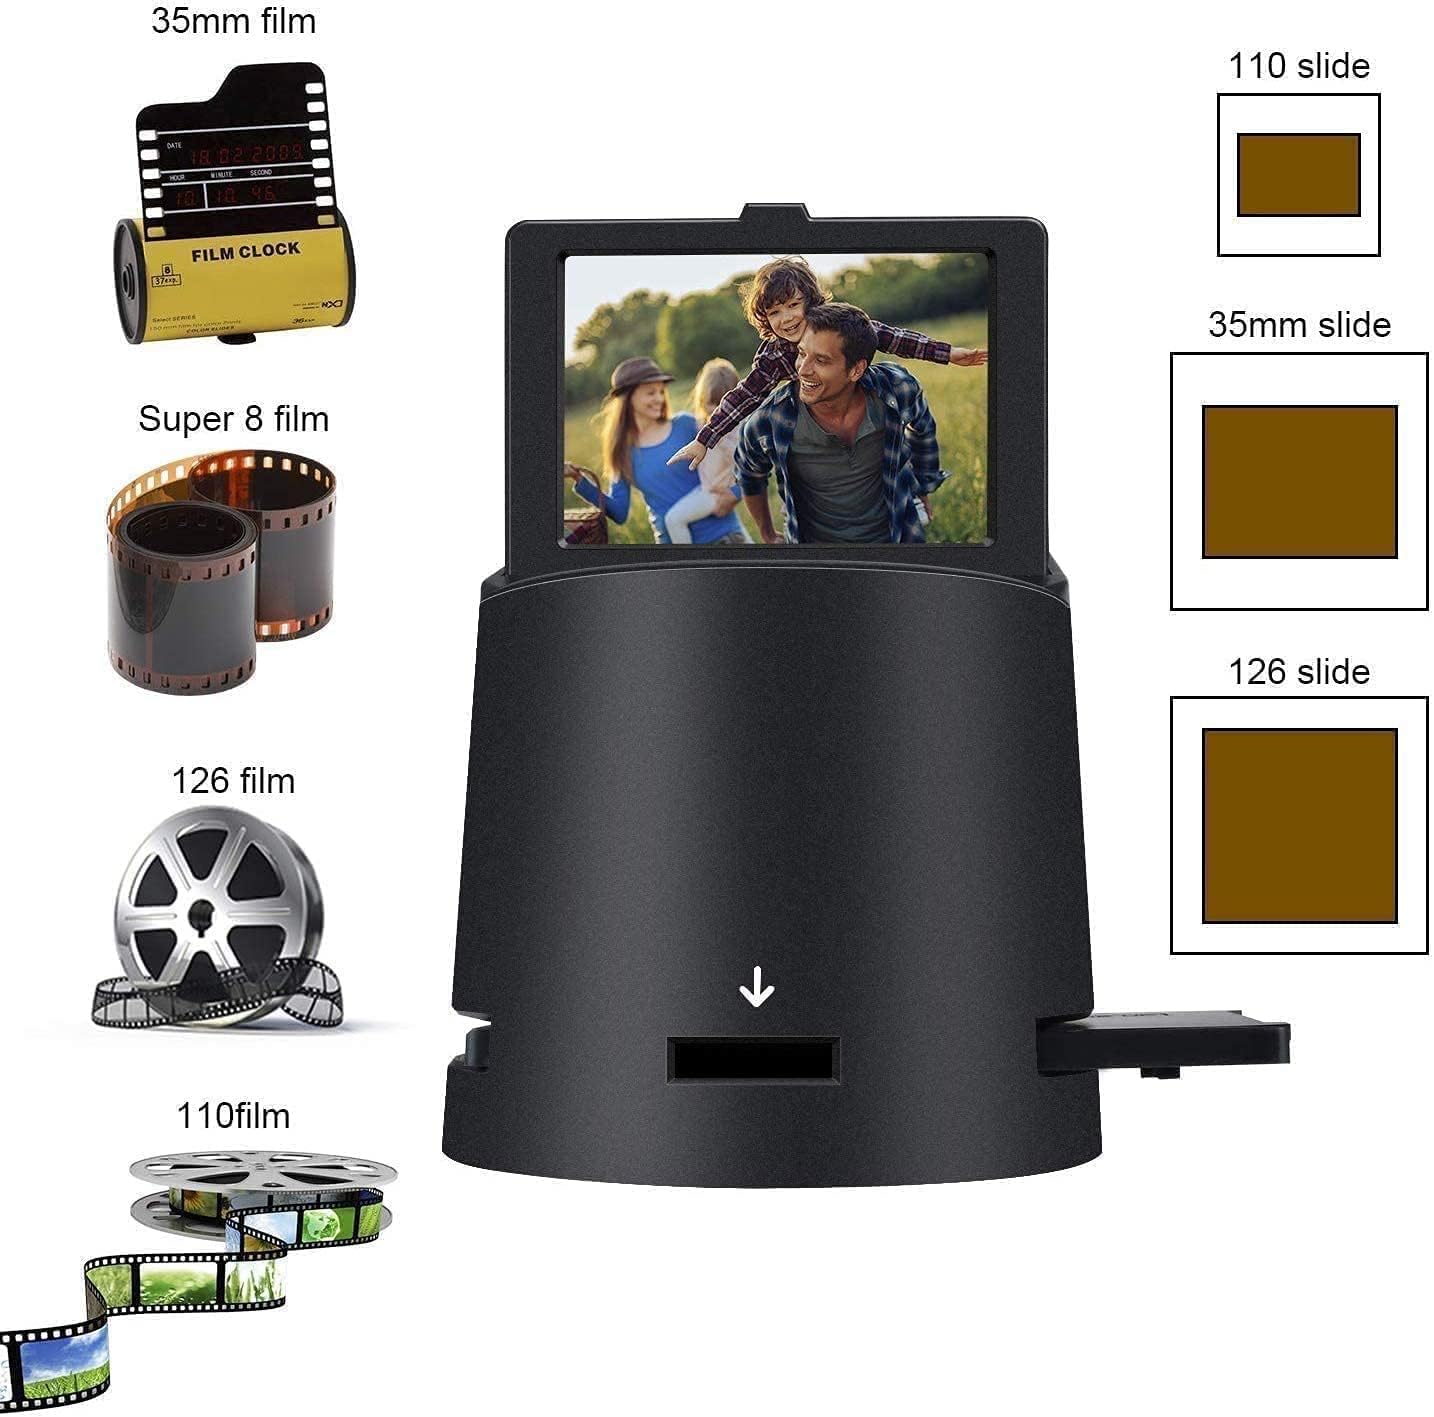
Figure 2: Illustration of various film and slide types supported by the scanner.
3. Package Contents
Please check the box for the following items:
- DIGITNOW Film & Slide Scanner C101 Main Unit
- 35mm Film Holder
- 126 Film Holder
- 110 Film Holder
- Super 8 Film Holder
- Slide Holder
- USB Cable
- HDMI Cable
- AV Cable
- Cleaning Brush
- User Manual (this document)

Figure 3: All components included in the DIGITNOW Film & Slide Scanner package.
4. Setup
- Insert SD Card: Locate the SD card slot on the side of the scanner. Insert a compatible SD memory card (not included) into the slot until it clicks into place. Ensure the card is inserted correctly to avoid damage.
- Connect Power: Connect the smaller end of the provided USB cable to the scanner's USB port and the larger end to a USB power adapter (not included) or a powered USB port on a computer.
- Adjust Screen Angle: The 3.5-inch LCD screen can be tilted for optimal viewing. Gently adjust the screen to your preferred angle.

Figure 4: Rear view of the scanner showing the TV OUT, SD card, USB, and HDMI ports.
Setup Video Guide
Video 1: This video demonstrates the initial setup of the DIGITNOW Film & Slide Scanner, including inserting the SD card and connecting the power cable.
5. Operating Instructions
5.1 Loading Film and Slides
The scanner comes with various holders for different film and slide types. Select the appropriate holder for your media.
- Open the chosen film or slide holder.
- Carefully place your film strip or slide into the holder, ensuring it is aligned correctly within the guides. For film strips, the continuous loading feature allows for efficient scanning.
- Close the holder securely.
- Insert the loaded holder into the designated slot on the side of the scanner.

Figure 5: Demonstration of continuous film loading for efficient scanning of film strips.
5.2 Scanning Process
- Power On: Press the 'ON/OFF' button to turn on the scanner.
- Select Film Type: Navigate to the settings menu on the LCD screen. Select the correct film type (e.g., 35mm negative, 35mm slide, 110 film) that matches the media you are scanning. This ensures accurate color and exposure.
- Preview Image: Once the film holder is inserted, the image will appear on the LCD screen. Adjust the film position as needed.
- Scan and Save: Press the 'SCAN' button to capture the image. The scanned image will be saved to the inserted SD card.

Figure 6: A close-up view of a scanned image displayed on the scanner's 3.5-inch LCD screen.
5.3 Viewing and Transferring Images
After scanning, you can view your digital images directly on the scanner or transfer them to a larger screen or computer.
- On-Device Viewing: Navigate to the 'Gallery' or 'Playback' option on the scanner's menu to browse your scanned images.
- Viewing on TV (HDMI): Connect the scanner to a TV or monitor using the provided HDMI cable. Select the correct input on your TV to display the scanner's output. This allows for a larger view of your scanned memories.
- Transferring to PC (USB): Connect the scanner to your computer using the USB cable. Select 'USB Upload' from the scanner's settings menu. Your computer will recognize the scanner as a mass storage device, allowing you to access and transfer the JPEG files from the SD card.

Figure 7: The scanner connected to a television via HDMI, displaying scanned images on a larger screen.

Figure 8: The scanner connected to a laptop, demonstrating the process of digitizing and transferring memories to a computer.
Operation Video Guide
Video 2: This video illustrates the scanning process, including film loading, selecting film type, scanning, and viewing images on both the device and an external monitor/computer.
6. Maintenance
To ensure the longevity and optimal performance of your scanner, follow these maintenance guidelines:
- Cleaning the Lens/Film Path: Use the provided cleaning brush to gently remove dust and debris from the film path and scanner lens. Do not use liquid cleaners or abrasive materials.
- General Cleaning: Wipe the exterior of the scanner with a soft, dry cloth.
- Storage: When not in use, store the scanner in a cool, dry place away from direct sunlight and extreme temperatures.
- Handle with Care: Avoid dropping the scanner or subjecting it to strong impacts.
7. Troubleshooting
| Problem | Possible Cause | Solution |
|---|---|---|
| Device does not power on. | No power, loose connection. | Ensure USB cable is securely connected to a powered USB port or adapter. Try a different USB port or power source. |
| Scanned images are blurry or unclear. | Dust on film/lens, incorrect film placement. | Clean the film and scanner lens with the provided brush. Ensure film/slide is properly seated in the holder and the holder is fully inserted. |
| Colors are incorrect or distorted. | Incorrect film type selected. | Verify that the correct film type (e.g., negative, slide) is selected in the scanner's settings menu. |
| Cannot save images to SD card. | SD card full, locked, or incompatible. | Check if the SD card has sufficient space. Ensure the SD card is not locked (check the small switch on the side of the card). Try a different, compatible SD card. |
| No image on external TV/monitor. | Loose HDMI connection, incorrect TV input. | Ensure the HDMI cable is securely connected to both the scanner and the TV. Select the correct HDMI input source on your TV. |
8. Specifications
| Feature | Detail |
|---|---|
| Product Dimensions | 4.7 x 4.1 x 4.1 inches |
| Item Weight | 1.74 pounds |
| Item Model Number | C101 |
| Media Type Supported | 35mm Film, 126 Film, 110 Film, Super 8 Film, Slides, Negatives |
| Scanner Type | Film |
| Brand | DIGITNOW |
| Connectivity Technology | HDMI, USB |
| Resolution | 2400 dpi (22MP interpolated) |
| Color Depth | 36 bpp |
| Minimum System Requirements | Windows 7 |
| UPC | 768477173565 |
9. Warranty and Support
DIGITNOW products are manufactured to the highest quality standards. For information regarding warranty coverage, technical support, or service inquiries, please refer to the warranty card included with your product or visit the official DIGITNOW website. Keep your purchase receipt as proof of purchase for warranty claims.
Related documentsC101

Ask a question about this manual
Ask about setup, troubleshooting, compatibility, parts, safety, or missing instructions. Manuals+ will review the question and use this page’s manual context to help answer it.