
1. Introduction
This manual provides essential instructions for the safe and effective installation, operation, and maintenance of your Mammoth BioShield S18 2X 9W Replacement UV-C Bulb Version 2. This bulb is designed to work exclusively with compatible BioShieldUV® units, providing UV-C light at 253nm for air purification without ozone emissions. Please read this manual thoroughly before use.

Figure 1: Mammoth BioShield S18 2X 9W Replacement UV-C Bulbs.

Figure 2: BioShieldUV® Classic unit with TruBlu™ Ozone-Free Replacement Bulbs. Note: Not compatible with other brands.
2. Safety Information
UV-C light can be harmful. Adhere to the following safety precautions during installation and handling:
- Disconnect Power: Always unplug the power supply from the unit before servicing or replacing bulbs.
- Eye Protection: Do not look directly at UV light. Exposure can cause severe eye damage.
- Skin Protection: Avoid direct exposure of skin to UV light.
- Wear Gloves: Always wear gloves when handling the bulb. Oils from bare hands can reduce the bulb's lifespan and efficiency.
- Allow Cooling: UV bulbs get hot during operation. Allow the bulb to cool completely before handling.
- Handle with Care: UV-C bulbs are fragile and contain mercury. Handle with extreme care to prevent breakage.

Figure 3: Essential Safety Precautions for UV Bulb Handling.
3. Bulb Replacement Guide (Installation)
Follow these steps to safely replace the UV-C bulbs in your BioShieldUV® unit:
- Unplug the Unit: Locate your BioShieldUV® unit and unplug its power supply from the wall outlet. This is a critical safety step.
- Access Bulbs: Open the unit's housing to access the UV-C bulbs. Refer to your BioShieldUV® unit's specific manual for instructions on opening the housing.
- Remove Old Bulb: Carefully grasp the base of the old bulb and pull it straight out from its socket. Avoid touching the glass part of the bulb.
- Insert New Bulb: While wearing gloves, hold the base of the new Mammoth BioShield UV-C bulb. Align the pins with the socket and gently push the bulb straight into the socket until it is firmly seated. Do not force it.
- Secure Unit: Close and secure the unit's housing. Ensure all covers are properly latched or screwed back into place.
- Restore Power: Plug the power supply back into the wall outlet. The unit should now operate with the new bulbs.

Figure 4: Step-by-step Bulb Replacement Guide.
4. Operating Instructions
Once correctly installed in a compatible BioShieldUV® unit and power is restored, the UV-C bulbs will operate automatically as part of the unit's air purification cycle. There are no specific user-controlled operating steps for the bulbs themselves.
5. Maintenance
To ensure optimal performance and longevity of your BioShieldUV® system:
- Regular Inspection: Periodically inspect the bulbs for any visible damage or signs of reduced output.
- Cleaning: If necessary, gently wipe the glass portion of the bulb with a clean, lint-free cloth while wearing gloves. Do not use harsh chemicals. Ensure the unit is unplugged and the bulb is cool before cleaning.
- Replacement Frequency: UV-C bulbs have a finite lifespan. Refer to your BioShieldUV® unit's manual for recommended replacement intervals, typically every 9-12 months, to maintain effective air purification.
6. Troubleshooting
If your BioShieldUV® unit is not functioning after bulb replacement:
- Check Power: Ensure the unit is properly plugged into a working electrical outlet.
- Bulb Seating: Verify that the new bulbs are fully and correctly seated in their sockets.
- Unit Housing: Confirm that the unit's housing is securely closed, as some units have safety interlocks.
- Contact Support: If the issue persists, contact Mammoth customer support for further assistance.
7. Specifications
| Feature | Detail |
|---|---|
| Brand | Mammoth |
| Model Number | BioS18-v2 |
| Bulb Type | UV-C (253nm) |
| Wattage | 9 Watts (per bulb) |
| Special Feature | Energy Efficient, Ozone-Free |
| Bulb Shape Size | T |
| Bulb Base | E26 |
| Voltage | 120 Volts |
| Unit Count | 2.00 Count |
| Dimensions (Approx.) | 10.51 inches (length), 1.26 inches (width), 0.71 inches (depth) |

Figure 5: Bulb Dimensions.

Figure 6: UV-C 253nm and Ozone-Free Emission Details.
8. Compatibility and Warranty Information
The Mammoth BioShield S18 2X 9W Replacement UV-C Bulbs are specifically designed for BioShieldUV® units. Using bulbs from other brands may cause damage to your unit and will void its warranty.

Figure 7: Compatibility Notice: Only for BioShieldUV® Air Guardian units.
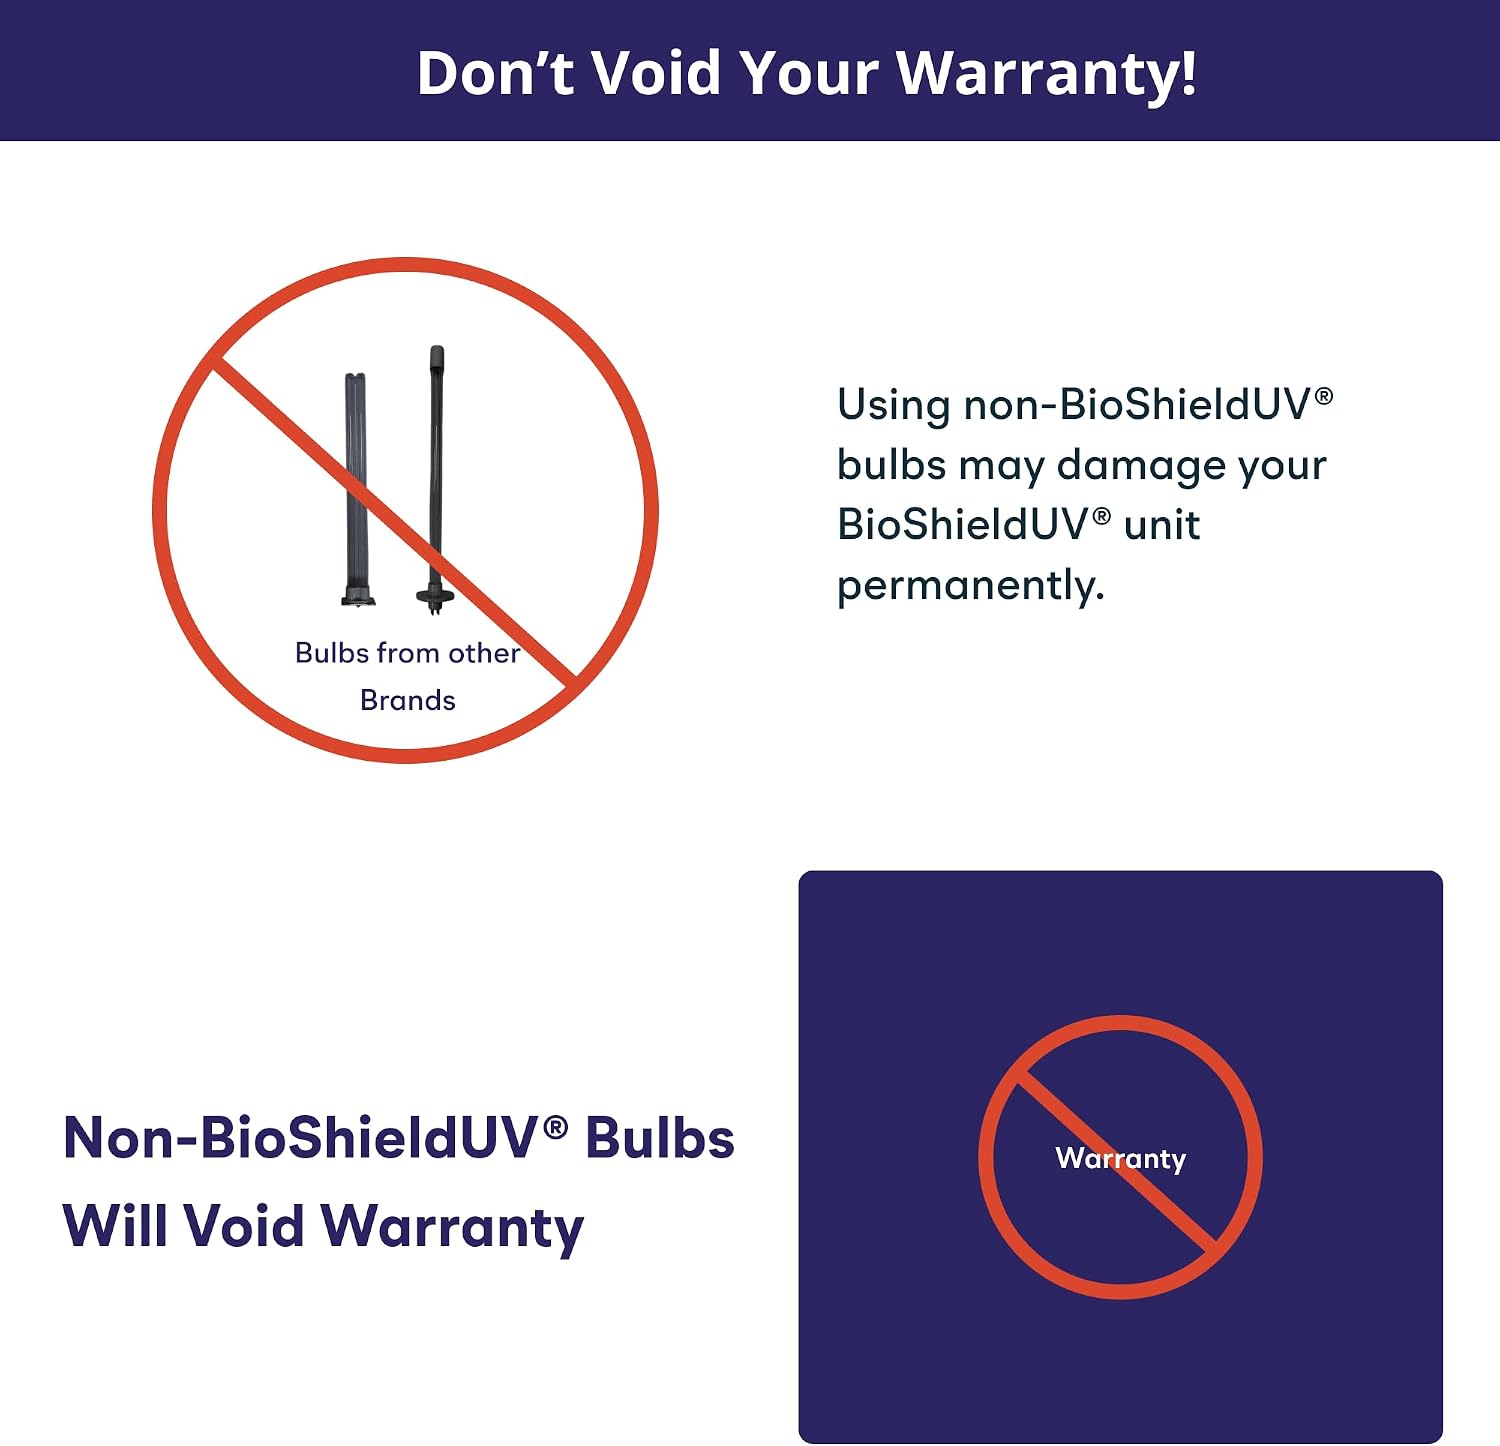
Figure 8: Warranty Warning: Using non-BioShieldUV® bulbs voids warranty.
9. Safe Bulb Disposal
UV-C bulbs contain small amounts of mercury. Proper disposal is crucial to protect the environment and human health. Do not dispose of these bulbs in regular household trash.
- Find Local Guidelines: Visit your state or local waste management website for specific instructions and locations for hazardous waste disposal or recycling.
- Recycle: Many hardware stores or home improvement centers offer drop-off options for fluorescent and UV bulbs.
- Trash Disposal (Last Resort): If recycling is not available, seal the bulb in a plastic bag to prevent mercury release and dispose of it according to local waste regulations for items containing mercury.
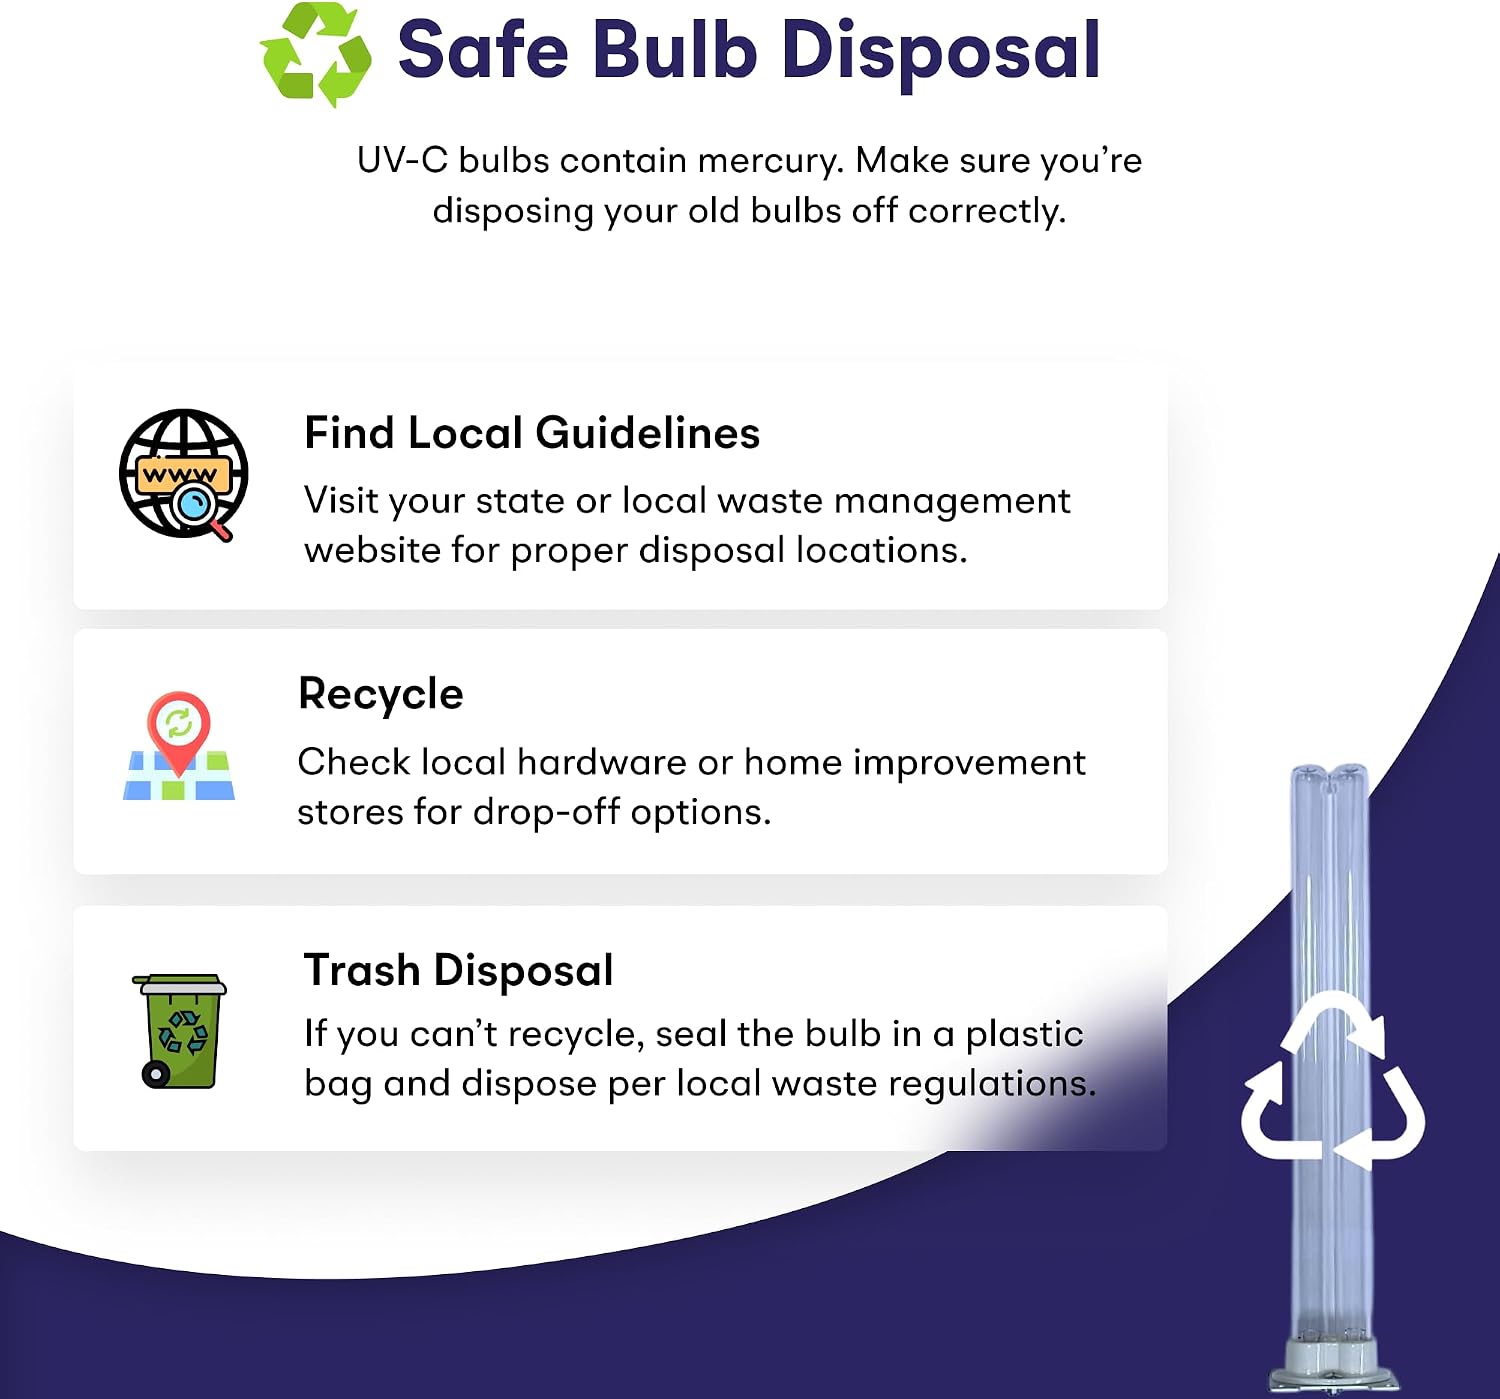
Figure 9: Guidelines for Safe UV-C Bulb Disposal.
10. Product Video
The following video demonstrates the general concept of UVC light integration in HVAC systems for air purification. While not specific to the Mammoth BioShield S18 bulb, it illustrates the application context.
Video 1: Air Scrubber UVC Light for HVAC System. This video illustrates the general application of UVC light in air purification systems.
11. Support
For technical support, warranty claims, or further information regarding your Mammoth BioShield S18 2X 9W Replacement UV-C Bulb, please contact Mammoth customer service. Refer to your original BioShieldUV® unit documentation for specific contact details or visit the manufacturer's official website.
