
TECHFROG YC100
Contents
TECHFROG YC100 Wireless Charging Alarm Clock User Manual
Model: YC100
Introduction
Thank you for purchasing the TECHFROG YC100 Wireless Charging Alarm Clock. This device combines a digital alarm clock with a 15W wireless charging pad for smartphones, a 5W wireless charger for smartwatches, and an additional USB charging port. It features a dimmable large LED display, 12/24 hour format, snooze function, and a color night light. This manual provides detailed instructions for setup, operation, maintenance, and troubleshooting to ensure optimal performance and longevity of your device.
Product Overview

Figure 1: Front view of the TECHFROG YC100 Wireless Charging Alarm Clock with a smartphone and smartwatch placed on its charging pads. The large digital LED display shows the time.

Figure 2: Key features of the alarm clock, highlighting 15W wireless charging, USB charging, touch buttons, 5-level dimmer, and 5W wireless watch charging.

Figure 3: Examples of compatible devices for wireless charging, including various smartphones and smartwatches.
Package Contents
Please check the package contents upon unboxing:
- TECHFROG YC100 Wireless Charging Alarm Clock
- Power Adapter (not explicitly listed but implied for operation)
- User Manual (this document)
- Watch Charger, 5W, USB Charging Port (as per product specifications)
Setup
1. Power Connection
- Connect the provided power adapter to the DC input port on the back of the alarm clock.
- Plug the power adapter into a standard wall outlet. The LED display will light up.
2. Initial Time Setting
Upon first power-up, the clock may display a default time. Follow these steps to set the correct time:
- Press and hold the "Mode" button to enter time setting mode. The hour digits will begin to flash.
- Use the "+" and "-" buttons to adjust the hour.
- Press the "Mode" button again to switch to minute setting. The minute digits will flash.
- Use the "+" and "-" buttons to adjust the minutes.
- Press the "Mode" button one more time to confirm and exit time setting mode.
3. 12/24 Hour Format Selection
To switch between 12-hour and 24-hour time formats:
- While in normal time display mode, briefly press the "Mode" button. The display will toggle between 12-hour (with AM/PM indicator) and 24-hour formats.

Figure 4: Illustration of the 12-hour and 24-hour time display options.
Operating Instructions
1. Setting the Alarm
- Press the "Mode" button repeatedly until the alarm icon appears on the display, or the alarm time starts flashing.
- Press and hold the "Mode" button to enter alarm setting mode. The hour digits will flash.
- Use the "+" and "-" buttons to adjust the alarm hour.
- Press the "Mode" button again to switch to minute setting. The minute digits will flash.
- Use the "+" and "-" buttons to adjust the alarm minutes.
- Press the "Mode" button to confirm and exit alarm setting.
- To activate/deactivate the alarm, briefly press the "Mode" button until the alarm icon appears (active) or disappears (inactive).
2. Snooze Function
When the alarm sounds, press the "Snooze" button to temporarily silence the alarm for 5 minutes. The alarm will sound again after 5 minutes. To turn off the alarm completely, press any other button or let it ring for its full duration.

Figure 5: The snooze function allows for an additional 5 minutes of sleep after the alarm sounds.
3. Wireless Charging (15W for Phone)
Place your Qi-compatible smartphone on the designated wireless charging pad (the larger flat surface). Ensure the phone is centered on the pad for optimal charging. The charging indicator on the clock (if available) or on your phone will confirm charging has begun. This pad supports up to 15W fast wireless charging.
4. Wireless Charging (5W for Watch)
Place your compatible smartwatch on the dedicated watch charging stand. Ensure the watch is correctly aligned with the magnetic charging module. This pad supports up to 5W wireless charging for smartwatches.
5. USB Charging Port
A USB charging port is located on the back of the unit. Use this port to charge other USB-powered devices that do not support wireless charging or require a wired connection.
6. Dimmable LED Display
The large LED display has multiple brightness levels to suit your preference, especially for night use.
- Press the "Light On/Off" button to cycle through brightness levels: High, Normal, Low, Darker, and Off.
- You can also press any button to turn the screen on from the "Off" state.

Figure 6: Visual representation of the five adjustable brightness levels for the LED display.

Figure 7: The dimmer function allows adjustment of display brightness from high to dark, and off.
7. Color Night Light
The device includes a color night light feature:
- Briefly press the "Light On/Off" button to turn on the night light.
- Press again to cycle through different colors.
- Press and hold the "Light On/Off" button for 3 seconds to turn off the night light.
- The night light operates independently of the clock display brightness.
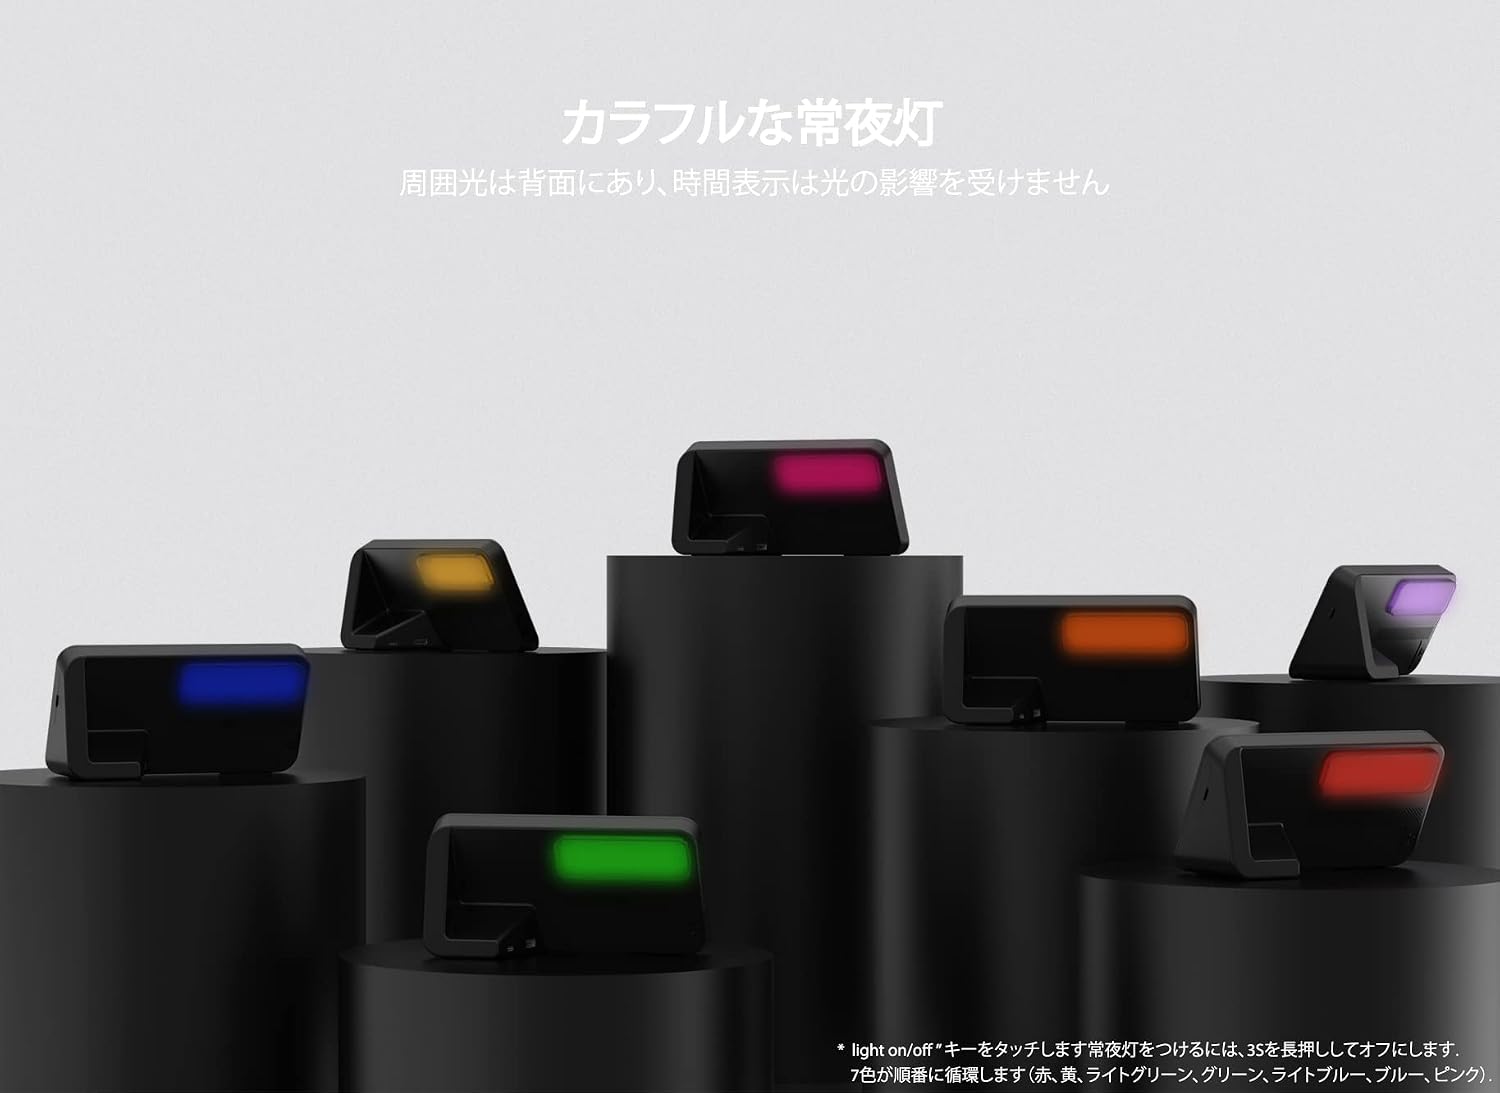
Figure 8: The color night light feature offers multiple ambient lighting options.
Maintenance
- Cleaning: Use a soft, dry cloth to clean the surface of the device. Do not use abrasive cleaners, waxes, or solvents.
- Storage: If storing the device for an extended period, unplug it from the power source and store it in a cool, dry place.
- Avoid Liquids: Keep the device away from water and other liquids. Do not immerse it in water.
- Temperature: Operate and store the device within recommended temperature ranges (typically room temperature) to prevent damage.
Troubleshooting
| Problem | Possible Cause | Solution |
|---|---|---|
| Clock display is off or not working. | No power connection; display brightness set to off. | Ensure power adapter is securely plugged in. Press the "Light On/Off" button to adjust brightness. |
| Wireless charging not working. | Device not Qi-compatible; phone/watch not centered; phone case too thick; foreign objects on pad. | Ensure device is Qi-compatible. Re-position device to center it on the pad. Remove thick phone cases. Remove any metal objects or cards from between the device and charger. |
| Alarm does not sound. | Alarm not activated; volume too low (if adjustable); incorrect alarm time set. | Verify alarm is activated (alarm icon visible). Check alarm time settings. (Note: This model does not specify volume control, assume fixed). |
| Time is incorrect. | Time not set correctly; power interruption. | Re-set the time following the "Initial Time Setting" instructions. Note that this clock does not have battery backup and will reset after a power outage. |
| Night light not changing colors. | Incorrect button press. | Briefly press the "Light On/Off" button to cycle colors. Press and hold for 3 seconds to turn off. |
Specifications
| Feature | Detail |
|---|---|
| Model Number | YC100 |
| Product Dimensions | 1.5 x 1.5 x 4.5 inches |
| Item Weight | 1.47 pounds |
| Brand | TECHFROG |
| Connectivity Technology | USB |
| Connector Type | USB |
| Compatible Devices | Smartphones, Tablets, Watches, USB-powered Devices |
| Included Components | Watch Charger, 5W, USB Charging Port |
| Special Feature | Fast Charging |
| Color | Black |
| Mounting Type | Tabletop Mount |
| Total USB Ports | 1 |
| Wattage (Wireless Phone Charging) | 15 watts |
| Wattage (Wireless Watch Charging) | 5 watts |
Warranty and Support
For warranty information and customer support, please refer to the documentation provided with your purchase or contact TECHFROG customer service directly. Contact details can typically be found on the manufacturer's official website or on the product packaging.
For further assistance, you may visit the TECHFROG Store on Amazon.
Ask a question about this manual
Ask about setup, troubleshooting, compatibility, parts, safety, or missing instructions. Manuals+ will review the question and use this page’s manual context to help answer it.