
1. Introduction
Thank you for choosing the RESUXI JMT50A Nose and Ear Hair Trimmer. This versatile 2-in-1 grooming tool is designed for efficient and comfortable removal of unwanted hair from the nose, ears, eyebrows, and face. Featuring a powerful motor, dual-blade system, and USB rechargeable design, it offers a precise and painless grooming experience. Please read this manual thoroughly before use to ensure proper operation and maintenance.
2. Safety Information
- Keep the device out of reach of children.
- Do not immerse the main body of the trimmer in water. The head is washable, but the main unit is not waterproof.
- Avoid using the trimmer on irritated skin or open wounds.
- Do not disassemble or attempt to repair the device yourself. Contact customer support for assistance.
- Use only the provided USB cable for charging.
- Store the trimmer in a dry place when not in use.
3. Package Contents
Verify that all items are present in your package:
- RESUXI JMT50A Trimmer Body
- Nose/Ear Trimmer Head (pre-installed or separate)
- Shaver Head
- USB Charging Cable
- Cleaning Brush
- Replacement Blade (for nose/ear trimmer head)

This image displays the RESUXI JMT50A trimmer, its interchangeable shaver head, a small cleaning brush, and a USB charging cable, illustrating the complete package contents.
4. Product Overview
The RESUXI JMT50A features a durable metal body with an embossed design, an LCD screen for power indication, and interchangeable heads for versatile grooming.

This diagram points out the main design and functional elements of the trimmer, including its decorative embossed body, the advanced double circle arc blade mesh, the LCD power display, and the convenient USB charging capability.

The image shows the trimmer body alongside its two interchangeable heads: the nose/ear trimmer head and the facial shaver head, emphasizing its dual-purpose design.
5. Setup
5.1 Charging the Trimmer
- Ensure the trimmer is turned off.
- Insert the small end of the USB charging cable into the charging port at the bottom of the trimmer.
- Connect the larger end of the USB cable to a compatible USB power source (e.g., computer, wall adapter).
- The LCD display will show charging status. A full charge provides approximately 60 minutes of cordless use.

A detailed view of the trimmer's body, highlighting the digital display indicating 'POWER LEFT' and the USB charging port at the base.
5.2 Attaching and Detaching Trimmer Heads
- To attach a head: Align the desired head (nose/ear trimmer or shaver) with the top of the trimmer body and twist clockwise until it locks securely into place.
- To detach a head: Twist the head counter-clockwise and gently pull it upwards.
6. Operating Instructions
6.1 Powering On/Off
Press the power button located on the front of the trimmer to turn it on or off.
6.2 Nose and Ear Hair Trimming
- Attach the nose/ear trimmer head.
- Gently insert the trimmer tip into your nostril or ear canal. Do not insert too deeply.
- Move the trimmer in a circular motion to trim unwanted hair. The 360° rotary dual-blade system ensures efficient removal.
- Clean the trimmer head after each use.
6.3 Eyebrow and Facial Hair Trimming/Shaving
- Attach the shaver head.
- For eyebrows, carefully guide the shaver along the desired line, trimming stray hairs.
- For facial hair (e.g., neck, cheeks), hold the shaver flat against the skin and move it gently against the direction of hair growth. The double circle arc blade mesh provides a smooth shave.
- Clean the shaver head after each use.

A man demonstrates the use of the trimmer's shaver attachment for facial grooming, specifically on the neck area.
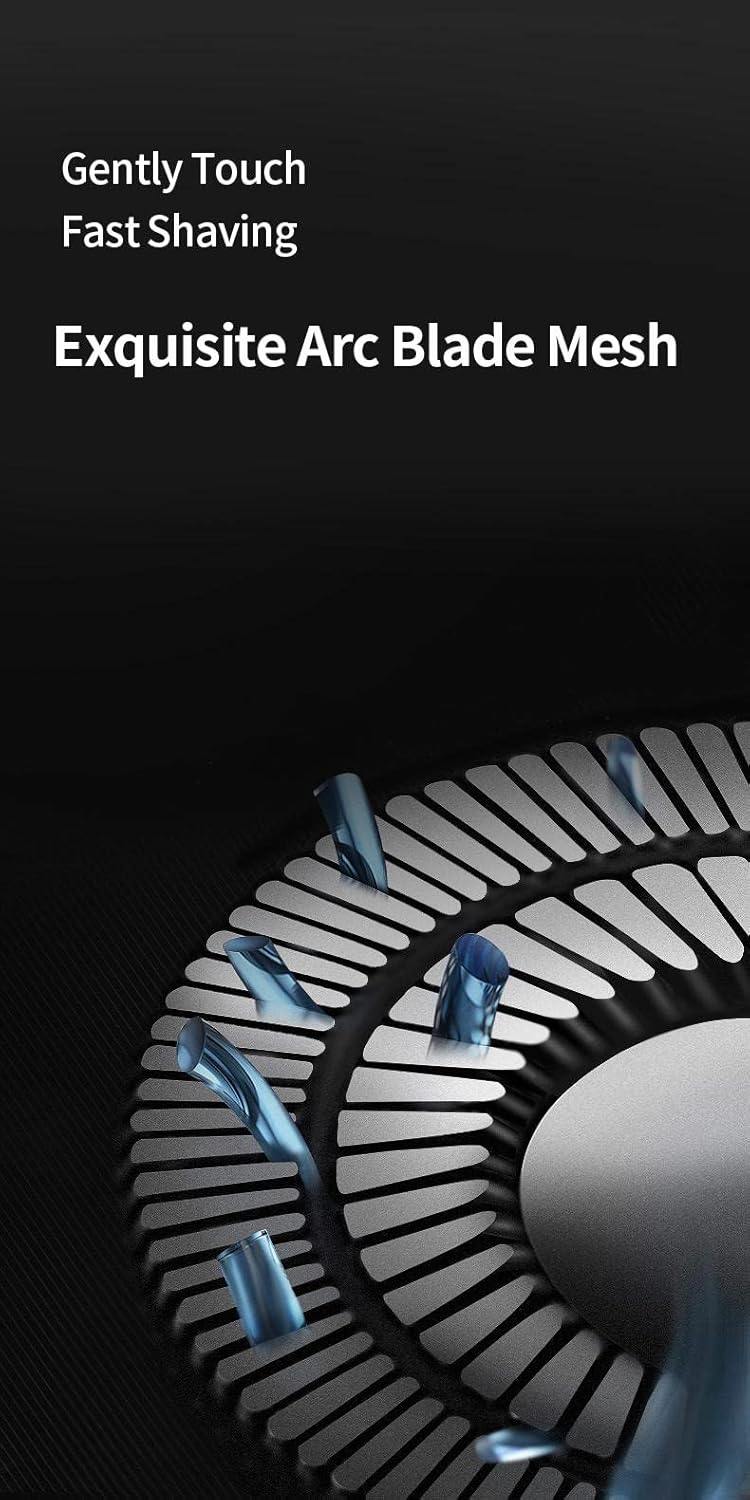
This image provides a detailed look at the trimmer's arc blade mesh, designed for gentle and efficient shaving.
7. Maintenance
7.1 Cleaning the Trimmer Heads
- Ensure the trimmer is turned off and disconnected from any power source.
- Detach the trimmer head.
- Rinse the detached head under running water. The heads are washable.
- Use the provided cleaning brush to remove any trapped hairs from the blades and inside the head.
- Allow the head to air dry completely before reattaching it to the trimmer body or storing.
7.2 Blade Replacement
The package includes a replacement blade for the nose/ear trimmer head. To replace the blade:
- Ensure the trimmer is off and the nose/ear trimmer head is detached.
- Carefully remove the old blade assembly from the head.
- Insert the new blade assembly, ensuring it clicks into place.
- Reattach the head to the trimmer body.
8. Troubleshooting
- Trimmer not turning on: Ensure the device is fully charged. If the issue persists, contact customer support.
- Poor trimming performance: The blades may be dull or clogged with hair. Clean the trimmer head thoroughly or replace the blade if necessary.
- Trimmer making unusual noise: Ensure the trimmer head is securely attached and clean. If the noise continues, discontinue use and contact support.
9. Specifications
| Feature | Specification |
|---|---|
| Model Number | JM/T50A |
| Product Dimensions | 3.54 x 0.79 x 0.79 inches |
| Weight | 6.74 ounces |
| Power Source | Battery Powered (1 Lithium Ion battery required) |
| Special Feature | Cordless, Rechargeable |
| Material | Metal |
| Recommended Uses | Ear Hair, Nose, Trimming, Shaving, Professional |
10. Warranty and Support
For warranty information or technical support, please refer to the contact details provided with your purchase or visit the official RESUXI website. Keep your purchase receipt as proof of purchase.