
1. Introduction
Thank you for choosing the Apowking 40W Portable Foldable Solar Panel Charger. This manual provides essential information for the safe and efficient use of your solar panel. Please read it thoroughly before operation and retain it for future reference.

Image 1: Overview of the Apowking 40W Portable Solar Panel, showing its unfolded state, folded carrying case, and included accessories.
2. Safety Instructions
- Do not attempt to modify or disassemble the solar panel.
- Avoid exposing the junction box to water or moisture, as it is not waterproof.
- Handle the solar panel with care to prevent damage to the solar cells.
- Keep the solar panel away from open flames or extreme heat sources.
- Ensure proper ventilation when charging devices to prevent overheating.
- Do not connect the solar panel to a power source other than direct sunlight.
3. Package Contents
Verify that all items are present in your package:
- 1 x Apowking 40W Solar Panel
- 1 x 5ft DC charging cable
- 1 x 10-in-1 connector kit
- 1 x User Manual
4. Product Features
- High Conversion Efficiency: Up to 22% conversion rate from monocrystalline silicon cells.
- Multiple Output Ports: Includes DC 18V, USB QC3.0, and Type-C ports for versatile charging.
- Wide Compatibility: Suitable for charging phones, power banks, tablets, laptops, GPS, digital cameras, and most portable power stations.
- Foldable and Portable Design: Compact size (12.6 x 9.1 inches when folded) with a handle for easy transport.
- Adjustable Kickstands: Allows for optimal angling towards the sun.
- Durable and Water-Resistant: PET laminate construction with IPX4 water resistance for the main panel (junction box is not waterproof).
5. Setup
5.1 Unfolding and Positioning
- Unfold the solar panel completely.
- Locate the two adjustable kickstands on the back of the panel. Extend them to support the panel.
- Position the solar panel directly facing the sun to maximize sunlight absorption. Adjust the kickstands to achieve the optimal angle.
- Alternatively, the panel can be hung using the integrated holes, for example, on a tent or RV.

Image 2: Demonstrates the adjustable kickstands for standing the panel and its ability to be hung.
5.2 Connecting Devices
The solar panel features multiple output ports and a 10-in-1 connector kit for broad compatibility.

Image 3: Detailed view of the output ports: DC 18V, USB QC3.0, and Type-C.
- DC Output (18V/2.27A max): Use the included 5ft DC charging cable and the appropriate adapter from the 10-in-1 connector kit to connect to compatible portable power stations or devices.
- USB QC3.0 (5V/3A, 9V/2A, 12V/1.5A): Connect your USB-compatible devices (e.g., smartphones, power banks) directly to this port.
- Type-C (5V/3A, 9V/3A, 12V/2.5A, 15V/2A): Connect your Type-C compatible devices (e.g., laptops, tablets) directly to this port.

Image 4: The 10-in-1 connector kit for various DC input devices.
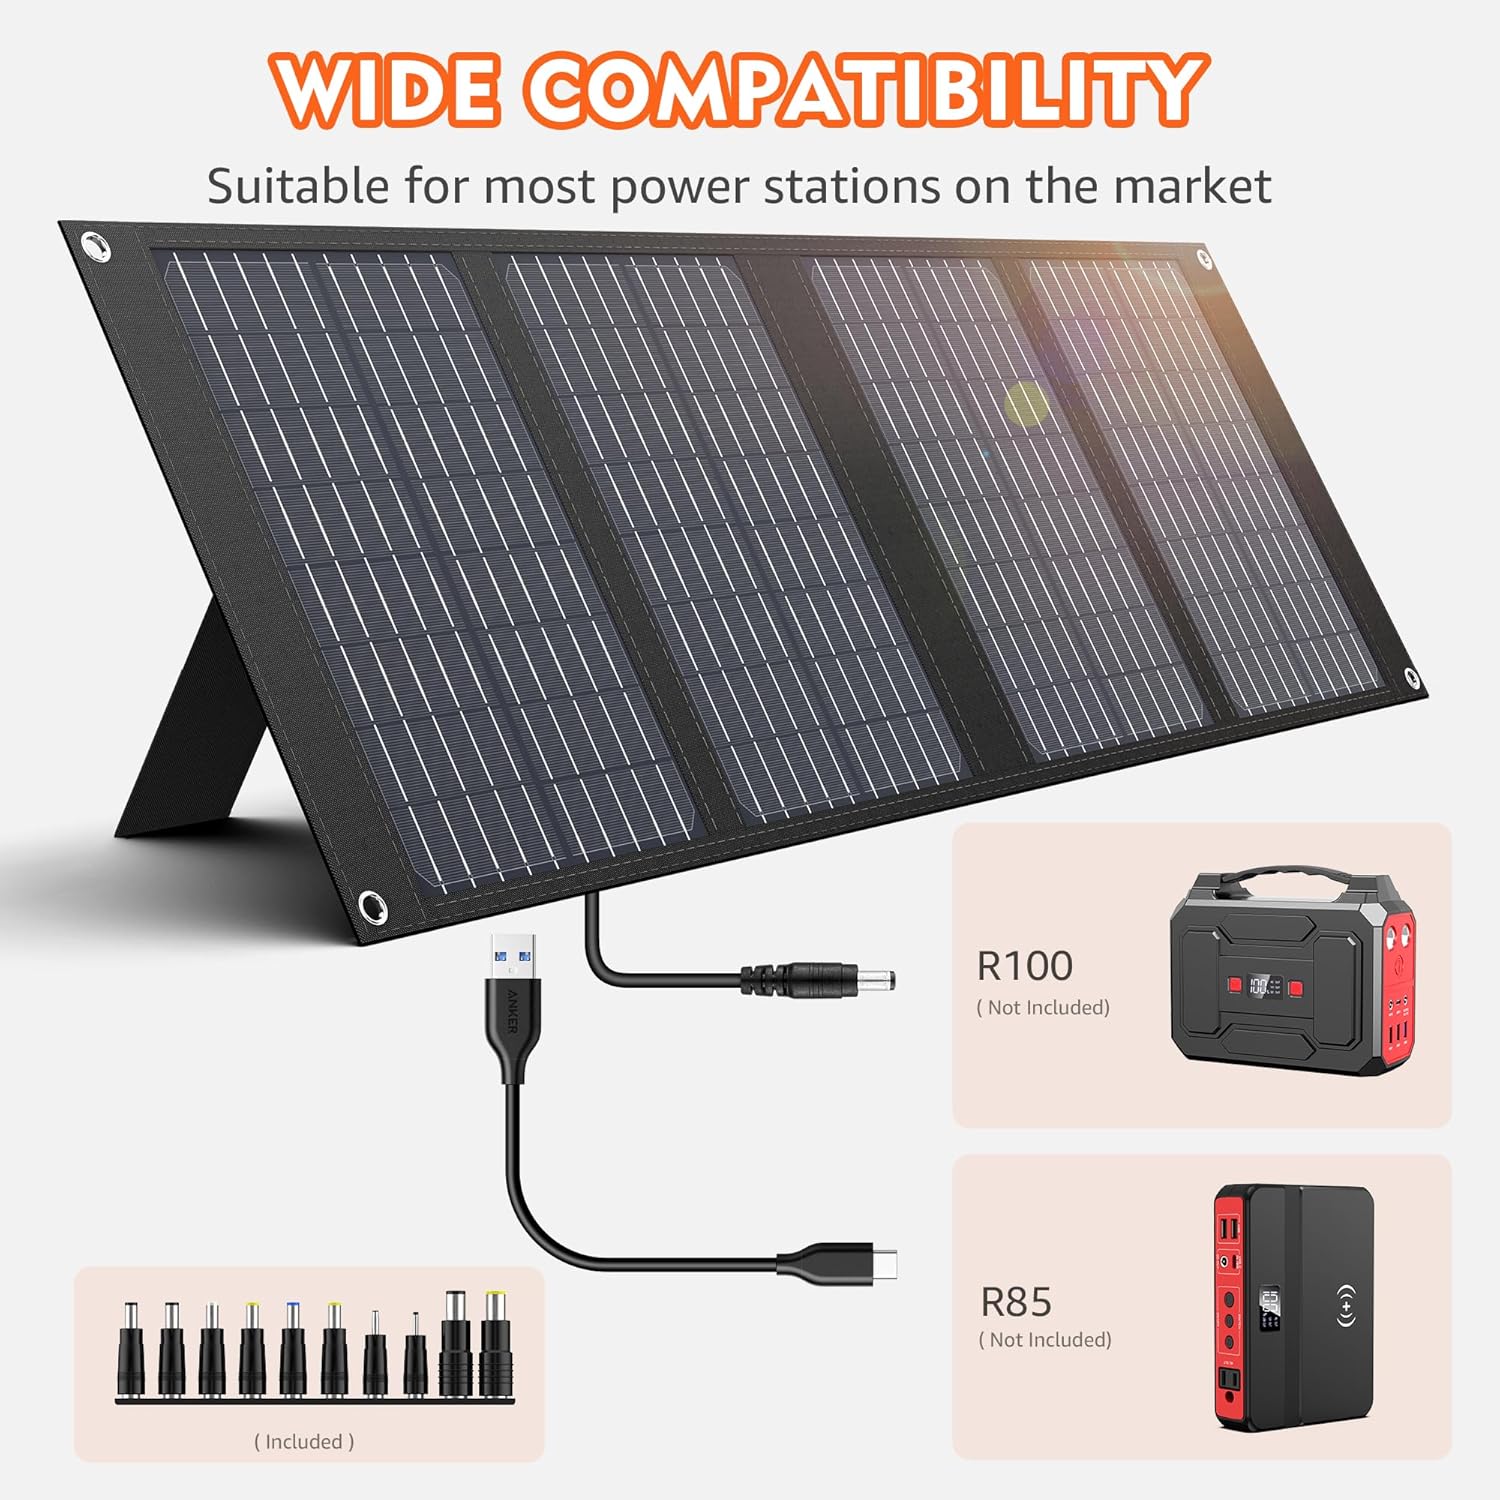
Image 5: Example of connecting the solar panel to portable power stations.
6. Operating
6.1 Charging Devices
Once the solar panel is positioned correctly in direct sunlight and your device is connected, charging will begin automatically. The indicator light on the junction box will illuminate to confirm power output.
- For optimal charging, ensure the panel is in full, unobstructed sunlight.
- The actual power output may vary depending on sunlight intensity, angle, temperature, and cloud cover.
- The solar panel does not store charge; it generates power directly from sunlight.
6.2 Portability and Usage Scenarios

Image 6: The solar panel's compact, folded design makes it easy to carry in a backpack or by hand.
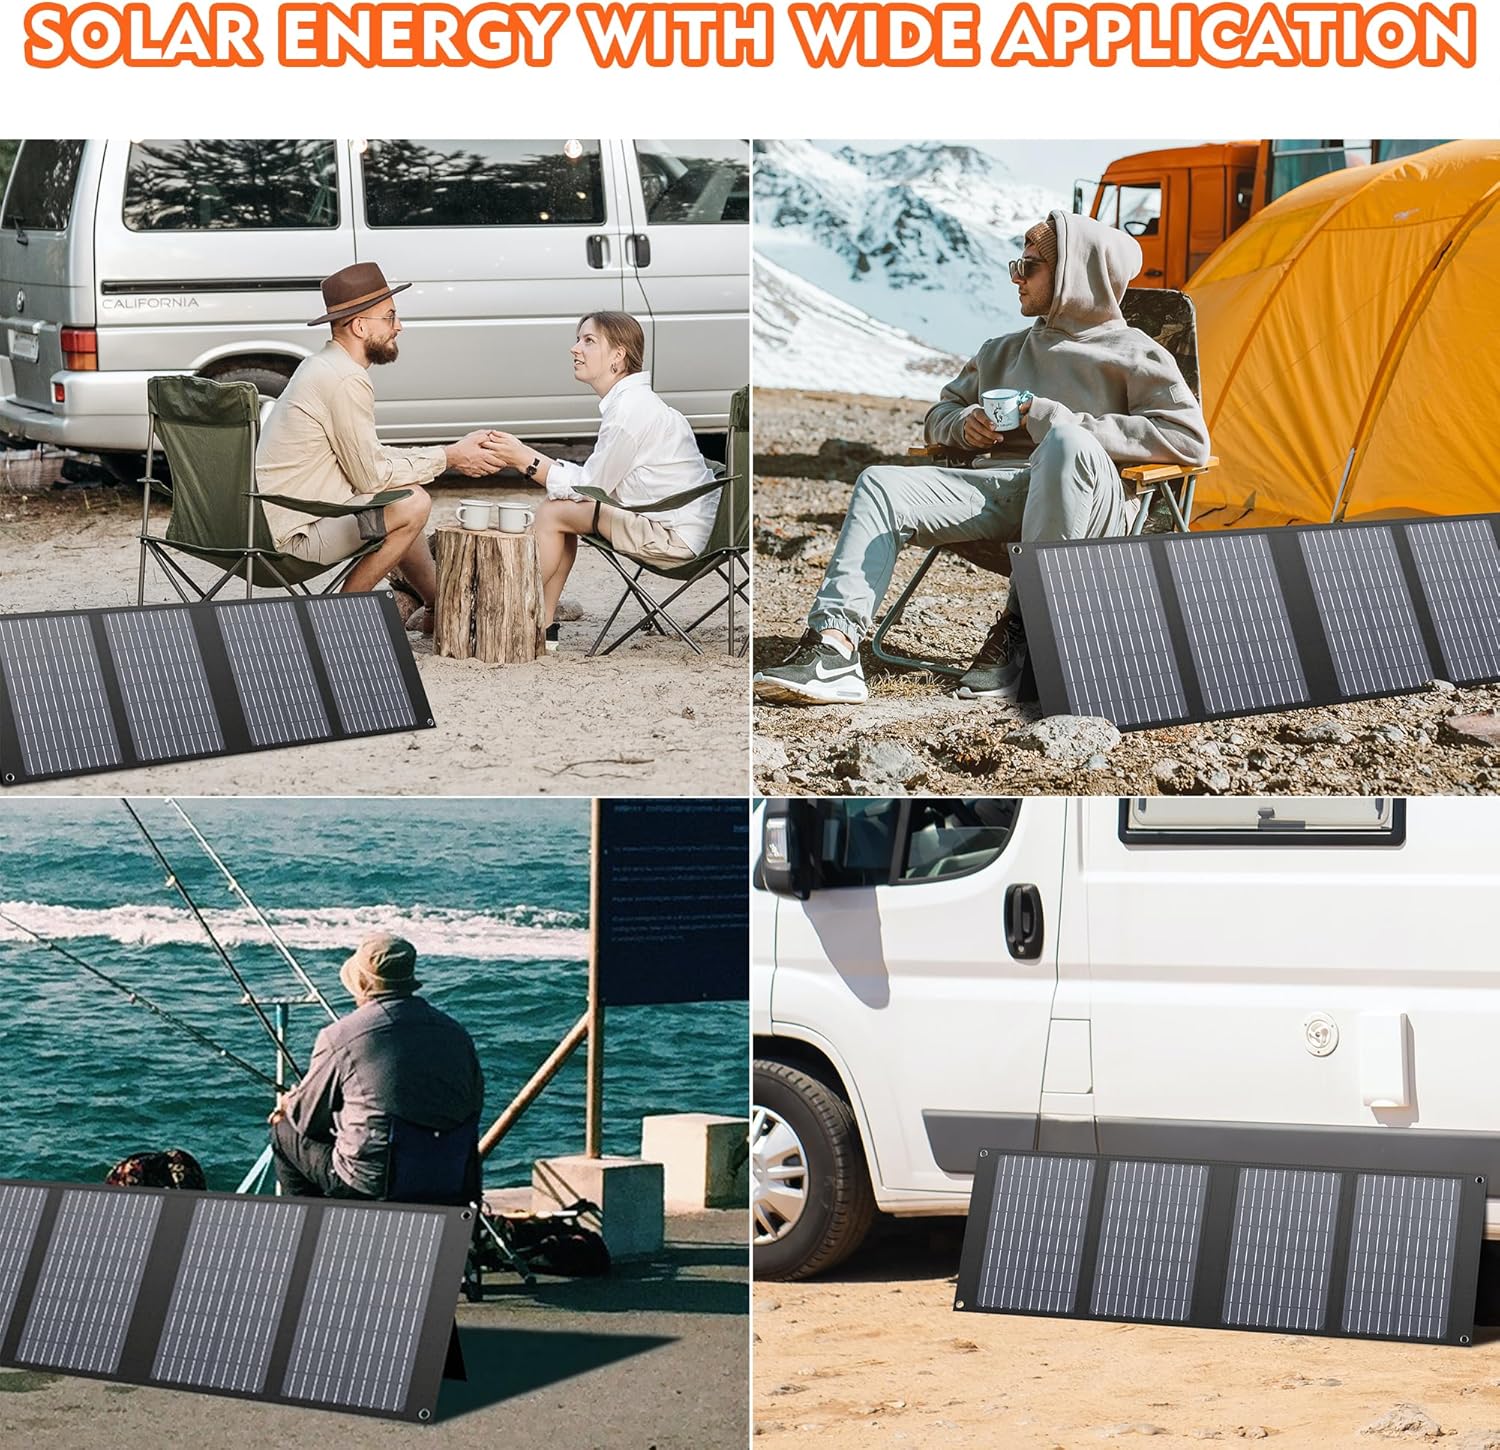
Image 7: The solar panel is suitable for diverse outdoor activities such as camping, RV trips, and fishing.
7. Maintenance
7.1 Cleaning
- Regularly clean the surface of the solar panel with a soft, damp cloth to remove dust, dirt, or debris.
- Avoid using abrasive cleaners or harsh chemicals that could damage the panel surface.
- Ensure the panel is dry before folding or storing.
7.2 Storage
- When not in use, fold the solar panel and store it in a cool, dry place.
- Protect the panel from physical impact or heavy objects that could cause damage.
8. Troubleshooting
| Problem | Possible Cause | Solution |
|---|---|---|
| No power output / Device not charging | Insufficient sunlight Incorrect connection Damaged cable/port | Ensure panel is in direct sunlight and angled correctly. Check all cable connections are secure. Try a different cable or port. |
| Low charging speed | Partial shading Cloudy weather Incorrect angle High power demand | Relocate panel to full sun. Adjust angle for optimal sun exposure. Charging speed is naturally lower in non-ideal conditions. Ensure device is not drawing more power than the panel can supply. |
| Indicator light not on | No power output Faulty indicator | Verify panel is receiving sufficient sunlight and connections are correct. If still no light and no charge, contact customer service. |
9. Specifications
| Feature | Detail |
|---|---|
| Brand | Apowking |
| Model | 40W |
| Material | Monocrystalline Silicon |
| Efficiency | Up to 22% |
| Product Dimensions (Unfolded) | Approx. 37.8"L x 12.6"W (96cm x 32cm) |
| Product Dimensions (Folded) | Approx. 12.6"L x 9.1"W (32cm x 23cm) |
| DC Output | 18V/2.27A max |
| USB QC3.0 Output | 5V/3A, 9V/2A, 12V/1.5A |
| Type-C Output | 5V/3A, 9V/3A, 12V/2.5A, 15V/2A |
| Water Resistance | IPX4 (main panel), Junction box is not waterproof |
10. Warranty and Support
Apowking provides friendly customer service. If you encounter any problems or have questions regarding your 40W Portable Foldable Solar Panel Charger, please feel free to contact us. Refer to your purchase documentation for specific warranty details and contact information.