1. Introduction
Thank you for choosing the EQUATION SLIM Bathroom Fan. This manual provides essential information for the safe installation, operation, and maintenance of your new ventilation unit. Please read these instructions carefully before installation and retain them for future reference.
This fan is designed for intermittent air renewal in bathrooms, toilets, or kitchens up to 7 m². It effectively combats humidity and odors, contributing to a healthier indoor environment.
2. Safety Information
WARNING: Electrical appliances can be hazardous. Installation and maintenance must be performed by a qualified electrician in accordance with local wiring regulations and standards.
- Ensure the power supply is disconnected before installation, maintenance, or repair.
- Do not install the fan in areas where it may be exposed to direct water spray.
- This appliance is not intended for use by persons (including children) with reduced physical, sensory, or mental capabilities, or lack of experience and knowledge, unless they have been given supervision or instruction concerning use of the appliance by a person responsible for their safety.
- Children should be supervised to ensure that they do not play with the appliance.
- Do not obstruct the air inlet or outlet.
- The fan must not be connected to a chimney flue or any other combustion product exhaust duct.
3. Product Overview
3.1. Key Features
- Automatic Operation: Equipped with an adjustable humidity sensor and timer for automated ventilation.
- Efficient Ventilation: Suitable for rooms up to 7 m² with an airflow of 72 m³/h.
- Low Noise Level: Operates quietly at 32 dB(A) for minimal disturbance.
- Energy Efficient: Low power consumption of 8 W.
- Backdraft Damper: Includes a non-return flap to prevent outside air from entering the room.
- Durable Motor: Features a ball bearing motor for extended lifespan.
- Easy Installation: Designed for wall mounting and includes a fixing kit.
3.2. Components
The EQUATION SLIM Bathroom Fan consists of the main fan unit, an integrated humidity sensor, a timer, and a backdraft damper. A fixing kit is supplied for installation.

Figure 1: Front view of the EQUATION SLIM Bathroom Fan. This image shows the square white casing with horizontal grilles covering the fan blades.

Figure 2: The fan unit with key specifications highlighted, including 32 dB(A) noise level, 8W power, 100mm diameter, and symbols for humidity sensor and timer. Below are icons indicating adjustable humidity (60-90%) and timer (2-30 minutes) settings.
4. Installation
The fan is designed for wall or ceiling mounting. For electrical connections, it is strongly recommended to consult a qualified electrician to ensure compliance with all safety standards and regulations.
4.1. Pre-Installation Checks
- Verify that the power supply matches the fan's specifications (220-240V, 50Hz).
- Ensure the installation location allows for proper airflow and maintenance access.
- Confirm that the wall or ceiling material can support the fan's weight and allow for secure mounting.
- Prepare a circular opening of 100 mm diameter for the duct connection.
4.2. Mounting Steps
- Disconnect Power: Turn off the main power supply at the circuit breaker before starting any electrical work.
- Mark Drilling Points: Use the fan's mounting plate as a template to mark the drilling points on the wall or ceiling.
- Drill Holes: Drill holes at the marked points and insert the provided wall plugs.
- Electrical Connection: Connect the electrical wires to the terminal block inside the fan unit. Ensure correct polarity (Live, Neutral, Earth if applicable). Refer to the wiring diagram provided with the product packaging.
- Mount the Fan: Secure the fan unit to the wall or ceiling using the screws from the fixing kit.
- Install Backdraft Damper: Ensure the backdraft damper is correctly positioned to prevent reverse airflow.
- Restore Power: Once installation is complete and all connections are secure, restore power to the circuit.

Figure 3: Dimensional drawing of the fan (149x149mm front, 97mm depth, 99mm duct length) and an illustration of the included fixing kit (screws and wall plugs).

Figure 4: The fan installed on a white wall, demonstrating a typical installation in a kitchen or utility area.
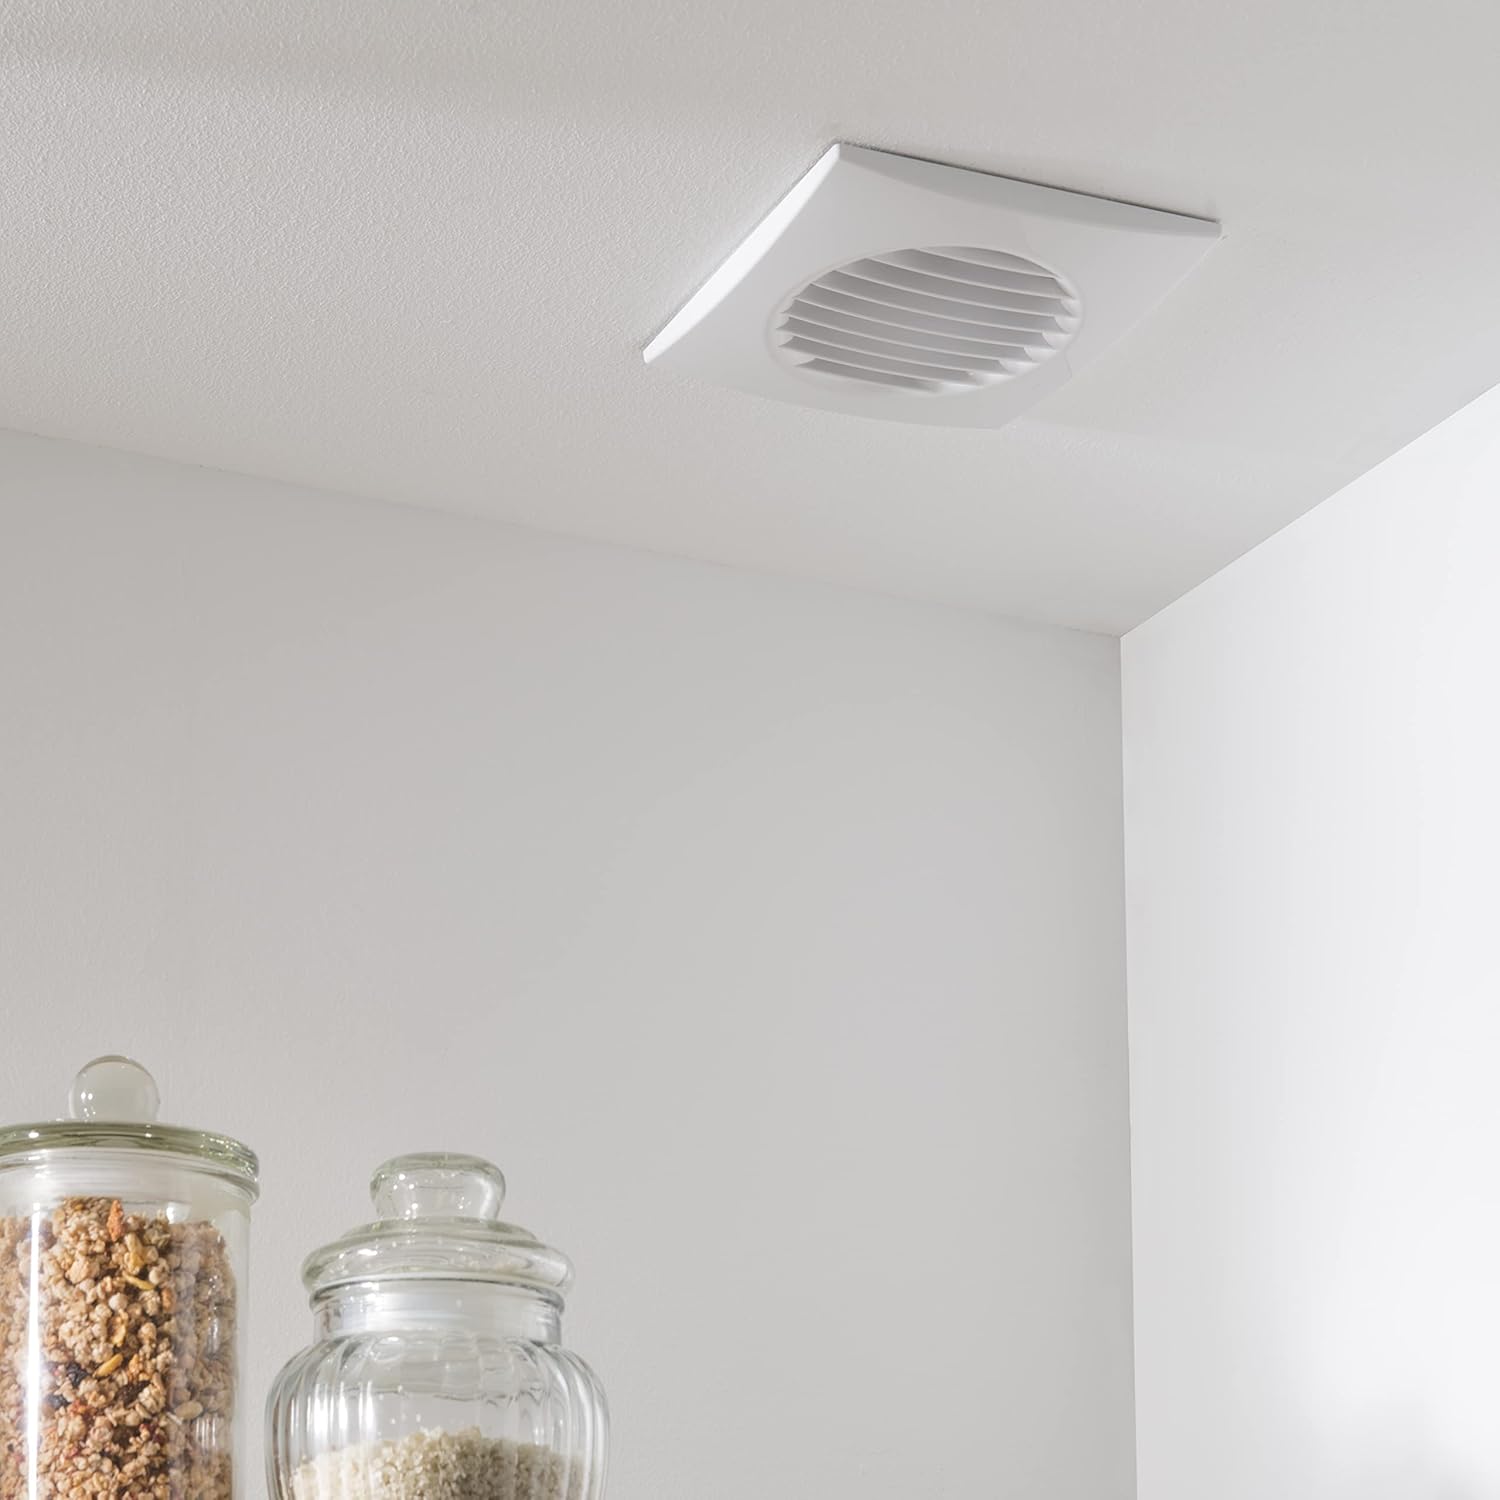
Figure 5: The fan installed on a white ceiling, demonstrating a typical overhead installation in a kitchen or utility area.
5. Operating Instructions
The EQUATION SLIM Bathroom Fan operates automatically based on its integrated humidity sensor and timer.
5.1. Humidity Sensor Adjustment
The humidity sensor can be adjusted to activate the fan when the ambient humidity level exceeds a set threshold. The adjustable range is typically between 60% and 90% relative humidity.
- To adjust, carefully remove the front cover of the fan.
- Locate the humidity adjustment dial (often marked with a '%' symbol).
- Turn the dial clockwise to increase the humidity threshold (fan activates at higher humidity) or counter-clockwise to decrease it (fan activates at lower humidity).
- Replace the front cover securely.
5.2. Timer Adjustment
The timer function allows the fan to continue operating for a set period after the humidity level drops below the threshold or after the light switch (if wired to it) is turned off. The adjustable range is typically between 2 and 30 minutes.
- To adjust, carefully remove the front cover of the fan.
- Locate the timer adjustment dial (often marked with a 'min' or clock symbol).
- Turn the dial clockwise to increase the run-on time or counter-clockwise to decrease it.
- Replace the front cover securely.
Note: Always ensure power is disconnected before adjusting internal settings.
6. Maintenance
Regular cleaning ensures optimal performance and extends the lifespan of your fan.
- Disconnect Power: Always turn off the power supply to the fan at the circuit breaker before cleaning.
- Remove Front Cover: Carefully unclip or unscrew the front grille/cover.
- Clean Grille and Blades: Use a soft, damp cloth and mild detergent to clean the front grille and the fan blades. Avoid using abrasive cleaners or solvents.
- Clean Housing: Wipe the exterior housing with a damp cloth.
- Reassemble: Ensure all parts are dry before reattaching the front cover.
- Restore Power: Once reassembled, restore power to the fan.
Frequency: Cleaning should be performed every 3-6 months, or more frequently in dusty or high-humidity environments.
7. Troubleshooting
If you experience issues with your fan, refer to the following common problems and solutions:
| Problem | Possible Cause | Solution |
|---|---|---|
| Fan does not turn on. | No power supply. Incorrect wiring. Humidity sensor setting too high. | Check circuit breaker and power connection. Verify wiring with a qualified electrician. Adjust humidity sensor to a lower threshold. |
| Fan runs continuously. | Humidity sensor setting too low. Timer set for a long duration. Faulty sensor/timer. | Adjust humidity sensor to a higher threshold. Adjust timer to a shorter duration. Contact customer support if issues persist after adjustment. |
| Reduced airflow or unusual noise. | Blocked grille or fan blades. Loose components. Motor issue. | Disconnect power and clean the grille and blades. Check for loose screws or parts (with power off). Contact customer support if noise persists. |
| Backdraft of cold air. | Backdraft damper obstructed or damaged. | Disconnect power and inspect the backdraft damper for obstructions or damage. Clear any blockages or replace if damaged. |
If the problem persists after attempting these solutions, please contact EQUATION customer support.
8. Specifications
| Brand | EQUATION |
| Model Number | 3276000607168 |
| Product Dimensions (L x W x H) | 9.7 x 14.9 x 14.9 cm |
| Weight | 10 g |
| Power | 8 Watts |
| Noise Level | 32 Decibels (A) |
| Airflow | 72 m³/h |
| Recommended Room Size | Up to 7 m² |
| Duct Diameter | 100 mm |
| Special Features | Humidity Sensor, Timer, Backdraft Damper, Ball Bearing Motor |
| Mounting Type | Wall Mount |
9. Warranty and Support
Specific warranty details are typically provided with the product packaging or can be found on the manufacturer's official website. Please retain your proof of purchase for any warranty claims.
For technical support, spare parts, or further assistance, please contact EQUATION customer service through their official channels. Information regarding spare parts availability is not provided in this document.


