
Introduction
Thank you for choosing the amFilm 3D Curved Tempered Glass Screen Protector for your Samsung Galaxy S22 Ultra. This manual provides detailed instructions for proper installation and usage to ensure optimal performance and protection for your device. Our screen protector is designed for full compatibility with the Ultrasonic Fingerprint Scanner and S Pen, offering scratch resistance, high transparency, and drop protection.

Image: Compatibility information for the amFilm screen protector. It is designed exclusively for the Samsung Galaxy S22 Ultra (6.8 inch) and is not compatible with the Galaxy S22 (6.1 inch) or Galaxy S22 Plus (6.6 inch).
What's in the Box
Your amFilm screen protector kit includes all necessary components for a successful installation:
- 2 x amFilm 3D Curved Glass Screen Protectors
- 1 x Application Tray
- 2 x Microfiber Cloths
- 2 x Dust Removal Sticker Sheets
- 1 x Installation Manual (with pictures)
- 4 x Absorption Pads
- 4 x Leveling Pads
- 2 x Screen-Prep Cloths
- 2 x Wipes
- 4 x Adhesive Tubes
- 1 x Metal Cylinder
- 1 x Bubble Level
- 2 x Plastic Pins
- 1 x UV Light

Image: A visual representation of all items included in the amFilm 3D Curved Tempered Glass Screen Protector kit, such as screen protectors, application tray, cleaning supplies, adhesive, and UV light.
Setup and Installation
Please watch the official installation video at least once before beginning the installation process. This will help you understand each step thoroughly.
Video: Official amFilm 3D Curved Tempered Glass Installation Guide for Samsung Galaxy S22 Ultra. This video demonstrates the step-by-step application process using the provided kit.
Pre-Installation Steps:
- Test UV Light: Before starting, plug the portable UV light into a USB-C port and turn it on to ensure it functions correctly.
- Prepare Your Workspace: Choose a clean, dust-free environment. Avoid areas with strong air currents (e.g., open windows, fans).
- Level Your Phone: Place the leveling pads on the back of your phone to ensure it is perfectly flat. Use the included bubble level to verify. This prevents adhesive from flowing unevenly.
- Clean the Screen: Use the wet wipes to thoroughly clean your phone screen. Follow with the microfiber cloth to dry and remove any streaks. Use dust removal stickers to pick up any remaining dust particles.
- Place Absorption Pads: Position the absorption pads around the phone within the application tray to catch any excess adhesive.
Adhesive Application and Screen Protector Placement:
- Position Application Tray: Carefully place the application tray over your phone, ensuring it is securely fitted.
- Drip Adhesive: Unscrew the black cap of the adhesive tube and drip the entire contents onto the center of the phone screen, ensuring it forms a single, circular puddle. Repeat for the second adhesive tube if using two drops as indicated by the tray's peg lines.
- Remove Mask Film: Peel off the protective mask film from the screen protector.
- Place Screen Protector: Carefully align the screen protector within the application tray. It should sit on the pins at each end.
- Release Screen Protector: Slowly pull both plastic pins out simultaneously. This allows the screen protector to gently lower onto the adhesive, which will spread evenly across the screen.
- Wait for Spread: Allow the adhesive to fully spread to all edges of the phone. This may take a few minutes. Do not press down on the screen during this time.
UV Curing and Final Steps:
- Place Metal Cylinder: Once the adhesive has spread, place the metal cylinder on the fingerprint scanner sticker area.
- First Cure: Place the UV light over the tray and device. Cure for approximately 45 seconds.
- Remove Accessories: After the first cure, remove the metal cylinder, the fingerprint scanner sticker, and the application tray.
- Second Cure: Place the UV light directly over the phone screen and cure for an additional 60 seconds to fully harden the adhesive.
- Re-scan Fingerprint: After installation, it is crucial to re-scan your fingerprints in your phone's settings for optimal functionality of the ultrasonic fingerprint scanner.

Image: A visual guide illustrating the 6-step easy installation process for the amFilm screen protector, including cleaning, adhesive drip, screen placement, metal cylinder use, UV curing, and fingerprint re-scan.
Operating the Screen Protector
The amFilm 3D Curved Tempered Glass Screen Protector is designed to maintain full functionality of your Samsung Galaxy S22 Ultra.
- Ultrasonic Fingerprint Scanner: This protector is fully compatible with your device's ultrasonic fingerprint scanner. Ensure you re-scan your fingerprints after installation for best results. The four dots around the scanner area are intentional and part of the solution for fingerprint functionality.
- Touch Sensitivity: The 0.26mm ultra-thin glass ensures full compatibility with touchscreen sensitivity and S Pen functionality. If you experience any issues, you may need to adjust your phone's touch sensitivity settings (Settings > Display > Touch sensitivity).
- Case Friendly Design: The screen protector is designed to be slightly smaller than the actual screen size to ensure compatibility with most phone cases, preventing lifting or peeling.
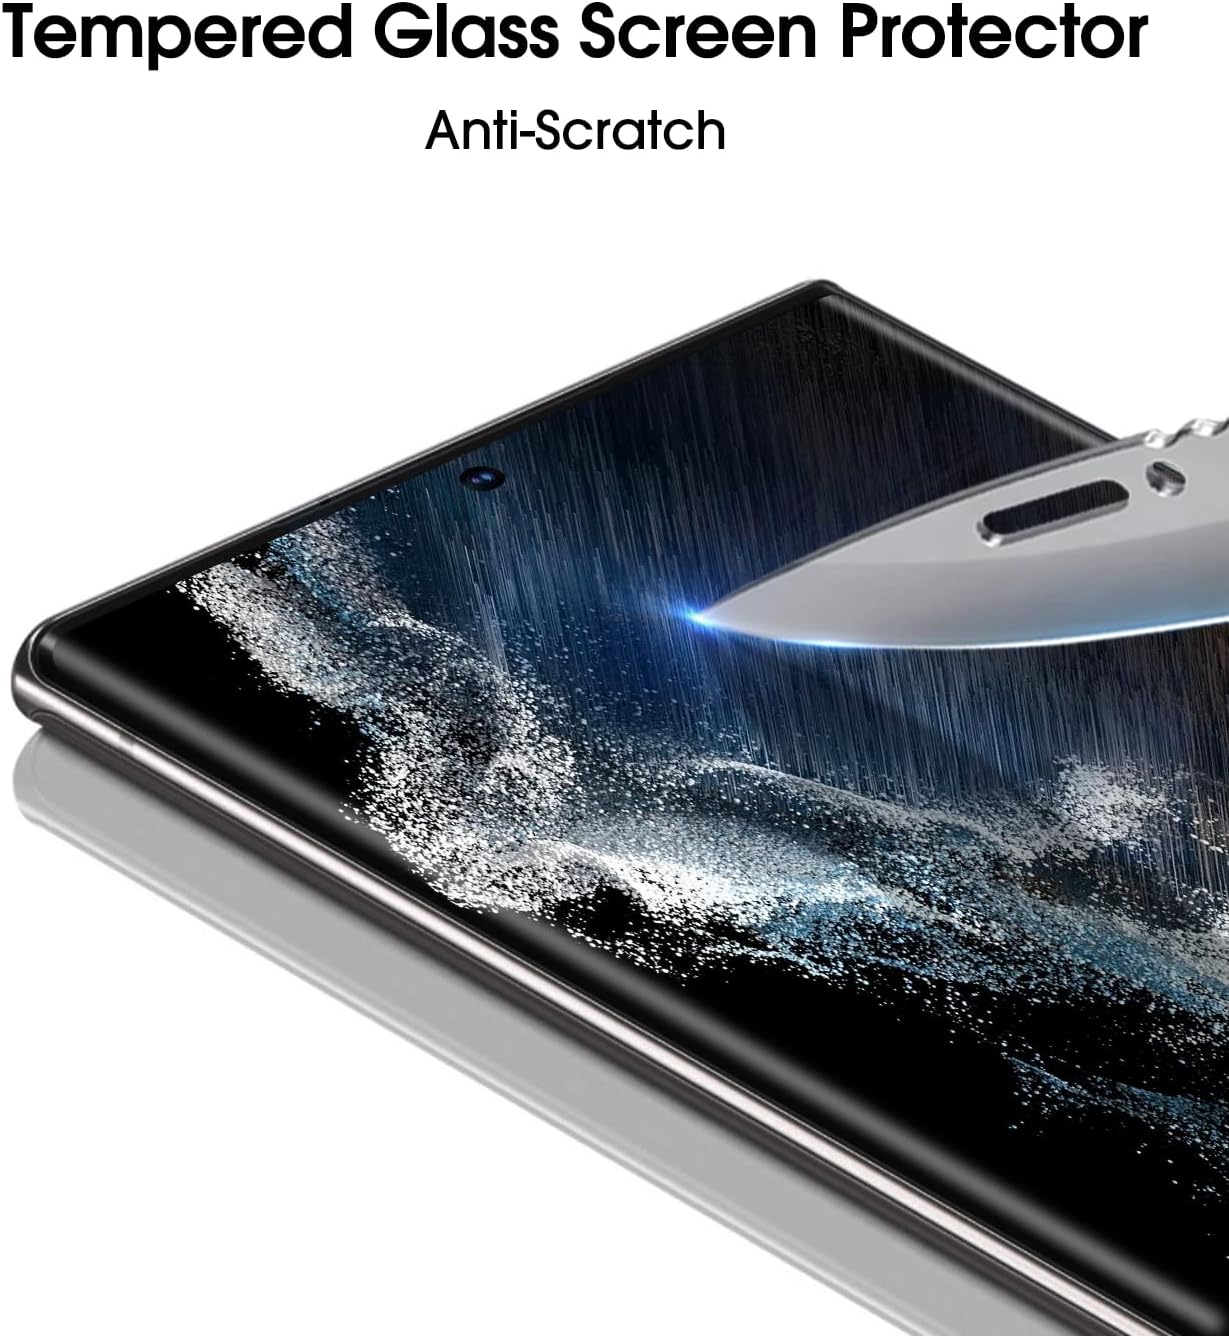
Image: Demonstrates the ultrasonic fingerprint scanner in use and highlights the touch sensitivity settings on the Samsung Galaxy S22 Ultra, confirming compatibility with the screen protector.
Maintenance
To ensure the longevity and clarity of your amFilm screen protector:
- Clean the screen regularly with a soft, lint-free cloth, preferably a microfiber cloth.
- Avoid using harsh chemicals or abrasive materials that could damage the oleophobic coating.
- If the screen protector becomes scratched or cracked, replace it promptly to maintain optimal protection for your device's screen.
Troubleshooting
If you encounter any issues during or after application, please refer to the following common solutions:
- Bubbles or Uneven Adhesive: Ensure your phone is perfectly level during adhesive application. If bubbles persist, gently lift the screen protector from the edge and reapply, or contact customer support for assistance.
- Fingerprint Scanner Issues: Always re-scan your fingerprints AFTER the screen protector is fully installed and cured. Apply slight pressure when scanning your finger. If issues persist, ensure your phone's touch sensitivity setting is enabled.
- Adhesive Buildup: If adhesive builds up around the applicator nozzle, clean it before use. If adhesive spills, use the UV light to cure it, then it can be removed.
Specifications
| Feature | Description |
|---|---|
| Material | Tempered Glass |
| Item Hardness | 9H |
| Special Features | Anti-Fingerprint, Scratch Resistant, Ultrasonic Fingerprint Compatible |
| Compatible Devices | Samsung Galaxy S22 Ultra 2022 (6.8 Inch) |
| Finish Type | Glossy |
| Water Resistance Level | Waterproof |
| Item Model Number | S22U-UV |
| Product Dimensions | 7.87 x 4.53 x 1.54 inches |
| Item Weight | 7.7 ounces |
Warranty and Support
amFilm is committed to providing quality products and excellent customer support. We offer round-the-clock customer support to assist you with any issues encountered during or after the application of your screen protector.
Your satisfaction is our primary goal. If you have any problems, please send us an email, and our professional service team will provide solutions within 24 hours.


