
Soobest SO801L
Contents
Soobest LED Digital Wall Clock User Manual
Model: SO801L
Thank you for choosing the Soobest LED Digital Wall Clock. This manual provides essential information for setting up, operating, and maintaining your new clock.
1. Product Overview
The Soobest LED Digital Wall Clock (Model SO801L) features a large, easy-to-read display with 3-inch digits, making it visible from a distance. It includes a seconds display, adjustable brightness levels, automatic Daylight Saving Time (DST) adjustment, and the option to switch between 12-hour and 24-hour time formats. Designed for wall mounting, it comes with a long power cable for flexible placement.

Figure 1: Front view of the Soobest LED Digital Wall Clock.
2. Package Contents
Please check the package to ensure all items are present:
- Soobest LED Digital Wall Clock (Model SO801L)
- Power Adapter with 70-inch cable
- Measuring Ruler for mounting
- Mounting Nails (2 pcs)
- User Manual (this document)
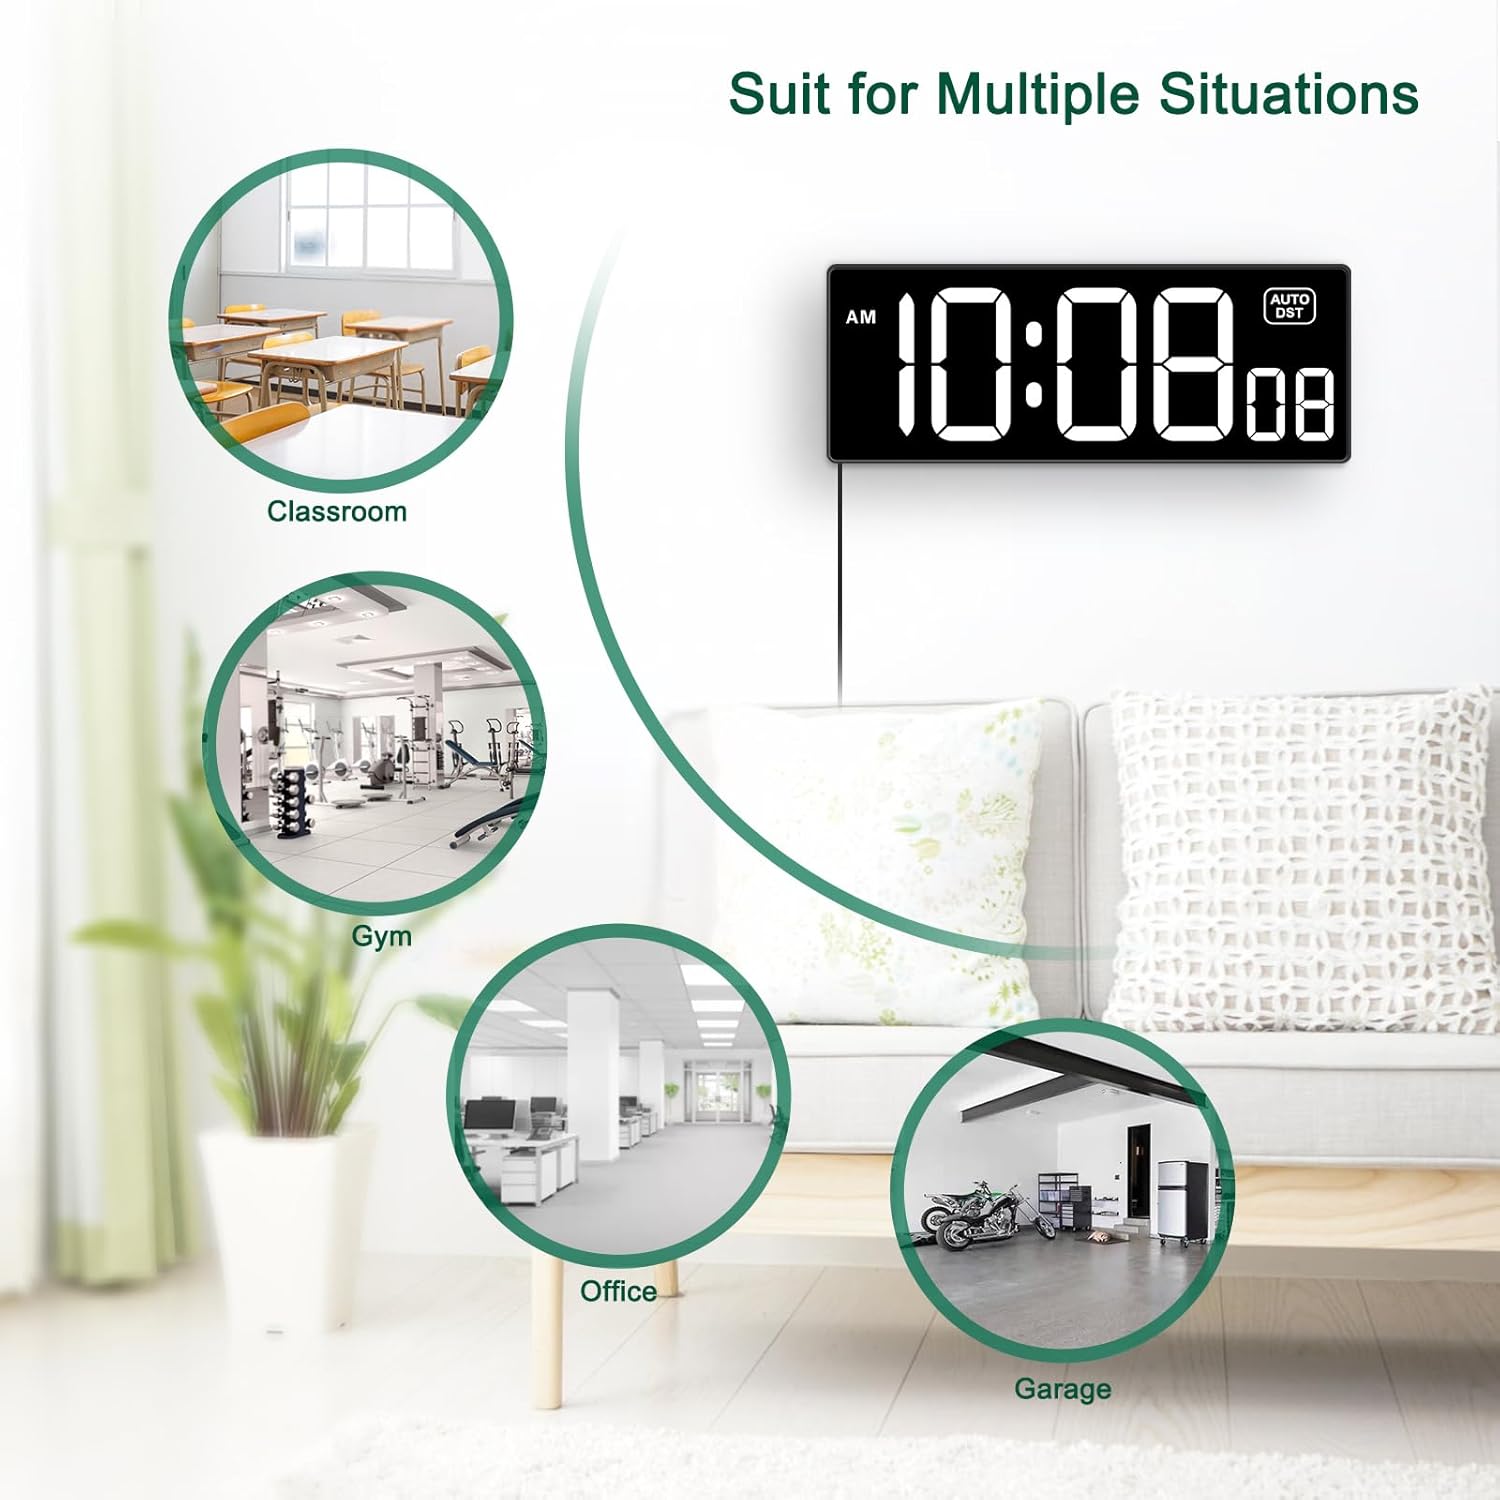
Figure 2: All items included in the product package.
3. Setup
3.1 Power Connection
- Connect the power adapter cable to the DC input port on the back of the clock.
- Plug the power adapter into a standard electrical outlet. The clock display will illuminate.

Figure 3: Connecting the clock to its power source. The clock measures approximately 10.2 inches wide.
3.2 Battery Backup (Optional)
For memory retention during power outages, install 2 AAA batteries (not included) into the battery compartment on the back of the clock. This feature ensures that time and settings are preserved, eliminating the need for re-setting after a power interruption.
4. Operating Instructions
The clock features four simplified buttons on the side for easy operation:
- UP / 12/24HR: Adjusts values up; Toggles between 12-hour and 24-hour format.
- SET: Enters setting mode; Confirms selection.
- DOWN / DST ON/OFF: Adjusts values down; Toggles Daylight Saving Time function.
- DIMMER (Light Bulb Icon): Adjusts display brightness.

Figure 4: Side buttons for clock operation.
4.1 Setting Time and Date
- Press and hold the SET button for 3 seconds to enter setting mode. The year will start flashing.
- Use the UP or DOWN buttons to adjust the year. Press SET to confirm and move to the next setting.
- Repeat the process for Month, Day, Hour, and Minute.
- After setting minutes, the seconds will reset to zero automatically.
- Press SET again to exit setting mode.
4.2 12/24 Hour Format Switch
To switch between 12-hour (AM/PM) and 24-hour (military time) formats, simply press the UP / 12/24HR button once during normal time display.

Figure 5: Switching between 12-hour and 24-hour time formats.
4.3 Daylight Saving Time (DST) Function
If your region observes Daylight Saving Time, you can enable the auto DST function:
- Press the DOWN / DST ON/OFF button once to toggle the DST function ON or OFF.
- When ON, the clock will automatically adjust forward by one hour in spring and back by one hour in autumn.
4.4 Adjusting Brightness (Dimmer)
The clock has 5 adjustable brightness levels:
- Press the DIMMER button (light bulb icon) repeatedly to cycle through the 5 brightness levels.
- Select the desired brightness for your environment, from brightest to dimmest.

Figure 6: The clock offers 5 levels of adjustable brightness.
5. Mounting Instructions
The Soobest LED Digital Wall Clock is designed for easy wall mounting. Follow these steps for secure installation:
- Locate Position: Use the included measuring ruler to mark the desired position for the two mounting nails on your wall. Ensure the marks are level and spaced correctly to align with the hanging holes on the back of the clock.
- Insert Nails: Gently hammer the two included nails into the marked positions on the wall, leaving a small portion of the nail head exposed for the clock to hang on.
- Hang Clock: Carefully align the two hanging holes on the back of the clock with the exposed nail heads and slide the clock down to secure it in place.

Figure 7: Step-by-step guide for wall mounting.
The 70-inch power cable provides ample length for reaching outlets, even when mounting the clock higher on a wall.
Figure 8: The 70-inch power cable allows for flexible wall placement.
6. Maintenance
- Cleaning: Use a soft, dry cloth to clean the clock's surface. Avoid abrasive cleaners or solvents that may damage the display or casing.
- Power: Ensure the clock is always connected to a stable power source.
- Battery Replacement: If using the battery backup, replace the 2 AAA batteries annually or when you notice settings are not retained during power outages.
- Placement: Avoid placing the clock in direct sunlight or near extreme heat sources, as this may affect its performance and lifespan.
7. Troubleshooting
| Problem | Possible Cause | Solution |
|---|---|---|
| Clock display is off. | No power supply. | Check if the power adapter is securely plugged into the clock and the wall outlet. Ensure the outlet has power. |
| Time is incorrect. | Time not set correctly; DST setting incorrect. | Refer to Section 4.1 "Setting Time and Date" to reset the time. Check DST setting in Section 4.3. |
| Settings are lost after power outage. | No backup batteries or batteries are depleted. | Install 2 new AAA batteries (not included) for battery backup. |
| Display is too bright/dim. | Brightness level needs adjustment. | Press the DIMMER button to cycle through the 5 brightness levels until desired brightness is achieved. |
8. Specifications
- Brand: Soobest
- Model: SO801L
- Display Type: Digital LED
- Color: White
- Product Dimensions: 9.7" (W) x 3.6" (H)
- Digit Size: Approximately 3 inches
- Power Source: Corded Electric (Power Adapter included)
- Cable Length: 70 inches
- Battery Backup: 2 x AAA batteries (not included)
- Special Features: Adjustable Brightness (5 levels), Automatic Daylight Saving Time (DST), Seconds Display, 12/24 Hour Format, Silent Operation
- Mounting Type: Wall Mount
- Material: Plastic
- Item Weight: 1 Pound
9. Warranty and Support
Soobest is committed to providing high-quality products. For any questions, technical support, or warranty inquiries, please contact our customer support team:
Email: soobest2014@outlook.com
Please have your model number (SO801L) and purchase information ready when contacting support.
Documents and downloads
Ask a question about this manual
Ask about setup, troubleshooting, compatibility, parts, safety, or missing instructions. Manuals+ will review the question and use this page’s manual context to help answer it.