1. Introduction
This manual provides detailed instructions for the operation and maintenance of your Jadfezy 4K 30fps Action Camera J-7000. Please read this manual thoroughly before using the camera to ensure proper function and to maximize your experience.

Image 1.1: The Jadfezy 4K 30fps Action Camera J-7000, shown with its waterproof housing, remote control, battery charger, and carrying case.
2. Package Contents
Verify that all items listed below are included in your package. If any items are missing or damaged, please contact customer support.
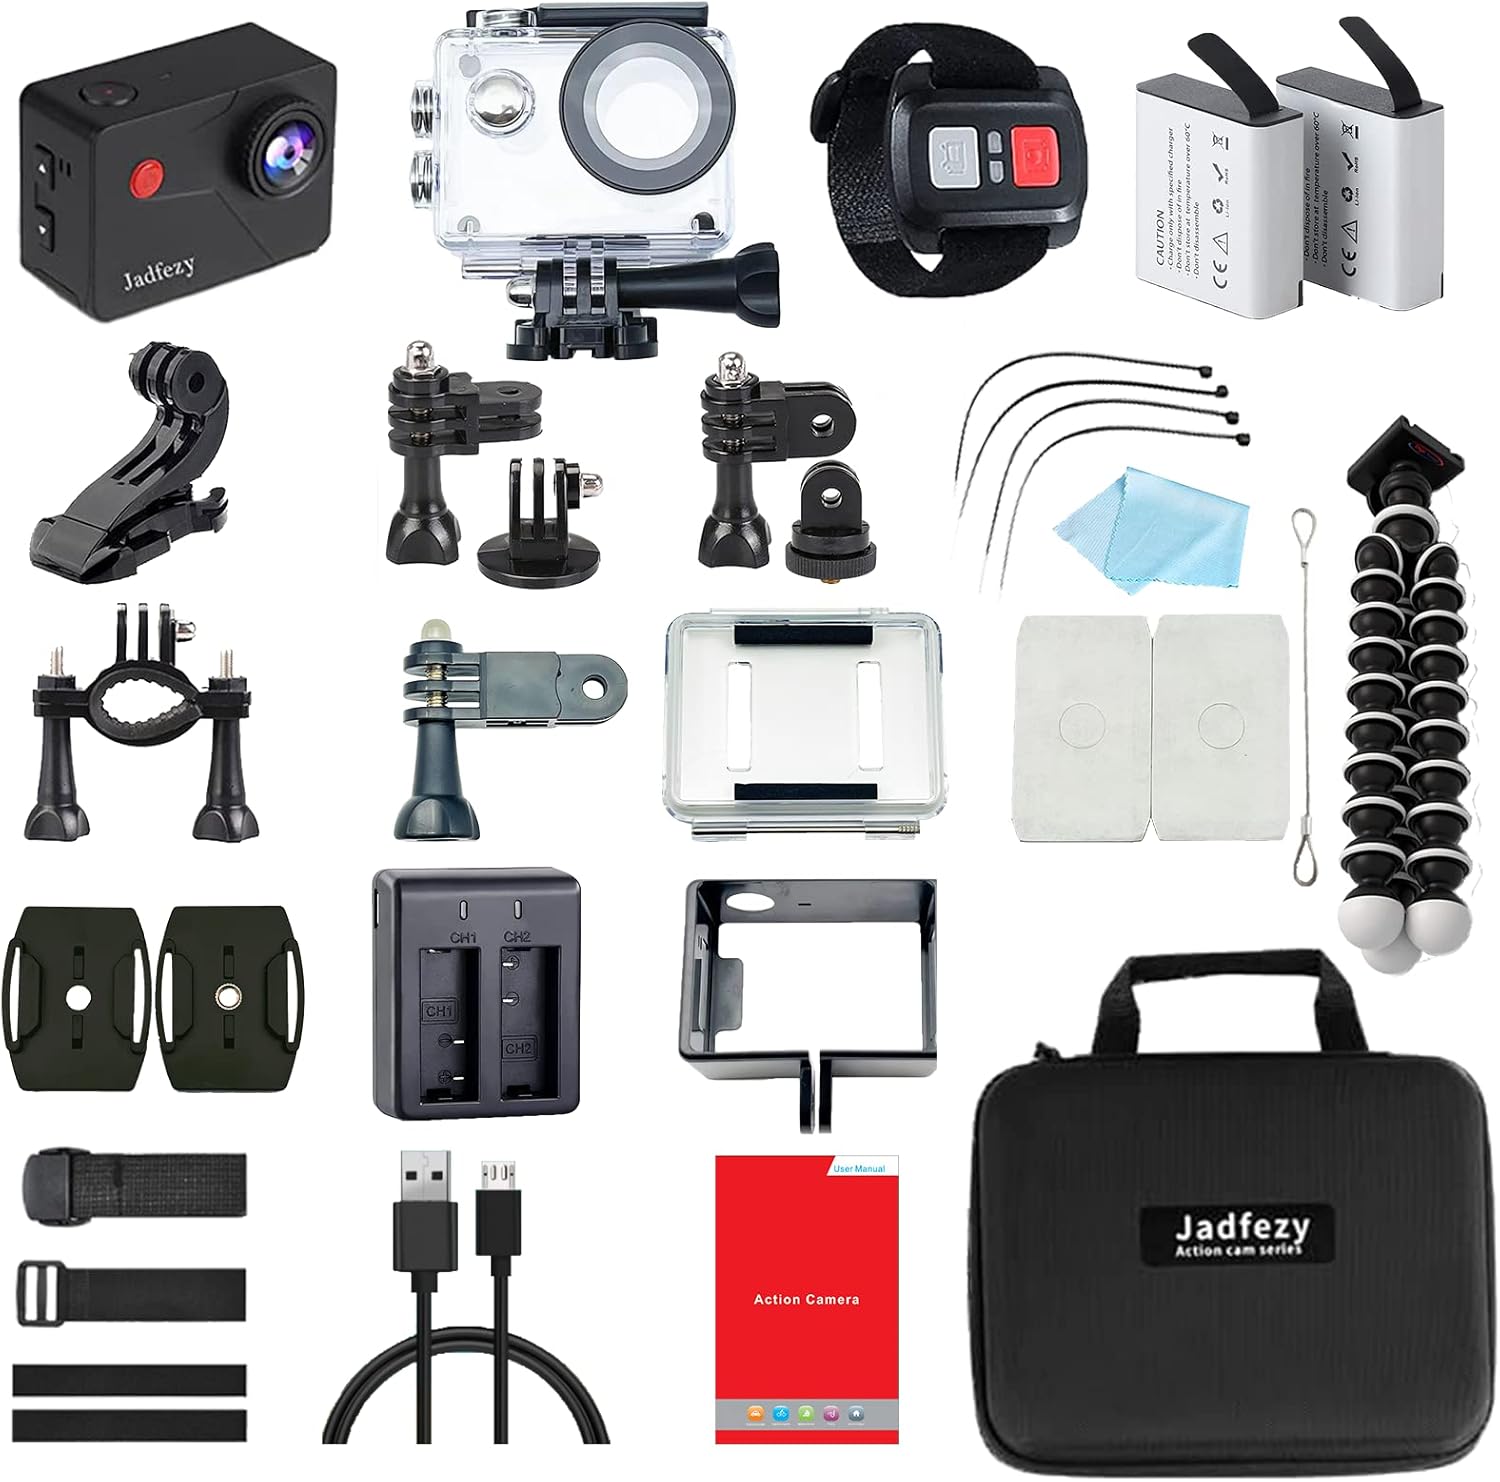
Image 2.1: A comprehensive view of all components included in the Jadfezy Action Camera package, including the camera, waterproof case, remote, batteries, charger, and various mounts.
- Jadfezy 4K Action Camera J-7000
- Waterproof Case (up to 30m / 98ft)
- 2.4G Wireless Remote Control
- 2 x 1350mAh Rechargeable Batteries
- Dual Battery Charger
- USB Cable
- Various Mounting Accessories (e.g., helmet mounts, bicycle mounts, wrist strap mounts)
- Cleaning Cloth
- User Manual
- Carrying Bag
3. Camera Overview
Familiarize yourself with the main components of your action camera.
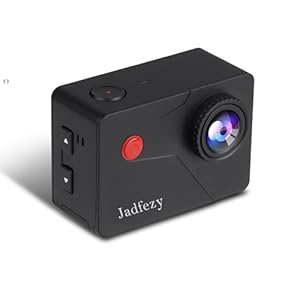
Image 3.1: The Jadfezy Action Camera J-7000, highlighting its compact design and primary controls.
3.1 Camera Body
- Lens: 170-degree wide-angle lens.
- Power/Mode Button: Turns the camera on/off and switches between modes.
- Shutter/OK Button: Starts/stops recording, takes photos, confirms selections.
- Up/Down Buttons: Navigation in menus, zoom control.
- 2-inch HD Screen: For live view, playback, and menu navigation.
- MicroSD Card Slot: For storage.
- Micro USB Port: For charging and data transfer.
- HDMI Port: For connecting to external displays.
- Battery Compartment: For battery installation.
3.2 Waterproof Case

Image 3.2: The camera securely housed within its waterproof casing, ready for underwater use.
- Protects the camera from water, dust, and impacts.
- Waterproof up to 30 meters (98 feet).
- Features external buttons to operate the camera while inside the case.
4. Setup
4.1 Battery Installation and Charging
- Open the battery compartment cover on the bottom of the camera.
- Insert a 1350mAh battery, ensuring the correct orientation.
- Close the battery compartment cover securely.
- To charge, insert the battery into the dual charger or connect the camera directly via the Micro USB port to a power source. The indicator light on the charger will show charging status.
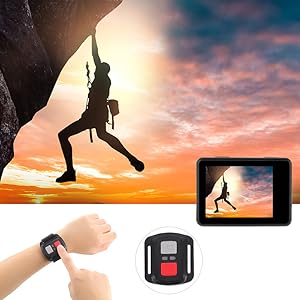
Image 4.1: The dual battery charger with two 1350mAh batteries, providing extended recording time.
4.2 MicroSD Card Installation
A high-speed MicroSD card (Class 10 or UHS-I U3 recommended) is required for recording. The card is not included.
- Locate the MicroSD card slot on the side of the camera.
- Insert the MicroSD card with the gold contacts facing the back of the camera until it clicks into place.
- To remove, gently push the card in until it springs out.
4.3 Using the Waterproof Case
- Ensure the camera is dry and clean before placing it into the waterproof case.
- Open the latch on the top of the waterproof case.
- Carefully insert the camera into the case, ensuring it fits snugly.
- Close the latch firmly to seal the case.
- Before first use in water, perform a leak test with the case empty.

Image 4.2: The camera in its waterproof housing, demonstrating its capability for underwater activities up to 30 meters.
4.4 Attaching Mounts and Accessories
The camera comes with various mounts for different activities. Refer to the accessory diagram for specific attachment methods. Most mounts utilize a standard screw and buckle system.
5. Operating Instructions
5.1 Power On/Off
- Power On: Press and hold the Power/Mode button for 3-5 seconds.
- Power Off: Press and hold the Power/Mode button for 3-5 seconds.
5.2 Mode Switching
After powering on, repeatedly press the Power/Mode button to cycle through the available modes:
- Video Recording Mode
- Photo Mode
- Playback Mode
- Settings Menu
5.3 Recording Video
- Switch to Video Recording Mode.
- Press the Shutter/OK button to start recording. A red indicator light will flash, and a timer will appear on the screen.
- Press the Shutter/OK button again to stop recording. The indicator light will stop flashing.
5.4 Taking Photos
- Switch to Photo Mode.
- Frame your shot using the screen.
- Press the Shutter/OK button to take a photo.

Image 5.1: The 170-degree wide-angle lens captures a broader perspective, ideal for action shots.
5.5 WiFi Connection (X-Sport PRO App)
The camera supports Wi-Fi connectivity for remote control and file transfer via the X-Sport PRO app.
- Download and install the "X-Sport PRO" app on your smartphone (available for iOS and Android).
- On the camera, enter the Settings Menu and enable Wi-Fi. The camera's Wi-Fi name and password will be displayed.
- On your smartphone, go to Wi-Fi settings and connect to the camera's Wi-Fi network.
- Open the X-Sport PRO app. You can now control the camera, view live footage, and download videos/photos.

Image 5.2: Illustrates the Wi-Fi connection feature, allowing users to share moments instantly via a smartphone app.
5.6 Remote Control Usage
The 2.4G wireless remote control allows for convenient operation from a distance.
- Ensure the remote control is paired with the camera (usually automatic upon first use, or refer to camera settings for pairing option).
- Press the video button on the remote to start/stop video recording.
- Press the photo button on the remote to take a photo.

Image 5.3: The wireless remote control, designed for easy operation while the camera is mounted or out of reach.
5.7 Special Shooting Modes
The camera offers various shooting modes to enhance your content:
- Time-lapse Video: Captures frames at set intervals to create a sped-up video.
- Slow Motion: Records at a higher frame rate for smooth slow-motion playback.
- Dash Cam Mode: Functions as a car dashboard camera, often with loop recording.
- Timed Photo: Sets a delay before taking a photo.
- Burst Photo: Takes multiple photos in quick succession.
- Self-Portrait: Optimized for self-capture.
Access and configure these modes through the camera's Settings Menu.
6. Maintenance
6.1 Cleaning
- Use the provided cleaning cloth to wipe the camera lens and screen.
- For the waterproof case, rinse with fresh water after saltwater use and allow it to air dry. Ensure no debris is trapped in the seals.
- Do not use harsh chemicals or abrasive materials.
6.2 Battery Care
- Store batteries in a cool, dry place.
- Avoid fully discharging batteries for extended periods.
- Charge batteries fully before long-term storage.
6.3 Storage
- Store the camera and accessories in the provided carrying bag to protect them from dust and damage.
- Keep away from extreme temperatures and direct sunlight.
7. Troubleshooting
| Problem | Possible Cause | Solution |
|---|---|---|
| Camera does not power on. | Battery is dead or incorrectly inserted. | Charge the battery or reinsert it correctly. |
| Cannot record video/take photos. | No MicroSD card, card full, or card error. | Insert a MicroSD card, delete files, or format the card (backup data first). |
| Wi-Fi connection fails. | Incorrect password, camera Wi-Fi not enabled, or app issue. | Ensure Wi-Fi is enabled on camera, re-enter password, restart camera/phone/app. |
| Remote control not working. | Remote battery low or not paired. | Replace remote battery or re-pair with the camera. |
| Poor video/photo quality. | Dirty lens, low light, or incorrect settings. | Clean the lens, ensure adequate lighting, adjust resolution/settings. |
8. Specifications
| Feature | Specification |
|---|---|
| Brand | Jadfezy |
| Model | J-7000 |
| Video Resolution | 4K (30fps) |
| Photo Resolution | 20 Megapixels (Effective: 12 Megapixels) |
| Lens | 170-degree Wide Angle |
| Screen | 2-inch HD Screen |
| Waterproof Depth | Up to 30 meters (98 feet) with waterproof case |
| Connectivity | Wi-Fi, Micro USB, HDMI |
| Remote Control | 2.4G Wireless Remote |
| Battery | 2 x 1350mAh Lithium-polymer (included) |
| Storage | Micro SD (not included) |
| Dimensions (L x W x H) | 5.84 x 4.06 x 3.05 cm |
| Weight | 621 grams |
| Optical Zoom | 4x Multiplier |
| Image Stabilization | No |
9. Warranty and Support
For warranty information and customer support, please refer to the documentation included with your purchase or contact the seller directly. Specific warranty details are not available in this manual.


