
1. Introduction
This manual provides detailed instructions for the installation, operation, and maintenance of your visiPower ESCAM WNK404 4-Channel WiFi NVR Security Surveillance System. Please read this manual thoroughly before using the product to ensure proper setup and functionality. Keep this manual for future reference.
Safety Precautions:
- Ensure all power connections are secure and correct voltage is used.
- Do not expose the NVR or cameras to extreme temperatures, humidity, or direct water.
- Avoid placing the NVR in poorly ventilated areas.
- Handle components with care to prevent damage.
2. Package Contents
Verify that all items listed below are included in your package:
- 1x 4-Channel WiFi NVR (Network Video Recorder)
- 4x WiFi IP Cameras (3MP)
- 1x NVR Power Adapter (DC12V 2A)
- 4x Camera Power Adapters (DC12V)
- 1x Quick Installation Guide
- 1x USB Mouse
- 4x Screws Packages for camera mounting
- 4x Waterproof Hats for network connections
- 1x 1m Network Cable

Image 2.1: Contents of the visiPower ESCAM WNK404 security system package, including the NVR, four cameras, power adapters, mouse, and accessories.
3. Product Overview
3.1. NVR (Network Video Recorder)
The NVR is the central unit for recording and managing video footage from the wireless IP cameras. It features dual antennas for stable WiFi signal and various ports for connectivity.

Image 3.1: The visiPower ESCAM WNK404 NVR with four connected wireless IP cameras.
NVR Rear Panel Ports:

Image 3.2: Detailed view of the NVR's rear panel, showing the VGA Port, HDMI Port, RJ45 Port, USB Port, and Power Port.
- VGA Port: Connect to a monitor or display via VGA cable.
- HDMI Port: Connect to a monitor or TV via HDMI cable for high-definition output.
- RJ45 Port: Connect to your router for internet access and remote viewing.
- USB Port: Connect the included USB mouse for NVR control, or a USB drive for backup.
- Power Port: Connect the NVR power adapter.
3.2. WiFi IP Cameras
The system includes four 3MP wireless IP cameras designed for home and outdoor surveillance. They feature a 3.6mm lens and IR LEDs for night vision.

Image 3.3: Close-up view of a WiFi IP camera, highlighting the 6pcs Array IR LEDs, 3.6mm Lens, ESCAM logo, and metal housing.
- Antenna: For wireless connection to the NVR.
- 3.6mm Lens: Provides a wide angle of view for surveillance.
- 6pcs Array IR LEDs: Enables infrared night vision.
- Metal Housing: Durable and weather-resistant (IP66 rated).
4. Setup Guide
The ESCAM WNK404 system is designed for easy plug-and-play setup. No complex WiFi pairing is required between the cameras and the NVR.
4.1. Initial Connection
- Connect NVR to Power: Plug the NVR power adapter into the NVR's power port and then into an electrical outlet.
- Connect Cameras to Power: Plug each camera's power adapter into the camera and then into an electrical outlet.
- Connect NVR to Monitor: Use an HDMI or VGA cable to connect the NVR to a monitor or TV.
- Connect USB Mouse: Plug the USB mouse into the NVR's USB port.
- Power On: The system will automatically power on. The cameras will automatically connect to the NVR, and images should appear on the monitor within minutes.

Image 4.1: Diagram illustrating the local surveillance setup, showing connections for the NVR, cameras, power, monitor, and mouse.
4.2. Network Connection for Remote Access
To enable remote viewing via smartphone or PC, connect the NVR to your home network:
- Connect NVR to Router: Use the included 1m network cable to connect the NVR's RJ45 port to an available LAN port on your internet router.
- Verify Network Status: On the NVR's monitor interface, navigate to the network settings to confirm the NVR has obtained an IP address.

Image 4.2: Illustration of the NVR's WiFi range, showing stable signal transmission up to 50 meters in open areas.
5. Operation
5.1. Local Viewing and Control
Once connected to a monitor, you can use the USB mouse to navigate the NVR's interface. This allows you to:
- View live camera feeds.
- Access recorded footage.
- Configure system settings (e.g., recording schedules, motion detection zones).
- Perform video backups (requires an installed HDD, not included).
5.2. Remote Access (EseeCloud App)
For remote viewing on your smartphone or PC:
- Download App: Download the "EseeCloud" app from your mobile device's app store (iOS/Android) or the PC client software from the visiPower website.
- Register Account: Create an account within the EseeCloud app.
- Add Device: Scan the QR code displayed on the NVR's monitor (usually found in the network settings or device info) or manually enter the NVR's ID to add it to your account.
- View Live Feed: Once added, you can view live camera feeds, playback recordings, and receive alarm notifications from anywhere with an internet connection.
5.3. Key Features
- 3MP High Definition: Cameras provide clear 2304*1296 resolution video.
- IR Night Vision: Built-in 6pcs Array IR LEDs automatically switch to night mode, providing clear images up to 50 ft in low light conditions.

Image 5.1: Illustration demonstrating the system's automatic day/night vision capability with IR LEDs for clear nighttime surveillance.
- Motion Detection: The system supports motion detection, triggering alarms and sending notifications (E-Mail/FTP) when movement is detected.
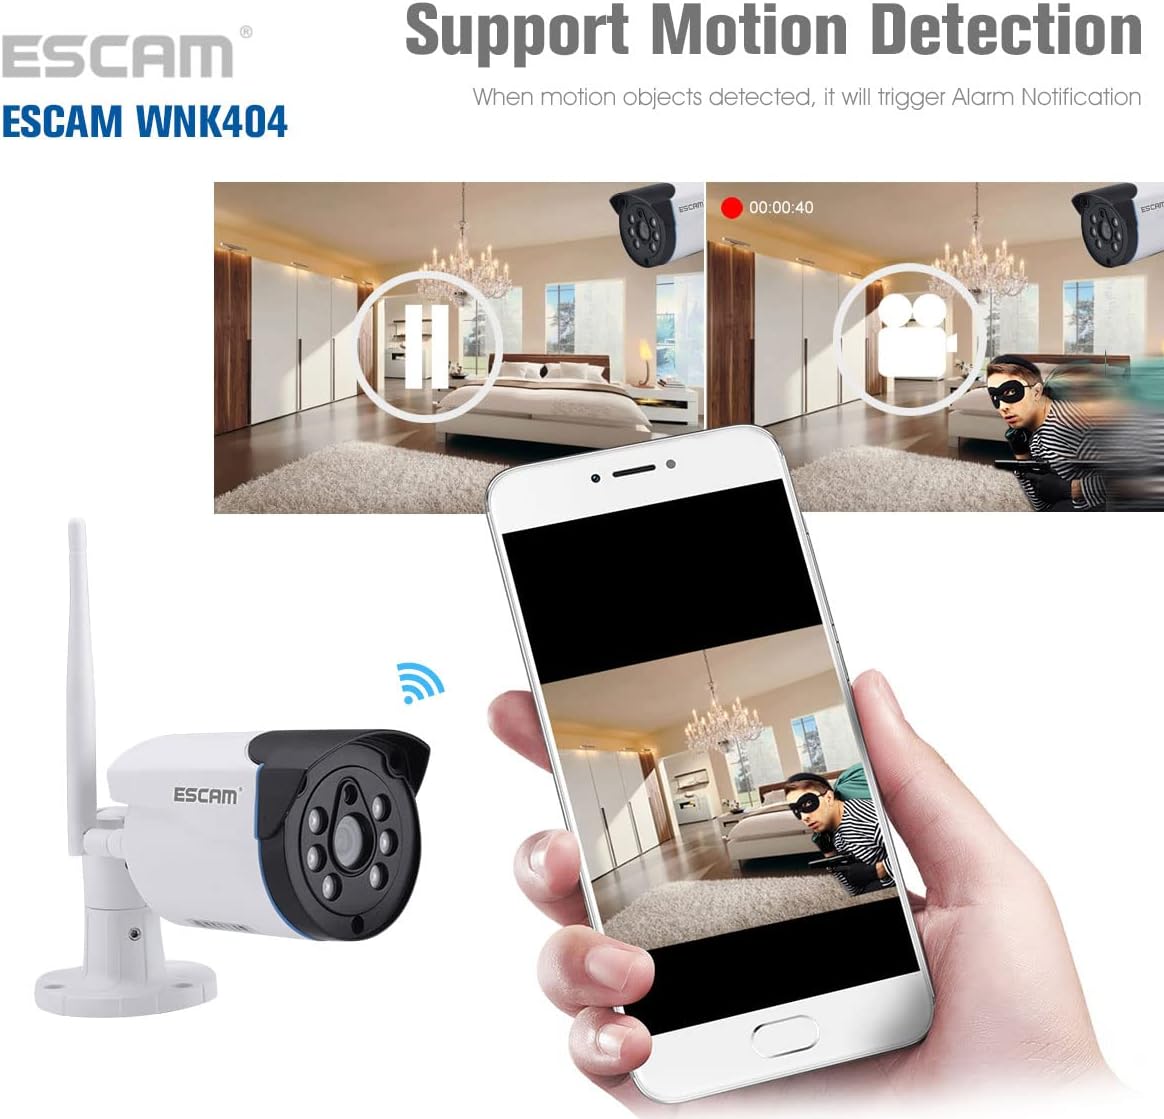
Image 5.2: Screenshot showing the motion detection feature in action, with an alert notification on a smartphone.
- H.265 Video Compression: Efficient compression technology saves storage space while maintaining video quality.
- IP66 Weatherproof Cameras: Suitable for outdoor installation, resistant to dust and water.
6. Specifications
6.1. Camera Parameters
| Feature | Specification |
|---|---|
| Image Sensor | 1/4" CMOS |
| Pixels | 2304*1296 (3MP) |
| Lens | 3.6mm |
| Angle of View | Horizontal: 70°, Vertical: 58° |
| Day/Night Mode | Auto Switch |
| Min. Illumination | 0.1Lux/F1.2 (Color);0.01Lux/F1.2 (B/W) |
| IR Distance | 50 ft |
| Video Compression | H.265 |
| Resolution | Main Stream: 2304*1296; Sub Stream: 1920*1080, 1280*720, 640*480 |
| Bit Rate | 64 Kbps~4Mbps |
| Frame Rate | 15fps |
| Audio Interface | Not supported |
| Network Interface | One 10M/100Mbps RJ45 |
| WIFI | 802.11b/g/n, 2.4Ghz Only |
| Network Protocol | TCP/IP, RTSP, SMTP, NTP, DHCP, DNS, DDNS, P2P |
| OS Supported | PC: Windows; Smart Phone: iOS, Android |
| Power Supply | DC12V |
| Power Consumption | <6W |
| Ingress Protection | IP66 |
6.2. NVR Parameters
| Feature | Specification |
|---|---|
| Operating System | Embedded Linux OS |
| Video Input | 4 x WIFI IP Camera |
| Audio Input | Not supported |
| VGA Output | 1024*768, 1280*1024, 1440*900, 1920*1080 (1080P) |
| HDMI Output | 1024*768, 1280*1024, 1440*900, 1920*1080 (1080P) |
| Audio Output | Not supported |
| Playback Resolution | 1080P/720P |
| Synchronous Playback | 4 Channel |
| HDD Interface Type | 1 SATA Interface |
| Maximum Capacity | 4TB (HDD not included) |
| USB Connector | 1x USB 2.0 |
| Network Interface | 10M/100M Ethernet RJ45 port |
| Network Protocol | TCP/IP, RTSP, SMTP, NTP, DHCP, DNS, DDNS, P2P |
| Mobile Device Support | iPhone, Android Smartphones |
| Remote Software | App, PC Client (Windows) |
| Power Supply | Input 110~260V, 12V 2A |
| Consumption | <6W (Without HDD) |
7. Troubleshooting
- No Image on Monitor:
- Check if the NVR and monitor are powered on.
- Verify HDMI/VGA cable connections are secure.
- Ensure the correct input source is selected on your monitor.
- Cameras Not Displaying:
- Ensure all cameras are powered on.
- Check if cameras are within the NVR's WiFi range (up to 50m in open areas).
- Restart the NVR and cameras.
- No Remote Access:
- Confirm the NVR is connected to your router via Ethernet cable.
- Check your internet connection.
- Ensure the EseeCloud app is correctly configured and the NVR is added.
- Verify NVR network settings for a valid IP address.
- Poor Night Vision:
- Ensure the camera lens is clean and free from obstructions.
- Check for strong light sources near the camera that might interfere with IR illumination.
8. Maintenance
- Cleaning: Use a soft, dry cloth to clean the NVR and camera lenses. Do not use liquid cleaners directly on components.
- Firmware Updates: Periodically check the visiPower website or EseeCloud app for firmware updates to ensure optimal performance and security.
- Storage: If storing the system for an extended period, disconnect power and store in a cool, dry place.
9. Warranty and Support
For warranty information and technical support, please refer to the official visiPower website or contact their customer service. You can also visit the visiPower Store on Amazon for additional resources.