
Introduction
This manual provides comprehensive instructions for setting up and operating your LEMNOI 7-inch LCD Digital Calendar Clock. This device is designed to display time, date, and day clearly, with features like auto-dimming and multiple alarm settings, making it suitable for various users, including the elderly and children.

Image: The LEMNOI 7-inch LCD Digital Calendar Clock displaying the time and date in a clear, large font.
Package Contents
Please check the package for the following items:
- 1x LEMNOI 7-inch Digital Calendar Clock
- 1x Power Adapter (DC5V/12A)
- 1x User Manual
Product Features
- 7-inch HD Display: High-resolution 1024*600 screen with clear, bold text.
- Multiple Day Periods: Displays Morning, Afternoon, Evening, Night, and Predawn.
- Up to 8 Alarms: Includes 3 daily meal/medication reminders and 5 customizable alarms.
- Auto Dimming: Automatically adjusts screen brightness at 7:00 AM and 7:00 PM. This feature can be disabled.
- Time Memory: Retains time settings automatically even when unplugged, restoring correct time upon power reconnection.
- 8 Language Support: English, French, Italian, German, Spanish, Dutch, Welsh, Polish.
- Versatile Placement: Can be used as a table clock, bedside clock, or wall-mounted clock.
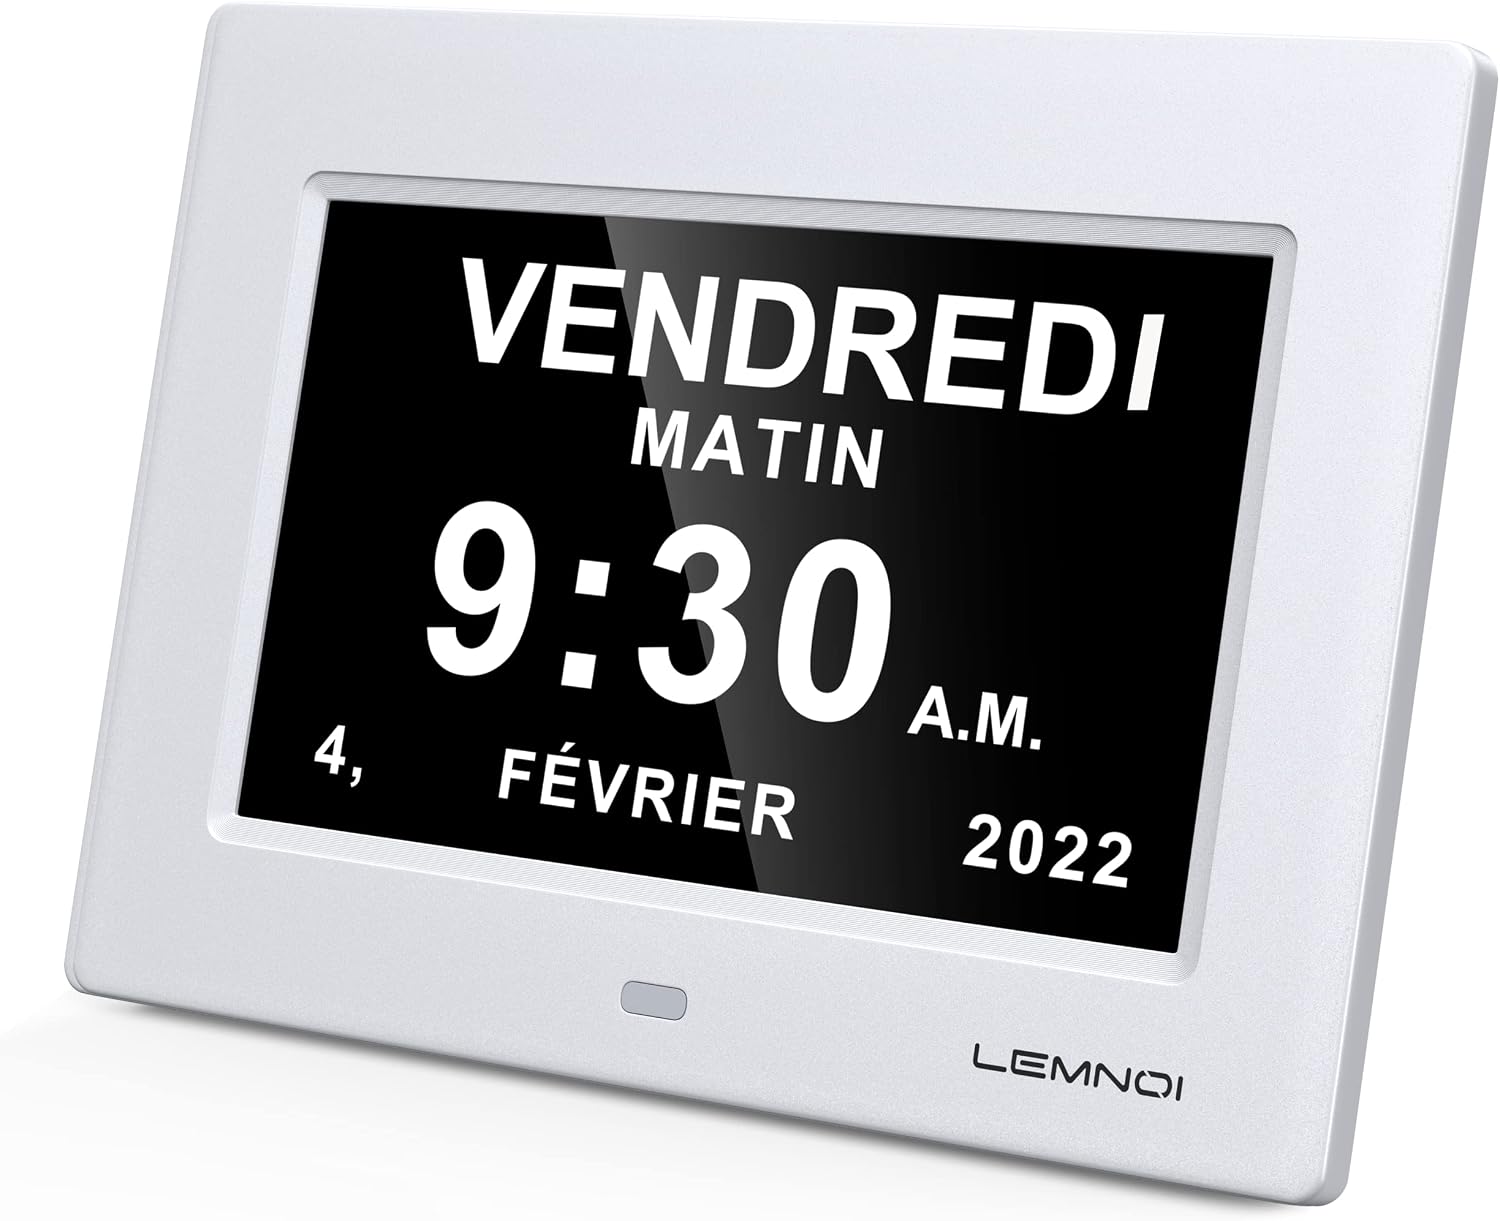
Image: The clock supports 8 languages, indicated by flags.
Setup
- Unpack: Carefully remove the clock and all accessories from the packaging.
- Power Connection: Connect the provided power adapter to the DC5V port on the back of the clock. Plug the adapter into a standard electrical outlet.
- Initial Power On: The clock will power on automatically and display the default time and date.
- Placement: Place the clock on a flat surface or mount it on a wall using the integrated mounting holes (mounting hardware not included).
Operating Instructions
Basic Navigation
The clock features control buttons, typically located on the back or side, for navigating menus and adjusting settings. Refer to the specific button labels on your device.
Setting Time and Date
- Access the settings menu (usually by pressing a "Menu" or "Set" button).
- Navigate to "Time Setting" or "Date Setting".
- Use the Up/Down buttons to adjust the hour, minute, day, month, and year.
- Confirm each selection by pressing the "Enter" or "OK" button.
- Exit the menu to save changes.
Setting Alarms
The clock supports up to 8 alarms, including pre-set medication reminders and customizable alarms.

Image: The alarm settings interface, showing options for medication reminders and custom alarms.
- Enter the "Alarm Settings" menu.
- Select the alarm you wish to set (e.g., "Morning Medication Reminder" or "Alarm 01").
- Adjust the alarm time using the Up/Down buttons.
- Choose the alarm frequency (e.g., daily, weekdays, weekends).
- Enable or disable the alarm.
- Save your settings and exit the menu.
The clock can display visual reminders for medication times, such as "TIME TO TAKE MORNING MEDICINE".

Image: Visual reminders for medication times on the clock display.
Language Settings
- Navigate to the "Language" option in the settings menu.
- Select your preferred language from the available options (English, French, Italian, German, Spanish, Dutch, Welsh, Polish).
- Confirm your selection.
Auto Dimming Function
The clock automatically dims at 7:00 PM and brightens at 7:00 AM. To adjust or disable this feature:
- Go to the "Display Settings" or "Brightness" menu.
- You can choose to enable/disable auto-dimming or set a constant brightness level.
Time Mode (12/24 Hour) and Date Mode
- In the settings menu, locate "Time Format" to switch between 12-hour and 24-hour display modes.
- Find "Date Format" to choose between Month/Date/Year or Date/Month/Year display options.
Maintenance
- Cleaning: Use a soft, dry cloth to clean the screen and casing. Avoid abrasive cleaners or solvents.
- Power: Ensure the clock is always connected to a stable power source. Although it has a time memory function, continuous power is required for operation.
- Environment: Keep the clock away from extreme temperatures, direct sunlight, and high humidity.
Troubleshooting
| Problem | Possible Cause | Solution |
|---|---|---|
| Clock does not turn on. | No power supply. | Check if the power adapter is securely plugged into the clock and the wall outlet. Ensure the outlet is functional. |
| Display is too dim or too bright. | Auto-dimming enabled or brightness settings incorrect. | Adjust brightness settings in the "Display Settings" menu. Disable auto-dimming if a constant brightness is desired. |
| Time/Date is incorrect. | Incorrect settings. | Follow the "Setting Time and Date" instructions to correct the settings. |
| Alarms are not sounding. | Alarm disabled or volume too low. | Check alarm settings to ensure they are enabled and set to the correct time. Verify volume settings if applicable. |
Specifications
| Feature | Detail |
|---|---|
| Display | 7-inch LCD |
| Resolution | 1024*600 |
| Brightness | 350cd/m2 |
| Input | DC5V/12A |
| Time Mode | 12-hour / 24-hour |
| Calendar Mode | Month/Date/Year or Date/Month/Year |
| Product Weight | 0.5 kg (290 Grams) |
| Product Dimensions | 20.4 x 14.3 x 2.3 cm (14.3l x 2.3H centimeters) |
| Screen Size | 15.4 x 8.7 cm (17.8 Centimeters diagonal) |
| Material | Plastic |
| Special Features | Temperature Display, Daylight Saving Time, Adjustable Brightness, Automatic Dimmer |
| Power Source | Corded Electric |
| Mounting Type | Table Mount |
| Alarm Clock | Yes |
| Number of Batteries | 1 CR123A (for memory, not included for operation) |

Image: Product dimensions of the LEMNOI 7-inch LCD Digital Calendar Clock.
Warranty and Support
For warranty information or technical support, please refer to the contact details provided with your purchase or visit the official LEMNOI website. Keep your purchase receipt for warranty claims.
