
WORKSITE Fast Charger
WORKSITE Fast Charger Instruction Manual
Model: Fast Charger
Introduction
This manual provides essential instructions for the safe and efficient operation of your WORKSITE Fast Charger. This charger is designed exclusively for WORKSITE 20V MAX Lithium-ion Batteries (2.0A and 4.0A models). Please read this manual thoroughly before first use and retain it for future reference.
Important Safety Instructions
WARNING: To reduce the risk of injury, always follow basic safety precautions when using electrical appliances.
- Read all instructions before using the charger.
- Do not charge any battery other than WORKSITE 20V MAX Lithium-ion batteries. Other batteries may burst, causing personal injury and damage.
- Do not expose the charger to rain or wet conditions. Water entering the charger will increase the risk of electric shock.
- Use only WORKSITE recommended accessories. Use of any other accessory may result in a risk of fire, electric shock, or injury.
- Do not abuse the cord. Never carry the charger by the cord or yank it to disconnect from an outlet.
- Do not operate the charger if it has received a sharp blow, been dropped, or otherwise damaged.
- Do not disassemble the charger. Take it to a qualified service person when service or repair is required.
- Unplug the charger from the outlet before attempting any maintenance or cleaning.
- This charger is intended for indoor use only.
Package Contents
- WORKSITE Fast Charger (Model: Fast Charger)
- Instruction Manual
Setup
- Unpack the Charger: Carefully remove the WORKSITE Fast Charger from its packaging. Inspect for any damage.
- Power Connection: Plug the charger's power cord into a standard 120V AC electrical outlet. The charger is designed for 120 Volts input.
- Placement: Place the charger on a stable, flat surface in a well-ventilated area, away from direct sunlight and moisture.

Image: The WORKSITE Fast Charger connected to a power outlet with a battery in the charging slot.
Operating Instructions
- Insert Battery: Align the WORKSITE 20V MAX Lithium-ion battery with the charging slot on the charger. Slide the battery firmly into place until it clicks.
- Monitor Charging Status: The charger features LED indicators to communicate the battery's charge status. Refer to the "LED Indicators" section for detailed information.
- Charging Time: Charging time varies depending on the battery's capacity (2.0A or 4.0A) and its current charge level. The fast charger is designed to charge batteries efficiently.
- Remove Battery: Once the battery is fully charged (indicated by the LEDs), press the battery release button (if present) and slide the battery out of the charger.

Image: The WORKSITE Fast Charger shown with examples of compatible 2.0A and 4.0A WORKSITE Lithium-ion batteries.
LED Indicators
The WORKSITE Fast Charger is equipped with LED indicators to provide real-time feedback on the battery's charging status and any potential issues.
| Indicator Light | Status | Description |
|---|---|---|
| Solid Green | Fully Charged | The battery is fully charged and ready for use. |
| Flashing Green | Charging | The battery is currently charging. |
| Solid Red | Battery Error / Temperature Issue | Indicates a battery fault or that the battery temperature is too hot or too cold for charging. Remove the battery and allow it to reach room temperature before re-inserting. If the error persists, the battery may be defective. |
| Flashing Red | Charger Error | Indicates a fault with the charger. Disconnect from power and contact customer support if the issue persists. |

Image: Close-up of the WORKSITE Fast Charger displaying its LED indicator lights, which communicate battery charge status.
Maintenance
- Cleaning: Disconnect the charger from the power outlet before cleaning. Use a dry, soft cloth to wipe the exterior of the charger. Do not use water or chemical cleaners.
- Storage: Store the charger in a cool, dry place when not in use. Avoid storing it in areas with extreme temperatures or high humidity.
- Cord Care: Regularly inspect the power cord for any damage. If the cord is damaged, do not use the charger and have it replaced by a qualified technician.
Troubleshooting
| Problem | Possible Cause | Solution |
|---|---|---|
| Charger not working / No LED indication | No power to the charger. | Ensure the charger is securely plugged into a working 120V AC outlet. Check the outlet with another device. |
| Red LED is solid | Battery error or temperature issue. | Remove the battery and allow it to cool down or warm up to room temperature (approximately 68°F / 20°C). Re-insert the battery. If the issue persists, the battery may be faulty. |
| Red LED is flashing | Charger error. | Unplug the charger from the power outlet for a few minutes, then plug it back in. If the flashing red light continues, the charger may be faulty and require service. |
| Battery not charging fully | Battery is old or damaged. | Test with another known good battery. If other batteries charge correctly, the original battery may need replacement. |

Image: The WORKSITE Fast Charger highlighting its built-in over-voltage and over-current protection features.
Specifications
| Feature | Detail |
|---|---|
| Model | Fast Charger |
| Brand | WORKSITE |
| Input Voltage | 120 Volts AC |
| Output Voltage | 20 Volts DC |
| Compatible Batteries | WORKSITE 20V MAX Lithium-ion (2.0A, 4.0A) |
| Certifications | CE, FCC, UL |
| Item Weight | 15.8 ounces (approx. 448 grams) |
| Package Dimensions | 6.97 x 4.06 x 3.03 inches |
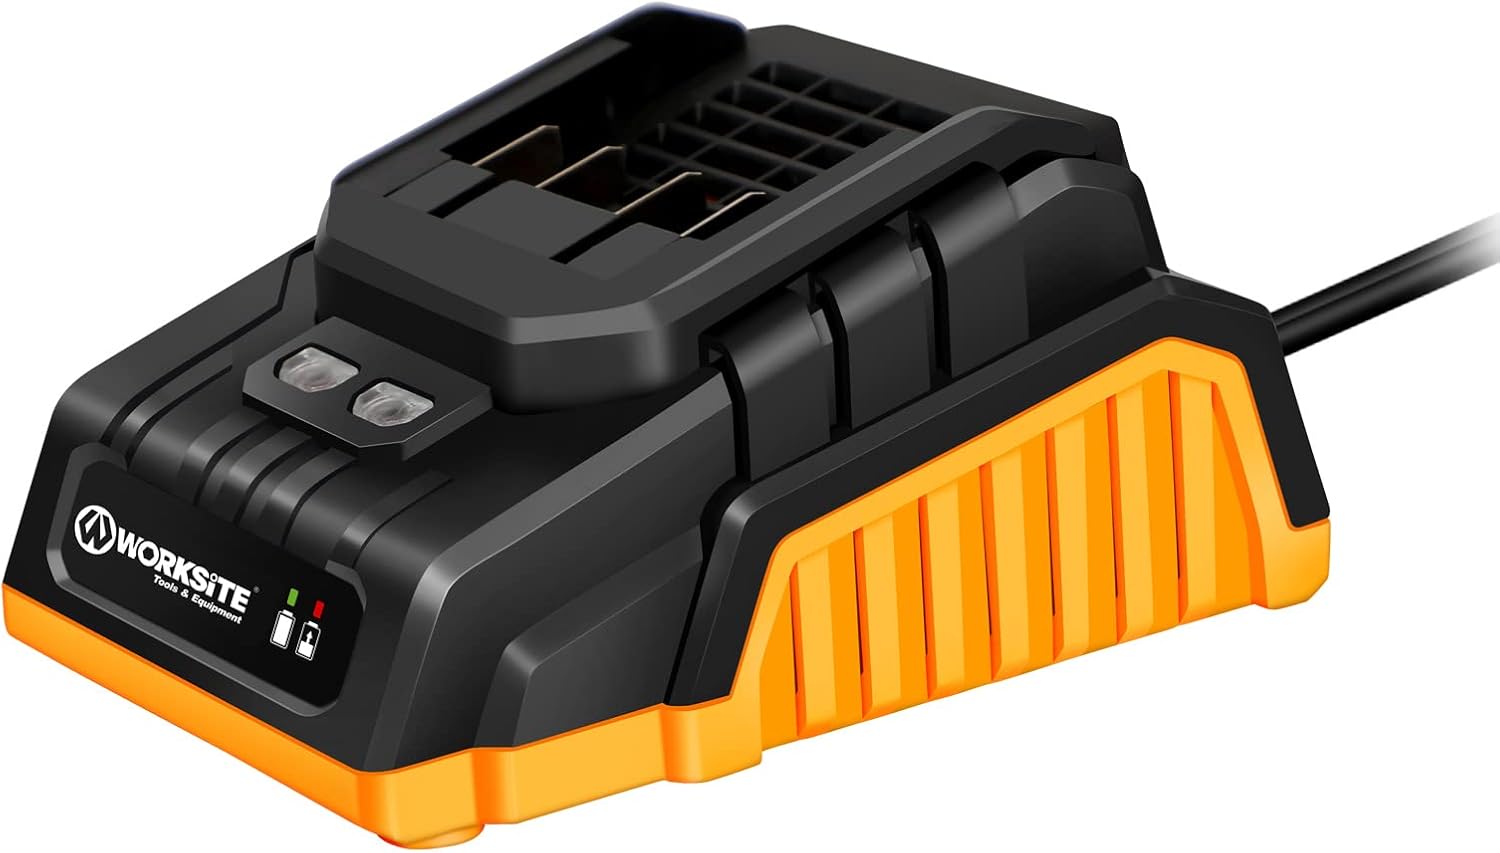
Image: The WORKSITE Fast Charger, a compact and efficient charging unit.
Warranty and Support
For warranty information or technical support, please refer to the documentation included with your original product purchase or visit the official WORKSITE website. You may also contact WORKSITE customer service directly for assistance.
Manufacturer: WORKSITE
Date First Available: January 5, 2022
Ask a question about this manual
Ask about setup, troubleshooting, compatibility, parts, safety, or missing instructions. Manuals+ will review the question and use this page’s manual context to help answer it.