1. Introduction
This manual provides detailed instructions for the proper use, setup, and maintenance of your JRHC 2D Portable Barcode Scanner, Model 1103. Please read this manual thoroughly before operating the device to ensure optimal performance and longevity.
2. Safety Information
- Do not expose the scanner to extreme temperatures, humidity, or corrosive substances.
- Avoid dropping the device from heights exceeding 1.5 meters to prevent damage.
- Do not attempt to disassemble or modify the scanner, as this will void the warranty and may cause damage.
- Keep the scanning window clean to ensure accurate barcode reading.
3. Package Contents
Verify that all items are present in the package:
- JRHC 2D Portable Barcode Scanner (Model 1103)
- USB Charging/Data Cable
- 2.4G Wireless Receiver
- User Manual (this document)
4. Product Overview
The JRHC 2D Portable Barcode Scanner is a versatile device designed for efficient barcode and QR code scanning. It features a 1.8-inch TFT color LCD screen for real-time data display and supports both 1D and 2D barcode types.

Image: The JRHC 2D Portable Barcode Scanner being used to scan a QR code displayed on a smartphone, demonstrating its 1D and 2D scanning capabilities.
Key Features:
- Smart Screen Display: 1.8-inch TFT color LCD screen shows barcode content, type, quantity, length, remaining power, and transmission status.
- 2-in-1 Connection: Supports 2.4G wireless and USB wired connections.
- Wide Compatibility: Compatible with Windows XP/7/8/10, Linux, POS systems, and office software like Excel/Word/TXT.
- 1D & 2D Scanning: Capable of scanning UPC/EAN, Code39, Interleaved 2 of 5, Code93, Code 128, Codabar, Industry25, Matrix25, QRcode, Data Matrix, and PDF417.
- Durable Design: Able to withstand drops from up to 1.5 meters.
5. Setup
5.1 Charging the Scanner
Before first use, fully charge the scanner. Connect the USB charging cable to the scanner's charging port and to a power source (e.g., computer USB port or USB wall adapter). The 1800mAh battery provides up to 30 hours of continuous work when fully charged.
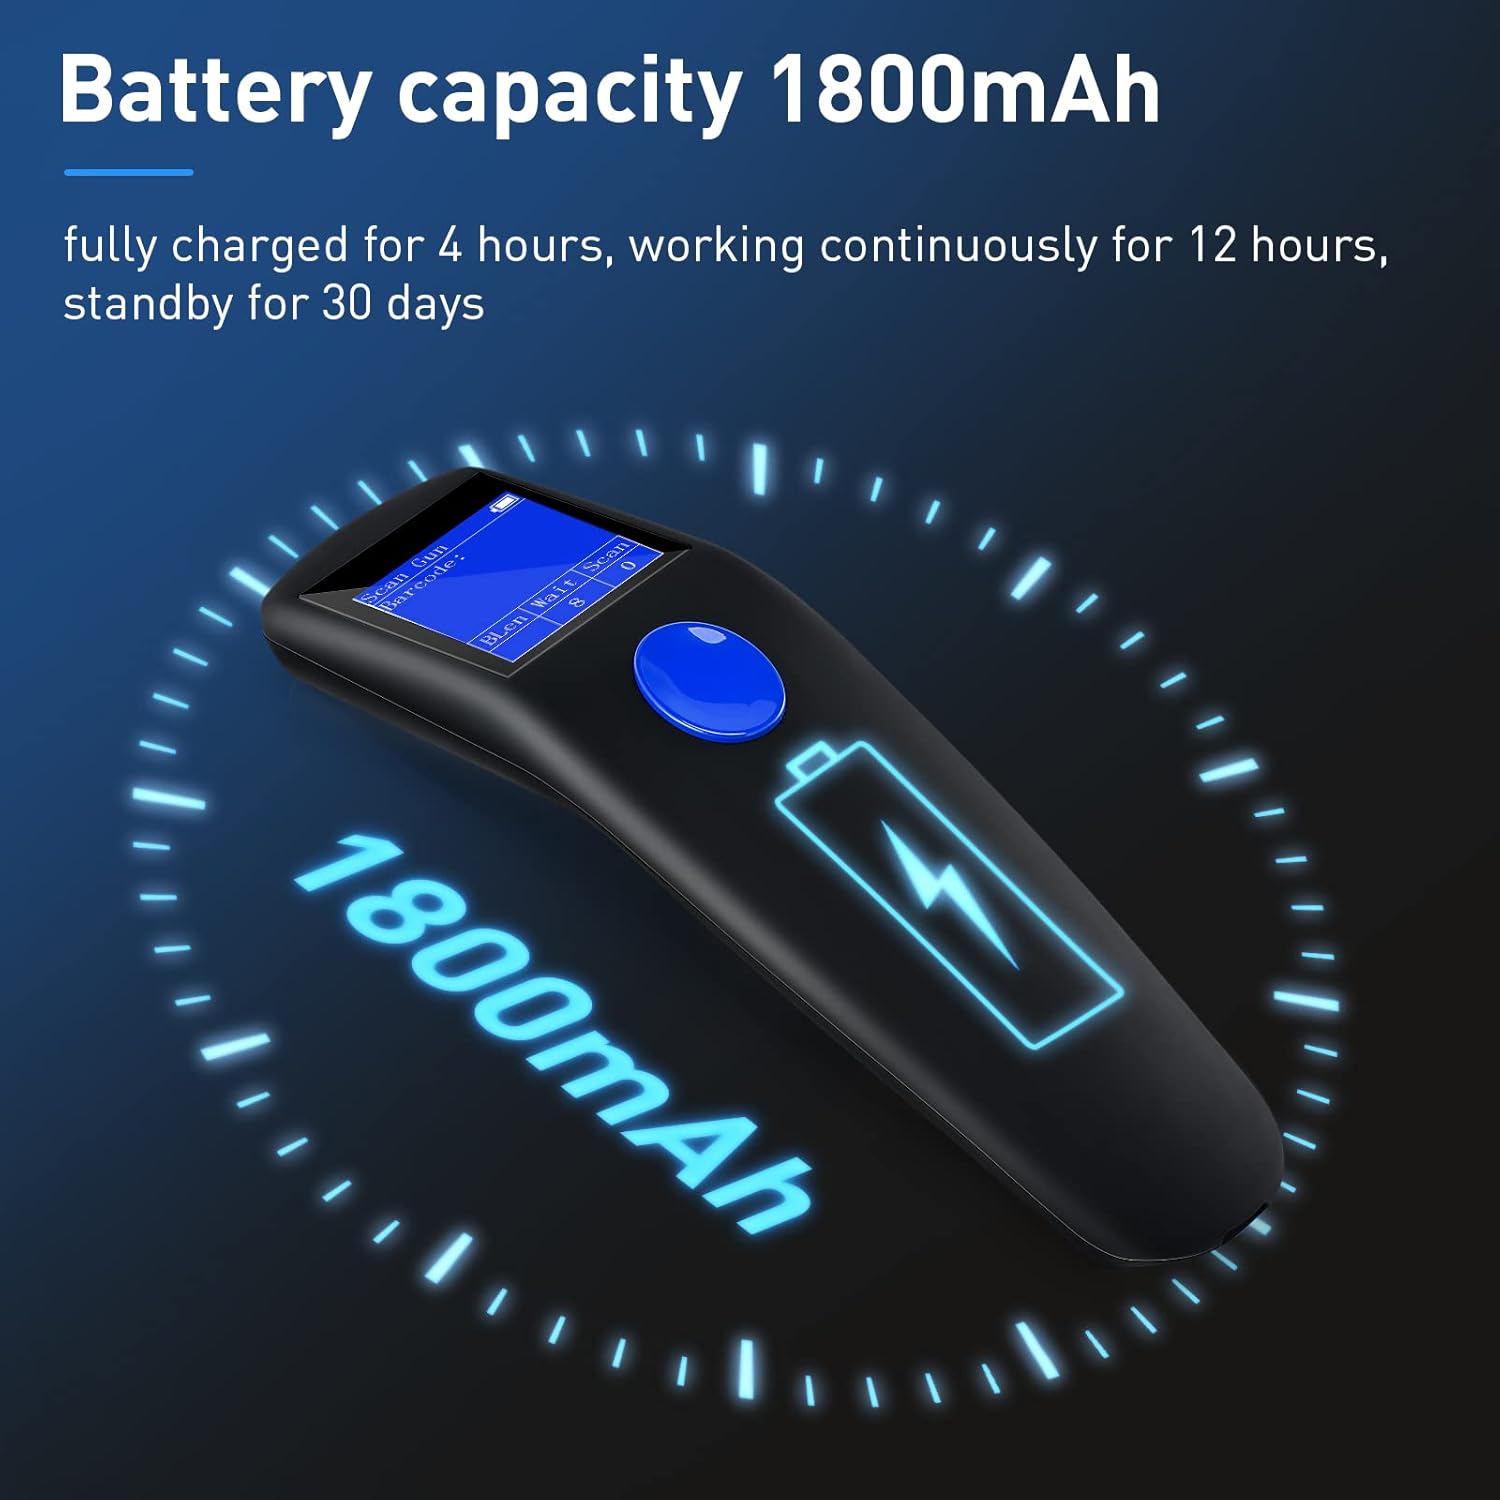
Image: Visual representation of the scanner's 1800mAh battery capacity, highlighting its long-lasting power.

Image: Charging and usage duration details for the scanner's battery.
5.2 Connecting the Scanner
The scanner supports two connection methods:
5.2.1 2.4G Wireless Connection
- Plug the 2.4G wireless receiver into an available USB port on your computer (PC or laptop).
- Turn on the scanner. It will automatically connect to the receiver.
- The scanner can achieve a transmission distance of up to 150m (492ft) in unobstructed environments and 50m (164ft) with obstacles.

Image: Wireless range capabilities of the scanner, showing performance with and without obstructions.
5.2.2 USB Wired Connection
- Connect the scanner directly to your computer using the provided USB cable.
- The scanner will function as a wired device, and data will be transmitted directly.
5.3 Device Compatibility
The scanner is compatible with various operating systems and devices:
- Operating Systems: Windows XP/7/8/10, Linux, POS systems.
- Software: OFFICE EXCEL/WORD/TXT, and other editable software.
- Compatible Devices: PC, Laptop.
- Incompatible Devices: Tablets, Mobile Phones.

Image: Visual guide to compatible and incompatible devices for the scanner.
6. Operating Instructions
6.1 Basic Scanning
To scan a barcode or QR code:
- Ensure the scanner is powered on and connected to your device.
- Point the scanner's window at the barcode or QR code.
- Press the trigger button. A successful scan will typically be indicated by a beep and the data appearing on the screen or your connected device.

Image: Examples of 2D barcodes on paper and screen that the scanner can read.
6.2 Understanding the Screen Display
The 1.8-inch TFT color LCD screen provides real-time information:
- Barcode: Displays the content of the last scanned barcode.
- BLen: Indicates the length of the barcode data.
- Wait: Shows the number of barcodes waiting to be uploaded to the connected device.
- Scan: Displays the total number of barcodes scanned since the last reset.
- Battery Icon: Shows the remaining battery level. A red prompt will appear when 20% power remains, indicating it's time to charge.

Image: Detailed introduction to the scanner's screen display and its various indicators.
6.3 Adjusting Settings
The scanner's settings can be configured by scanning specific barcodes found in the supplementary documentation (often a separate settings sheet). These settings include:
- System Language: Change the display language (e.g., English).
- Auto Shutdown: Set the idle time before the scanner automatically powers off (e.g., 5 minutes, 10 minutes, 30 minutes, or never).
- Volume Settings: Adjust the sound level of the scanner's feedback.

Image: Demonstrating how to configure scanner settings by scanning specific barcodes.
7. Maintenance
7.1 Cleaning the Scanner
To maintain optimal scanning performance, regularly clean the scanner's window and exterior:
- Use a soft, lint-free cloth slightly dampened with water or a mild cleaning solution.
- Do not use abrasive cleaners, alcohol, or solvents, as these can damage the device.
- Ensure no liquid enters the scanner's internal components.
7.2 Battery Care
- Charge the battery fully before long periods of storage.
- Avoid completely draining the battery frequently, as this can reduce its lifespan.
- Store the scanner in a cool, dry place when not in use.
8. Troubleshooting
If you encounter issues with your scanner, refer to the following common problems and solutions:
| Problem | Possible Cause | Solution |
|---|---|---|
| Scanner does not power on. | Low battery. | Charge the scanner for at least 4 hours. |
| Cannot scan barcodes. | Scanning window is dirty; Barcode is damaged or poorly printed; Incorrect barcode type. | Clean the scanning window; Try scanning a different barcode; Ensure the scanner is configured for the barcode type. |
| No data transmitted to computer (wireless). | Receiver not plugged in; Out of range; Interference. | Ensure 2.4G receiver is securely plugged in; Move closer to the receiver; Avoid sources of strong electromagnetic interference. |
| Data transfers immediately upon USB connection. | This is expected behavior for offline scanned data. | Ensure your receiving software is ready before connecting the scanner via USB after offline scanning. |
8.1 Factory Reset
If the scanner is not functioning correctly, a factory reset may resolve the issue. Refer to the supplementary settings barcode sheet for the specific 'Factory Reset' barcode. Scanning this barcode will restore the scanner to its default settings.
9. Specifications
| Feature | Specification |
|---|---|
| Model | 1103 |
| Connectivity | USB, 2.4G Wireless |
| Battery Capacity | 1800mAh Lithium Polymer |
| Working Time (Full Charge) | Up to 30 hours |
| Wireless Transmission Distance (Unobstructed) | 150m (492ft) |
| Wireless Transmission Distance (With Obstacles) | 50m (164ft) |
| Display | 1.8-inch TFT Color LCD |
| Scan Capabilities | 1D (UPC/EAN, Code39, Interleaved 2 of 5, Code93, Code 128, Codabar, Industry25, Matrix25), 2D (QRcode, Data Matrix, PDF417) |
| Drop Resistance | 1.5m |
| Product Dimensions | 17 x 5 x 2.5 cm |
| Product Weight | 249 g |
10. Warranty and Support
10.1 Warranty Information
JRHC products are manufactured to high-quality standards. For specific warranty terms and conditions, please refer to the warranty card included with your purchase or contact JRHC customer support. The warranty typically covers manufacturing defects under normal use.
10.2 Customer Support
If you require further assistance, technical support, or have questions not covered in this manual, please contact JRHC customer service through the retailer where you purchased the product or visit the official JRHC website for contact information.