
1. Introduction
This manual provides detailed instructions for the safe and efficient operation, setup, and maintenance of your U.S. Solid Automatic Label Rewinder Machine, Model USS-LRW00010. Please read this manual thoroughly before using the device to ensure proper function and to prevent damage.
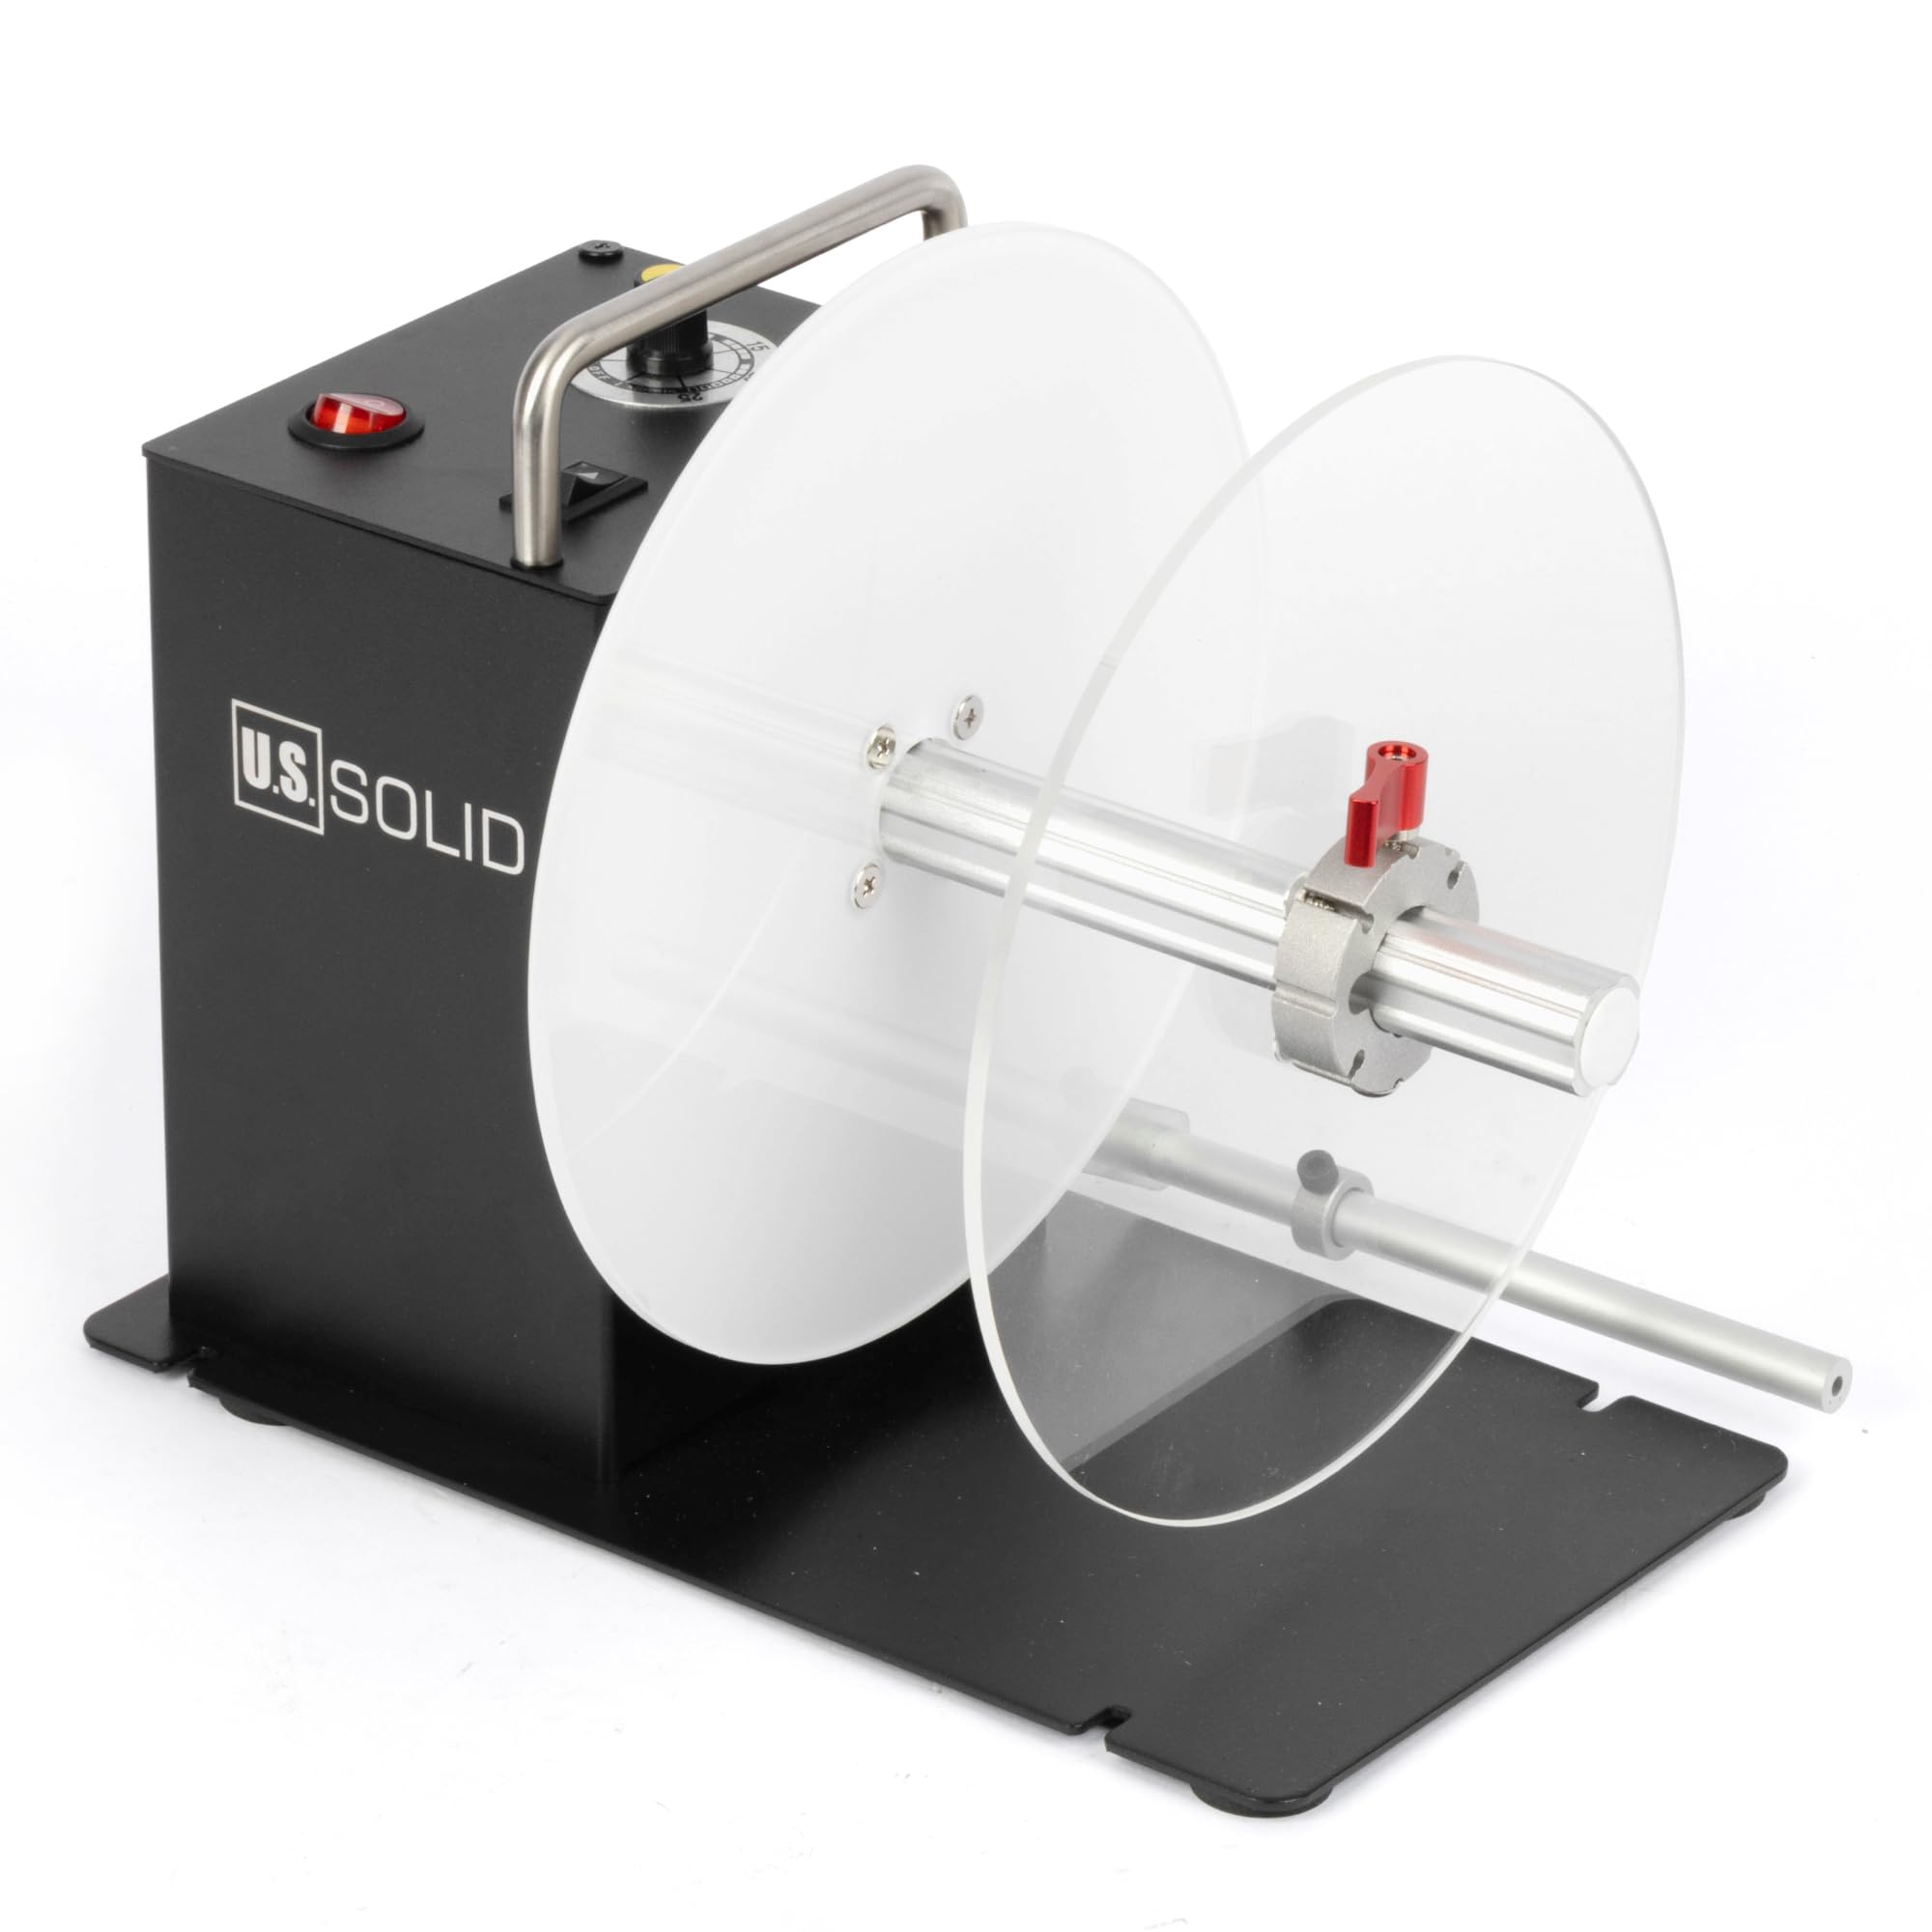
Figure 1: U.S. Solid Automatic Label Rewinder Machine (Model USS-LRW00010)
2. Safety Information
Always observe the following safety precautions to reduce the risk of injury or damage to the machine:
- Ensure the power supply matches the machine's requirements (AC 100V-240V, 50/60Hz).
- Do not operate the machine with wet hands or in damp environments.
- Keep hands and loose clothing away from moving parts during operation.
- Unplug the machine before cleaning or performing any maintenance.
- Place the machine on a stable, level surface.
3. Package Contents
Verify that all items are present in the package:
- Label rewinder machine
- Power supply
- U pin (25mm core holder)
- 1.57" (40mm) core holder
- 3" (76mm) core holder
- L-shaped rod
- Stop lever

Figure 2: Included components: Label rewinder, power supply, various core holders, L-shaped rod, and stop lever.
4. Product Overview
Familiarize yourself with the main parts of the label rewinder.

Figure 3: Rear view of the rewinder, highlighting the power switch, speed control knob, and direction switch.

Figure 4: Front view of the rewinder with a label roll mounted on the core holder.

Figure 5: External dimensions of the label rewinder, including height, width, and depth measurements.
5. Setup
5.1 Installing Core Holders
The rewinder supports 1-inch (25mm), 1.5-inch (40mm), and 3-inch (76mm) core holders. Select the appropriate core holder for your label rolls.
- Slide the desired core holder onto the rewinding shaft.
- Ensure it is securely in place. The core holders are designed for easy installation and removal without tools.

Figure 6: Various core holder sizes (76mm, 40mm, 25mm) and their installation methods.
5.2 Using Flange Plates and Stop Lever
The dual flange plates guide the outer edge of labels, ensuring an even roll, especially for smaller or special material labels. The stop lever helps maintain tension and alignment.
- Position the flange plates on the rewinding shaft to match the width of your labels.
- Adjust the stop lever to gently press against the label roll, providing stability.

Figure 7: Illustration of flange plates (2) and stop lever (1) for guiding labels and ensuring even winding.
6. Operation
6.1 Powering On and Off
Connect the power supply to the machine and a suitable power outlet. Use the red power switch on the control panel to turn the machine on or off.
6.2 Loading Labels
After installing the correct core holder, feed the leading edge of your labels from the printer onto the core holder. Secure the label end to the core using tape if necessary.
6.3 Adjusting Speed
The rewinder features an induction lift lever design for auto-sensing and speed adjustment. Use the black knob on the control panel to fine-tune the rewinding speed, up to 200mm per second, to match your printer's output.
6.4 Changing Rewinding Direction
The bidirectional switch allows you to change the rewinding direction (forward or backward) to accommodate label face-in or face-out requirements.

Figure 8: Control panel with clearly marked Speed adjustment knob, Direction switch, and Power button.
6.5 Synchronized Operation with Printer
The rewinder is designed to synchronize its speed with your label printer. It will automatically stop if the printer ceases operation, preventing label jams or excessive tension.

Figure 9: The label rewinder working in conjunction with a label printer, demonstrating synchronized operation.
Video 1: Demonstration of the U.S. Solid Automatic Label Rewinder Machine in operation, showing labels being rewound from a printer.
7. Maintenance
Regular maintenance ensures the longevity and optimal performance of your label rewinder.
- Cleaning: Periodically wipe down the machine with a soft, dry cloth. Do not use abrasive cleaners or solvents.
- Inspection: Check for any loose parts or signs of wear. Ensure all connections are secure.
- Storage: When not in use, store the machine in a clean, dry environment away from direct sunlight and extreme temperatures.
8. Troubleshooting
Refer to this section for common issues and their solutions.
| Problem | Possible Cause | Solution |
|---|---|---|
| Machine does not power on | No power, loose connection, faulty power supply | Check power cable, ensure outlet is functional, verify power switch is ON. |
| Labels are not rewinding evenly | Improper flange plate adjustment, incorrect tension, label material issue | Adjust flange plates to match label width. Ensure stop lever provides gentle tension. Check label material for consistency. |
| Rewinder stops unexpectedly | Printer stopped, label jam, power interruption | Verify printer operation. Clear any label jams. Check power connection. The rewinder is designed to stop if the printer stops. |
| Labels are too loose or too tight | Speed setting incorrect | Adjust the speed control knob to match the printer's output speed and desired tension. |
9. Specifications
Key technical specifications for the USS-LRW00010 model:
- Model Name: USS-LRW00010
- Brand: U.S. Solid
- Connectivity Technology: USB
- Maximum Label Width: 120 mm (4.72 inches)
- Maximum Outer Diameter of Label Roll: 200 mm (7.87 inches)
- Core Holders Included: 1" (25mm), 1.5" (40mm), 3" (76mm)
- Rewinding Speed: Up to 200 mm/s (adjustable)
- Rewinding Direction: Bidirectional (forward/backward)
- Maximum Load-Bearing Weight: 2 KG
- Power Supply: AC 100V-240V, 50/60Hz
- Item Weight: 2 kg
- Control Method: Jog dial, Touch (switches)
- Country of Origin: China
- GTIN/UPC: 888107100355
10. Warranty and Support
The U.S. Solid Automatic Label Rewinder Machine comes with a limited warranty. For specific warranty details, claims, or technical support, please refer to the warranty card included with your product or contact U.S. Solid customer service through their official channels.