Introduction
This manual provides comprehensive instructions for assembling the Platz/Mono MD005 German Army Self-Propelled Howitzer sIG 33/1 Grille H-Shaped plastic model kit. This 1/35 scale replica accurately reproduces the historical vehicle, featuring highly detailed parts from Dragon and a realistic metal barrel. Please read all instructions carefully before beginning assembly.

Figure 1: Platz/Mono MD005 Grille H-Shaped Plastic Model Kit Box Art. This image displays the completed model with its distinctive self-propelled howitzer design and included crew figures, highlighting the kit's detailed reproduction.
Safety Information
Please observe the following safety precautions during assembly:
- This product is a plastic model kit intended for users aged 15 years and up.
- Assembly requires the use of adhesives, hobby knives, and other tools. Always handle sharp tools with extreme care to prevent injury.
- Use adhesives and paints in a well-ventilated area. Avoid inhaling fumes.
- Keep small parts out of reach of young children to prevent choking hazards.
- Wear appropriate eye protection when cutting or sanding plastic parts.
- Dispose of waste materials responsibly according to local regulations.
Package Contents
The Platz/Mono MD005 kit includes the following components:
- Plastic sprues for vehicle components (chassis, superstructure, interior, tracks, etc.)
- Metal barrel parts for the 15 cm sIG 33/1 heavy infantry cannon
- Photo-etched parts for enhanced detail
- Decal sheet for markings
- Japanese instruction manual (included for detailed assembly steps)
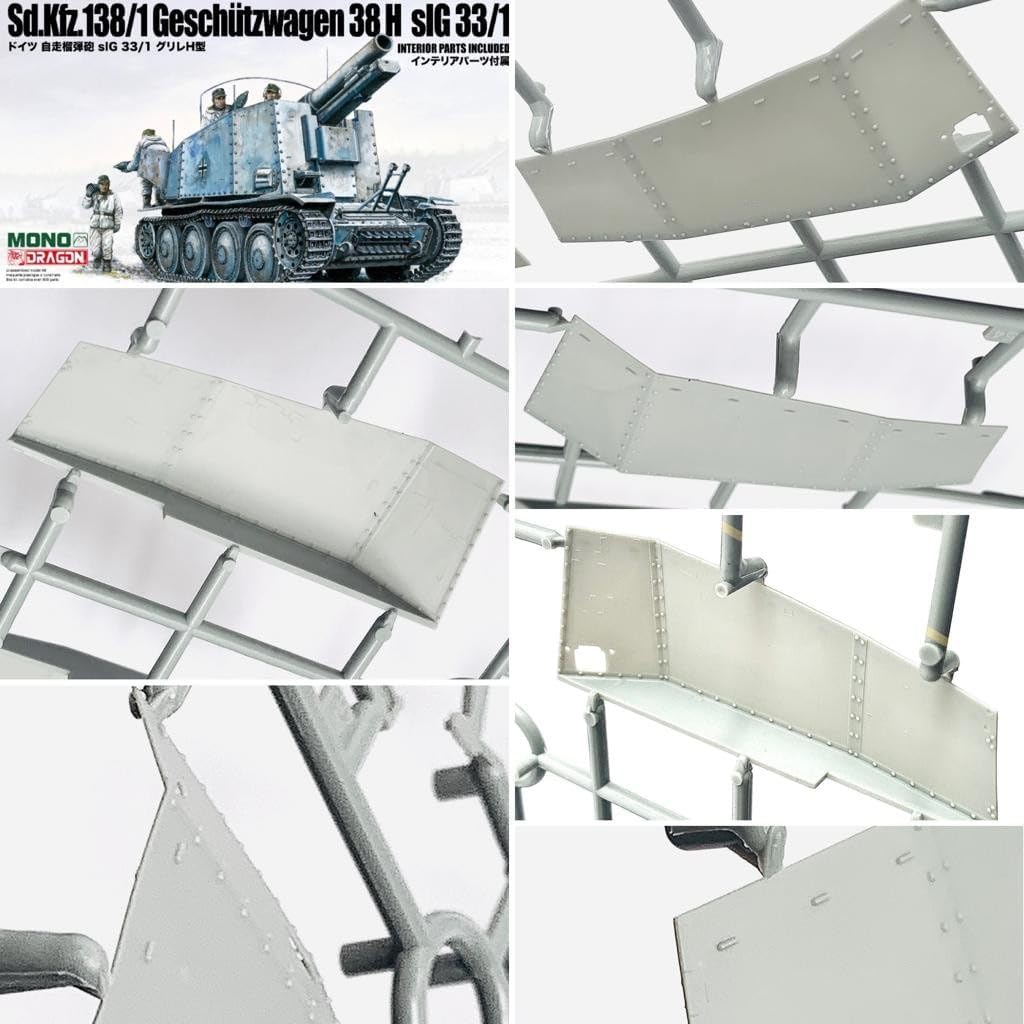
Figure 2: Kit Contents Overview. This image provides a general view of the plastic sprues and other components included in the kit, giving an idea of the parts count and detail level.
Assembly Instructions
Before starting, ensure you have the necessary tools: plastic cement, hobby knife, side cutters, tweezers, sandpaper/files, and paints (optional). Follow the steps below carefully.
1. Chassis and Suspension Assembly
Begin by assembling the lower hull and the suspension components. The kit features a detailed 38(t) chassis. Carefully attach the road wheels, idler wheels, and drive sprockets according to the Japanese instruction manual diagrams.

Figure 3: Chassis and Suspension Parts. This image shows the detailed plastic parts for the vehicle's undercarriage, including the engine deck and various wheel components, ready for assembly.
2. Track Assembly
The kit includes "Magic Tracks" for realistic track representation. Assemble each track link individually, ensuring proper alignment and fit. This process requires patience but results in a highly detailed and accurate track system.

Figure 4: Track Links and Detail Parts. This image highlights the individual track links, which allow for realistic sag and detail, along with other small components and the metal barrel.
3. Combat Compartment and Superstructure
Assemble the open-top combat compartment, including the side and front armor plates. Pay attention to the interior details, such as ammunition racks and radio equipment, which are finely reproduced.

Figure 5: Combat Compartment Components. This image displays the plastic parts that form the upper hull and the open-top fighting compartment, including internal details.
4. Main Gun Assembly
Assemble the 15 cm sIG 33/1 heavy infantry cannon. The kit includes a high-quality aluminum barrel for enhanced realism. Carefully attach the breech, recoil mechanism, and other gun components. Ensure the gun can traverse and elevate if designed to do so.

Figure 6: Main Gun Barrel and Small Parts. This image focuses on the precision-machined metal barrel and other intricate plastic components, essential for the main gun and other detailed areas of the model.
5. Detailing and Finishing
Attach all remaining small details, such as tools, lights, and exhaust pipes. Apply decals according to the provided guide. Once assembly is complete, you may proceed with painting and weathering to achieve your desired finish.

Figure 7: Detailing Components. This image displays a variety of smaller plastic parts, such as on-vehicle tools, spare parts, and other accessories that add fine detail to the completed model.
Displaying Your Model
Once assembled and painted, your Platz/Mono MD005 Grille H-Shaped model is ready for display. Consider placing it in a dust-free environment, such as a display case, to protect it from damage and dust accumulation. Avoid direct sunlight, which can cause paint fading over time.
- Handle the model by its base or sturdy sections to avoid damaging delicate parts.
- If transporting the model, secure it carefully to prevent movement and impact.
Maintenance
Plastic models require minimal maintenance. To keep your model in pristine condition:
- Dusting: Gently dust the model regularly using a soft brush (e.g., a soft makeup brush or a dedicated model dusting brush) or a can of compressed air held at a safe distance.
- Cleaning: For stubborn dust or light smudges, lightly dampen a cotton swab with water (or a very mild, non-abrasive cleaner if necessary, testing on an inconspicuous area first) and gently wipe. Avoid harsh chemicals or excessive moisture.
- Storage: If storing the model for extended periods, ensure it is in a cool, dry place, away from extreme temperatures and humidity. A sealed container can provide additional protection.
Common Assembly Issues
Encountering issues during model assembly is common. Here are some typical problems and their solutions:
| Problem | Possible Cause | Solution |
|---|---|---|
| Parts do not fit together | Excess plastic (flash), paint buildup, or misalignment. | Carefully trim excess plastic with a hobby knife. Gently sand painted surfaces where parts join. Ensure correct orientation as per instructions. |
| Gaps between assembled parts | Improper alignment, insufficient clamping during gluing, or minor molding imperfections. | Apply more cement and hold parts firmly until dry. Use plastic putty or filler to fill gaps, then sand smooth. |
| Decals silvering (white film under decal) | Surface not glossy enough, air trapped under decal. | Apply a gloss clear coat before decals. Use decal setting solution to help decals conform and eliminate air. |
| Broken small parts | Excessive force, accidental dropping. | Re-attach with plastic cement. For delicate parts, reinforce with a small piece of stretched sprue or thin wire if possible. |
Product Specifications
| Feature | Detail |
|---|---|
| Brand | Platz |
| Model Number | MD005 |
| Scale | 1/35 |
| Material | Plastic (with metal barrel) |
| Recommended Age | 15 years and up |
| Product Dimensions (L x W x H) | 5.91 x 2.76 x 2.76 inches (assembled, approximate) |
| Item Weight | 1.21 pounds (kit weight) |
| Included Components | Plastic sprues, metal barrel, photo-etched parts, decal sheet, Japanese instruction manual |
Warranty Information
This product is a plastic model kit and typically does not come with a manufacturer's warranty for the assembled product. Please inspect all parts upon receipt. If you find any missing or defective parts, please contact the retailer or manufacturer within a reasonable timeframe after purchase.
Customer Support
For questions regarding assembly, missing parts, or general inquiries about your Platz/Mono MD005 kit, please refer to the Japanese instruction manual included in the box. For further assistance, please contact the retailer where the product was purchased.


