1. Introduction
The ASUS Prime H610M-E D4 is a micro-ATX motherboard designed to support 12th Generation Intel Core, Pentium Gold, and Celeron processors. It features an LGA 1700 socket, DDR4 memory support, PCIe 4.0, and multiple connectivity options, making it suitable for daily computing and DIY PC builds.
This manual will guide you through the installation, configuration, and maintenance of your motherboard to ensure stable and efficient operation.
2. Key Features
- Intel LGA 1700 Socket: Compatible with 12th Gen Intel Core, Pentium Gold, and Celeron Processors.
- DDR4 Memory Support: Features two DIMM slots for DDR4 memory modules.
- PCIe 4.0: Provides high-speed connectivity for graphics cards and other expansion cards.
- Dual M.2 Slots: Supports high-speed NVMe SSDs for fast storage.
- Realtek 1 Gb Ethernet: Ensures stable and fast wired network connectivity.
- Comprehensive Cooling: Equipped with a PCH heatsink and Fan Xpert 2+ for effective thermal management.
- 5X Protection III: Incorporates multiple hardware safeguards for enhanced durability and reliability.
- Video Outputs: Includes DisplayPort, HDMI, and D-Sub ports for versatile display connections.
3. Setup and Installation
Proper installation is crucial for the stability and performance of your system. Follow these general steps for setting up your ASUS Prime H610M-E D4 motherboard.
3.1 Unboxing and Initial Inspection
Carefully remove the motherboard from its packaging. Inspect for any visible damage or missing components. The package typically includes the motherboard, I/O shield, SATA cables, M.2 screws, and documentation.
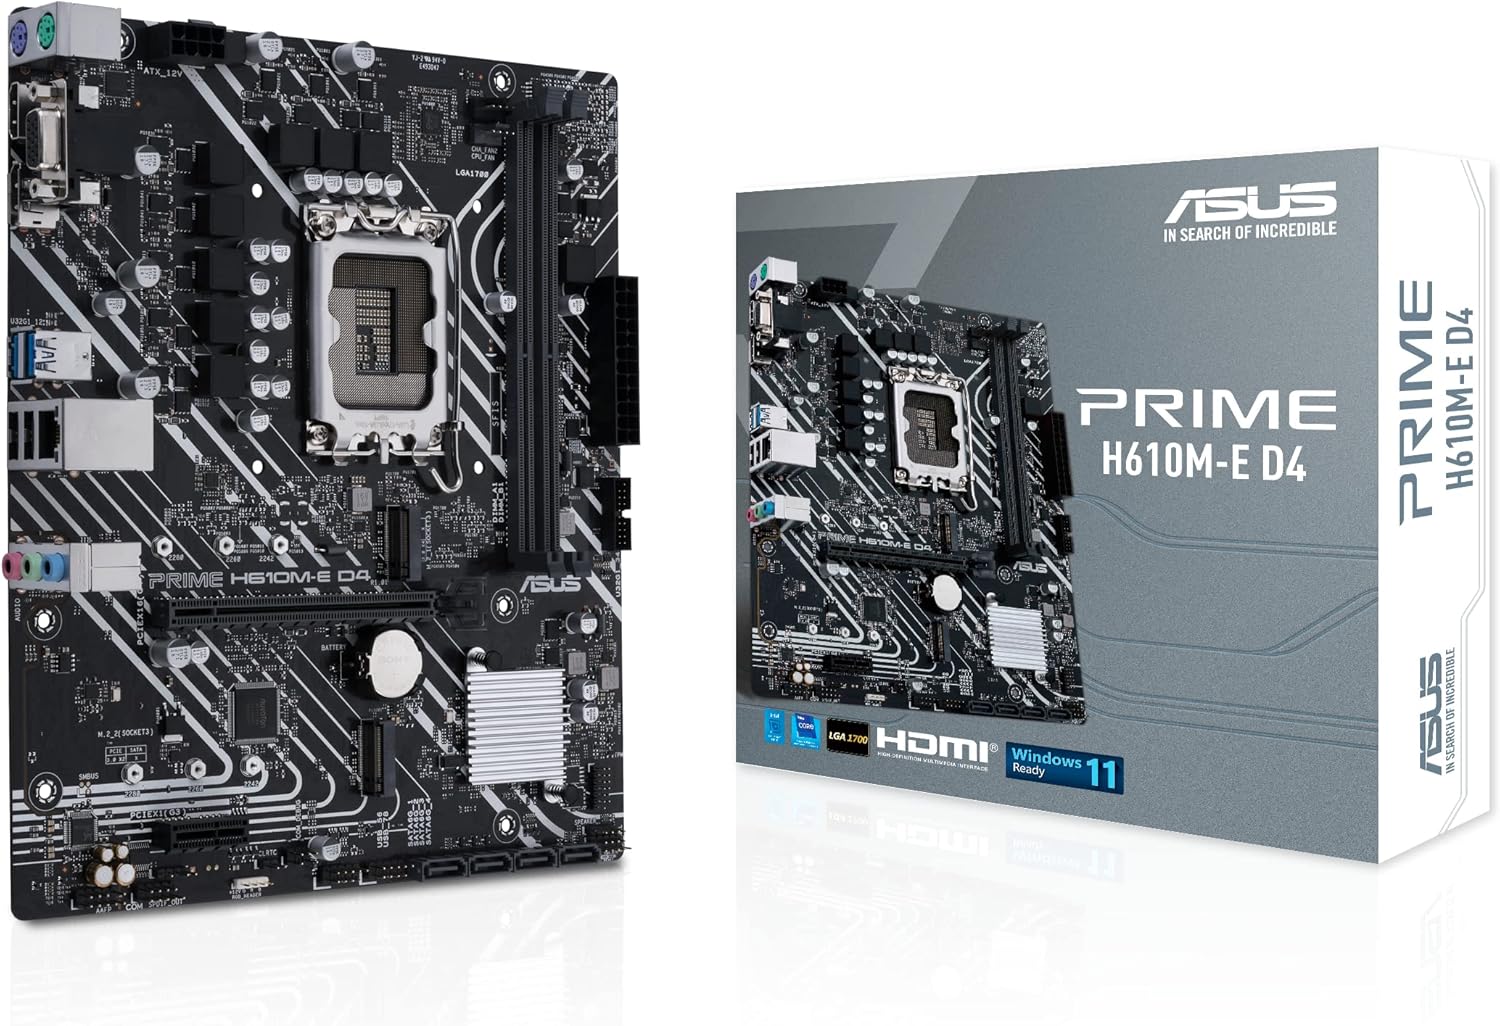
Figure 1: ASUS Prime H610M-E D4 Motherboard and retail packaging.
Video 1: Product Demonstration Video. This video provides a visual overview of the motherboard and its components.
3.2 Processor (CPU) Installation
Ensure the CPU socket lever is open. Align the triangular mark on your 12th Gen Intel LGA 1700 processor with the mark on the socket. Gently place the CPU into the socket without forcing it. Close the lever to secure the CPU.

Figure 2: Top-down view of the motherboard, highlighting the LGA 1700 CPU socket.
3.3 Memory (RAM) Installation
Locate the two DDR4 DIMM slots. Open the clips on both ends of the slot. Align the notch on the DDR4 memory module with the key in the DIMM slot. Press down firmly on both ends of the memory module until the clips snap into place.
3.4 Storage (M.2 SSD) Installation
The motherboard features two M.2 slots. To install an M.2 SSD, locate an M.2 slot and remove the retaining screw. Insert the M.2 SSD into the slot at an angle, then gently push it down and secure it with the screw.
3.5 Graphics Card (GPU) and Expansion Cards
Insert your PCIe 4.0 graphics card into the primary PCIe x16 slot. Ensure it is seated firmly and secured with the case's retention mechanism. Additional PCIe x1 slots are available for other expansion cards.
3.6 Power Connections
Connect the 24-pin ATX power connector and the 8-pin CPU power connector from your power supply to the corresponding ports on the motherboard. Connect SATA power cables to your storage drives.
3.7 Case Mounting and Front Panel Connections
Mount the motherboard securely into your PC case using standoffs and screws. Connect the front panel headers (power button, reset button, USB ports, audio jacks) to the appropriate pins on the motherboard, referring to the motherboard's detailed manual for pin assignments.

Figure 3: Rear I/O panel showing various connectivity ports including HDMI, DisplayPort, USB, and Ethernet.
4. Operating Instructions
4.1 First Boot and BIOS/UEFI Setup
After assembling your PC, power it on. Press the 'Delete' key or 'F2' key during startup to enter the BIOS/UEFI setup utility. Here you can configure boot order, system time, and other advanced settings. Ensure your storage drives are detected and the boot device is correctly selected.
4.2 Driver Installation
Once your operating system is installed, install the necessary drivers for the motherboard's components. These typically include chipset drivers, audio drivers, LAN drivers, and any other peripheral drivers. Drivers can be found on the ASUS support website for your specific motherboard model.
Video 2: H610 for Intel 12th Gen Overview & Specs. This video provides an in-depth look at the H610 chipset and its capabilities with 12th Gen Intel processors.
5. Maintenance
5.1 Keeping Your System Clean
Regularly clean your PC to prevent dust buildup, which can lead to overheating and reduced performance. Use compressed air to clear dust from fans, heatsinks, and other components. Ensure the PC is powered off and unplugged before cleaning.
5.2 BIOS/UEFI Updates
Periodically check the ASUS support website for BIOS/UEFI updates. Updates can improve system stability, add support for new hardware, or fix bugs. Follow the instructions provided by ASUS carefully when performing a BIOS update to avoid system damage.
6. Troubleshooting
If you encounter issues with your motherboard, consider the following common troubleshooting steps:
- No Power/No Boot: Double-check all power connections (24-pin ATX, 8-pin CPU). Ensure the power supply is switched on.
- No Display: Verify that your monitor is connected to the correct video output on the motherboard or graphics card. Reseat the graphics card and memory modules.
- Component Not Detected: Ensure all components (CPU, RAM, SSDs, expansion cards) are properly seated in their respective slots. Check for bent pins on the CPU socket if applicable.
- System Instability/Crashes: This could be due to outdated drivers, overheating, or faulty components. Update drivers, check cooling, and test components individually if possible.
- BIOS Reset: If you've made incorrect BIOS settings, you can reset the CMOS by removing the CMOS battery for a few minutes or using the Clear CMOS jumper (refer to the full manual for location).
7. Specifications
Below are the detailed specifications for the ASUS Prime H610M-E D4 Motherboard:
| Feature | Specification |
|---|---|
| Brand | ASUS |
| Series | PRIME H610M-E D4 |
| Model Name | PRIME H610M-E D4 |
| CPU Socket | LGA 1700 |
| Compatible Processors | Intel 12th Gen Core, Pentium Gold, Celeron |
| Chipset Type | Intel H610 |
| RAM Memory Technology | DDR4 |
| Memory Speed | 2133 MHz (Supports higher speeds via XMP) |
| Number of USB 2.0 Ports | 2 (Rear I/O) |
| USB 3.2 Gen 1 Ports | Yes (Rear I/O) |
| M.2 Slots | 2 (32Gbps) |
| SATA 6 Gbps Ports | Yes |
| LAN | Realtek 1 Gb Ethernet |
| Video Outputs | DisplayPort, HDMI, D-Sub |
| Form Factor | mATX |
| Item Weight | 1.27 pounds |
| Product Dimensions | 10.24 x 2.03 x 10.63 inches |
| Platform | Windows 10 (and newer) |
8. Warranty and Support
For warranty information, technical support, and the latest drivers and utilities, please visit the official ASUS support website. You will need your product's serial number for warranty claims or specific technical assistance.
ASUS provides comprehensive support resources, including FAQs, troubleshooting guides, and contact options for customer service.


