LEKATO WSM-620
LEKATO Wireless Microphone System User Manual
Model: WSM-620
1. Product Overview
The LEKATO Wireless Microphone System provides stable and clear audio transmission for various applications such as singing, speech, and PA systems. This system features UHF digital technology, rechargeable microphones and receiver, and a plug-and-play design for ease of use. It is designed for compatibility with devices equipped with a 'MIC INPUT' (6.35mm (1/4") or 3.5mm (1/8") MIC input).
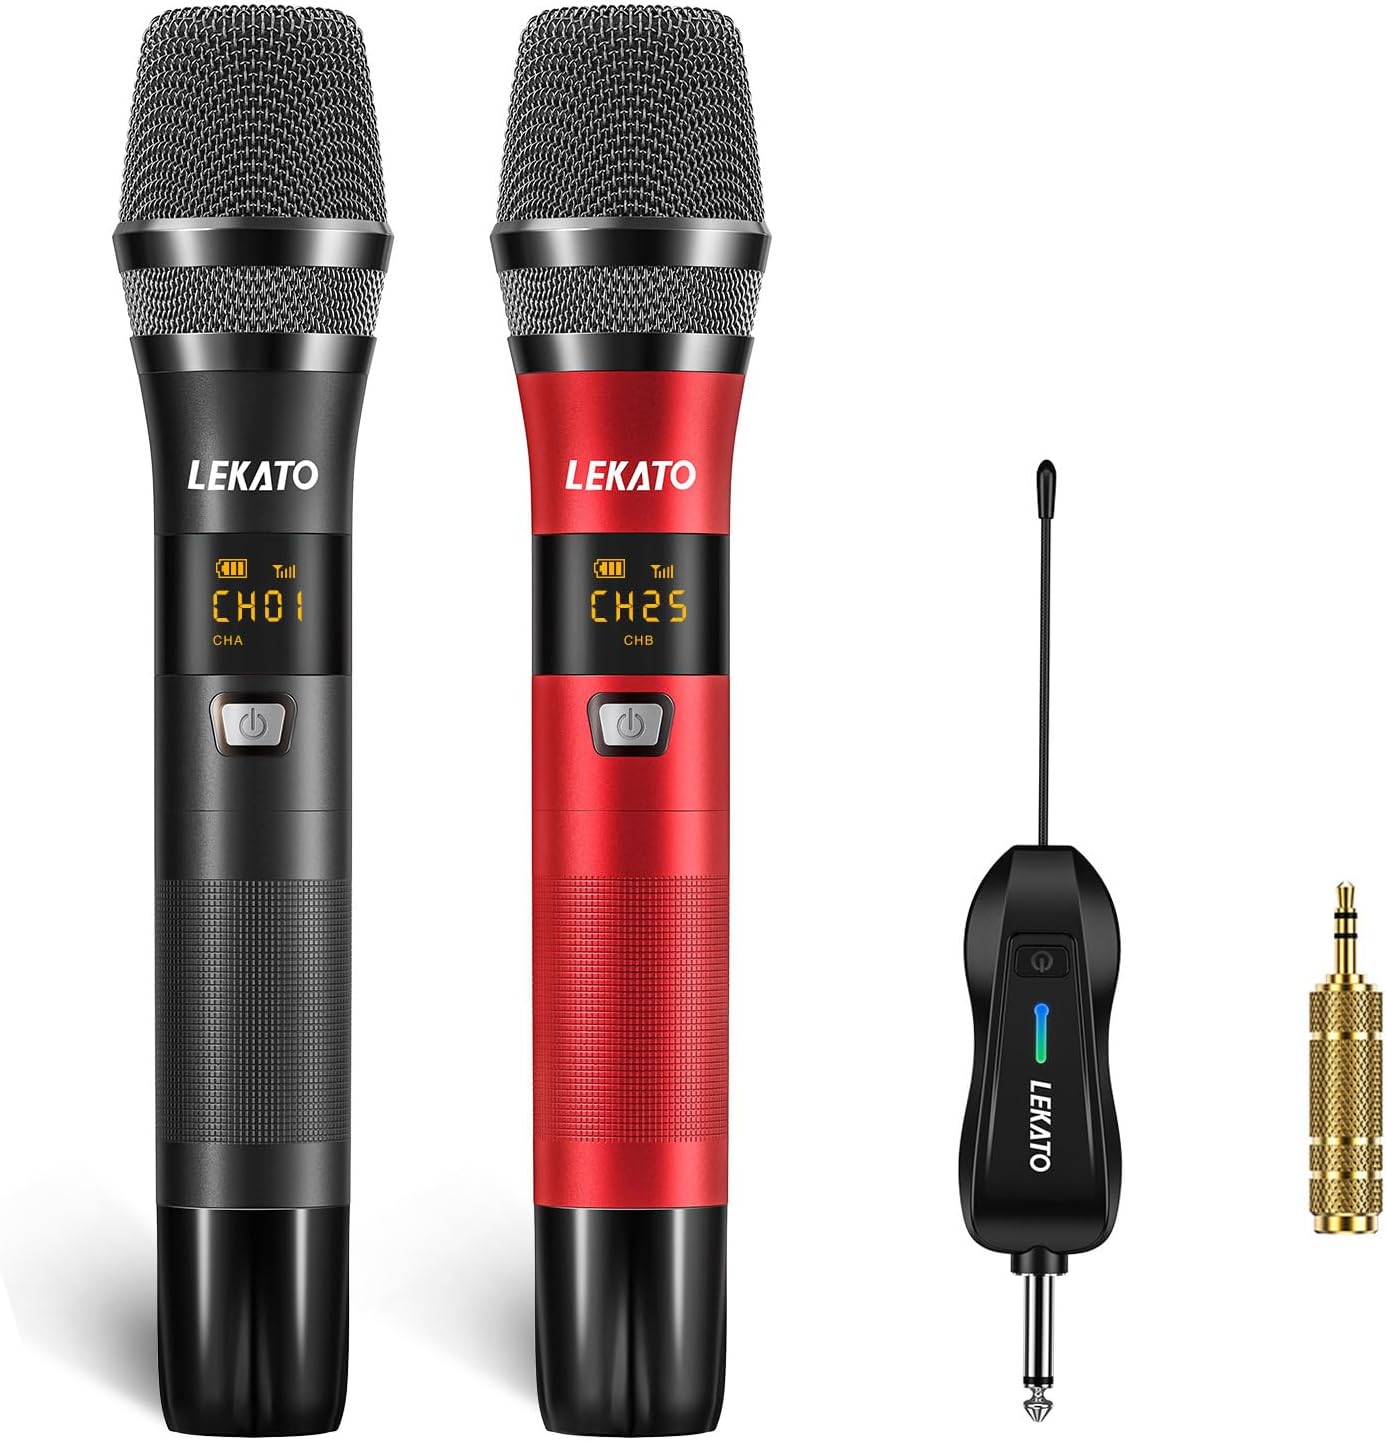
Image: The LEKATO Wireless Microphone System, showing two handheld microphones (one black, one red) and the compact receiver with a 1/4-inch jack.
2. What's in the Box
- 2 x Handheld Microphones (Black & Red)
- 1 x Wireless Receiver
- 1 x Dual Type-C & USB Charging Cable
- 2 x Microphone Covers
- 2 x Anti-slip Rings
- 1 x User Manual (this document)

Image: A visual representation of the product contents, including two microphones, a receiver, charging cables, microphone covers, and anti-slip rings.
3. Setup Guide
3.1 Initial Charging
Before first use, ensure both microphones and the receiver are fully charged. Use the provided dual USB charging cable. The battery of the microphone can last for about 8-10 hours, and the receiver's battery can last for 5-7 hours.

Image: The black and red microphones and the receiver connected to a power source via the dual USB charging cable, illustrating the charging process.
3.2 Connecting to Your Device
The LEKATO wireless microphone system is designed for plug-and-play operation. No complex pairing is required for initial setup. Simply plug the receiver into a device with a 6.35mm (1/4") or 3.5mm (1/8") MIC input.
- Insert the receiver's 1/4" plug directly into the MIC input of your karaoke machine, mixer, PA system, powered speaker, or audio amplifier.
- If your device has a 3.5mm (1/8") MIC input, use the included 1/4" to 3.5mm adapter.
- Important: Do not plug the receiver into an AUX jack. This system is not compatible with Bluetooth speakers, PCs, or phones.

Image: A diagram illustrating compatible devices such as karaoke machines, powered speakers, amplifiers, and audio interfaces, and incompatible devices like Bluetooth speakers, PCs, and phones.
3.3 Powering On and Pairing
Once the receiver is connected and powered on, turn on each microphone. The system should automatically pair. A green light on the receiver indicates the CHB microphone is paired, and a blue light indicates the CHA microphone is paired.

Image: A close-up of the microphone and receiver, highlighting the LED display on the microphone and the power/pairing indicators on both units.
Video: An official product video demonstrating the setup and features of the LEKATO UHF Rechargeable Wireless Microphone system, including pairing and charging.
4. Operating Instructions
4.1 Microphone Controls
Each microphone features an LED display that shows battery level, channel, and signal strength. Controls for volume and effects are located on the microphone body.
- Power Button: Press and hold to turn the microphone on or off.
- CH+/CH- Buttons: Click to change the frequency channel (CH01-CH25). This helps avoid interference signals.
- VOL+/VOL- Buttons: Adjust the microphone's output volume (Level 1-5).
- EFF Button: Cycles through available effects (0-5).
- Re-pair: If pairing is lost, hold the CH+ button and the Power Switch simultaneously while the microphone is in the OFF state to re-pair.
4.2 UHF Digital Technology
The system utilizes UHF professional automatic frequency technology, providing stable sound transmission and fast, constant frequency. It supports up to 25 optional frequency channels, allowing up to 25 sets to be used simultaneously in the same area by selecting different channels for each set.

Image: The LEKATO wireless microphone system demonstrating a powerful wireless signal with a distance of up to 100 feet (30 meters) with clarity.
5. Maintenance
5.1 Cleaning
To maintain the longevity and performance of your microphones and receiver, regularly wipe them with a soft, dry cloth. Avoid using abrasive cleaners or solvents. For the microphone mesh, gently brush away any debris.
5.2 Battery Care
The microphones and receiver contain rechargeable Lithium Polymer batteries. To maximize battery life:
- Charge the devices fully before extended storage.
- Avoid completely draining the batteries frequently.
- Store in a cool, dry place when not in use for long periods.
5.3 Storage
When not in use, store the microphone system in a protective case or a clean, dry environment away from extreme temperatures and direct sunlight. Use the provided microphone covers and anti-slip rings to protect the microphones.
6. Troubleshooting
| Problem | Possible Cause | Solution |
|---|---|---|
| No sound from microphone |
|
|
| Interference or poor sound quality |
|
|
| Microphone not turning on |
|
|
7. Specifications
| Feature | Detail |
|---|---|
| Brand | LEKATO |
| Model Name | WSM-620 |
| Connectivity Technology | UHF |
| Microphone Form Factor | Handheld |
| Polar Pattern | Unidirectional (Cardioid Pickup) |
| Frequency Band | UHF (530 MHz - 570 MHz) |
| Frequency Response | 0.05 kHz - 18 kHz |
| Number of Channels | 25 |
| Transmission Distance | Up to 100 feet (approx. 30 meters) |
| Latency | 3ms |
| Signal-to-Noise Ratio (SNR) | 90 dB |
| Power Source | Battery Powered (2 Lithium Polymer batteries included) |
| Microphone Working Time | 8-10 hours |
| Receiver Working Time | 5-7 hours |
| Material | Metal |
| Item Weight | 1.51 pounds (approx. 685 grams) |
| Product Dimensions (L x W x H) | 11.81 x 2.36 x 7.48 inches |

Image: A detailed diagram showing the internal structure of the microphone head, highlighting the high-fidelity sound coil and the cardioid pickup pattern for accurate vocal capture.
8. Warranty and Support
For warranty information and technical support, please refer to the official LEKATO website or contact their customer service directly. Keep your purchase receipt as proof of purchase for any warranty claims.
Protection plans may be available for extended coverage. Please check with your retailer for details on available protection plans.
Ask a question about this manual
Ask about setup, troubleshooting, compatibility, parts, safety, or missing instructions. Manuals+ will review the question and use this page’s manual context to help answer it.