
1. Introduction
This instruction manual provides essential information for the proper installation, operation, and maintenance of your Can-Am Audio Roof Flip Kit (Part Number 715007131). This kit is designed to integrate with existing Can-Am Audio Roofs (Part Numbers 715007130 or 715006709) to provide a convenient flip-up functionality.
Please read this manual thoroughly before beginning installation to ensure safe and correct usage. Keep this manual for future reference.
Compatible Vehicles:
- Maverick X3 900 HO DPS: 2018
- Maverick X3 Max Turbo DPS: 2018-2020
- Maverick X3 Max Turbo DS DPS: 2021-2024
- Maverick X3 Max Turbo R DPS: 2017-2019
- Maverick X3 Max Turbo R DS DPS: 2020-2021
- Maverick X3 Max Turbo R RS DPS: 2020-2021
- Maverick X3 Max Turbo R X DS: 2017-2019
- Maverick X3 Max Turbo R X RS Smart-Lok: 2018
- Maverick X3 Max Turbo R X RS: 2017-2019
- Maverick X3 Max Turbo RR DS: 2022-2024
- Maverick X3 Max Turbo RR RS: 2022-2024
- Maverick X3 Max Turbo RR X DS: 2020-2024
- Maverick X3 Max Turbo RR X MR: 2020-2024
- Maverick X3 Max Turbo RR X RC: 2024
- Maverick X3 Max Turbo RR X RS Smart-Shox: 2021-2024
- Maverick X3 Max Turbo RR X RS: 2020-2024
- Maverick X3 Max Turbo RS DPS: 2024
- Maverick X3 Turbo DPS: 2020
- Maverick X3 Turbo DS DPS: 2021-2024
- Maverick X3 Turbo R DS DPS: 2020-2021
- Maverick X3 Turbo R RS DPS: 2020-2021
- Maverick X3 Turbo RR DS DPS: 2022-2024
- Maverick X3 Turbo RR RS DPS: 2022-2024
- Maverick X3 Turbo RR X DS DPS: 2020-2024
- Maverick X3 Turbo RR X MR DPS: 2020-2024
- Maverick X3 Turbo RR X RC DPS: 2020-2024
- Maverick X3 Turbo RR X RS DPS: 2020-2024
- Maverick X3 Turbo RR X RS Smart-Shox: 2021-2024
- Maverick X3 Turbo RS DPS: 2024
- Maverick X3 Turbo X MR DPS: 2020-2021
- Maverick X3 Turbo X RC DPS: 2020-2021
2. Safety Information
Always prioritize safety during installation and operation. Failure to follow these instructions could result in injury or damage to your vehicle.
- Ensure the vehicle is parked on a level surface with the engine off and parking brake engaged before beginning any work.
- Disconnect the vehicle's battery before performing any electrical work.
- Wear appropriate personal protective equipment, including safety glasses and gloves.
- Do not operate the flip mechanism while the vehicle is in motion.
- Ensure all fasteners are tightened to the manufacturer's specifications.
- If you are unsure about any step, consult a qualified technician.
3. Package Contents
Verify that all components are present and undamaged before proceeding with installation.
- Roof (main component of the flip kit, includes necessary hardware for assembly)
- Additional hardware and specific components may vary; refer to the detailed parts list included with your kit.
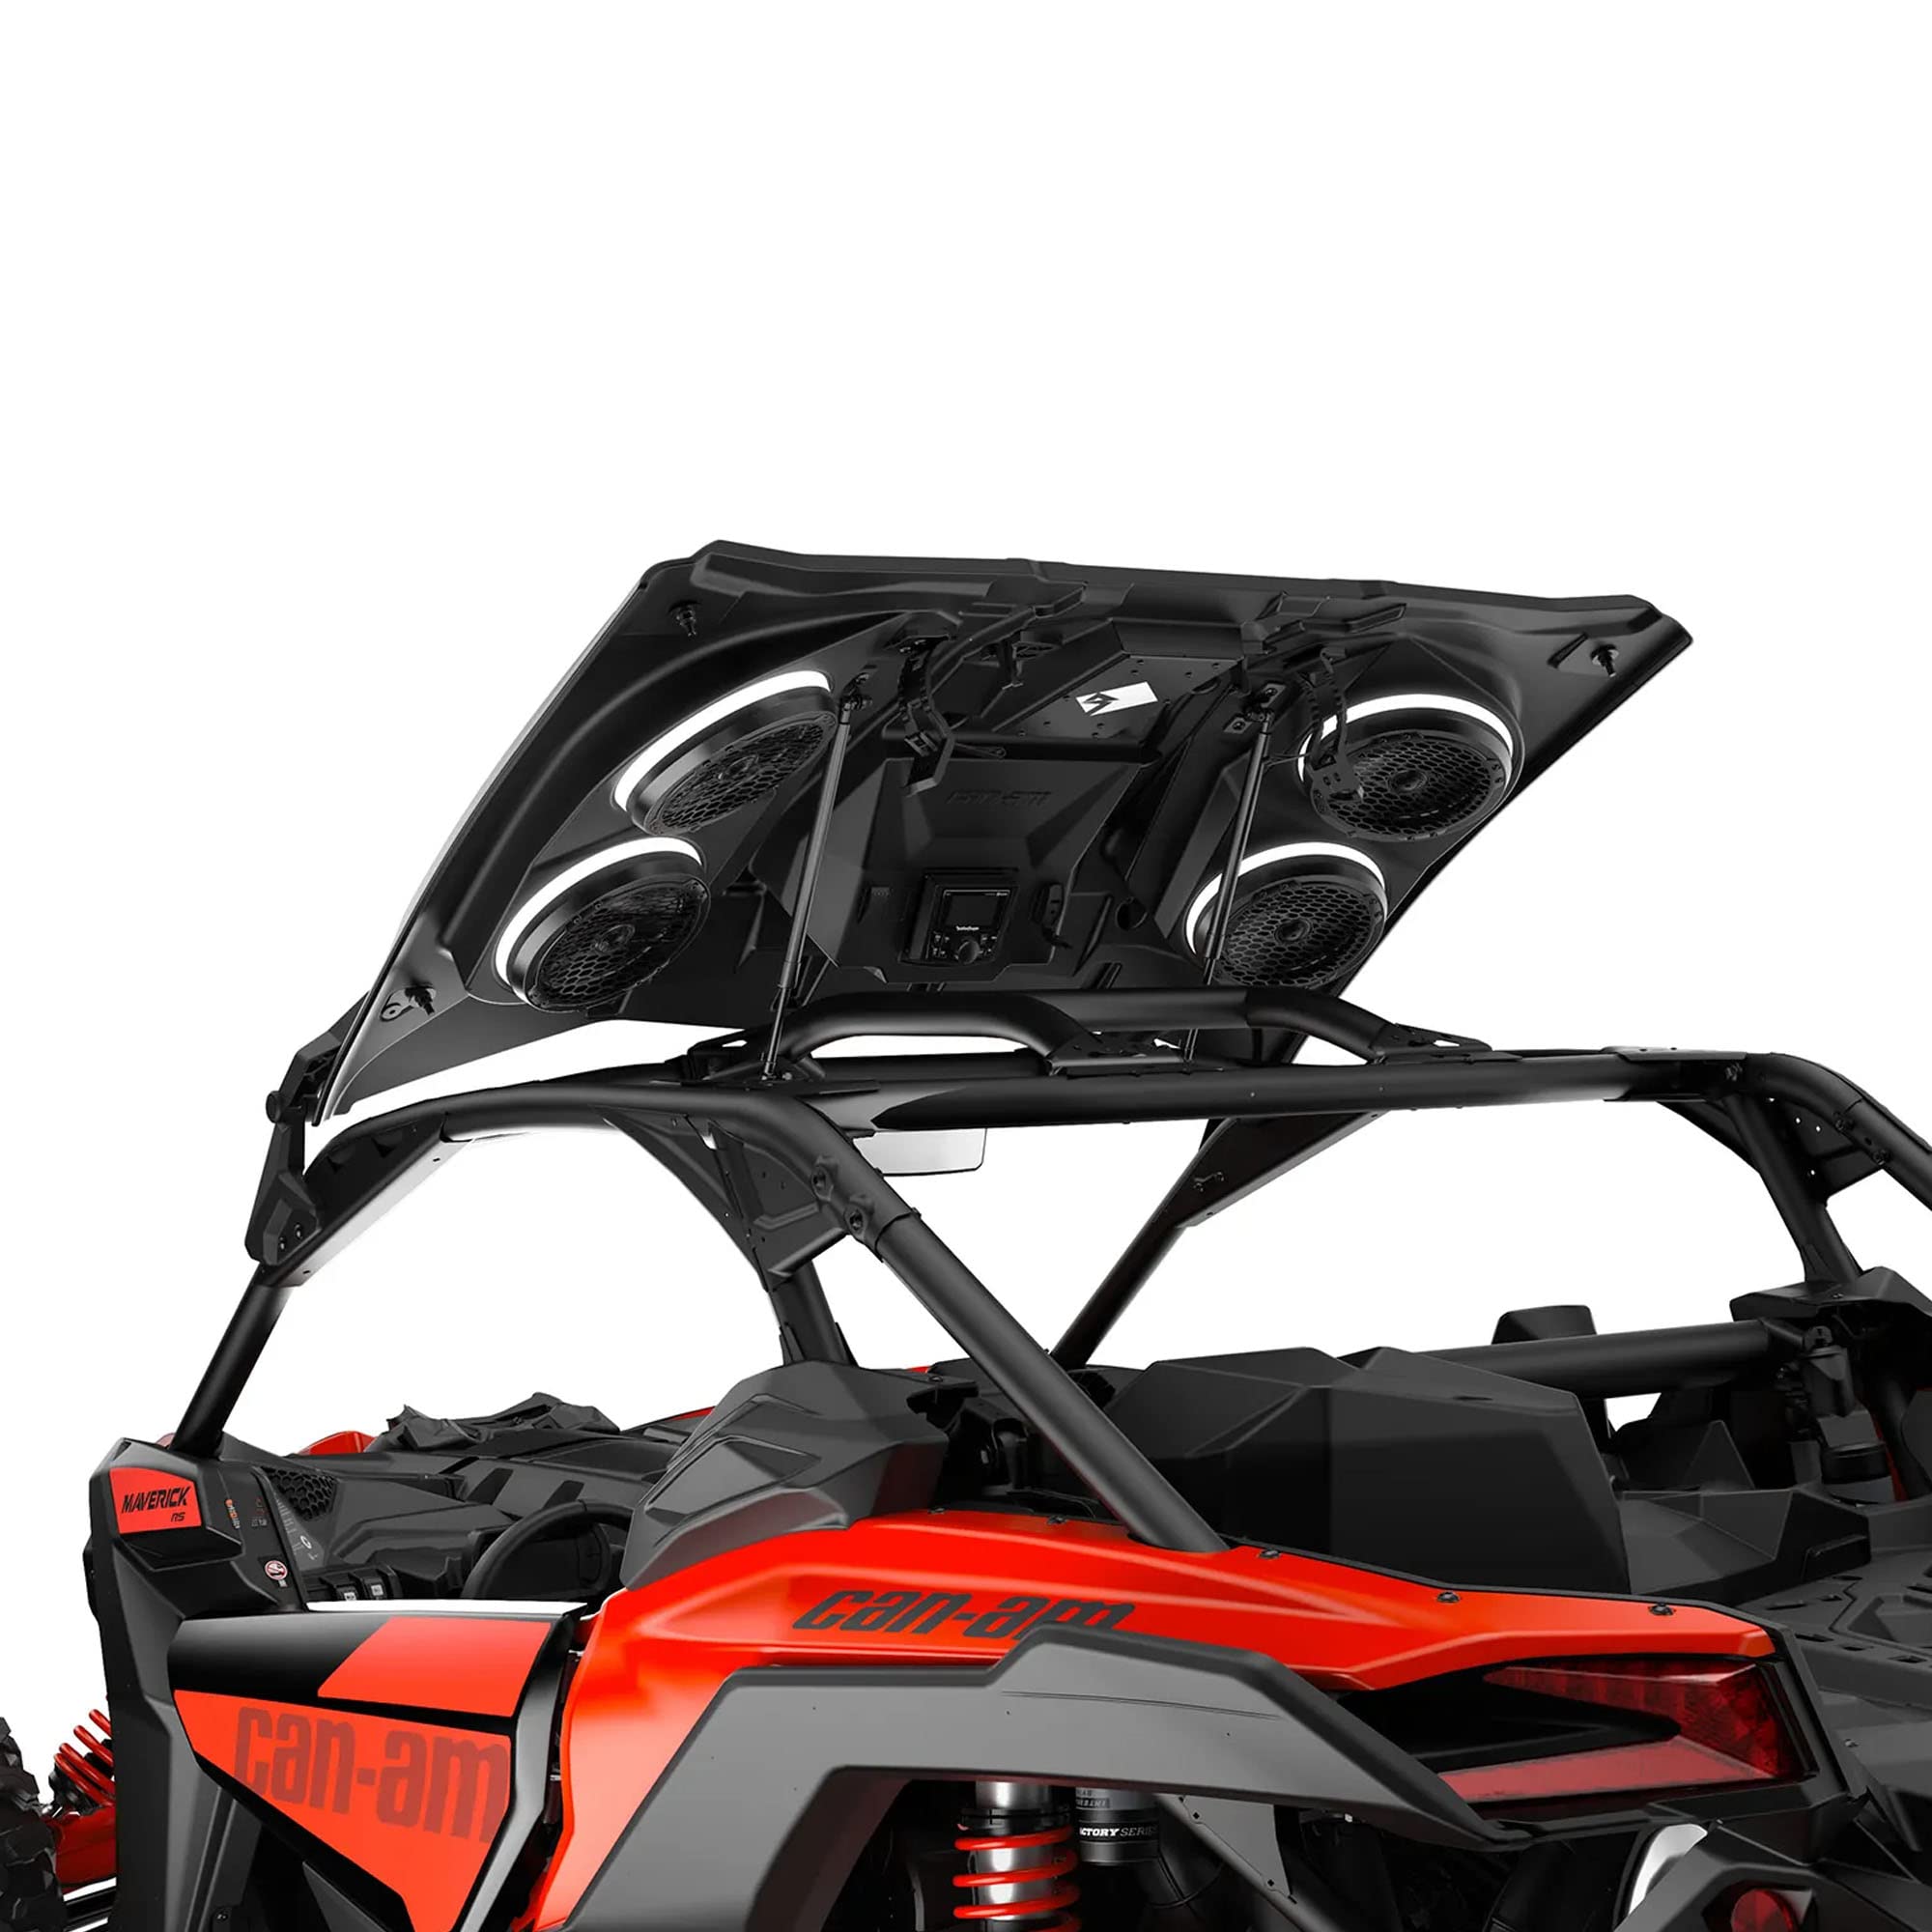
Image: Can-Am Audio Roof Flip Kit (Model 715007131). This image shows the primary components of the flip kit, which integrates with an existing audio roof to provide a pivoting function.
4. Setup and Installation
This kit is designed to be installed in conjunction with a compatible Can-Am Audio Roof (715007130 or 715006709). Professional installation is recommended.
- Preparation: Park the vehicle on a flat, stable surface. Turn off the engine, engage the parking brake, and remove the ignition key. Disconnect the negative terminal of the vehicle's battery.
- Remove Existing Components (if necessary): If an audio roof is already installed without flip functionality, carefully follow the audio roof's instructions to prepare it for the flip kit integration. This may involve removing certain mounting points.
- Assemble Flip Kit Components: Refer to the detailed assembly diagrams provided with your specific kit. Attach the pivot brackets and support arms to the audio roof structure using the supplied hardware. Ensure all connections are secure but do not fully tighten until alignment is confirmed.
- Mount to Vehicle: Position the assembled audio roof with the flip kit onto the vehicle's roll cage or designated mounting points. Secure the main pivot points to the vehicle frame using the specified bolts and nuts.
- Align and Adjust: With the kit loosely mounted, carefully test the flip mechanism. Ensure smooth movement without binding or excessive play. Adjust the mounting points as needed to achieve proper alignment and function.
- Final Tightening: Once alignment is satisfactory, progressively tighten all fasteners to the torque specifications provided in the kit's specific instructions. Double-check all connections.
- Reconnect Battery: Reconnect the negative terminal of the vehicle's battery.
- Final Inspection: Verify that the audio roof flips smoothly and locks securely in both the open and closed positions. Check for any loose parts or obstructions.
5. Operating Instructions
The Audio Roof Flip Kit allows for easy access and versatility. Always ensure the vehicle is stationary before operating the flip mechanism.
- To Flip Up: Locate the release latches or handles (specific to your kit design). Disengage the latches and carefully lift the audio roof upwards until it locks into the open position. Ensure it is securely latched in the open position before proceeding.
- To Close: Disengage the latches holding the roof in the open position. Carefully lower the audio roof until it rests in its closed position. Engage the primary latches to secure the roof firmly. Verify that the roof is fully closed and latched before driving.
6. Maintenance
Regular maintenance will ensure the longevity and proper function of your flip kit.
- Periodic Inspection: Regularly check all mounting hardware for tightness. Re-tighten any loose bolts or nuts.
- Lubrication: Apply a suitable lubricant to pivot points and moving parts as needed to ensure smooth operation and prevent corrosion.
- Cleaning: Clean the kit components with mild soap and water. Avoid harsh chemicals that could damage finishes.
- Damage Check: Inspect the kit for any signs of wear, damage, or corrosion. Replace any damaged components immediately.
7. Troubleshooting
If you encounter issues with your Audio Roof Flip Kit, refer to the following common problems and solutions:
- Roof does not flip smoothly: Check for obstructions, ensure pivot points are clean and lubricated, and verify all mounting hardware is correctly aligned and tightened.
- Roof does not latch securely: Inspect latches for damage or wear. Ensure the roof is properly aligned when closing. Adjust mounting points if necessary to achieve proper engagement.
- Unusual noises during operation: Check for loose hardware, worn pivot bushings, or contact between components. Tighten, lubricate, or replace parts as needed.
For persistent issues, contact Can-Am customer support or an authorized service center.
8. Specifications
| Attribute | Value |
|---|---|
| Manufacturer | BRP |
| Brand | Can-Am |
| Item Weight | 8.7 pounds |
| Product Dimensions | 19.69 x 10.24 x 4.33 inches |
| Item Model Number | 715007131 |
| Manufacturer Part Number | 715007131 |
| OEM Part Number | 715007131 |
| Safety Rating | DOT Certified |
| Wattage | 30 watts (Note: This wattage likely refers to the integrated audio roof, not the flip kit itself.) |
9. Warranty and Support
For information regarding product warranty, please refer to the warranty documentation included with your purchase or visit the official Can-Am website. For technical support, replacement parts, or further assistance, please contact Can-Am customer service or your authorized Can-Am dealer.
Can-Am Official Website: www.can-am.brp.com


