1. Welcome to ASOKO Lighting
Thank you for choosing ASOKO Under Cabinet Lights. Our motion sensor LED lights are designed to provide convenient, energy-efficient, and eye-caring illumination for various areas in your home. This manual will guide you through the setup, operation, and maintenance of your new lights.
2. Product Overview
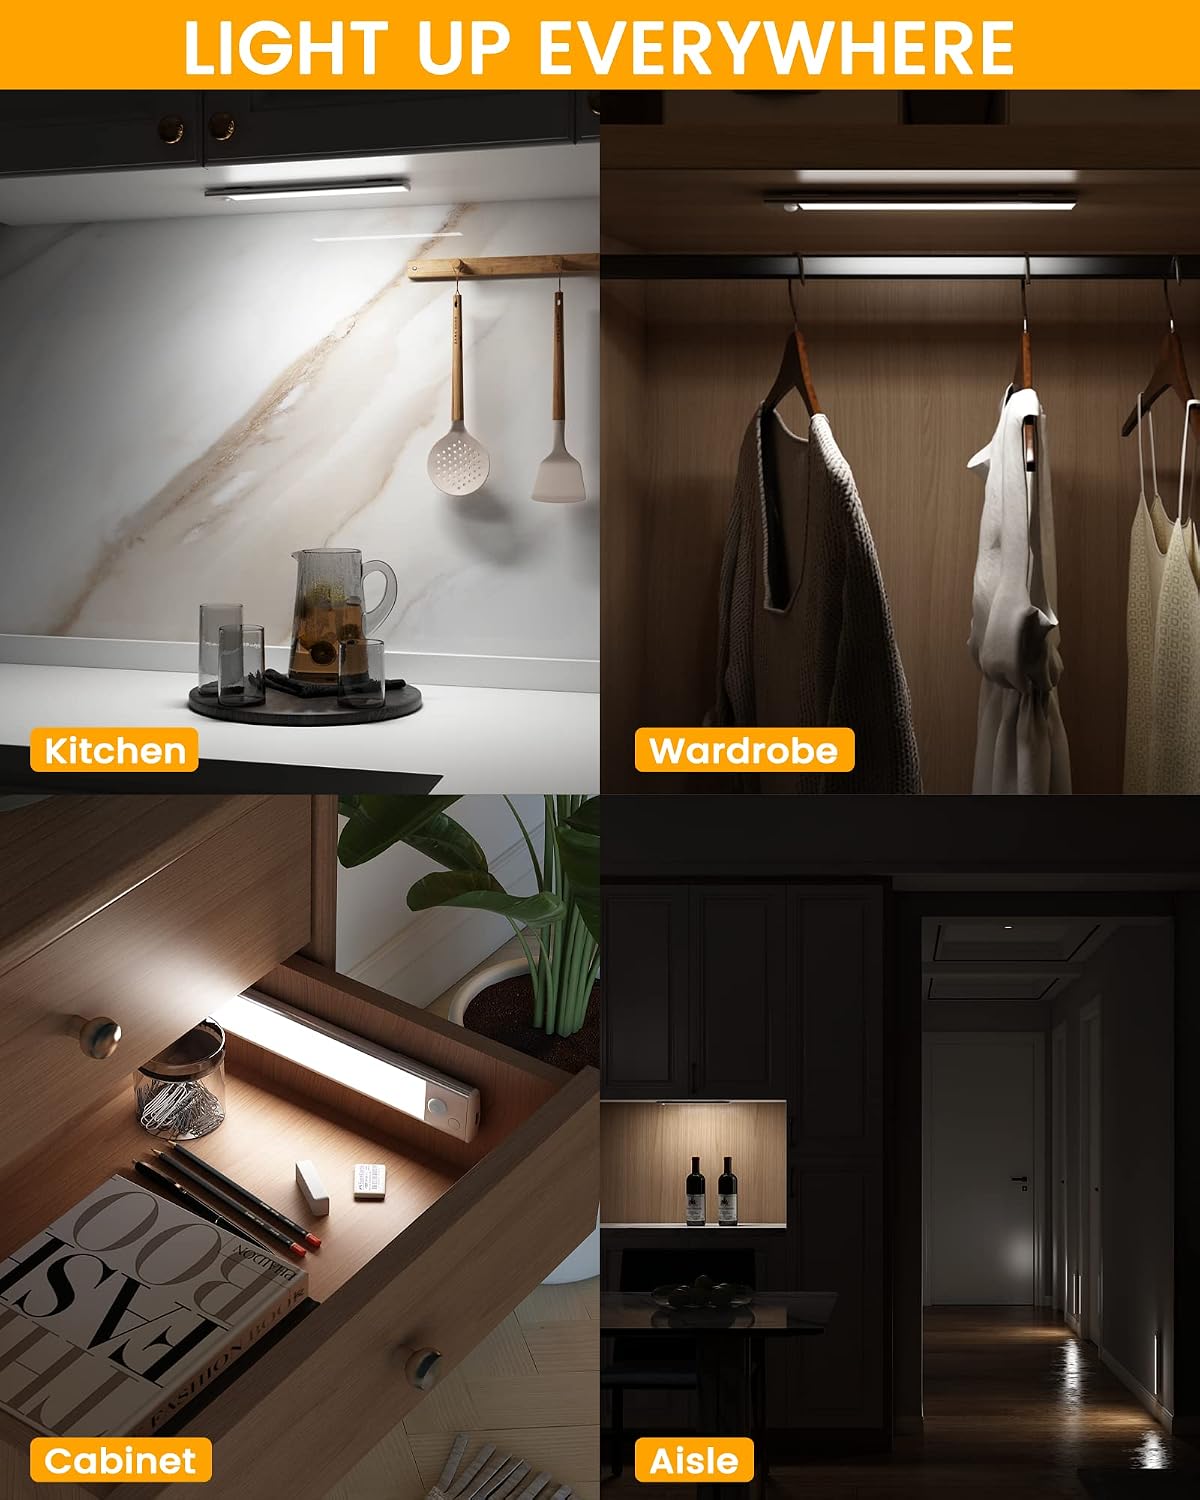
The ASOKO Under Cabinet Lights are sleek, rechargeable LED strips featuring advanced motion sensing capabilities and adjustable brightness. They are ideal for illuminating dark spaces without the need for complex wiring.
Key Features:
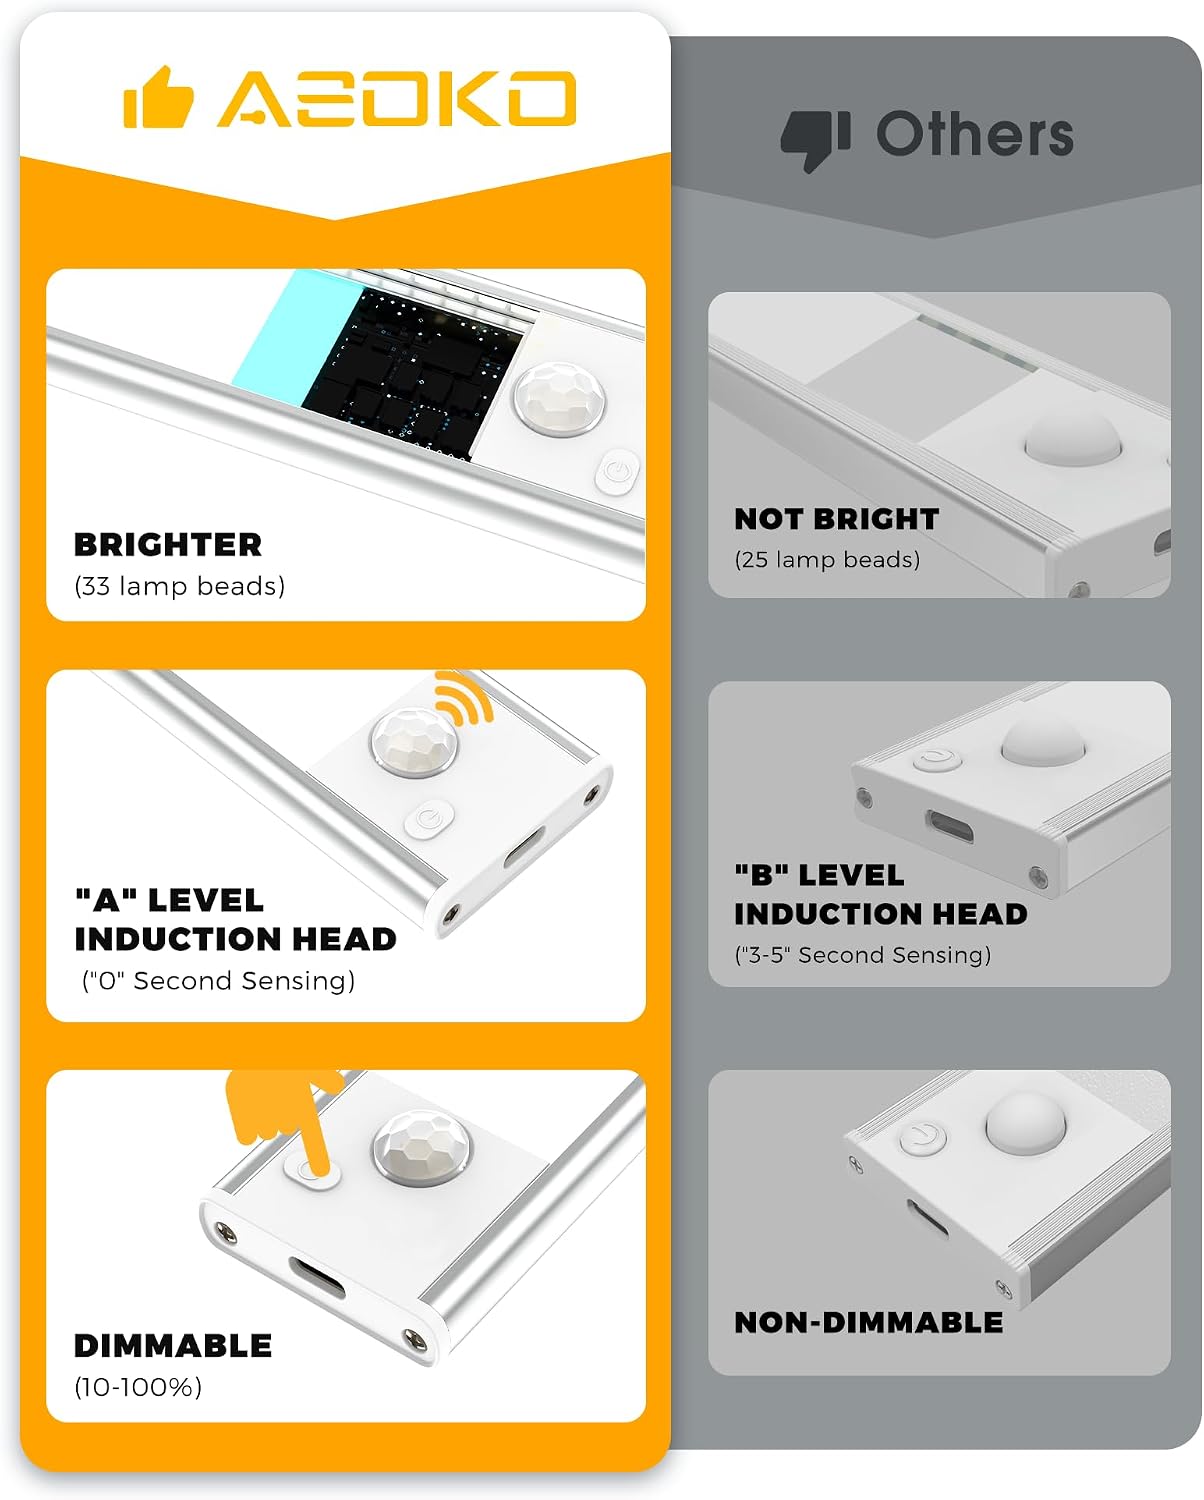
- Enhanced Brightness & Eye-Caring: Equipped with 33-LED lamp beads and an indirect light emission process for brighter, softer illumination that is gentle on the eyes.
- Dimmable (10%-100%): Easily adjust brightness levels to suit your needs.
- 3 Working Modes: Choose between Always-On, Motion Sensor, and Off modes.
- Smart Motion Sensor: Detects movement within a 10ft/120° range in darkness, automatically turning off after 25 seconds of no motion.
- Long-Lasting 1500mAh Battery: Provides extended usage, up to 25 days in motion sensor mode (9 activations/day).
- USB-C Quick Charging: Fully charges in approximately 3 hours.
- Magnetic & Easy Installation: Built-in magnets allow attachment to iron surfaces, or use included adhesive stickers for non-iron surfaces. Lights are easily removable for charging.
Package Contents:
- ASOKO Under Cabinet Lights (3-Pack)
- Magnetic Adhesive Strips
- USB-C Charging Cables
- User Manual

3. Setup and Installation
Charging the Lights:
Before first use, fully charge your ASOKO Under Cabinet Lights. Connect the included USB-C cable to the light bar and a compatible USB power source (e.g., computer, wall adapter, USB outlet). The indicator light will show charging status (e.g., red for charging, green for fully charged).


Official product video demonstrating the features and charging of the ASOKO Under Cabinet Lights.
Mounting the Lights:
The lights feature built-in magnets for easy attachment. For non-iron surfaces, use the provided adhesive magnetic strips:
- Clean the Surface: Ensure the desired installation surface is clean and dry.
- Attach Magnetic Strips: Peel off the protective film from one side of the adhesive magnetic strip and firmly press it onto the clean surface.
- Wait: For optimal adhesion, wait 8 hours after applying the adhesive strips before attaching the light bar.
- Attach Light Bar: Align the light bar with the magnetic strips and let the magnets snap into place.

4. Operating Instructions
Power Button Functions:
The light bar has a single control button for mode selection:
- ON Mode: Quick press the button once to turn the light on continuously.
- AUTO (Motion Sensor) Mode: Quick press the button twice. The light will flash twice to indicate it's in motion sensor mode. In this mode, the light will only activate in dark environments when motion is detected.
- OFF Mode: Quick press the button three times to turn the light off completely.
Brightness Adjustment (Dimming):
To adjust the brightness, press and hold the control button while the light is in ON mode. The brightness will cycle between 10% and 100%. Release the button when the desired brightness is reached.

5. Maintenance
Cleaning:
To clean the light bar, gently wipe it with a soft, dry cloth. Do not use abrasive cleaners or immerse the light in water.
Battery Care:
To prolong battery life, avoid fully discharging the lights frequently. Recharge them when the brightness noticeably diminishes. Store in a cool, dry place if not in use for extended periods.
6. Troubleshooting
Light Not Turning On:
- Check Battery: Ensure the light is fully charged.
- Check Mode: Verify the light is not in OFF mode. Try cycling through the modes (ON, AUTO, OFF).
Motion Sensor Not Working:
- Verify Mode: Ensure the light is set to AUTO (Motion Sensor) mode.
- Ambient Light: The motion sensor only activates in dark environments. Ensure there is not too much ambient light.
- Obstructions: Check for any obstructions blocking the sensor.
Short Battery Life:
- Charging Time: Ensure the light is fully charged (approx. 3 hours).
- Usage Frequency: Frequent activation in motion sensor mode or continuous use in ON mode will deplete the battery faster.
- Brightness Level: Higher brightness settings consume more power.
7. Specifications
| Feature | Specification |
|---|---|
| Model Name | MONI-S |
| Dimensions | 7.8"L x 1.6"W x 0.36"H |
| Material | Aluminum |
| Light Source Type | LED (33-LED lamp beads) |
| Battery Capacity | 1500mAh Lithium Ion |
| Charging Time | Approx. 3 hours (USB-C) |
| Color Temperature | 6000 Kelvin (Silver-White Light) |
| Brightness | 150 Lumen |
| Motion Sensor Range | 10ft / 120° |
| Working Modes | ON, AUTO (Motion Sensor), OFF |
8. Warranty and Support
ASOKO products are manufactured with high-quality materials and undergo strict quality control. For detailed warranty information, please refer to the product packaging or contact ASOKO customer support.
For further assistance, troubleshooting, or product inquiries, please visit the official ASOKO store on Amazon or refer to the comprehensive user guide PDF: