1. Introduction
This instruction manual provides essential information for the proper installation, adjustment, and maintenance of your FAPO Shock Struts Absorber Coilover Kits. Please read this manual thoroughly before attempting any installation or adjustment to ensure safety and optimal performance. Professional installation is recommended.
2. Safety Information
Always prioritize safety during installation and maintenance. Failure to follow safety guidelines can result in serious injury or damage to your vehicle.
- Ensure the vehicle is securely supported on jack stands on a level surface before beginning work. Never rely solely on a jack.
- Wear appropriate personal protective equipment, including safety glasses and gloves.
- Use the correct tools for each step of the installation process.
- Do not modify the coilover components. Unauthorized modifications can compromise safety and performance.
- If you are unsure about any step, consult a qualified automotive technician.
- After installation, perform a wheel alignment to ensure proper vehicle handling and tire wear.
3. Compatibility
These FAPO Shock Struts Absorber Coilover Kits are compatible with the following vehicle models:
- Honda Civic 7th Gen: 2001, 2002, 2003, 2004, 2005 (EM2/ES1 models)
- Honda 7th Gen Civic: EP3 Si
- Acura RSX DC5: 2002, 2003, 2004, 2005, 2006
4. Package Contents
Verify that all components are present and undamaged before beginning installation. If any parts are missing or damaged, contact customer support.
- 2 x Front Coilovers
- 2 x Rear Coilovers
- 2 x Spanner Wrenches (for height adjustment)
- 2 x Adapters for Acura RSX (if applicable)
- Additional Wrenches (for general installation)
5. Features
The FAPO Shock Struts Absorber Coilover Kits are designed with the following key features:
- Mono-tube Shock Design: Provides a larger capacity for oil and gas, contributing to consistent damping performance.
- Adjustable Ride Height: Allows for customization of vehicle stance and ground clearance.
- Adjustable Pre-load Spring Tension: Enables fine-tuning of spring compression for desired ride characteristics.
- Pillow Ball Top Mount: Designed to reduce noise during tuning and improve steering feel and response.
- High Tensile Performance Springs: Tested for durability, with less than 0.04% distortion after 600,000 continuous cycles. Special surface treatment enhances durability and performance.
- Protective Rubber Boots: All inserts are fitted with rubber boots to protect the damper from contaminants and keep components clean.
- Enhanced Handling: Improves vehicle handling performance without significantly sacrificing ride comfort.
- Durable Construction: Most components are made from 6061 aluminum with T6 for increased hardness, offering excellent strength while keeping weight down.
6. Setup and Installation
Installation of coilovers requires mechanical knowledge and specialized tools. If you are not experienced with suspension work, it is highly recommended to seek professional assistance.
6.1. Preparation
- Park the vehicle on a level, hard surface.
- Engage the parking brake.
- Loosen the lug nuts on the wheels to be removed.
- Jack up the vehicle and secure it safely on jack stands. Ensure the vehicle is stable.
- Remove the wheels.
6.2. Removal of OEM Suspension
Carefully remove the original shock absorbers and springs. This typically involves:
- Disconnecting brake lines and ABS sensor wires from the strut assembly.
- Unbolting the lower strut mount from the knuckle.
- Removing the upper strut mount nuts from the engine bay (for front) or trunk/rear interior (for rear).
- Carefully extracting the entire OEM strut/shock assembly.
6.3. Coilover Installation
Install the FAPO coilovers in reverse order of removal. Ensure proper orientation and torque specifications for all bolts and nuts. Use the provided adapters for Acura RSX models if necessary.

Image 1: Front FAPO Coilover Assembly. This image displays a complete front coilover unit, featuring the red spring, silver damper body, and black pillow ball top mount. The lower mounting bracket is integrated into the damper body.

Image 2: Rear FAPO Shock Absorber Assembly. This image shows a complete rear shock absorber with a red spring, silver damper body, and black upper and lower mounts. The design is distinct from the front coilover.

Image 3: Close-up of Front Coilover Lower Mount. A detailed view of the lower mounting bracket of the front coilover, showing its robust construction and attachment points.

Image 4: Close-up of Front Coilover Pillow Ball Top Mount. This image highlights the black pillow ball top mount with visible adjustment bolts, designed for improved steering response and camber adjustment.
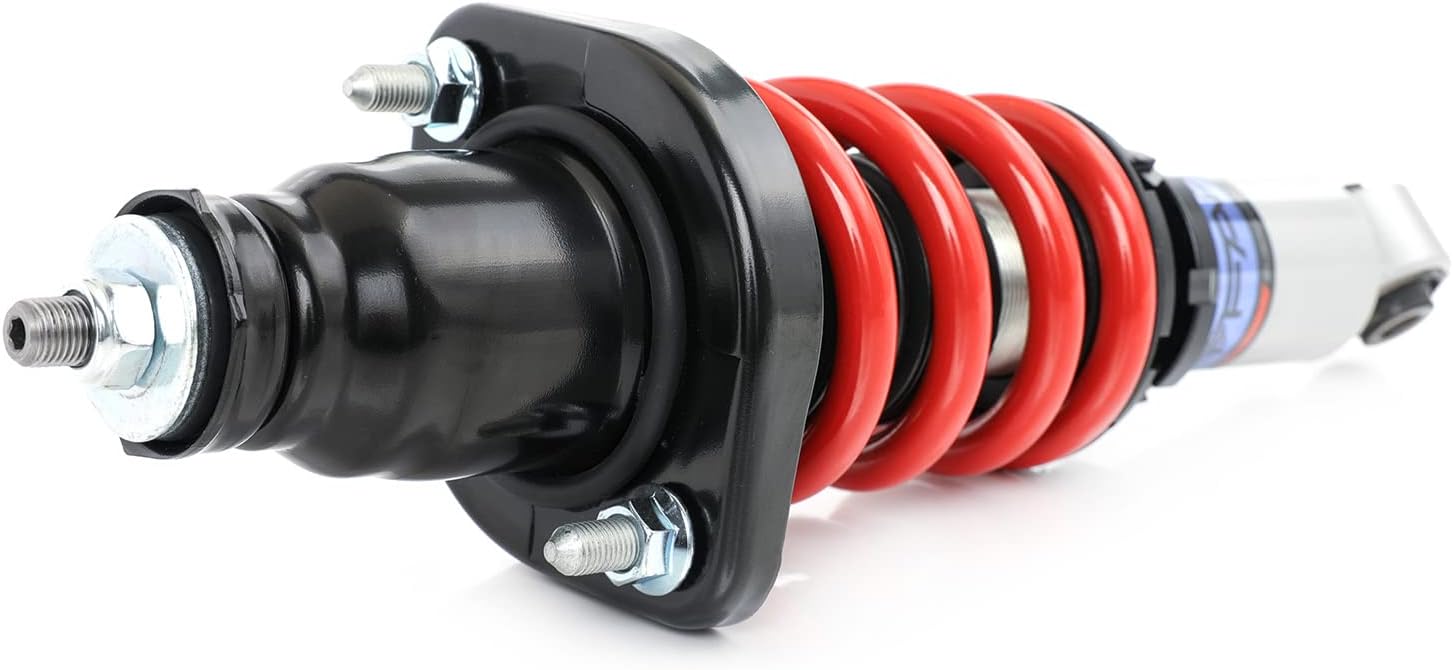
Image 5: Close-up of Rear Shock Absorber Upper Mount. A detailed view of the black upper mount for the rear shock absorber, showing the stud bolts for attachment to the vehicle chassis.
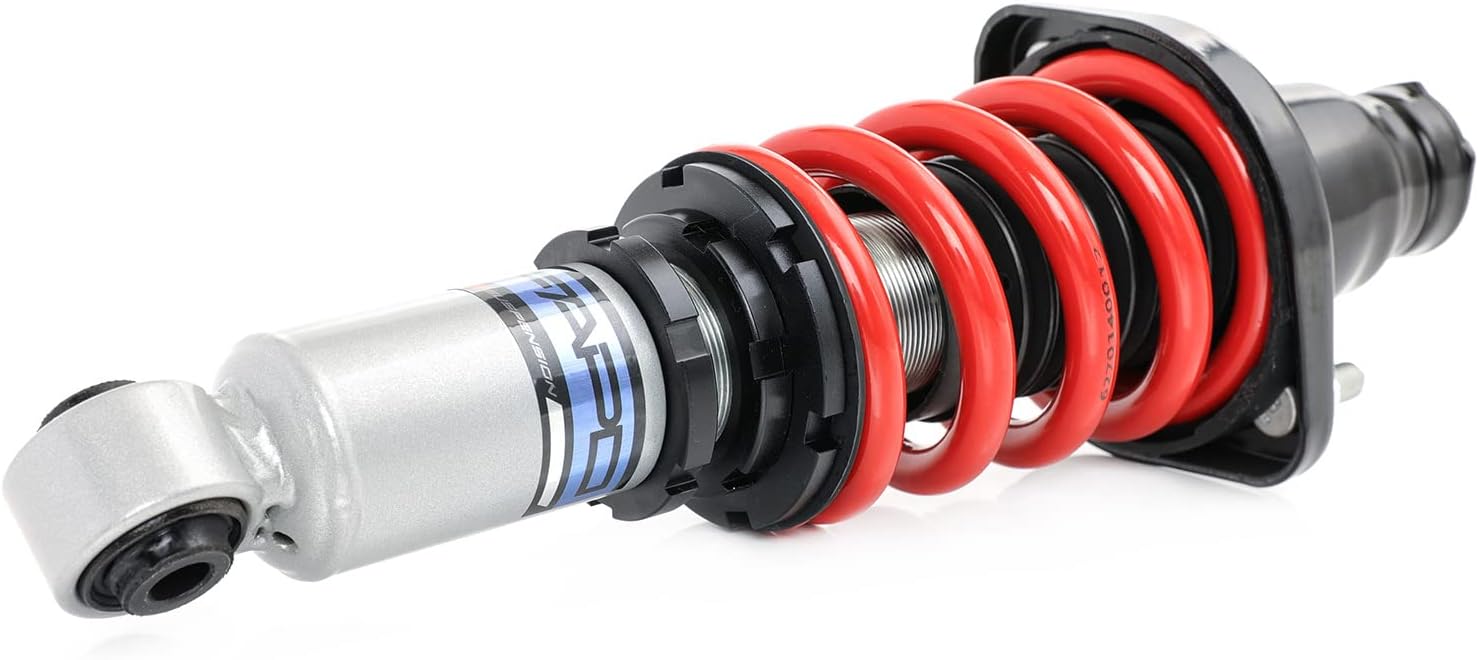
Image 6: Close-up of Rear Shock Absorber Lower Mount and Adjustment. This image focuses on the lower section of the rear shock, showing the threaded body for height adjustment and the lower mounting eyelet.
6.4. Post-Installation
- Reinstall the wheels and torque lug nuts to manufacturer specifications.
- Lower the vehicle.
- Perform a test drive in a safe area to check for any unusual noises or handling characteristics.
- Important: A professional wheel alignment is mandatory after coilover installation to correct camber, caster, and toe settings. Failure to do so can lead to poor handling and premature tire wear.
7. Operating and Adjustment
The FAPO coilovers offer adjustable ride height and pre-load spring tension. Adjustments should be made with the vehicle on a level surface and ideally with the wheels off the ground to relieve tension.
7.1. Ride Height Adjustment
To adjust the ride height, use the provided spanner wrenches to loosen the lower locking collar and then rotate the main body of the coilover or the lower mount to raise or lower the vehicle. Ensure both sides of an axle are adjusted equally to maintain balance. Always re-tighten the locking collar securely after adjustment.
7.2. Pre-load Spring Tension Adjustment
Pre-load adjustment affects the initial compression of the spring. To adjust, loosen the locking collar above the spring and rotate the spring seat. Increasing pre-load can stiffen the initial ride feel, while decreasing it can soften it. Do not over-tighten or over-loosen the spring pre-load. Consult a suspension specialist if unsure about optimal settings.
7.3. Camber Adjustment (Front Only)
The front coilovers feature pillow ball top mounts that allow for camber adjustment. This adjustment should be performed by a professional during a wheel alignment. Loosen the bolts on the top mount and slide the mount to achieve the desired camber angle, then re-tighten securely.
8. Maintenance
Regular maintenance helps prolong the life and performance of your coilovers.
- Regular Cleaning: Keep the coilover bodies, springs, and rubber boots clean from dirt, salt, and debris. Use mild soap and water.
- Inspect Rubber Boots: Periodically check the rubber boots for tears or damage. Damaged boots can allow contaminants to enter the damper, leading to premature wear.
- Check for Leaks: Inspect the damper bodies for any signs of oil leaks. A leaking damper indicates a seal failure and requires replacement.
- Torque Check: After the initial installation and after approximately 500 miles, re-check the torque on all mounting bolts and nuts.
- Corrosion Prevention: In areas with harsh weather or road salt, consider applying a corrosion-inhibiting spray to exposed metal components.
9. Troubleshooting
This section addresses common issues you might encounter with your coilover suspension.
- Unusual Noises (Clunking/Squeaking):
- Check all mounting bolts for proper torque.
- Inspect for loose components or contact between suspension parts and the chassis.
- Ensure spring pre-load is correctly set and locking collars are tight.
- Verify that the pillow ball top mounts are not worn or damaged.
- Poor Handling/Uneven Ride:
- Confirm that ride height and pre-load are set equally on both sides of an axle.
- Ensure a professional wheel alignment has been performed after installation or any significant adjustments.
- Check for damaged or leaking dampers.
- Excessive Bounciness:
- This may indicate a worn or damaged damper. Inspect for leaks.
If troubleshooting steps do not resolve the issue, contact FAPO customer support or a qualified technician.
10. Specifications
| Feature | Specification |
|---|---|
| Model Number | PS002110-1 |
| Front Spring Rate | 10 kg/mm |
| Rear Spring Rate | 12 kg/mm |
| Adjustable Ride Height | Yes |
| Adjustable Camber Plate | Yes (Front Only) |
| Adjustable Damper Force | Non-Adjustable |
| Shock Design | Mono-tube |
| Material | 6061 Aluminum (T6), High Tensile Steel (Springs), Rubber |
| Item Weight | 48 pounds (approximate package weight) |
| Product Dimensions | 24 x 8 x 8 inches (approximate package dimensions) |
11. Warranty and Support
11.1. Warranty Information
FAPO provides a 2-year warranty for any manufacturing defects on these Shock Struts Absorber Coilover Kits from the date of purchase. This warranty covers defects in materials and workmanship under normal use. It does not cover damage caused by improper installation, misuse, accidents, modifications, or normal wear and tear.
To make a warranty claim, please retain your proof of purchase and contact FAPO customer support with a detailed description of the issue.
11.2. Customer Support
For technical assistance, warranty claims, or any questions regarding your FAPO product, please refer to the contact information provided at the point of purchase or on the official FAPO website. When contacting support, please have your product model number (PS002110-1) and purchase details readily available.


