1. Introduction
The MT6071iE is a high-performance 7-inch Human Machine Interface (HMI) designed for industrial control and monitoring applications. Featuring an 800x480 resolution TFT color touch panel, it provides a clear and intuitive interface for operators. This manual will guide you through the installation, operation, and maintenance of your MT6071iE HMI.
2. Product Features
- Multiple Connections: Equipped with three independent serial ports (COM1: RS-232, COM2: RS-485 2w/4w, COM3: RS-485 2w) supporting various protocols for versatile controller and communication integration.
- High Performance: Powered by a Cortex A8 600MHz CPU and 128MB of memory, ensuring fast and responsive operation.
- Vivid Display: Features a 1600 high color saturation display for excellent visual clarity and detail.
- Lightweight Design: Modern lightweight grey two-tone appearance with a thin fuselage for easy handling and installation.
- Compatibility: Project files, installation hole sizes, and communication connections are compatible with older models like WEINTEK MT6070iH and MT6070iE, facilitating hassle-free upgrades.
- Enhanced Stability: Built-in isolated power source effectively prevents power surges and unusual currents, enhancing HMI operational stability.
- Ease of Use: Configured with EasyBuilder Pro software, offering features such as mobile access, operation records, and recipe database management for simplified application development and use.
3. Setup and Installation
Proper installation is crucial for the reliable operation of your MT6071iE HMI. Follow these general steps:
- Mounting: Ensure the mounting surface is flat and stable. Cut an opening of 192 x 138mm (W x H) in the panel. Insert the HMI into the opening and secure it using the provided mounting clips.
- Power Connection: Connect the 24VDC power supply to the designated power terminals. Ensure correct polarity. The HMI has a built-in isolated power source for enhanced stability.
- Serial Communication: Connect your industrial devices (PLCs, controllers) to the HMI's serial ports (COM1, COM2, COM3) using appropriate cables (RS-232, RS-485).
- USB Connections: Utilize the USB Host (USB 2.0 x 1) for connecting external devices like USB drives or keyboards, and the USB Client (USB 2.0 x 1) for PC connection for program downloads.
- Software Configuration: Use the EasyBuilder Pro software on your PC to create and download your HMI project. Refer to the EasyBuilder Pro manual for detailed programming instructions.
4. Operating Instructions
Once powered on and configured, the MT6071iE HMI provides an interactive interface for your industrial processes.
- Touch Screen Navigation: Interact with the HMI by touching the screen. The four-wire resistive touch panel offers precise control.
- Data Entry: Input numerical or textual data using the on-screen keyboard or connected USB keyboard.
- Monitoring: View real-time process data, alarms, and status indicators as configured in your HMI project.
- Recipe Management: If configured, use the recipe database feature to manage and load different production parameters.
- Alarm Handling: Acknowledge and clear alarms as they occur, and review alarm history.
5. Maintenance
Regular maintenance ensures the longevity and optimal performance of your HMI.
- Cleaning: Gently wipe the screen and housing with a soft, damp cloth. Do not use abrasive cleaners or solvents. Ensure the device is powered off before cleaning.
- Environmental Conditions: Operate the HMI within its specified temperature and humidity ranges. Avoid exposure to direct sunlight, excessive dust, or corrosive gases.
- Firmware Updates: Periodically check the manufacturer's website for firmware updates to ensure your HMI has the latest features and bug fixes.
- Connection Checks: Periodically inspect all cable connections for looseness or damage.
6. Troubleshooting
If you encounter issues with your MT6071iE HMI, refer to the following common problems and solutions:
- No Power/Display:
- Check the 24VDC power supply connection and ensure it is within the specified voltage range (24±20%VDC).
- Verify that the power source is active.
- Touch Screen Unresponsive:
- Restart the HMI.
- Ensure the screen is clean and free from debris.
- If the issue persists, the touch panel may require calibration or service.
- Communication Errors:
- Verify cable connections to the serial ports (COM1, COM2, COM3).
- Check communication settings in the HMI project (baud rate, data bits, parity, stop bits) to ensure they match the connected device.
- Confirm the connected device is powered on and functioning correctly.
- Project Download Issues:
- Ensure the USB Client cable is securely connected between the HMI and your PC.
- Verify that the EasyBuilder Pro software is correctly installed and drivers are up to date.
- Check for firewall or antivirus software blocking the connection.
For persistent issues, contact technical support.
7. Specifications
| Category | Parameter | Value |
|---|---|---|
| Display | Monitor Size | 7" TFT |
| Resolution | 800 x 480 | |
| Brightness | 350 cd/m² | |
| Contrast Ratio | 500:1 | |
| Backlight Type | LED | |
| Backlight Life | >30,000 Hours | |
| Display Color | 24 bits | |
| Touch Panel | Type | Four-wire resistive |
| Touch Precision | Length (x) 2%, Width (Y) 2% | |
| Memory | Flash Memory | 128MB |
| RAM | 128MB | |
| Processor | CPU | Cortex A8 32Bit RISC 600MHz |
| I/O | USB Host | USB 2.0 x 1 |
| USB Client | USB 2.0 x 1 | |
| Serial Interface | COM1: RS-232, COM2: RS-485 2w/4w, COM3: RS-485 2w | |
| Perpetual Calendar | Built-in | |
| Power Supply | Input Power | 24±20%VDC |
| Power Consumption | 350mA@24V | |
| Power Isolation | Built-in | |
| Withstand Voltage | 500VAC (1 Minute) | |
| Insulation Resistance | >50MΩ @500VDC | |
| Physical & Environmental | Housing Material | Engineering plastics |
| Dimensions (WxHxD) | 200.3 x 146.3 x 34mm | |
| Hole Size | 192 x 138mm | |
| Weight | Approx. 0.6 kg | |
| Shock Resistance | 10 to 25Hz (X,Y,Z 2G 30 minute) |
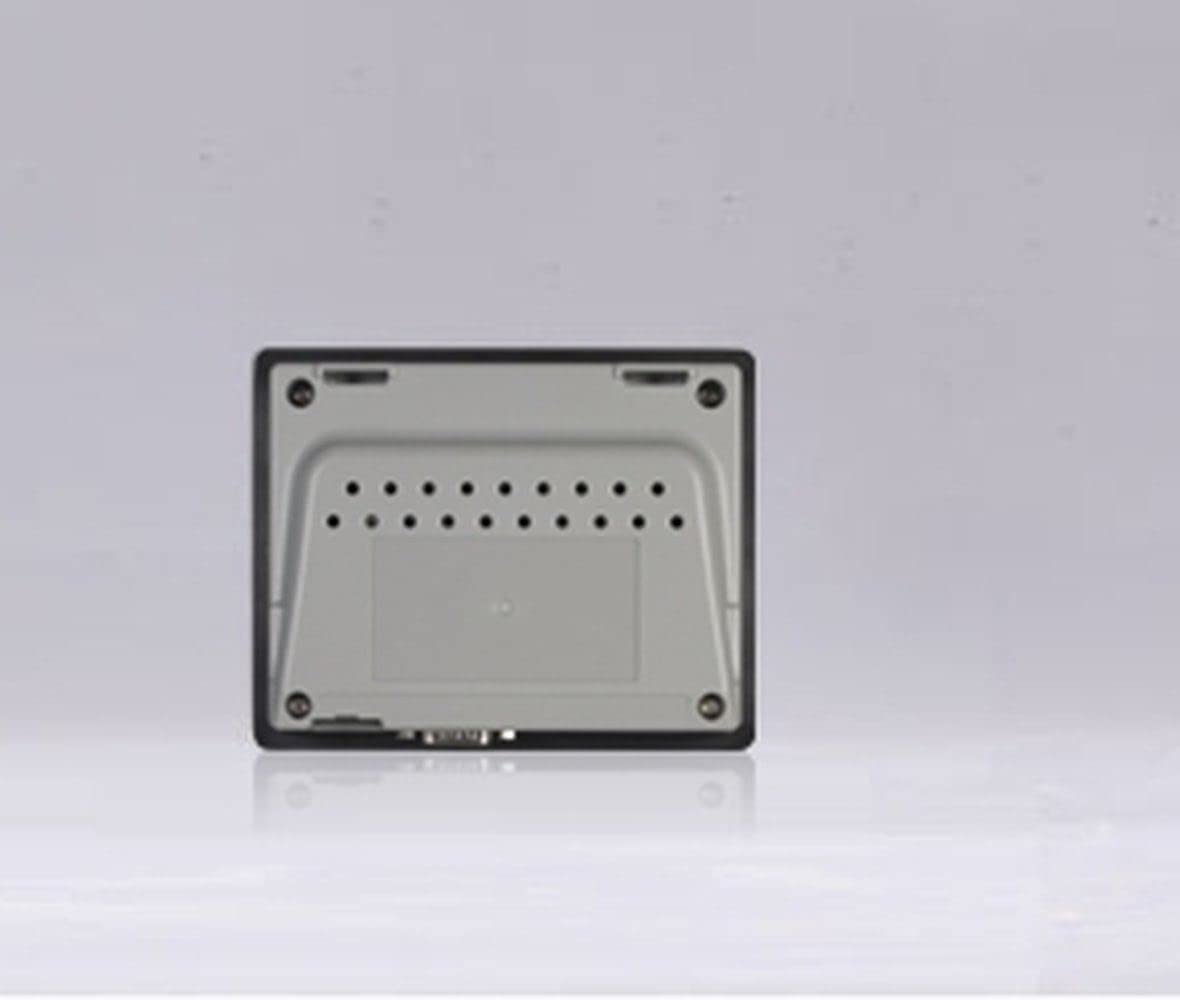
8. Product Views


9. Support and Warranty
For technical assistance, product inquiries, or warranty information, please contact MuchoWow customer support through their official channels. Refer to your purchase documentation for specific warranty terms and conditions.
Manufacturer: ElectricalZoo
Date First Available: December 12, 2021

