
1. Introduction
This manual provides detailed instructions for the installation, operation, and maintenance of the Ideal Standard A2180AA Conversion Kit. This kit is designed to convert an existing Idealmix A5400 thermostat to an A5410 model, ensuring continued functionality and performance. Please read this manual thoroughly before beginning installation or operation to ensure proper use and safety.
2. Safety Information
- Always turn off the main water supply before attempting any installation or maintenance.
- Ensure all connections are secure and watertight to prevent leaks.
- If you are unsure about any step, consult a qualified plumber.
- Wear appropriate personal protective equipment (PPE) such as gloves and eye protection during installation.
- Keep small parts out of reach of children.
3. Package Contents
The Ideal Standard A2180AA Conversion Kit typically includes the following components:
- A2180AA Conversion Unit (Idealmix A5410 equivalent)
- Required gaskets and seals for connection
- Installation instructions (this manual)
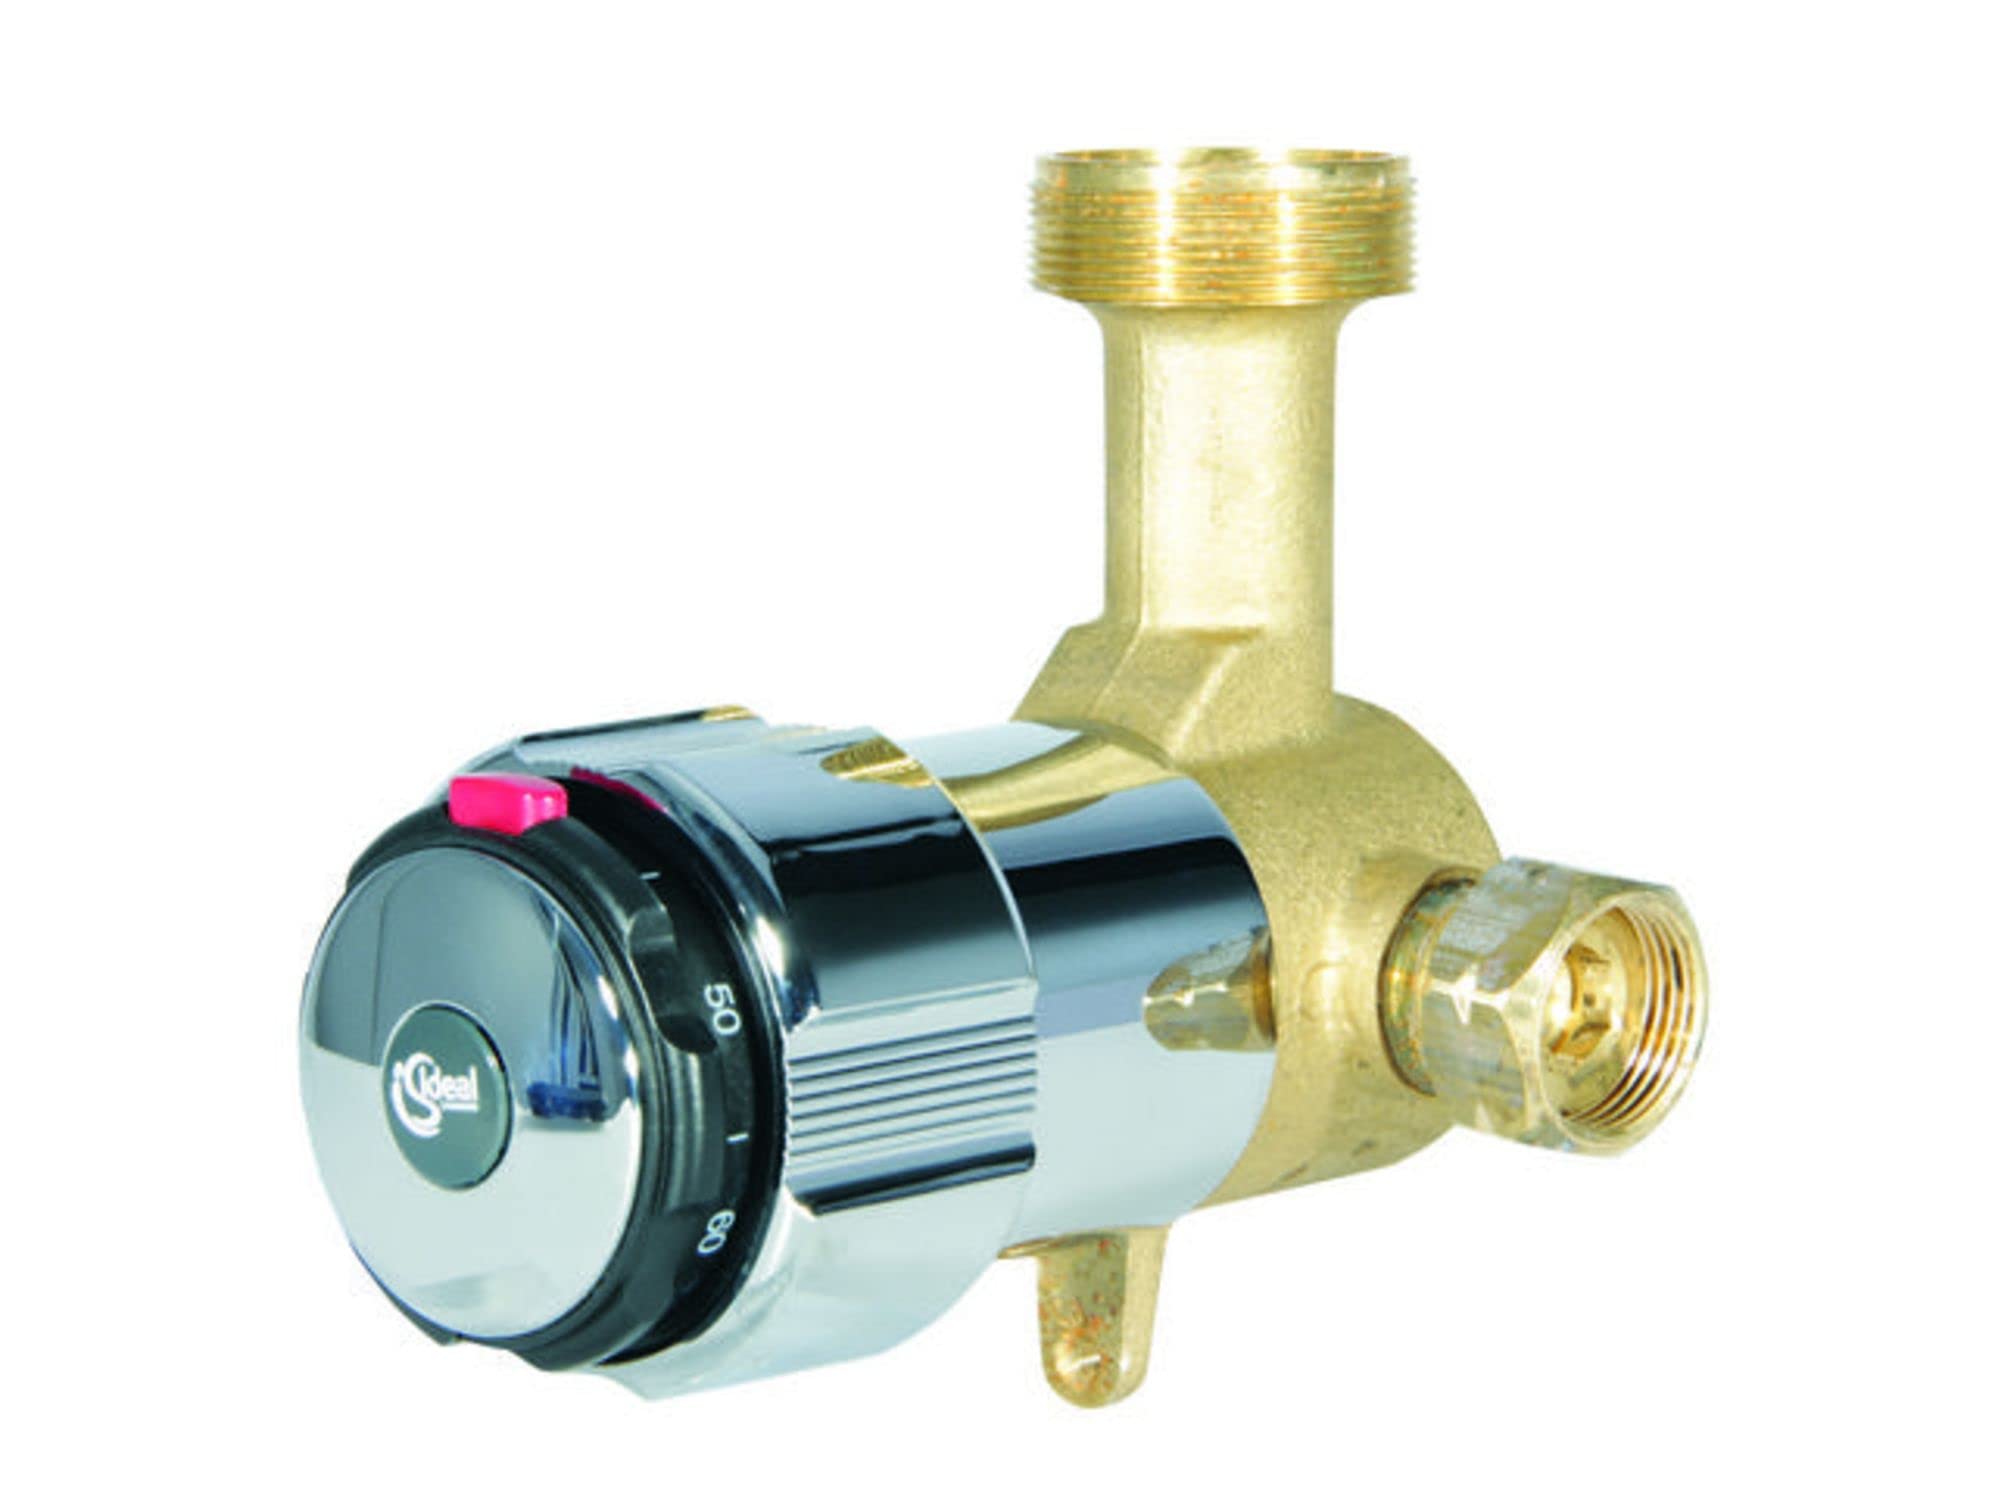
Image 1: Ideal Standard A2180AA Conversion Kit. This image displays the main components of the conversion kit, including the thermostat unit and associated seals, as typically found in the package.
4. Setup and Installation
This section details the steps to replace an Idealmix A5400 thermostat with the A2180AA conversion unit (A5410 equivalent).
- Prepare for Installation:
- Turn off the main water supply to the shower or bath area.
- Drain any residual water from the pipes by opening the existing faucet.
- Gather necessary tools, which may include a wrench, screwdriver, and cleaning cloths.
- Remove Existing A5400 Unit:
- Carefully remove the handles and any trim plates from the existing A5400 thermostat.
- Unscrew and detach the old A5400 thermostat cartridge or unit from the wall fitting. Be prepared for some water spillage.
- Clean the housing thoroughly to remove any debris or mineral deposits.
- Install A2180AA Conversion Unit (A5410):
- Ensure all new gaskets and seals provided with the A2180AA kit are correctly positioned on the conversion unit.
- Insert the A2180AA conversion unit into the existing wall fitting. Align it carefully.
- Secure the unit by tightening the retaining screws or nuts. Note: Some users have reported that tightening the upper connection can be tight and tricky. Exercise patience and ensure proper alignment to avoid cross-threading or damage.
- Do not overtighten, as this can damage the seals or the unit. Tighten until snug and secure.
- Reassemble and Test:
- Reattach any trim plates and handles that were removed.
- Slowly turn the main water supply back on.
- Check for any leaks around the newly installed unit. If leaks occur, turn off the water, re-check connections, and tighten as necessary.
- Test the hot and cold water flow and temperature adjustment.
5. Operating Instructions
The Idealmix A5410 thermostat, once installed, provides precise control over water temperature and flow.
- Temperature Control: Use the temperature control handle (typically on the right) to adjust the water temperature. Rotate towards the red indicator for hotter water and towards the blue indicator for colder water.
- Flow Control: Use the flow control handle (typically on the left) to turn the water on/off and adjust the water volume. Rotate to increase or decrease the flow.
- Safety Stop: The thermostat usually includes a safety stop at 38°C (100°F) to prevent accidental scalding. To exceed this temperature, you may need to press a button or override mechanism on the temperature handle while rotating.
6. Maintenance
Regular cleaning and maintenance will ensure the longevity and optimal performance of your Idealmix thermostat.
- Cleaning: Clean the chrome-plated surfaces with a soft cloth and mild soap or a non-abrasive bathroom cleaner. Avoid using harsh chemicals, abrasive sponges, or cleaners containing acids or chlorine, as these can damage the finish.
- Limescale Removal: In hard water areas, limescale can build up. Use a descaling solution specifically designed for bathroom fixtures, following the product's instructions.
- Cartridge Replacement: If you experience persistent temperature fluctuations or reduced flow over time, the thermostat cartridge may need replacement. This is typically a task for a qualified plumber.
7. Troubleshooting
| Problem | Possible Cause | Solution |
|---|---|---|
| No hot water or inconsistent temperature. |
|
|
| Water leaks from the unit. |
|
|
| Low water flow. |
|
|
8. Specifications
| Model Number | A2180AA |
| Manufacturer | Ideal-Standard |
| Item Weight | 1.94 kg |
| Material | Chrome-Plated (as per product title) |
| Compatibility | Converts Idealmix A5400 to A5410 |
9. Warranty and Support
Ideal Standard products are manufactured to high standards and come with a manufacturer's warranty. For specific warranty terms and conditions, please refer to the documentation provided with your purchase or visit the official Ideal Standard website.
For technical support, spare parts, or further assistance, please contact Ideal Standard customer service. Contact details can typically be found on the manufacturer's website or on your purchase receipt.
Website: www.idealstandard.com (This is a generic link, please refer to your region-specific Ideal Standard website)


