
1. Product Overview
The Holosun HM3XT is a compact, high-performance 3X magnifier designed for enhanced target acquisition and precision. Constructed from durable Grade 5 Titanium, it offers exceptional strength and resistance to impact, shock, and saltwater. Its multi-coated lenses ensure maximum light transmission and reduced glare for clear viewing. The magnifier features a quick-release, flip-to-side picatinny/STANAG mount, providing seamless transitions between unmagnified and 3X magnified views. It supports both Absolute and Lower 1/3 Co-Witness mounting solutions.
Key features include 2.75 inches of eye relief, nitrogen filling for fog resistance, and IP67 certified water resistance. Windage and elevation adjustments allow for precise zeroing.
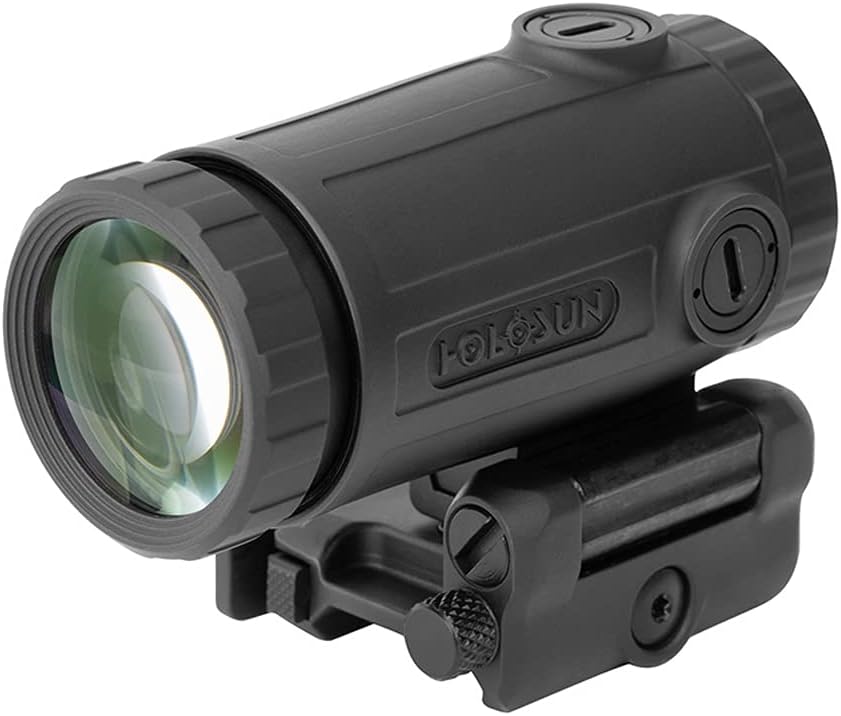
Figure 1: Front-angled view of the Holosun HM3XT Magnifier with its quick-release mount.
2. What's in the Box
Upon opening your Holosun HM3XT package, you will find the following components:
- (1) HM3XT Magnifier
- (1) Picatinny QD Mount (Pre-installed)
- (1) Height Spacer with mounting hardware
- (1) T10 L Key (Multi-tool for adjustments)
- (1) Cleaning Cloth
- (1) User Manual (This document)

Figure 2: Side view of the Holosun HM3XT Magnifier, showing the quick-release mount.
3. Setup and Installation
3.1 Mounting the Magnifier
The HM3XT comes with a pre-installed Picatinny Quick Detach (QD) mount. This mount allows for rapid attachment and detachment from any Picatinny or STANAG rail system.
- Attach to Rail: Open the QD lever on the mount. Align the mount with your firearm's Picatinny or STANAG rail. Press down firmly and close the QD lever until it locks securely. Ensure the magnifier is positioned behind your primary optic (e.g., red dot sight).
- Adjust Tension (if necessary): If the QD mount feels too loose or too tight, use the included T10 L Key to adjust the tension screw on the side of the mount. Turn clockwise to tighten, counter-clockwise to loosen. Test the lever action for secure lock-up.
3.2 Co-Witness Options
The HM3XT supports two co-witness heights:
- Absolute Co-Witness: Without the included height spacer, the magnifier provides a 1.41-inch center height, aligning with absolute co-witness red dot sights.
- Lower 1/3 Co-Witness: To achieve a 1.63-inch center height for lower 1/3 co-witness, install the provided height spacer between the magnifier and the QD mount using the included mounting hardware.

Figure 3: Angled view highlighting the quick-release mount mechanism.
4. Operating the Magnifier
4.1 Adjusting Focus (Diopter)
To achieve a clear and sharp image, adjust the diopter on the eyepiece:
- Look through the magnifier at a distant object.
- Rotate the diopter adjustment ring (the ring closest to your eye) until the image appears perfectly sharp and clear.
- Once set, this adjustment typically does not need to be changed unless a different user operates the magnifier.
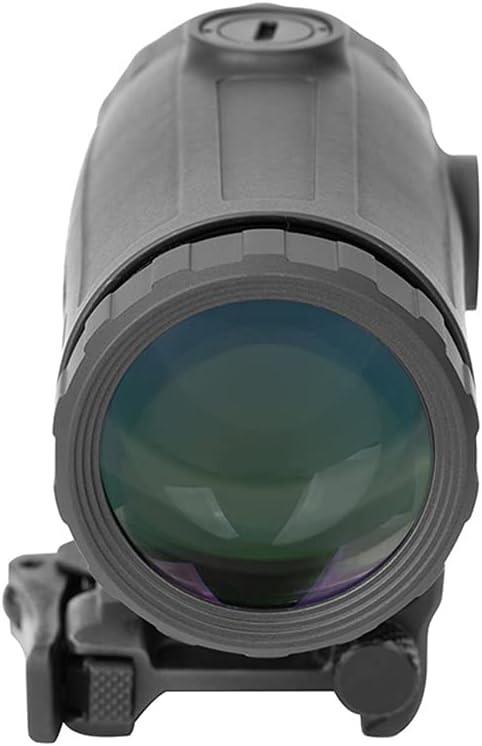
Figure 4: Front view of the magnifier, showing the objective lens.
4.2 Windage and Elevation Adjustment
The HM3XT features windage and elevation adjustment turrets to center the reticle of your primary optic within the magnifier's field of view. These adjustments do not affect the zero of your primary optic.
- Use the included T10 L Key or a flathead screwdriver to turn the windage (side) and elevation (top) adjustment screws.
- Adjust until the red dot or reticle from your primary optic is perfectly centered when viewed through the magnifier.
4.3 Flip-to-Side Functionality
The flip-to-side mount allows for quick engagement or disengagement of the magnifier:
- To engage magnification, simply push the magnifier forward until it locks into place behind your primary optic.
- To disengage magnification, pull the magnifier towards you and pivot it to the side, out of your line of sight.
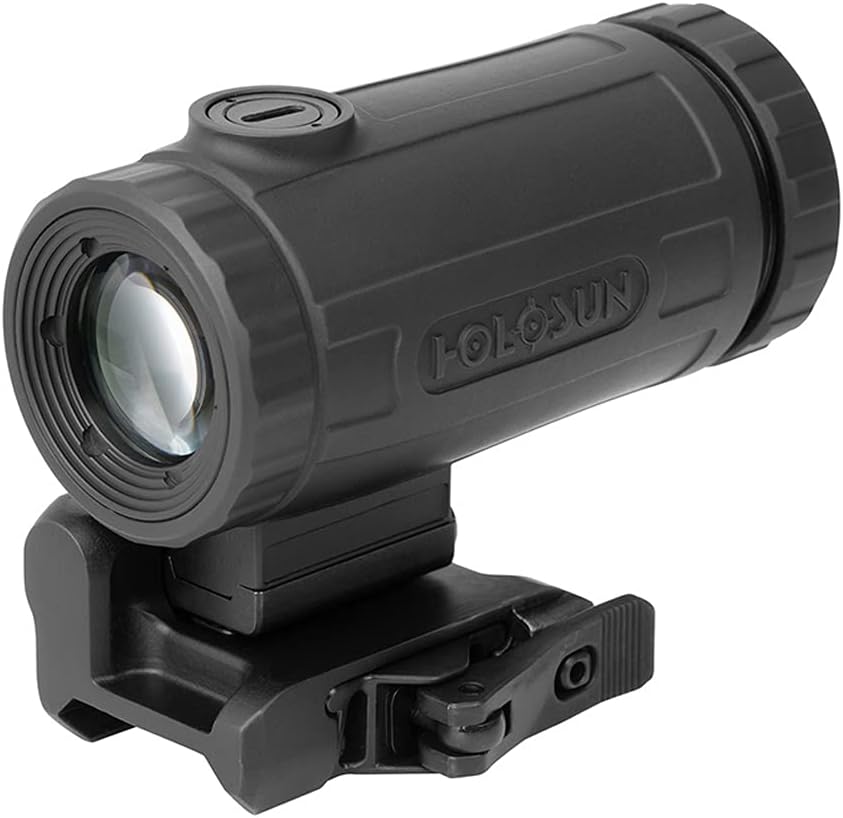
Figure 5: Rear view of the magnifier, showing the eyepiece and diopter adjustment ring.
5. Maintenance
5.1 Cleaning the Lenses
To maintain optimal optical clarity, keep the lenses clean:
- Gently brush off any loose dust or debris using a soft lens brush or compressed air.
- Use the provided cleaning cloth or a clean, soft microfiber cloth to wipe the lens surfaces. For stubborn smudges, a small amount of lens cleaning solution designed for optics can be applied to the cloth, not directly to the lens.
- Avoid using abrasive materials or harsh chemicals, as these can damage the multi-coatings.
5.2 Storage
When not in use, store the magnifier in a cool, dry place, ideally in its original packaging or a protective case, to prevent dust accumulation and accidental damage. The recommended storage temperature is -40°C to 70°C (-40°F to 158°F).
6. Troubleshooting
6.1 Blurry Image
- Ensure the diopter adjustment is correctly set for your eye (refer to Section 4.1).
- Check if the lenses are clean and free from smudges or debris (refer to Section 5.1).
6.2 Reticle Not Centered
- Adjust the windage and elevation turrets on the magnifier to center your primary optic's reticle (refer to Section 4.2).
6.3 Loose Mount
- Tighten the QD mount tension screw using the T10 L Key (refer to Section 3.1).
7. Specifications
| Feature | Specification |
|---|---|
| Model | HM3XT |
| Magnification | 3X |
| Body Material | Grade 5 Titanium |
| Mount Type | Picatinny QD Mount (Flip-to-Side) |
| Eye Relief | 2.75 inches |
| Field of View | 33.3 feet at 100 yards |
| Water Resistance | IP67 Certified |
| Fog Resistance | Nitrogen Filled |
| Diopter | +/- 3 Diopters |
| Transmittance | 80% |
| Dimensions (L x W x H) | 3.15" x 1.77" x 2.44" |
| Weight | 10.5 Oz |
| Storage Temperature | -40°C to 70°C (-40°F to 158°F) |
8. Warranty and Support
8.1 Warranty Information
The Holosun HM3XT Magnifier comes with a Limited Lifetime Warranty. Please refer to the official Holosun website or the warranty card included in your package for full details and registration instructions.
8.2 Customer Support
For technical assistance, troubleshooting, or warranty claims, please visit the official Holosun website or contact their customer support directly. You can find more information and contact details at www.holosun.com.


