1. Introduction
This manual provides essential instructions for the proper assembly, installation, and maintenance of your Sorandy C60 Mini ITX HTPC Desktop Computer Case. Please read this manual thoroughly before proceeding with any installation or operation to ensure optimal performance and longevity of your system.
2. Product Overview
The Sorandy C60 is a compact and robust Mini ITX HTPC desktop computer case designed for various applications including home video computers, hotel computers, and self-service terminals. Constructed from high-quality SECC material, it offers excellent durability and efficient heat dissipation.
Key Features:
- Efficient Heat Dissipation: Features an anodized sandblasting process for effective thermal management.
- Durable Construction: Made from high-quality SECC material, ensuring robustness and resistance to deformation.
- Professional Design: Compatible with Mini ITX 170mm x 170mm or M-ATX 170mm x 190mm motherboards, equipped with multiple expansion holes.
- Compact and Exquisite: Lightweight with a delicate texture and compact size, suitable for horizontal, vertical, or wall-mounted placement.
- Versatile Application: Ideal for home entertainment, hospitality, and self-service computing environments.
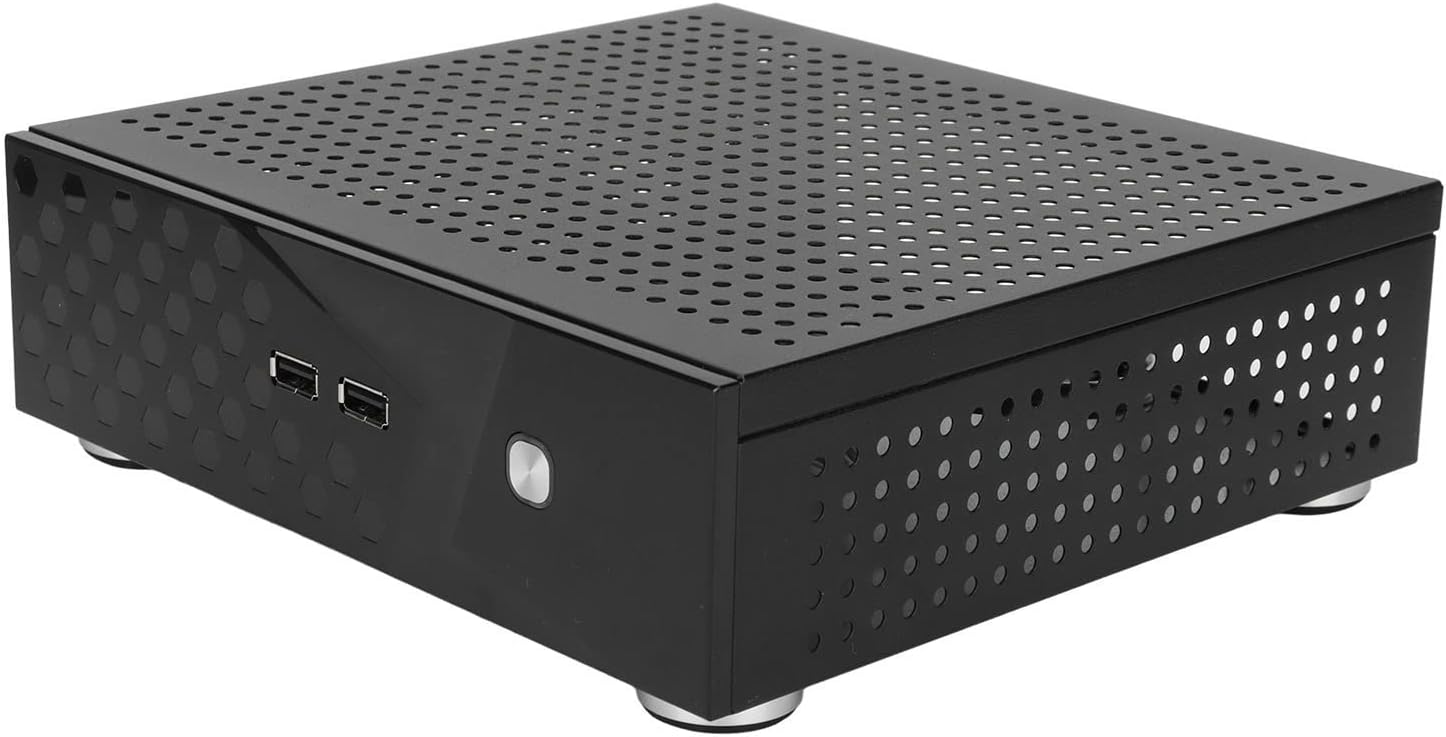
Figure 2.1: Front-side view of the Sorandy C60 Mini ITX HTPC Desktop Computer Case, showcasing its compact design and ventilation holes.
3. Setup Instructions
Follow these steps to configure your internal hardware within the Sorandy C60 computer case. Ensure all components are compatible with the case specifications before beginning.
- Prepare the Case: Unpack the computer case and place it on a stable, flat surface. Remove the top panel by unscrewing the retaining screws.
- Install Motherboard: Carefully align your Mini ITX (170mm x 170mm) or M-ATX (170mm x 190mm) motherboard with the standoffs inside the case. Secure it with the provided screws.
- Install CPU Cooler: Install your CPU cooler, ensuring its height does not exceed 45mm.
- Install Storage Drives: Install up to two 2.5-inch hard drives (under 35mm height) or one 3.5-inch hard drive (under 20mm height) plus one 2.5-inch drive. Secure them using the appropriate screws.
- Connect Front Panel Cables: Connect the front panel USB 2.0 ports, power button, and other expansion port cables (WIFI, DC power, COM) to their respective headers on the motherboard. Refer to your motherboard manual for specific header locations.
- Route Cables: Use the included cable ties to manage internal cables, ensuring they do not obstruct airflow or interfere with other components.
- Close the Case: Once all components are installed and connected, reattach the top panel and secure it with the screws.
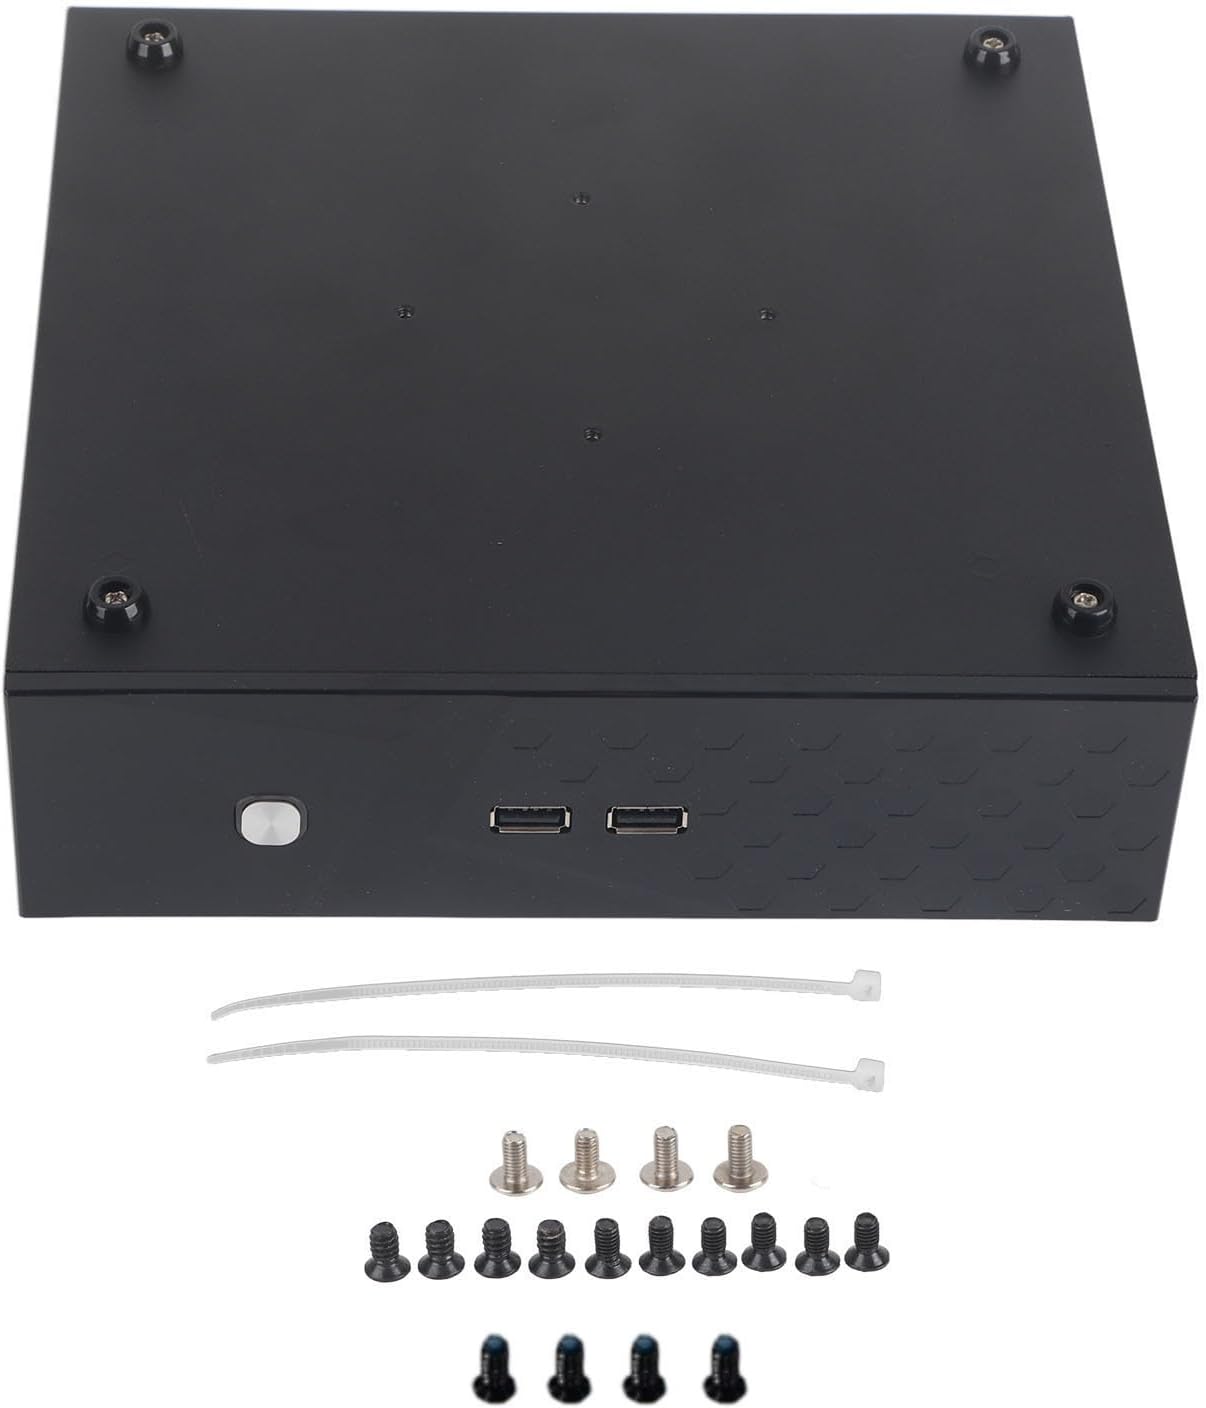
Figure 3.1: The Sorandy C60 case shown with the included accessories, including various screws for component installation and cable ties for organization.
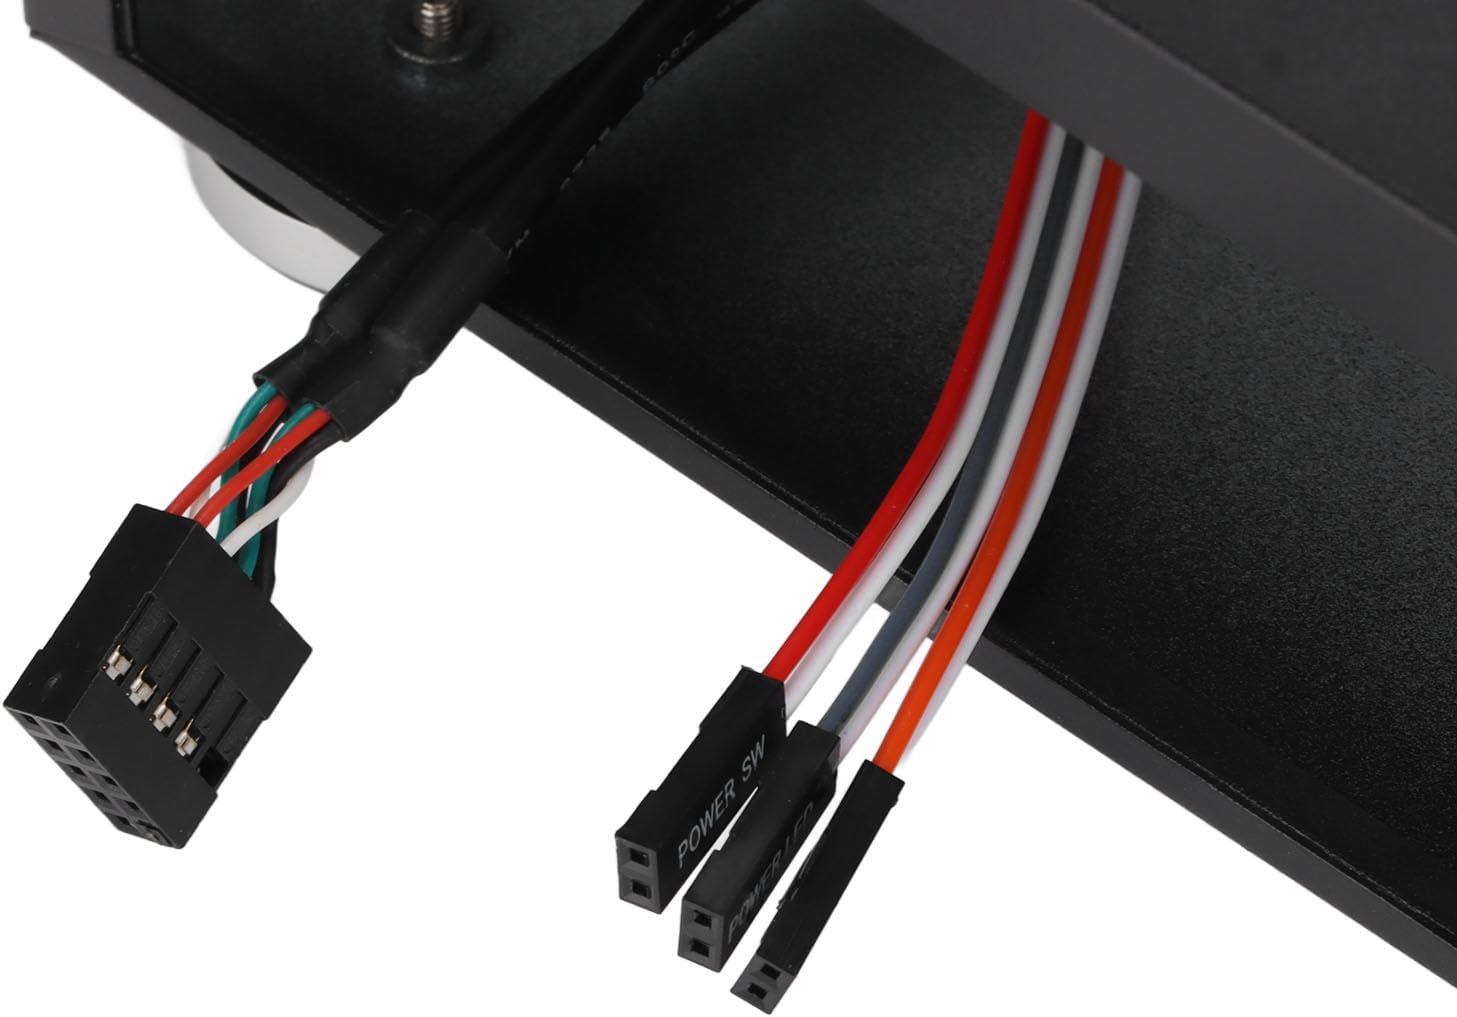
Figure 3.2: A close-up view of the internal cables, including the USB 2.0 header and front panel connectors (Power SW, Power LED), ready for connection to the motherboard.
4. Operating Instructions
After successful assembly, connect your peripherals (monitor, keyboard, mouse) and power supply to the system. Press the power button on the front panel to start your computer. Ensure the case is placed in a location with adequate ventilation to maintain optimal operating temperatures.

Figure 4.1: The front panel of the Sorandy C60 case, featuring two USB 2.0 ports and the power button for system operation.
5. Maintenance
Regular maintenance helps ensure the longevity and performance of your computer system.
- Cleaning: Periodically clean the exterior of the case with a soft, dry cloth. For internal cleaning, use compressed air to remove dust from components and ventilation holes. Ensure the system is powered off and unplugged before cleaning.
- Ventilation: Ensure that the ventilation holes on the case are not obstructed. Proper airflow is crucial for heat dissipation and preventing component overheating.
- Cable Management: Periodically check internal cable routing to ensure no cables are interfering with fans or airflow.

Figure 5.1: Side view of the Sorandy C60 case, highlighting the numerous ventilation holes designed to facilitate efficient airflow and heat dissipation.
6. Troubleshooting
This section provides general guidance for common issues. For more complex problems, consult a qualified technician or the manufacturer's support.
- System Does Not Power On:
- Check if the power supply is properly connected to the wall outlet and the motherboard.
- Ensure the front panel power button cable is correctly connected to the motherboard header.
- Verify that the power supply unit (PSU) switch is in the 'ON' position.
- No Display Output:
- Confirm that the monitor is connected to the correct video output port on your graphics card or motherboard.
- Ensure all internal components, especially RAM and graphics card (if applicable), are seated correctly.
- Overheating Issues:
- Verify that the CPU cooler is properly installed and making good contact with the CPU.
- Ensure all case fans (if installed) are functioning correctly and not obstructed.
- Clean any dust accumulation from the case and components.
7. Specifications
| Feature | Specification |
|---|---|
| Brand | Sorandy |
| Model Number | C60 (Sorandyy9vf26utq77456) |
| Item Type | Desktop Computer Case |
| Material | SECC |
| Color | Black |
| Product Dimensions (L x W x H) | Approx. 210 mm x 200 mm x 60 mm (8.3 in x 7.9 in x 2.4 in) |
| Compatible Motherboard | Mini ITX (170 mm x 170 mm), M-ATX (170 mm x 190 mm) |
| Compatible CPU Cooler Height | Less than 45 mm |
| Compatible Hard Drive | 2 x 2.5-inch (under 35 mm height) or 1 x 3.5-inch HD (under 20 mm height) + 1 x 2.5-inch (under 35 mm height) |
| Front Interface Type | 2 x USB 2.0 |
| Expansion Hole Type | 2 x WIFI holes, 1 x Full-height panel hole, 1 x DC power hole, 1 x COM hole |
| Placement Options | Horizontal, Vertical, Wall-mounted |
| Cooling Method | Air |
| Item Weight | 12.3 Grams |
| Country of Origin | China |
8. Package Contents
The following items are included in your product package:
- 1 x Sorandy C60 Desktop Computer Case
- 18 x Screws (various types for component installation)
- 2 x Cable Ties
9. Warranty and Support
For warranty information, technical support, or any inquiries regarding your Sorandy C60 Mini ITX HTPC Desktop Computer Case, please refer to the seller's documentation or contact the point of purchase. Keep your proof of purchase for warranty claims.


