Introduction
This manual provides detailed instructions for the safe and effective use of your pxton PX-8S-01 two-way radio. Please read this manual thoroughly before operating the device to ensure optimal performance and longevity.
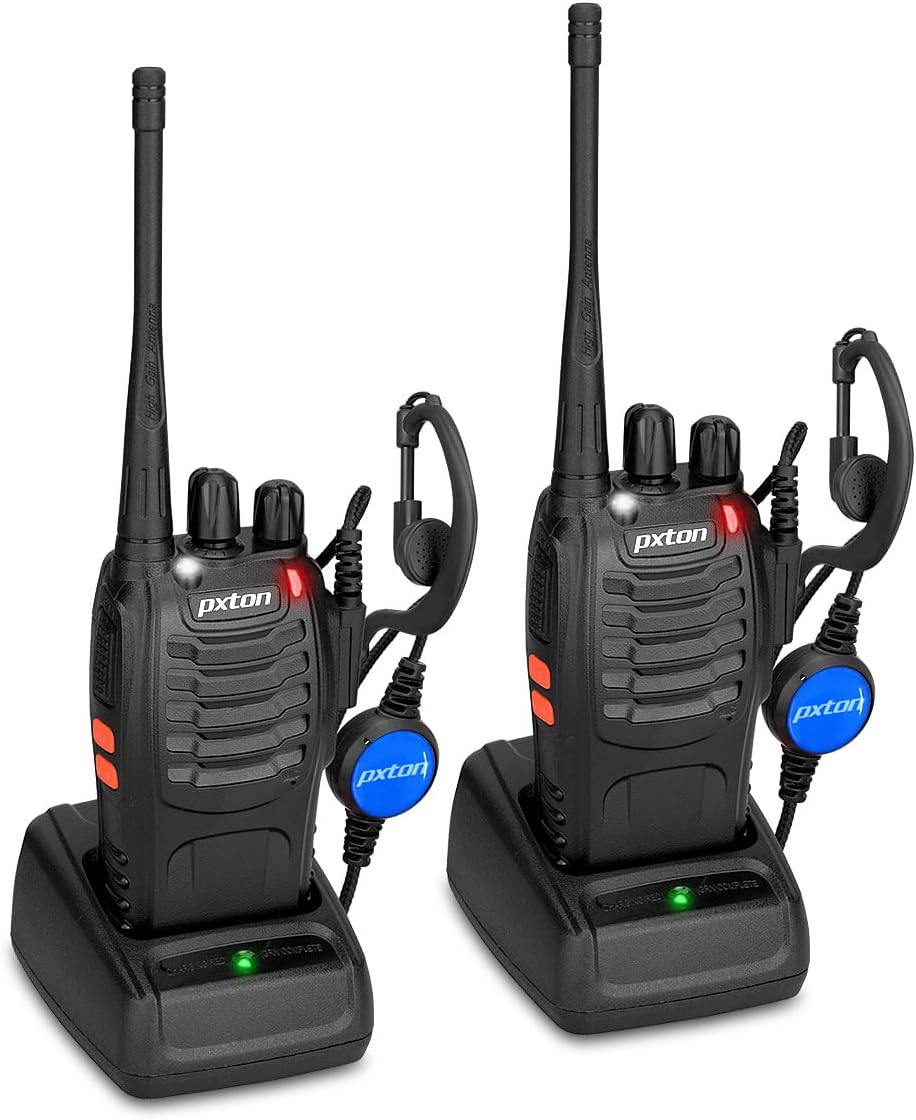
Image: Two pxton PX-8S-01 two-way radios with charging bases and earpieces.
Package Contents
Verify that all items are present in your package:
- pxton PX-8S-01 Two-Way Radio (2 units)
- Lithium-Ion Battery (2 units)
- USB Charger (2 units)
- Upgraded Earpiece (2 units)
- Belt Clip (2 units)
- Wrist Strap (2 units)
- Antenna (2 units)
- User Manual (1 unit)

Image: Contents of the pxton PX-8S-01 package.
Product Overview
Familiarize yourself with the components of your pxton PX-8S-01 two-way radio:

Image: Labeled diagram of the pxton PX-8S-01 two-way radio components.
- Integrated Sensitive Antenna: For transmitting and receiving signals.
- Channel Switch: Rotary knob to select one of the 16 available channels.
- Power Switch/Volume Control: Rotary knob to turn the radio on/off and adjust the volume.
- Flashlight: Built-in LED light for illumination.
- LED Indicator: Displays radio status (e.g., transmitting, receiving, charging).
- PTT Button (Push-to-Talk): Press and hold to transmit, release to receive.
- MONI Button (Monitor): Press to temporarily disable squelch and listen for weak signals.
- Flashlight Button: Activates the built-in flashlight.
- SP/MIC Jacks: Ports for connecting external audio accessories like earpieces or speaker microphones.
- Clear Speaker: Outputs received audio.
- Built-in Microphone: Captures your voice for transmission.
Setup
1. Battery Installation
- Ensure the radio is powered off.
- Align the battery pack with the grooves on the back of the radio.
- Slide the battery pack upwards until it clicks into place.
- To remove, press the release latch (if present) and slide the battery downwards.
2. Charging the Battery
- Connect the USB charger to a power source.
- Place the radio with the battery installed into the charging cradle.
- The LED indicator on the charger will show the charging status (e.g., red for charging, green for fully charged).
- A full charge from 0 capacity typically takes 3-4 hours.
3. Attaching Accessories
- Antenna: Screw the antenna clockwise onto the connector on top of the radio until it is finger-tight. Do not overtighten.
- Belt Clip: Attach the belt clip to the designated slot on the back of the radio using the provided screws.
- Earpiece: Insert the earpiece plug into the SP/MIC jacks on the side of the radio. Ensure it is fully inserted for proper connection.
Operating Instructions
1. Power On/Off and Volume Adjustment
- To power on the radio, rotate the Power Switch/Volume Control knob clockwise. You will hear a "click" and a voice prompt indicating the current channel.
- Continue rotating the knob clockwise to increase the volume, and counter-clockwise to decrease it.
- To power off, rotate the knob counter-clockwise until you hear a "click."
2. Channel Selection
- Rotate the Channel Switch knob to select one of the 16 available channels.
- The radio will announce the selected channel number.
- Ensure all radios in your group are set to the same channel for communication.
3. Transmitting and Receiving
- To transmit, press and hold the PTT (Push-to-Talk) button. Speak clearly into the microphone. The LED indicator will illuminate red.
- Release the PTT button to stop transmitting and return to receive mode. The LED indicator will turn green when receiving a signal.
4. VOX (Voice Operated Exchange) Function
The VOX function allows hands-free operation. When activated, the radio will automatically transmit when it detects your voice, without needing to press the PTT button.
- VOX settings are typically programmed via software. Refer to advanced programming instructions if available.
- When using VOX, ensure the microphone is positioned correctly to pick up your voice effectively.
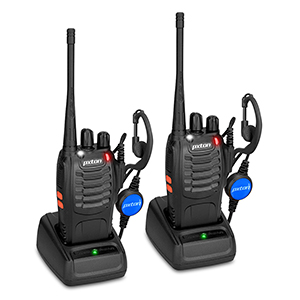
Image: VOX/Handfree function icon.
5. Flashlight Function
- Press the dedicated Flashlight Button to turn the built-in LED flashlight on or off.
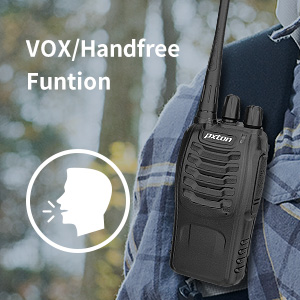
Image: Flashlight function icon.
6. Scan Function
The scan function allows the radio to automatically scan through channels to find active transmissions.
- To activate the scan function, typically this is done via a programmed side key or by selecting a specific channel. Refer to your radio's programming guide for details.
- When scanning, the radio will stop on an active channel until the transmission ends, then resume scanning.
7. Emergency Alarm
The radio features an emergency alarm function for critical situations.
- To activate the emergency alarm, press the designated Emergency Alarm button (if programmed) or a specific key combination. This will typically emit a loud siren sound and/or transmit an alert signal.

Image: Emergency Alarm function icon.
8. Squelch Adjustment
Squelch suppresses background noise when no signal is being received. The PX-8S-01 has an adjustable squelch feature.
- Squelch levels are typically set via programming software. A higher squelch level requires a stronger signal to open the receiver, reducing static but potentially missing weak signals.
- The MONI button can be used to temporarily override the squelch and listen to all signals, including weak ones or background noise.
Image: Squelch adjustment icon.
9. Privacy Codes (CTCSS/DCS)
The radio supports 165 privacy codes (50 CTCSS / 210 DCS) per programmable channel to help filter out unwanted conversations.
- When a CTCSS/DCS code is set, you will only hear transmissions from other radios using the same channel and the same CTCSS/DCS code.
- Similarly, other radios will only hear your transmissions if they are on the same channel and using the same code.
- These codes are typically programmed using specialized software.
Image: CTCSS/DCS privacy codes icon.
Maintenance
- Cleaning: Use a soft, damp cloth to clean the radio's exterior. Do not use harsh chemicals or solvents.
- Battery Care:
- Avoid overcharging or completely discharging the battery.
- Store batteries in a cool, dry place when not in use.
- If the radio will not be used for an extended period, remove the battery.
- Storage: Store the radio in a dry, dust-free environment away from extreme temperatures.
- Antenna: Do not bend or modify the antenna, as this can affect performance.
Troubleshooting
| Problem | Possible Cause | Solution |
|---|---|---|
| Radio does not power on. | Battery is depleted or not installed correctly. | Charge the battery. Ensure the battery is securely installed. |
| Cannot transmit or receive. | Incorrect channel selected. Battery low. Radio out of range. | Verify both radios are on the same channel. Charge battery. Move closer to the other radio. |
| Poor audio quality or static. | Weak signal. Squelch level too low/high. Interference. | Move to an area with fewer obstructions. Adjust squelch level (if programmable). Check for sources of interference. |
| Short communication range. | Obstructions (buildings, terrain). Low battery. | Move to an open area. Ensure battery is fully charged. |
| Earpiece not working. | Earpiece not fully inserted. Faulty earpiece. | Ensure earpiece plug is fully inserted into the SP/MIC jack. Try a different earpiece if available. |
Specifications
- Model: PX-8S-01
- FCC ID: 2AX68PX-888S
- Number of Channels: 16
- Frequency Range: UHF
- Talking Range Maximum: Up to 5 miles (unobstructed)
- Privacy Codes: 165 (50 CTCSS / 210 DCS)
- Battery Type: Lithium Ion (included)
- Battery Voltage: 3.7 Volts (DC)
- Battery Life: 8-96 hours standby, 8-12 hours continuous use (actual time varies with usage)
- Charging Time: 3-4 hours (from 0 capacity)
- Water Resistance Level: Water Resistant
- Product Dimensions: 1.1"D x 1.89"W x 8.34"H
- Item Weight: 1.34 pounds (for the pair)
- Special Features: Rechargeable, VOX, TOT, Emergency Alarm, Battery Low Alert, Flashlight, Scan Function

Image: Size comparison of the pxton PX-8S-01 radio.
Safety Information
Your pxton PX-8S-01 walkie-talkie has been granted FCC transmission and reception certification and authorization (FCC ID: 2AX68PX-888S). This device is intended for use only within the frequency points authorized by the FCC certification range.
Please observe the following safety guidelines:
- Do not operate the radio in explosive atmospheres (e.g., flammable gases, dust particles, metallic powders).
- Do not modify the radio or its accessories. Unauthorized modifications can void your warranty and violate FCC regulations.
- Keep the radio and its accessories out of reach of children.
- Use only pxton-approved batteries and chargers. Using unapproved accessories can cause damage or injury.
- Avoid exposing the radio to extreme temperatures, direct sunlight, or moisture for prolonged periods.
- If the radio emits smoke or an unusual odor, immediately turn off the power and remove the battery. Contact customer support.
Warranty and Support
pxton provides lifetime customer service for its walkie-talkies. If you encounter any questions or issues with your PX-8S-01 radio, please contact pxton customer support through the platform where you purchased the product. Our professional team is available to assist you with troubleshooting and support.
For further assistance, please refer to the official pxton website or contact their customer service directly.


