
Introduction
The Keychron Q7 is a wired custom mechanical keyboard featuring a 70% layout, designed for versatility and performance. It supports QMK/VIA for extensive customization, includes hot-swappable Gateron G Pro Red switches, and is built with a double-gasket design for an enhanced typing experience. This manual provides instructions for setup, operation, maintenance, and troubleshooting.

Image: The Keychron Q7 Custom Mechanical Keyboard, showcasing its compact 70% layout and aluminum build.
Package Contents
Verify that all items listed below are included in your Keychron Q7 package:

Image: Diagram illustrating the Keychron Q7 keyboard and its accompanying accessories.
- Keyboard: 1x Fully Assembled Keychron Q7 Keyboard (includes Aluminum Case, PCB, Steel Plate, Sound Absorbing Foam, Case Foam, 10 Gaskets (6 installed, 4 in box))
- Components: 5 sets x Stabilizers, 1 set x Double-Shot PBT Keycaps, 1 set x Gateron G Pro Switches
- Cables: 1x Type-C to Type-C Cable, 1x Type-A to Type-C Adapter
- Tools: 1x Switch Puller, 1x Keycap Puller, 1x Screwdriver, 1x Hex Key
Note: All tools are located at the bottom of the box.
Setup
1. Connecting the Keyboard
- Locate the USB-C port on the back of the Keychron Q7 keyboard.
- Connect one end of the provided Type-C to Type-C cable to the keyboard.
- Connect the other end of the cable to your computer's USB-C port. If your computer only has USB-A ports, use the included Type-A to Type-C adapter.
- The keyboard should be recognized automatically by your operating system.
2. Switching Operating System Layout
The Keychron Q7 features a physical switch to toggle between Windows and macOS layouts. This ensures proper key mapping for your specific operating system.
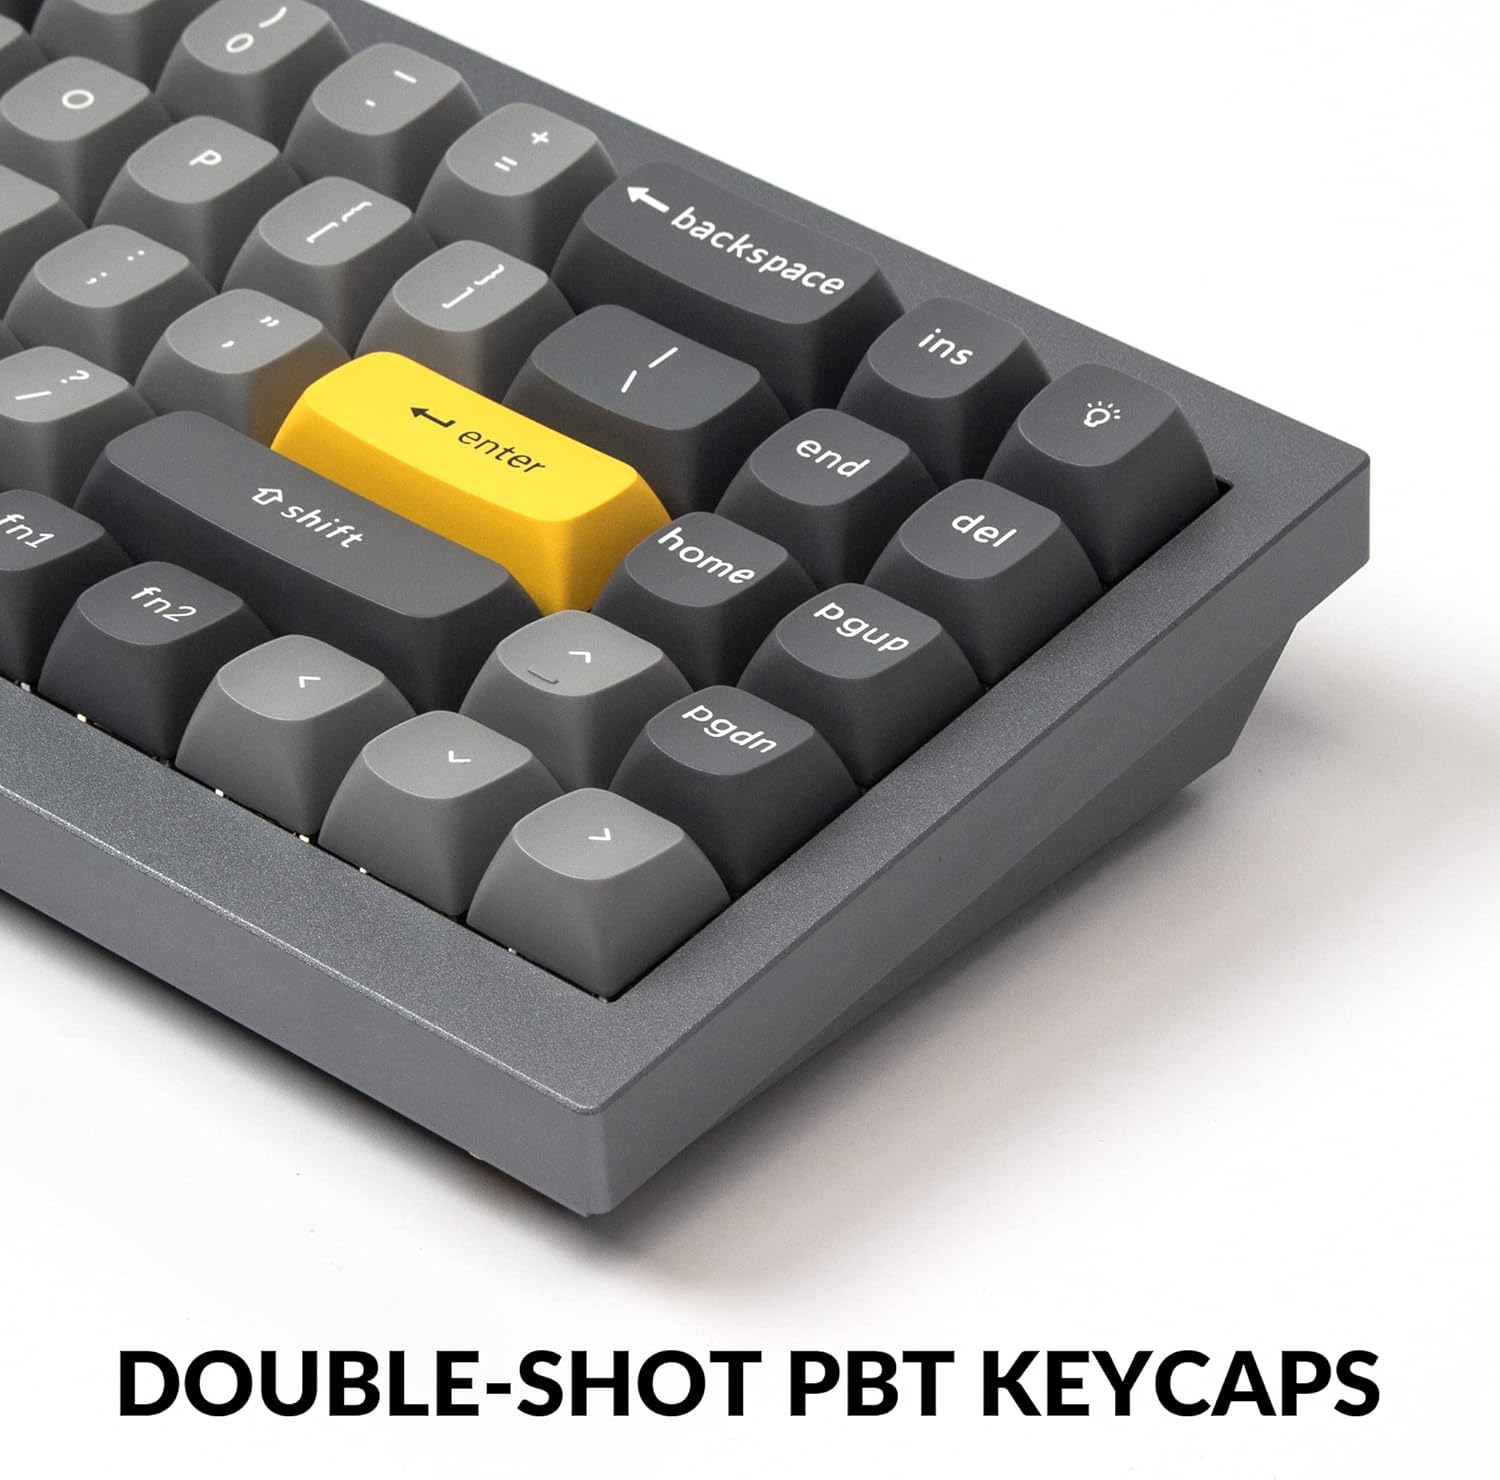
Image: Side view of the Keychron Q7, showing the physical switch to select between Windows and macOS modes.
- Locate the switch on the side of the keyboard, near the USB-C port.
- Slide the switch to the 'Win' position for Windows/Linux systems.
- Slide the switch to the 'Mac' position for macOS systems.
Operating Instructions
QMK and VIA Customization
The Keychron Q7 fully supports QMK and VIA open-source firmware, allowing for extensive customization of key assignments, macros, and backlighting. This functionality is compatible with Mac, Windows, and Linux operating systems.
- To customize your keyboard, download the Keychron Launcher Web App or the VIA software from the official Keychron website.
- The software provides a graphical interface to remap keys, create complex macros, and adjust RGB lighting effects.
- For detailed instructions on using QMK/VIA, refer to the documentation available on the Keychron support page or the QMK/VIA official websites.

Image: Keychron Launcher Web App interface for key remapping and macro programming.
Hot-Swappable Switches
The Q7 features a hot-swappable design, allowing you to change switches without soldering. It supports both 3-pin and 5-pin MX-style mechanical switches.

Image: Keyboard PCB with keycaps removed, showing hot-swappable switch sockets and various switch types.
- Removing a Switch: Use the included switch puller tool. Gently grip the switch from the top and bottom, then pull straight up with even pressure until the switch detaches from the PCB.
- Installing a Switch: Align the pins of the new switch with the holes on the PCB. Ensure the switch is oriented correctly. Gently press the switch down until it clicks into place. Do not force the switch, as this can bend the pins.
Double-Shot PBT Keycaps
The Q7 comes with durable double-shot PBT keycaps. These keycaps are resistant to shine and wear, ensuring legends remain clear over time.

Image: Close-up of the keyboard's double-shot PBT keycaps.
South-Facing RGB Backlighting
The keyboard features south-facing RGB LEDs, which provide even backlighting and are ideal for compatibility with most custom keycap sets.

Image: Illuminated south-facing RGB switches on the Keychron Q7 keyboard.
Maintenance
Cleaning the Keyboard
- Disconnect the keyboard from your computer before cleaning.
- Use a soft, lint-free cloth slightly dampened with water or a mild cleaning solution to wipe down the keycaps and case. Avoid excessive moisture.
- For cleaning between keycaps, use compressed air to remove dust and debris.
- For deeper cleaning, you may remove keycaps using the included keycap puller. Clean the keycaps separately with water and mild soap, then ensure they are completely dry before reattaching.
Switch and Keycap Care
- When removing or installing switches, apply gentle, even pressure to avoid bending switch pins or damaging the PCB sockets.
- Store spare switches and keycaps in a clean, dry place to prevent dust accumulation or damage.
Troubleshooting
If you encounter issues with your Keychron Q7 keyboard, refer to the following common troubleshooting steps:
- Keyboard Not Responding:
- Ensure the USB-C cable is securely connected to both the keyboard and your computer.
- Try connecting the keyboard to a different USB port on your computer.
- Verify that the operating system switch (Mac/Win) on the side of the keyboard is set correctly for your system.
- Test the keyboard on another computer to rule out a computer-specific issue.
- Keys Not Registering:
- Carefully remove the keycap and switch for the non-functioning key using the provided tools.
- Inspect the switch pins for any bends or damage. Straighten bent pins gently with tweezers if possible.
- Reinsert the switch firmly into the PCB socket. If the issue persists, try swapping it with a known working switch.
- RGB Lighting Issues:
- Check the Keychron Launcher Web App or VIA software to ensure lighting settings are configured as desired.
- Ensure no software conflicts are interfering with the lighting control.
- Firmware Update: If experiencing persistent issues, check the official Keychron website for any available firmware updates for the Q7 model. Follow the provided instructions carefully for firmware updates.
For further assistance, please visit the official Keychron support page.
Specifications

Image: Exploded view of the Keychron Q7 keyboard's internal components.
| Feature | Detail |
|---|---|
| Model | Keychron Q7 |
| Layout | 70% Layout |
| Connectivity | Wired (USB-C) |
| Switch Type | Hot-swappable Gateron G Pro Red Switch |
| Operating Force (Gateron G Pro Red) | 45 ± 15 gf |
| Pre-travel (Gateron G Pro Red) | 2 ± 0.6 mm |
| Travel Distance (Gateron G Pro Red) | 4 ± 0.6 mm |
| Switch Behavior (Gateron G Pro Red) | Linear |
| Pre-lubed (Gateron G Pro Red) | Yes |
| Sound Level (Gateron G Pro Red) | Quiet |
| Keycaps | Double-Shot PBT |
| Backlighting | South-Facing RGB |
| Frame Material | Aluminum |
| Mounting Style | Double Gasket Design |
| Firmware Support | QMK/VIA Programmable |
| Compatible OS | Mac, Windows, Linux |
| Product Dimensions | 13.44 x 4.76 x 1.33 inches |
| Item Weight | 5.17 pounds |

Image: Detailed specifications for the Gateron G Pro Red switches.
Warranty and Support
Keychron products are designed for quality and durability. For information regarding warranty coverage, technical support, or to access additional resources such as firmware updates and software downloads, please visit the official Keychron website or their dedicated support pages.
You can find more information and contact support through the Keychron Brand Store on Amazon.


