Introduction
Welcome to the user manual for your GoolRC E99 K3 Pro RC Drone. This manual provides essential information for safe operation, setup, maintenance, and troubleshooting. Please read it thoroughly before operating your drone.
Product Overview
The GoolRC E99 K3 Pro is a compact and versatile RC drone designed for both kids and adults, featuring a 4K dual camera, intelligent obstacle avoidance, and various flight modes.

Figure 1: GoolRC E99 K3 Pro RC Drone with remote controller, carrying case, and batteries.
Package Contents
Verify that all items are present in your package:
- 1x RC Drone
- 1x Remote Controller
- 3x Drone Battery
- 1x USB Cable
- 4x Spare Propeller
- 4x Protection Ring
- 1x Screwdriver
- 1x Storage Bag
- 1x User Manual
- 1x APP Instruction

Figure 2: All components included in the GoolRC E99 K3 Pro package.
Setup
1. Charging the Drone Battery
Before first use, fully charge the drone batteries.
- Connect the drone battery to the provided USB charging cable.
- Plug the USB cable into a 5V/1A USB power adapter (not included).
- The charging indicator light will show charging status (refer to APP Instruction for details).
- Charging time is approximately 120 minutes.
2. Installing Remote Controller Batteries
The remote controller requires 3 AAA batteries (not included).
- Open the battery compartment on the back of the remote controller.
- Insert 3 AAA batteries, ensuring correct polarity (+/-).
- Close the battery compartment.
3. Attaching Propeller Protection Rings
For enhanced safety, attach the propeller protection rings before flight.
- Identify the front and rear protection rings.
- Gently snap each ring onto the corresponding motor arm.
4. Unfolding the Drone
The drone features a foldable design for portability.
- Gently unfold the front arms of the drone until they lock into place.
- Unfold the rear arms in the same manner.

Figure 3: The GoolRC E99 K3 Pro drone in its unfolded, ready-to-fly configuration.
Operating Instructions
1. Pairing the Drone and Remote Controller
- Place the drone on a flat, level surface.
- Turn on the drone's power switch. The indicator lights will flash.
- Turn on the remote controller.
- Push the left joystick (throttle) all the way up, then all the way down. The drone lights will become solid, indicating successful pairing.
2. Take-off and Landing
- One-Key Take-off: Press the one-key take-off button (refer to remote control diagram) to automatically lift the drone to a stable hovering height.
- Manual Take-off: Push both joysticks simultaneously outwards and downwards to unlock the motors. Then, slowly push the left joystick (throttle) upwards to ascend.
- One-Key Landing: Press the one-key landing button to automatically land the drone.
- Manual Landing: Slowly pull the left joystick (throttle) downwards until the drone lands. Once landed, push both joysticks simultaneously outwards and downwards to stop the motors.

Figure 4: Illustrates the simplicity of one-key takeoff, landing, and return functions.
3. Flight Controls

Figure 5: Detailed layout of the remote control, indicating functions such as throttle, steering, and fine-tuning.
| Control | Function |
|---|---|
| Left Joystick (Throttle) | Up/Down: Ascend/Descend; Left/Right: Sideward Flight |
| Right Joystick (Steering) | Up/Down: Forward/Backward; Left/Right: Turn Left/Right |
| One-click obstacle avoidance | Activates/Deactivates obstacle avoidance system. |
| 360° rollover | Performs a 3D flip. |
| Headless/Return | Activates Headless Mode or initiates One-Key Return. |
| Fine adjustment | Trims the drone's flight to correct drift. |
4. Advanced Flight Features
- 4K Dual Camera: The drone is equipped with two 4K cameras for high-definition photos and videos. Switch between cameras via the app. Features 50x focus.
- Obstacle Avoidance: The drone features intelligent three-sided obstacle avoidance, detecting obstacles approximately 50cm away.
- Headless Mode: In Headless Mode, the drone's orientation is relative to the pilot, making it easier to control for beginners.
- Gesture Control Mode: Use specific hand gestures to command the camera to take photos or record videos. Refer to the APP Instruction for gesture details.
- Trajectory Flight: Draw a flight path on the mobile app screen, and the drone will automatically follow the designated trajectory.
- Gravity Sensing Control: Control the drone's direction by swinging your smartphone.

Figure 6: Highlights the 4K dual camera and obstacle avoidance features of the drone.
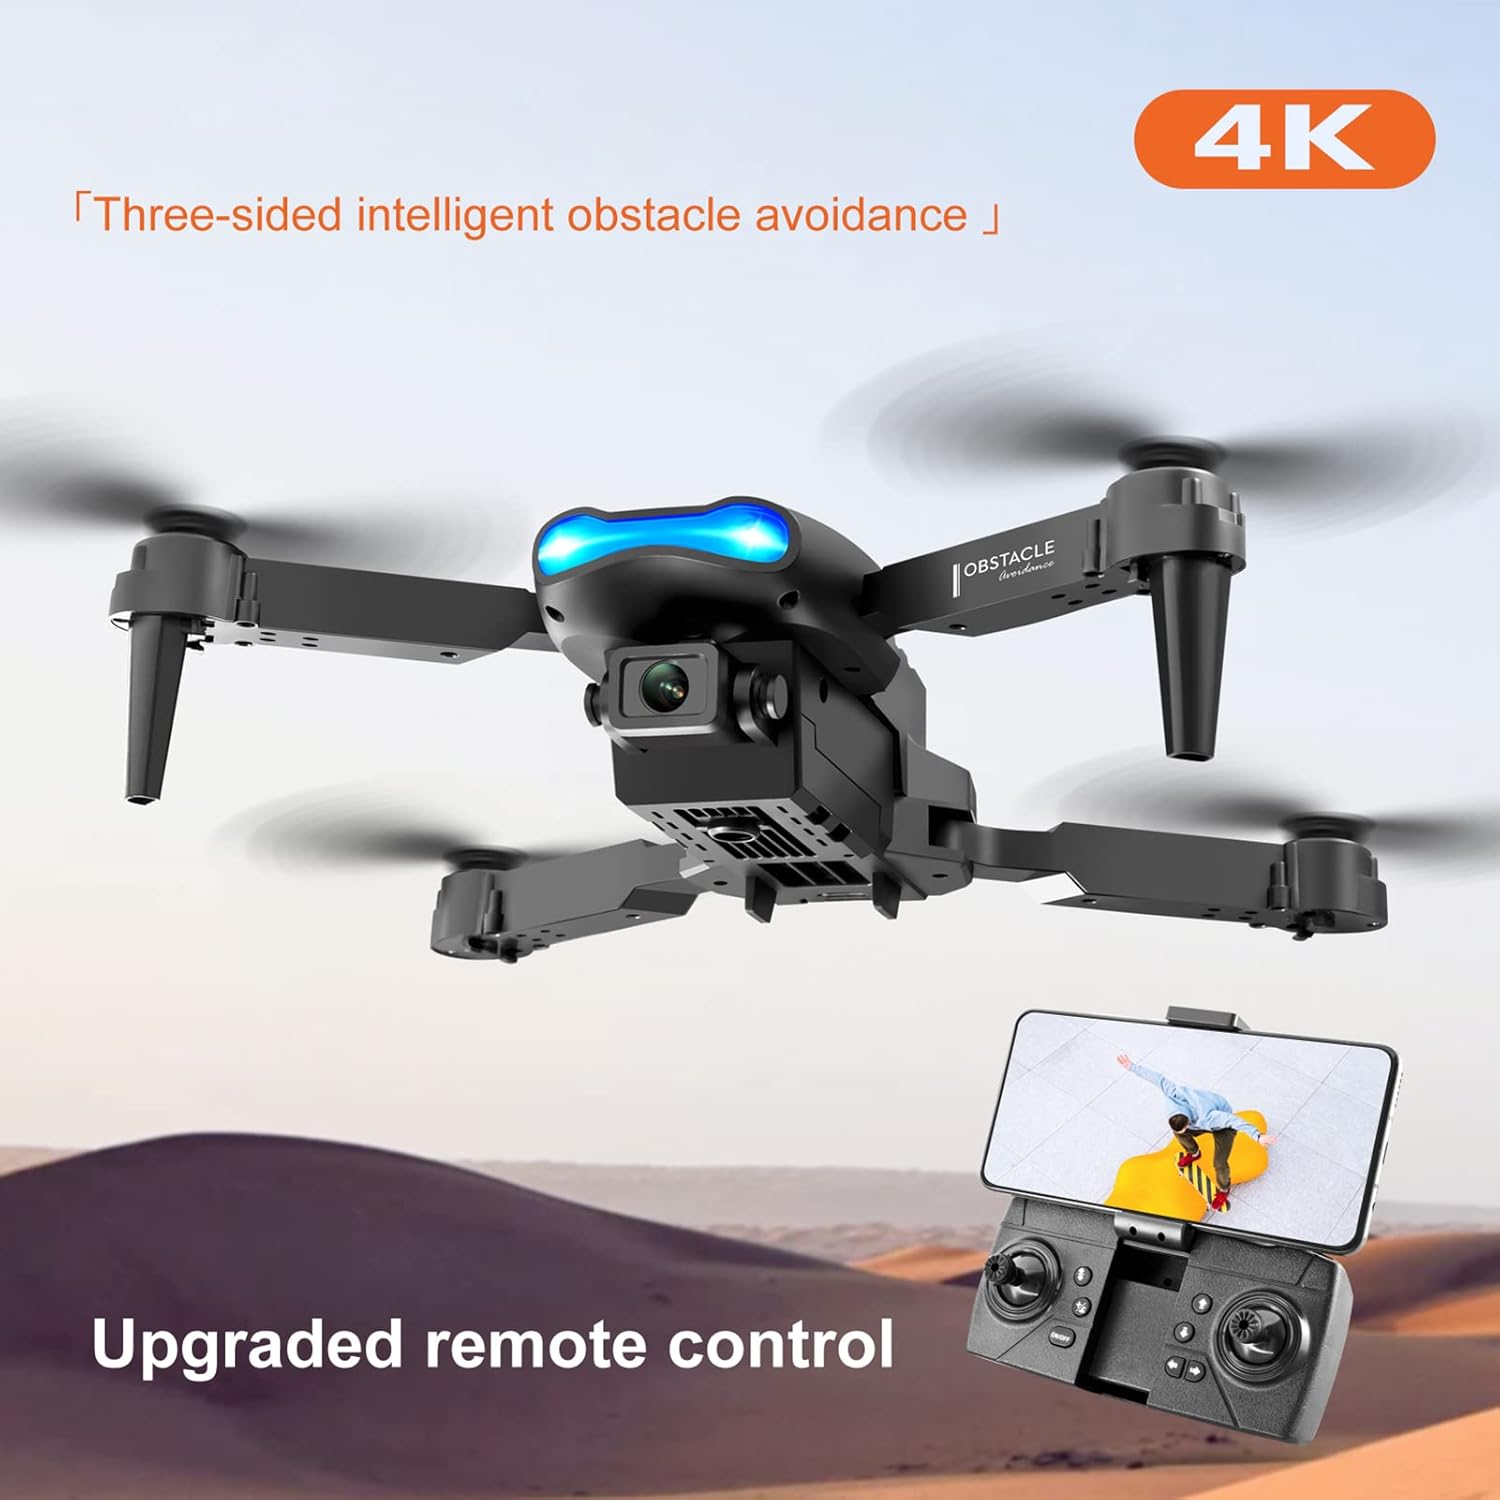
Figure 7: Shows the drone with its intelligent obstacle avoidance system active.

Figure 8: Demonstrates real-time HD video transmission from the drone to a smartphone.

Figure 9: Illustrates how to control the drone's direction using gravity sensing via a smartphone.
Maintenance
- Cleaning: Use a soft, dry cloth to clean the drone and remote controller. Do not use harsh chemicals or solvents.
- Propeller Inspection: Regularly check propellers for damage (cracks, bends). Replace damaged propellers immediately using the provided spare parts and screwdriver.
- Battery Care: Store batteries in a cool, dry place. Do not overcharge or over-discharge. If storing for extended periods, charge batteries to approximately 50% capacity.
- Storage: When not in use, fold the drone and store it in the provided storage bag to protect it from dust and damage.
Troubleshooting
| Problem | Possible Cause | Solution |
|---|---|---|
| Drone does not respond to remote. | Not paired; Low battery (drone/remote). | Re-pair drone and remote; Charge drone battery; Replace remote batteries. |
| Drone drifts during flight. | Not calibrated; Wind interference. | Perform gyroscope calibration (refer to APP Instruction); Fly in calm conditions. Use fine adjustment. |
| Camera image is blurry or distorted. | Lens dirty; Poor lighting; SD card issue. | Clean lens; Ensure adequate lighting; Check SD card (if applicable). |
| Short flight time. | Battery not fully charged; Old battery. | Ensure battery is fully charged; Consider replacing old batteries. |
| Obstacle avoidance not working. | Sensor blocked; Feature deactivated. | Clean sensors; Ensure feature is activated via remote or app. |
Specifications
| Feature | Detail |
|---|---|
| Brand | GoolRC |
| Model Name | E99 K3 Pro |
| Material | ABS |
| Motor Type | Brushed Motor |
| Frequency | 2.4Ghz |
| Charging Time | About 120min |
| Flying Time | About 10-13min |
| Remote Control Distance | About 150m |
| Front Camera Resolution (Photo) | 4096*2160P |
| Front Camera Resolution (Video) | 1920*1080P |
| Bottom Camera Resolution (Photo) | 4096*2160P |
| Bottom Camera Resolution (Video) | 1920*1080P |
| Applicable Mobile Phone System | Android 5.0 above, iOS 9.0 above |
| Image Transmission Distance | About 50-80m |
| Obstacle Avoidance Distance | About 50cm |
| Drone Battery | 3.7V 1800mAh battery |
| Remote Controller Battery | 3* AAA battery (not Included) |
| Folded Drone Size | 12.5*8*5.5cm |
| Unfolded Drone Size | 25*25*6cm |
| Item Weight | 15 ounces |
Warranty and Support
For warranty information and technical support, please refer to the contact details provided in the original product packaging or visit the official GoolRC website. Keep your purchase receipt as proof of purchase.
For further assistance, you may also contact GoolRC customer service through their Amazon store page: GoolRC Store on Amazon.


