Introduction
This manual provides detailed instructions for the installation, operation, and maintenance of your EDUP 10Gb Gigabit Ethernet PCI-E Network Controller Card, Model EP-9638. This high-performance network adapter is designed to upgrade your desktop PC's Ethernet speed to 10 Gigabits, supporting various speeds from 1G to 10Gbps via an RJ45 LAN interface. It features a heat sink design for stable operation and wide compatibility with Windows and Linux operating systems.
Key Features
- Ultra-Fast Connectivity: Upgrades Ethernet speed to 10 Gigabits (10/100/1000/10000Mbps) for PCI Express x4, x8, or x16 slots.
- High-Performance RJ45 Interface: Equipped with an AQC107 Chipset, ensuring data rates up to 10Gbps over Cat 6a cable and 5Gbps/2.5Gbps/1Gbps/100Mbps over Cat 5e/Cat 6 cable. Includes both low-profile and standard-profile brackets for versatile PC compatibility.
- Automatic Duplex Negotiation: Supports automatic full and half-duplex communication for optimal speed and data transfer.
- Efficient Heat Dissipation: Integrated heat sink prevents overheating, maintaining stable operating temperatures and extending product lifespan.
- Broad OS Compatibility: Compatible with Windows 7, 8, 8.1, 10, Windows Server 2008 R2, 2012, 2016, and Linux 2.6.x to 4.x. Suitable for any PCI-enabled client, server, or workstation.

Image: The EDUP 10Gb Gigabit Ethernet PCI-E Network Controller Card, highlighting its high-speed RJ45 interface and heat sink for efficient data transfer.

Image: Detail view of the network card's heat sink design for stable operation and thickened gold-plated fingers for reliable connection.
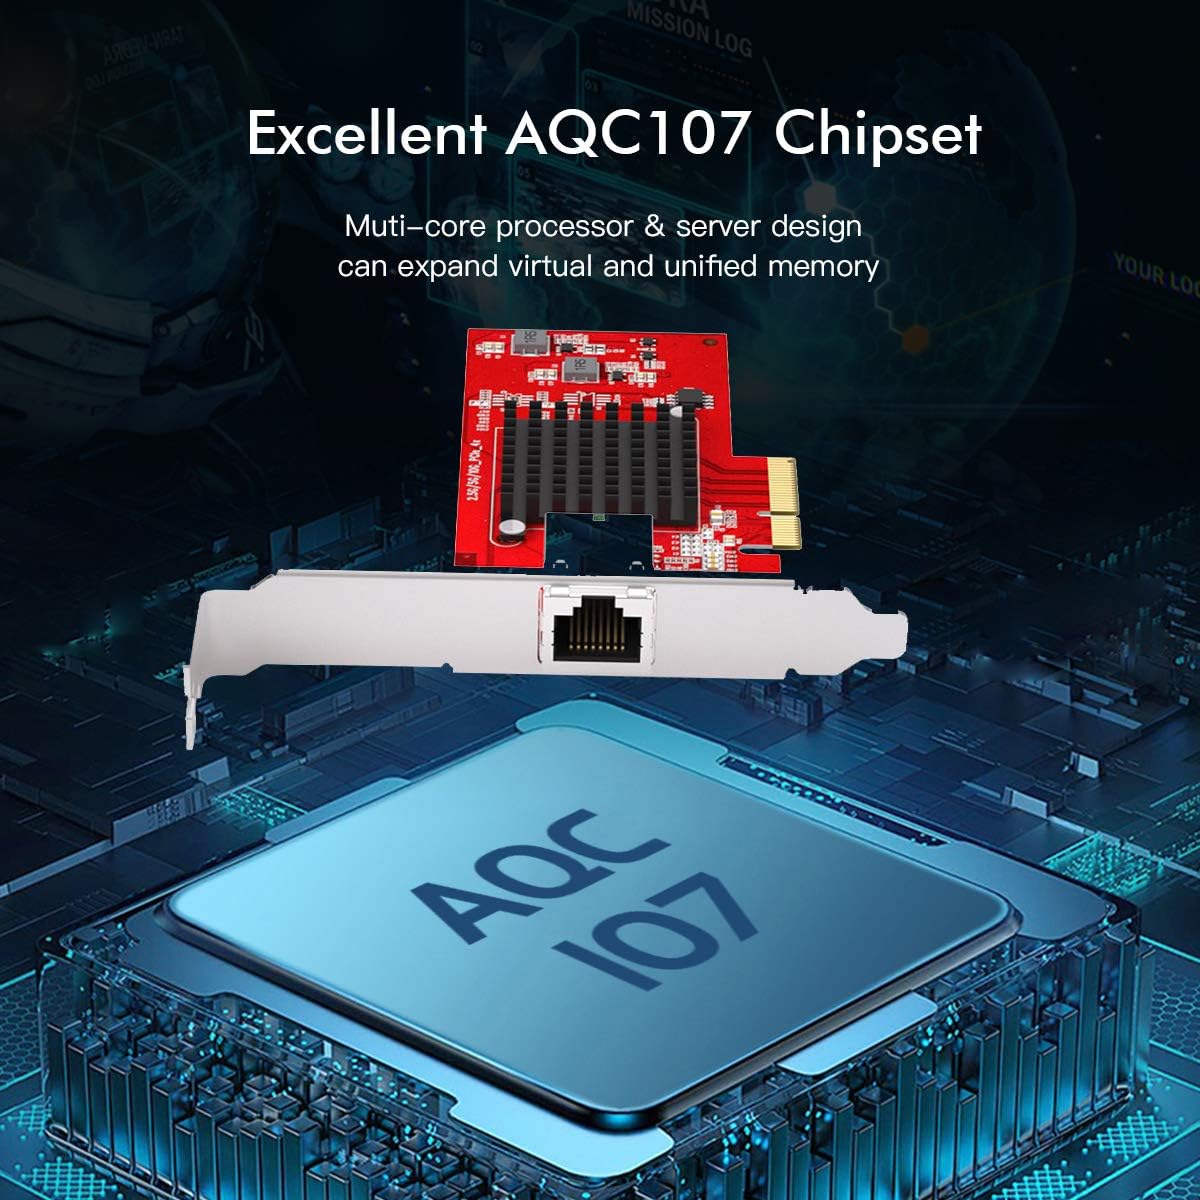
Image: Visual representation of the AQC107 high-performance chipset, central to the network card's capabilities.
Specifications
| Attribute | Detail |
|---|---|
| Model Number | EP-9638 |
| Bus Type | PCI Express 3.0 (8.0 GT/s) |
| Bus Width | x4 lane PCI Express, operable in x4, x8, and x16 slots |
| Card Type | Standard / Low Profile |
| Chipset ID | AQUANTIA - AQC107 |
| Data Transfer Rate | 10000 Megabytes Per Second (10Gbps) |
| Supported Speeds | 10G / 5G / 2.5G / 1G / 100M |
| Network Standards | IEEE 802.3u 100BASETX, IEEE 802.3ab 1000BASET, IEEE 802.3an 10GBASETT, IEEE 802.1Q VLANs, IEEE 802.3x Flow Control, IEEE 802.1p Priority Queuing, IEEE 802.3az EEE |
| Power Consumption (10Gbps) | 5.3W |
| Operating System Compatibility | Windows 7, 8, 8.1, 10; Windows Server 2008 R2, 2012, 2016; Linux 2.6.x to 4.x |
| Product Dimensions | 13 x 5.5 x 6.8 cm (5.1 x 2.16 x 2.67 inches) |
| Item Weight | 72g (0.16 lb) |
| LED Indicators | 1 - 10G Speed LED (Amber), 1 - Link/Act (Green) |

Image: Physical dimensions of the EDUP 10Gb Gigabit Ethernet PCI-E Network Controller Card.
Package Contents
The package includes the following items:
- 1x EDUP 10Gb Gigabit Ethernet PCI-E Network Controller Card
- 1x Low-profile bracket (pre-installed or included separately)
- 1x Driver CD
- Mounting Screws
- 1x Screwdriver

Image: All items included in the EDUP 10Gb Gigabit Ethernet PCI-E Network Controller Card package.
Installation Guide
1. Physical Installation
- Power Off: Ensure your computer is completely powered off and unplugged from the power outlet.
- Open Case: Open your computer case to access the motherboard.
- Locate PCI-E Slot: Identify an available PCI Express x4, x8, or x16 slot on your motherboard.
- Insert Card: Carefully align the network card with the chosen PCI-E slot and firmly press it down until it is securely seated.
- Secure Card: Use a screw to secure the network card's bracket to the computer case. If installing in a small form factor PC, you may need to replace the standard bracket with the included low-profile bracket.
- Close Case: Close your computer case and reconnect the power cable.

Image: Step-by-step guide for physically installing the network card into a PCI-E slot.
2. Driver Installation
After physical installation, you need to install the appropriate drivers for your operating system.
- Power On: Power on your computer.
- Check Device Manager: Right-click "This PC" or "Computer", select "Manage", then "Device Manager". Look for "Ethernet Controller" or an unknown device with a yellow exclamation mark under "Other devices". This indicates the card is detected but lacks drivers.
- Install from CD: Insert the included driver CD into your computer's optical drive. Navigate to the CD drive, open the folder for your operating system (e.g., Windows 10), and run the "Windows Installer" executable. Follow the on-screen prompts to accept the license agreement and complete the installation.
- Download Drivers (if no CD drive): If your computer lacks an optical drive, download the latest drivers from the official EDUP website. Refer to the product page or support section for Model EP-9638.
- Restart: After installation, restart your computer to ensure the drivers are fully loaded.
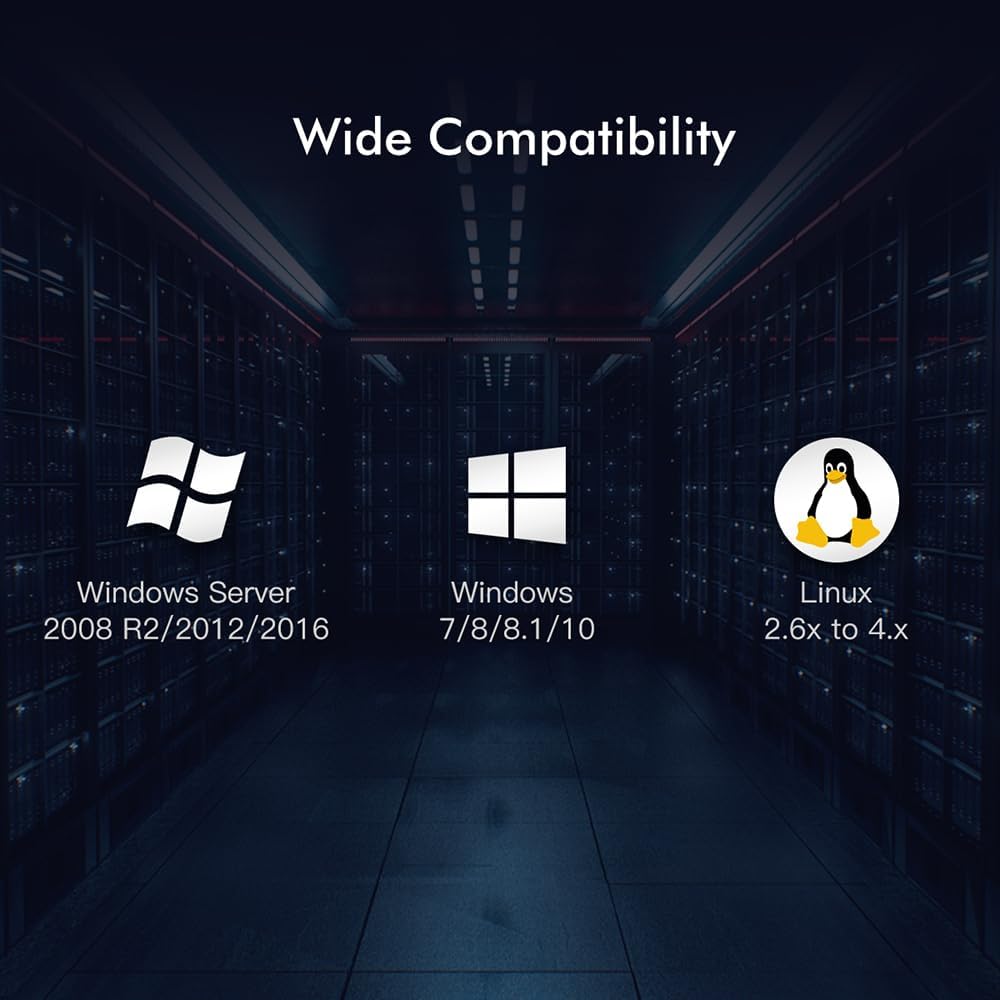
Image: The network card supports a wide range of operating systems including Windows and Linux.
3. Network Connection
- Connect Ethernet Cable: Plug a Cat 6a or Cat 6 Ethernet cable into the RJ45 port on the network card and connect the other end to your network router, switch, or modem.
- Verify Connection: Check the LED indicators on the network card. The Link/Act LED (Green) should be lit, and the 10G Speed LED (Amber) should indicate the connection speed.
- Test Network: Open a web browser or network application to confirm internet access and network functionality.
Operating Instructions
Once installed and drivers are configured, the EDUP 10Gb Gigabit Ethernet PCI-E Network Controller Card operates automatically. It will establish a network connection at the highest possible speed supported by your network infrastructure (up to 10Gbps).
- Network Settings: You can access and configure network settings through your operating system's Network and Sharing Center (Windows) or network settings panel (Linux) if advanced configurations like IP address, DNS, or VLANs are required.
- Performance Monitoring: Use your operating system's task manager or network monitoring tools to observe network activity and ensure optimal performance.
Maintenance
- Driver Updates: Periodically check the EDUP official website for updated drivers. Keeping drivers current can improve performance and stability.
- Physical Inspection: Occasionally inspect the card for dust accumulation, especially on the heat sink. Use compressed air to gently clean the card if necessary, ensuring the computer is powered off and unplugged.
- Cable Integrity: Ensure your Ethernet cables are in good condition and securely connected. Damaged cables can lead to reduced performance or intermittent connectivity.
Troubleshooting
No Network Connection
- Check Physical Connection: Ensure the Ethernet cable is securely plugged into both the network card and your router/switch.
- Verify Drivers: Open Device Manager and confirm that the network card is recognized and has no error symbols (e.g., yellow exclamation mark). Reinstall drivers if necessary.
- Router/Switch Status: Check if your router or switch is powered on and functioning correctly. Try connecting another device to the same port to rule out port issues.
- IP Address: Ensure your computer is obtaining an IP address automatically (DHCP) or has a correct static IP configured.
Slow Network Speed
- Cable Type: Ensure you are using a Cat 6 or Cat 6a Ethernet cable for optimal 10Gbps performance. Older Cat 5e cables may limit speeds.
- Network Infrastructure: Verify that your router, switch, and other network devices support 10Gbps speeds. The network will operate at the slowest component's speed.
- Driver Updates: Ensure the latest drivers are installed for the network card.
- System Resources: Check if other applications or processes are consuming significant network bandwidth or CPU resources.
Card Not Detected
- Reseat Card: Power off your PC, unplug it, open the case, and reseat the network card firmly in its PCI-E slot. Try a different PCI-E slot if available.
- BIOS/UEFI Settings: Check your motherboard's BIOS/UEFI settings to ensure the PCI-E slot is enabled and not conflicting with other devices.
- Power Supply: Ensure your power supply unit (PSU) provides sufficient power to all components.
Warranty and Support
For warranty information and technical support, please refer to the official EDUP website or contact their customer service directly. Keep your purchase receipt as proof of purchase for warranty claims.
EDUP Official Website: www.szedup.com


