
1. Introduction
Thank you for choosing the SOVMIKU Wireless Security Camera System. This manual provides detailed instructions for the setup, operation, and maintenance of your new security system. Please read this manual thoroughly before installation and keep it for future reference. This system is designed to provide comprehensive surveillance for your home or business with advanced features like PTZ control, human detection, two-way audio, and 24/7 recording.
2. Package Contents
Verify all components are present in your package:

Image: Complete packing list including NVR, cameras, power supplies, cables, mouse, and warning stickers.
- 1x 8-Channel NVR (Network Video Recorder)
- 4x 3MP PTZ IP Cameras
- 1x USB Mouse
- 1x User Manual
- 4x 10ft Power Supplies for Cameras
- 1x Power Supply for NVR
- 1x 2.5" 1TB HDD (Pre-installed)
- 1x HDMI Cable
- 1x Network Cable
- 2x Warning Stickers
- 4x Screw Bags (for mounting)
3. Product Features
The SOVMIKU Wireless Security Camera System offers a range of advanced features for comprehensive home surveillance:
3.1 Pan Tilt / 360° View & Human Detection
The PTZ cameras provide a wide surveillance area with vertical 90° and horizontal 355° rotation, eliminating blind spots. A 120-degree viewing angle ensures broader coverage. The system supports both general Motion Detection and advanced Human Detection. Upon detecting motion or a human, the outdoor security camera can emit floodlights or sirens to deter intruders, and your mobile phone app will receive real-time alerts.

Image: PTZ camera showing 355° pan and 90° tilt capabilities.

Image: Camera highlighting customized alarm areas and various alert options like spotlight, siren, and app push notifications.
3.2 Auto Tracking & Guard Point & 2-Way Audio
The wireless security camera can automatically track humans or objects entering the surveillance area, sending real-time alerts to your phone. The two-way audio feature allows you to speak to individuals in front of the camera via the app. If a person moves out of the camera's detection range, the camera will automatically return to a pre-set Guard Position.

Image: Visual representation of the camera's auto-tracking functionality following a person's movement.
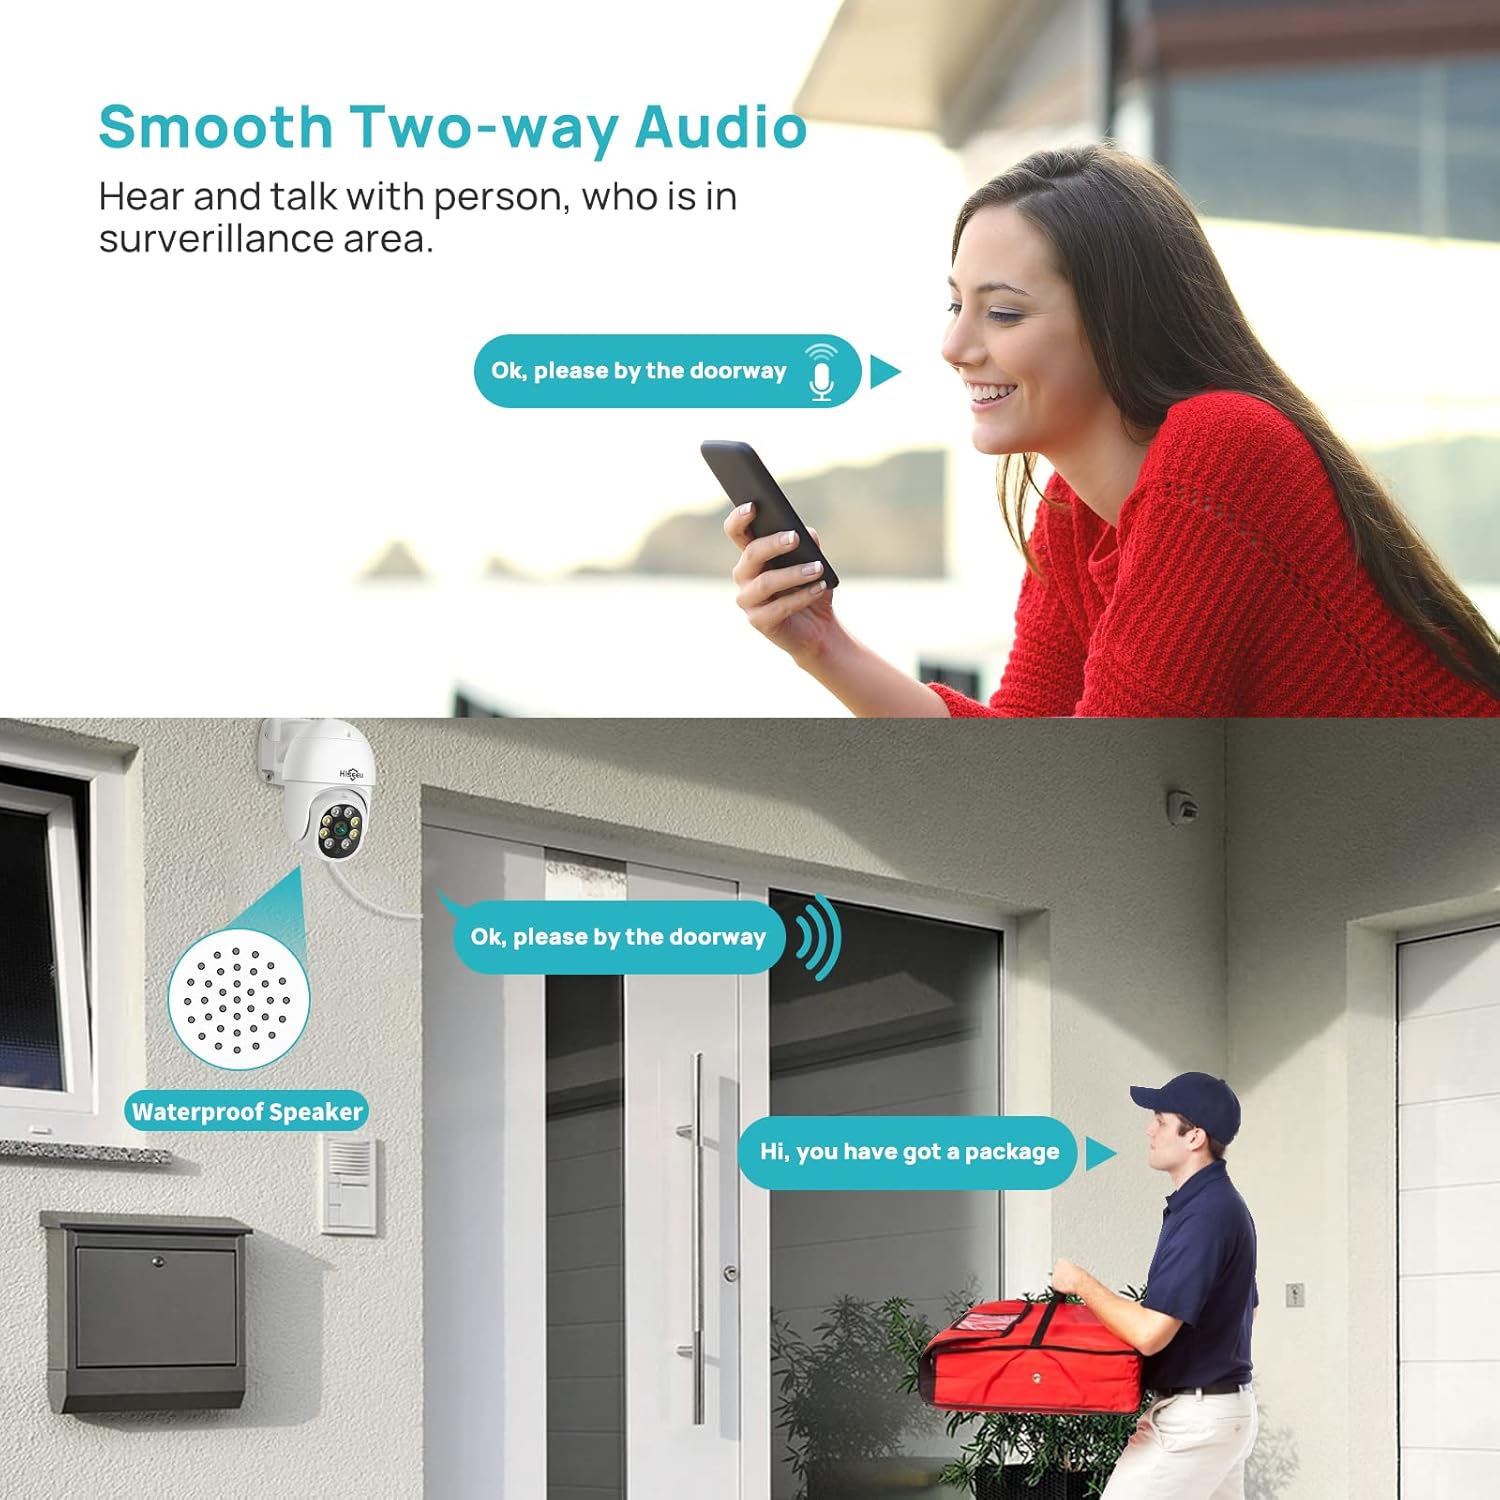
Image: A person speaking into their phone, with the audio being broadcast through the camera's waterproof speaker to a person at the door.
3.3 3MP HD Image & Color Night Vision
This PTZ security camera system provides super HD 3MP resolution images for clear home security monitoring. With bright built-in floodlights, the cameras can display very clear images even in extremely dark environments, extending your night vision up to 65 feet. Please note: The system only supports 2.4GHz WiFi and does not support 5GHz.

Image: Comparison of Infrared Mode (black and white), Color Mode (full color with floodlights), and Double Light Alert (flashing lights).

Image: Visual comparison demonstrating the clarity difference between 1080P (1920*1080) and 3MP (2304*1296) resolutions.
3.4 PC/Mobile Phone Remote View & Multiple User Sharing
The security camera supports live view and control remotely via your mobile phone using the "Tris Home" App or via PC using VMS software. You can share camera access with family members through the "Tris Home" APP, allowing multiple users to view real-time footage simultaneously. The system also integrates with Alexa Echo Show, enabling voice control to display live camera video.

Image: Displays the camera feed being viewed simultaneously on a smartphone, iPad, PC, and laptop.

Image: A person interacting with an Alexa device to display the front door camera feed.
3.5 8-Channel NVR & 24/7 Recording
The NVR is expandable up to 8 cameras, allowing you to add more cameras as needed. With the included 1TB hard drive, the wireless outdoor security camera system can continuously record videos 24/7 for up to 45 days. You can watch live views and playback recorded video directly from the NVR's external display.

Image: NVR connected to a monitor displaying multiple camera feeds with a '24/7 Recording' overlay.
3.6 No Monthly Fees & Local Storage
This wireless security camera system is a one-time purchase with no monthly fees or hidden costs. All video data is encrypted and saved locally on the built-in 1TB HDD, ensuring complete security and transparency. The 1TB HDD can store approximately 120 days (4 months) of motion detection video, which can be easily played back and downloaded.

Image: Diagram illustrating H.265X compression technology, showing it uses 50% less storage than H.264 for the same video quality.
3.7 IP65 Waterproof
Our security camera system is IP65 waterproof, making it suitable for both outdoor and indoor installation. It has been tested to withstand various weather conditions, including hail storms, gusty winds, heavy rains, scorching heat, and snow.

Image: Camera shown in rainy conditions with icons indicating Sun Protection, Waterproof, Cold Resistance, and Dustproof features.
4. Setup Guide
4.1 Initial Setup
The system is designed for easy plug-and-play setup. Cameras automatically pair with the NVR.
- Connect the NVR to a monitor using the provided HDMI cable.
- Connect the NVR to power using its dedicated power supply.
- Connect the NVR to your router using the provided Ethernet cable for internet access.
- Connect each camera to its respective 12V 1A power adapter.
- The cameras will automatically connect to the NVR.

Image: Diagram showing the NVR and camera setup with power connections and wireless signal.
4.2 Network Connection
The system supports both wireless and wired connections for cameras:
- Wireless Connection: Cameras connect wirelessly to the NVR. The system uses 2.4GHz WiFi for longer range (up to 90ft in line of sight) and can use closer cameras as WiFi repeaters to boost signal strength for further cameras.
- Wired Connection: For stable connections, cameras can also be connected directly to the NVR or network via Ethernet cable.

Image: Illustrates both wireless and wired connection methods for the cameras to the NVR.
4.3 Mobile App Setup ("Tris Home" App)
To view your cameras remotely on your mobile device:
- Download the "Tris Home" App from your device's app store (iOS/Android).
- Register a new account and log in.
- Click the "+" icon to add a device.
- Select "NVR" as the device type.
- Scan the QR code located on the NVR's backside or in the manual to add the device.
- Follow the on-screen prompts to complete the setup.

Image: Screenshot of the Tris Home app interface with a QR code for download and common FAQs.
For a visual guide on adding the system to your phone app, refer to this video:
Video: Tutorial on how to add the SOVMIKU security camera system to the mobile app, including password requirements.
4.4 PC Software Setup (VMS)
For remote viewing and control on your PC, install the VMS software:
- Download the VMS software from the link provided in your user manual (or from the official SOVMIKU website).
- Install the software on your PC.
- Launch VMS and log in (default username is 'admin', password can be set during NVR initial setup).
- Add your NVR device by searching for it on the local network or by manually entering its Cloud ID/IP address.
- Once added, you can view live feeds and manage settings.
For a visual guide on setting up remote view on PC using VMS software, refer to this video:
Video: Detailed instructions on how to set up and use the VMS software for remote viewing on a PC.
5. Operating Instructions
5.1 Live View
After successful setup, you can view live feeds from all connected cameras on your monitor, mobile app, or PC software. The NVR's external display allows simultaneous viewing of all 4 (or up to 8) channels.
5.2 Playback
Access recorded footage through the NVR interface, mobile app, or PC software. The 1TB HDD stores recordings for up to 120 days. You can search for specific events using the timeline or event logs.
5.3 PTZ Control
Control the pan (355° horizontal) and tilt (90° vertical) movements of your cameras remotely using the app or VMS software. This allows you to adjust the viewing angle as needed.
For a visual guide on PTZ control, refer to this video:
Video: Demonstration of the WiFi PTZ camera system's pan, tilt, and zoom functions.
5.4 Motion Detection & Alerts
Configure motion detection zones and sensitivity. When motion is detected, the system can trigger floodlights, sirens, and send instant notifications to your mobile device.
For a visual guide on auto-tracking and motion alerts, refer to this video:
Video: Shows the camera's auto-tracking feature following people and triggering alerts.
6. Maintenance
To ensure optimal performance and longevity of your SOVMIKU security system:
- Regularly clean camera lenses with a soft, damp cloth to prevent dust and dirt buildup.
- Ensure all power connections are secure and free from damage.
- Check the NVR's hard drive status periodically to ensure it's recording properly.
- Keep the NVR in a well-ventilated area to prevent overheating.
- Periodically check for firmware updates through the NVR interface or mobile app to ensure your system has the latest features and security patches.
7. Troubleshooting
If you encounter issues with your system, refer to the following common problems and solutions:
| Problem | Possible Cause | Solution |
|---|---|---|
| No video display on monitor | Loose HDMI cable, NVR not powered on, monitor input incorrect. | Check HDMI connection, ensure NVR power, select correct monitor input. |
| Cameras not connecting to NVR | Camera not powered, out of range, interference. | Ensure cameras are powered, move closer to NVR, reduce interference (e.g., thick walls). |
| Mobile app not connecting | Incorrect network settings, NVR not connected to internet, app login issues. | Verify NVR's internet connection, check app login credentials, ensure correct QR code scan. |
| No recording on HDD | HDD not initialized/formatted, recording schedule not set, HDD failure. | Check HDD status in NVR settings, format HDD if needed, configure recording schedule. |
| Poor night vision quality | IR/Floodlights blocked, camera lens dirty, insufficient ambient light. | Clear obstructions, clean lens, ensure adequate power for floodlights. |
System only supports 2.4GHz WiFi | This is a design specification for optimal range. | Ensure your router is broadcasting a 2.4GHz signal and connect the NVR to it. |
8. Specifications
| Feature | Specification |
|---|---|
| Model Name | SFWK-4HD313-1T |
| Video Capture Resolution | 3MP (1536p) |
| Pan/Tilt Range | Pan 355°, Tilt 90° |
| Night Vision | Color Night Vision (with floodlights), Infrared Night Vision |
| Connectivity | 2.4GHz WiFi, Ethernet (Wired) |
| Audio | Two-Way Audio |
| Storage | 1TB HDD (Pre-installed) |
| NVR Channels | 8 Channels (Expandable up to 8 cameras) |
| Weatherproof Rating | IP65 |
| Power Source | DC (Plug-in) |
| Control Method | App, Voice (Alexa) |
9. Warranty and Support
SOVMIKU offers a 1-year limited Maintenance warranty and lifetime technical support for this product. If you encounter any difficulties or have questions, please feel free to contact us via email or Amazon messaging. We are committed to providing the best service to our customers.
You can also refer to the official User Manual (PDF) for additional details.