1. Introduction
The TrolMaster MBS-PRO is a versatile 4-in-1 sensor designed for use with the Hydro-X Pro and Hydro-X Plus environmental control systems. It accurately measures temperature, humidity, CO2 levels, and light intensity, providing essential data for optimizing your growing environment. This manual provides detailed instructions for the proper installation, operation, and maintenance of your MBS-PRO sensor.
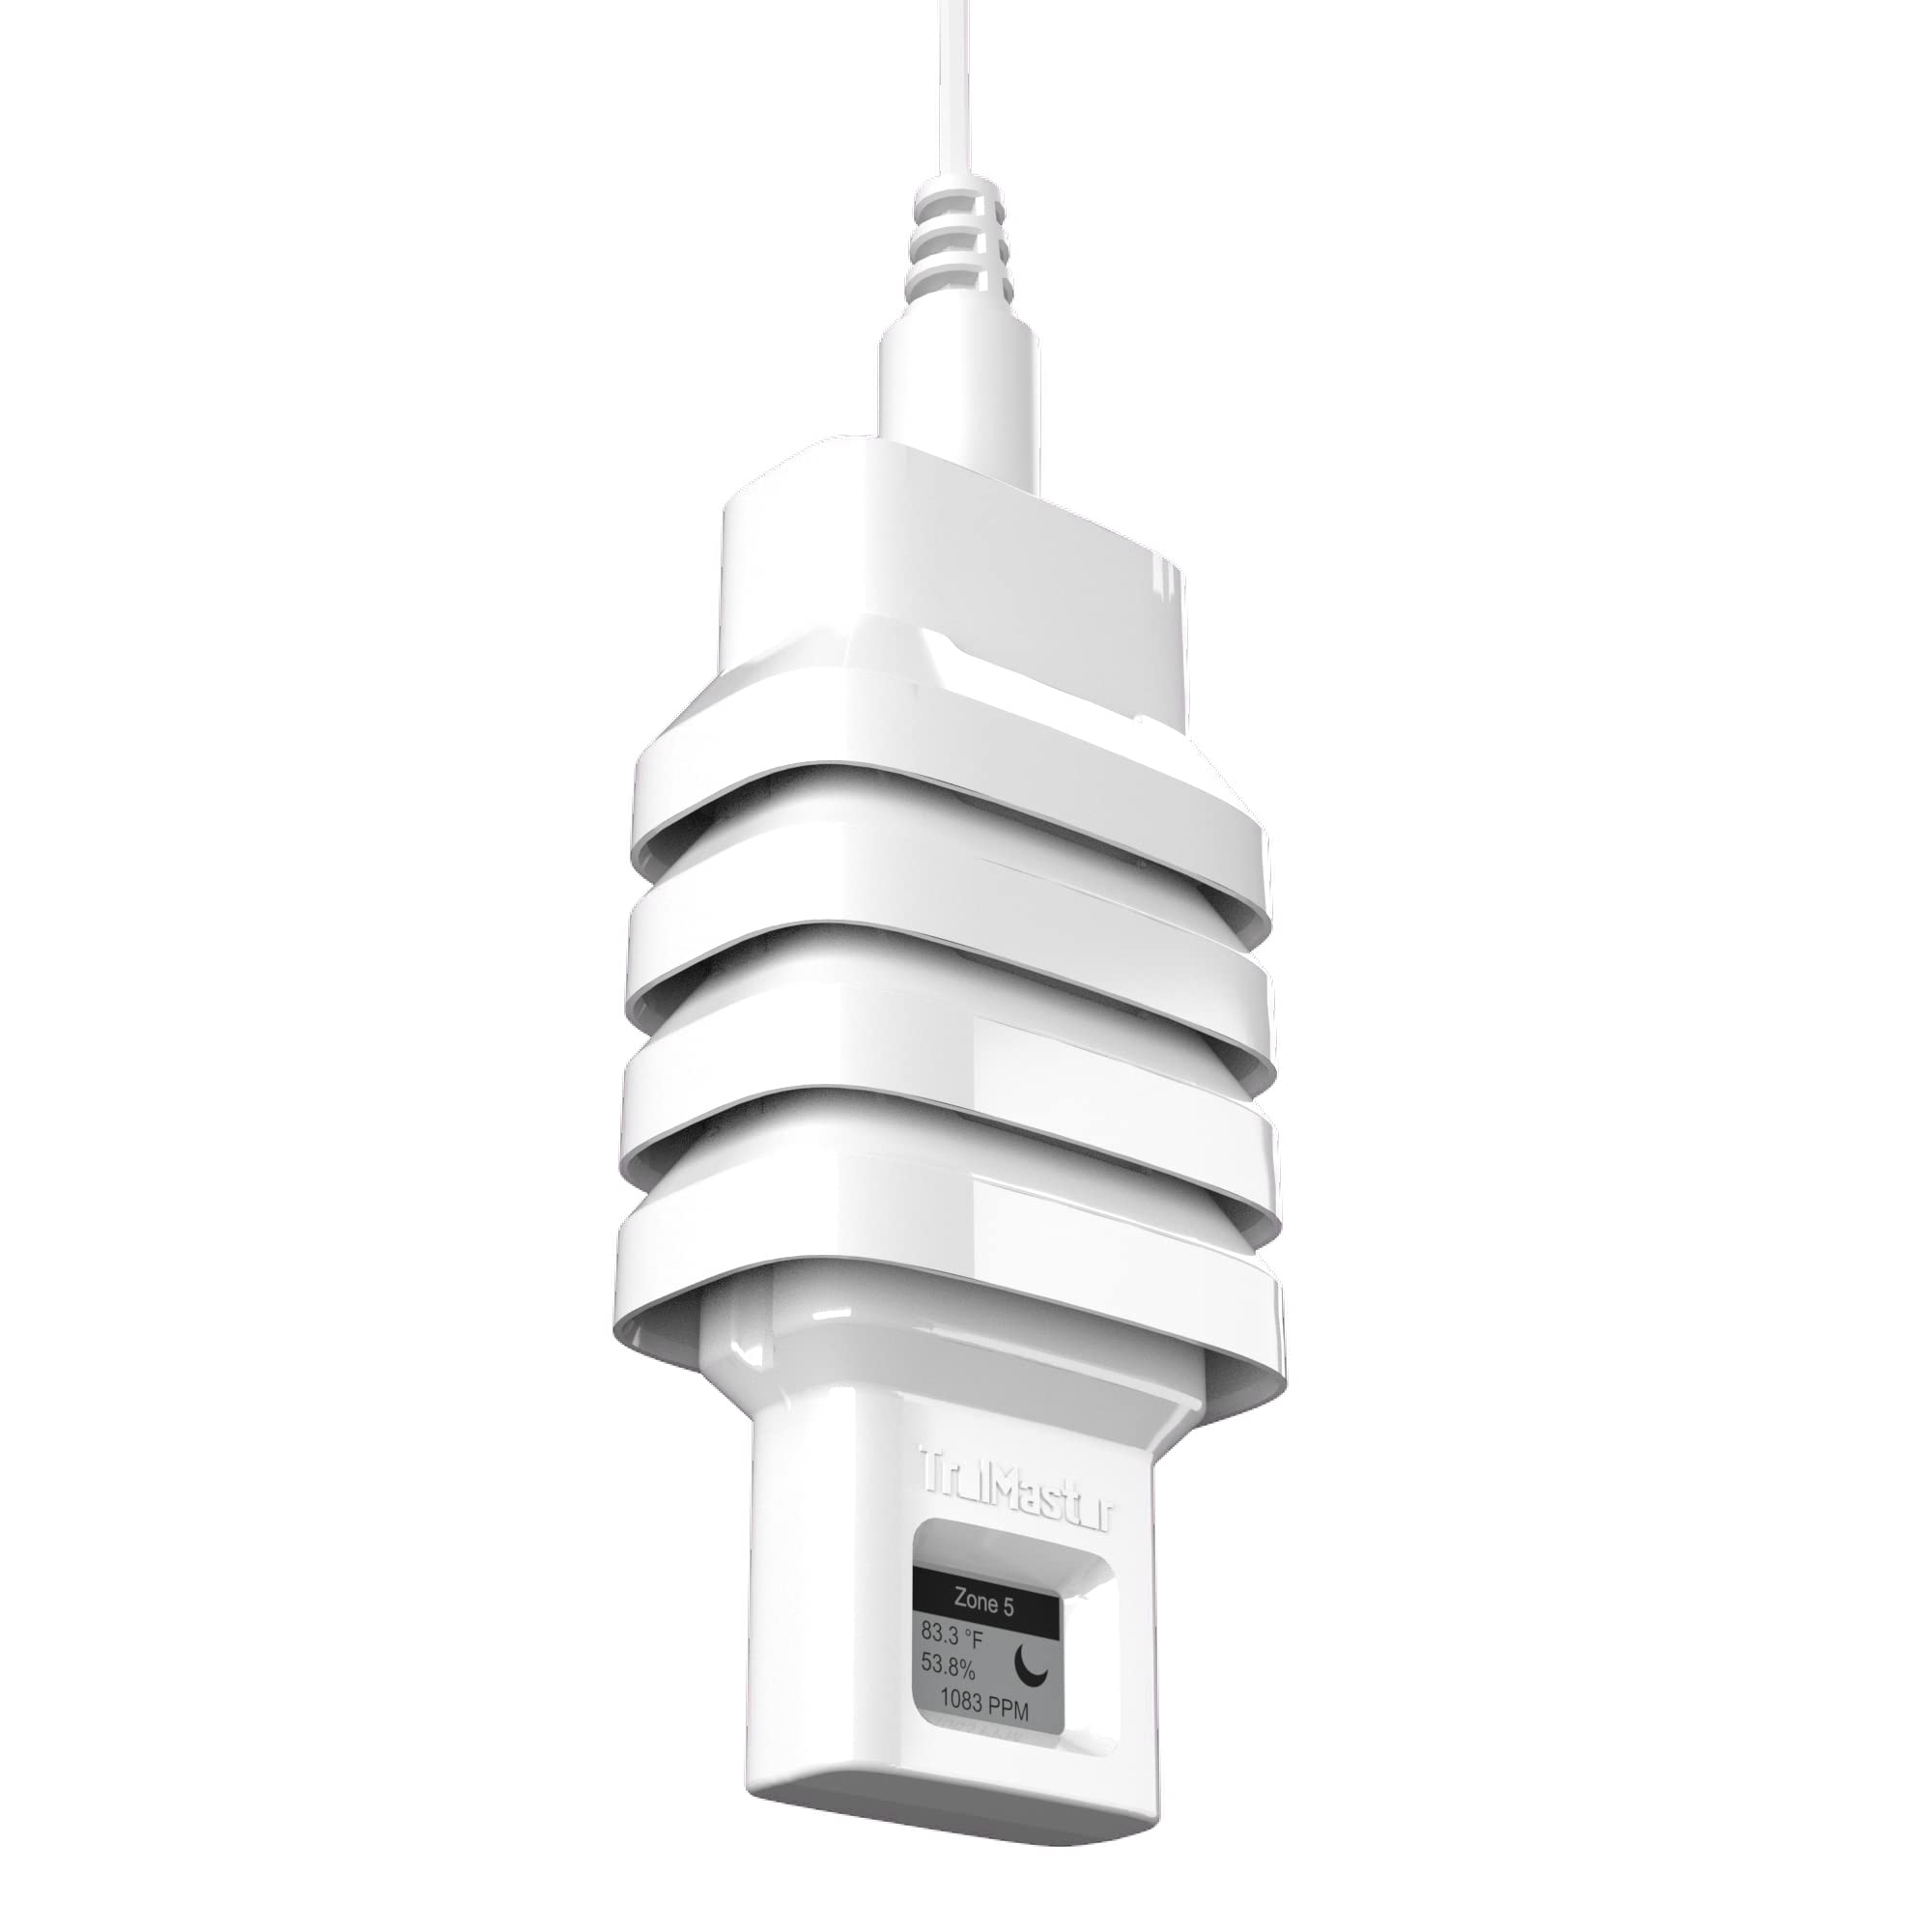
Figure 1: TrolMaster MBS-PRO 4-in-1 Sensor
The image displays the compact design of the TrolMaster MBS-PRO 4-in-1 sensor, featuring a white, ribbed housing with a small display screen and a cable extending from the top. This sensor is designed to monitor multiple environmental parameters.
2. Safety Information
Please read all safety instructions before operating the device. Failure to follow these instructions may result in damage to the product or personal injury.
- Do not expose the sensor to extreme temperatures or direct water spray.
- Ensure all connections are secure before powering on the system.
- Only use the sensor with compatible TrolMaster Hydro-X Pro or Hydro-X Plus systems.
- Do not attempt to open or modify the sensor housing. This will void the warranty.
- Keep out of reach of children and pets.
3. Package Contents
Verify that all items are present in the package:
- 1 x TrolMaster MBS-PRO 4-in-1 Sensor
- 1 x RJ12 Cable (for connection)
- 1 x User Manual (this document)

Figure 2: MBS-PRO Sensor Retail Packaging
This image shows the TrolMaster MBS-PRO 4-in-1 sensor packaged in its white retail box. The box features the TrolMaster logo and product name, indicating it's an all-in-one sensor for temperature, humidity, CO2, and light, compatible with Hydro-X Pro systems.
4. Setup
4.1 Physical Installation
Choose a central location within your growing area that accurately represents the overall environmental conditions. Avoid placing the sensor directly in front of fans, vents, or heating/cooling elements, as this can lead to inaccurate readings. Mount the sensor securely using appropriate hardware (not included) at the recommended height for your specific plants.
4.2 Connecting to Hydro-X Pro/Plus
The MBS-PRO sensor connects to your Hydro-X Pro or Hydro-X Plus controller via an RJ12 cable. Follow these steps:
- Locate an available RJ12 port on your Hydro-X Pro/Plus controller or an SPH-1 splitter.
- Connect one end of the RJ12 cable to the port on the MBS-PRO sensor.
- Connect the other end of the RJ12 cable to the selected port on your Hydro-X Pro/Plus controller or SPH-1 splitter.
- Ensure the connections are firm and secure.

Figure 3: Connection Diagram for MBS-PRO Sensor
This diagram illustrates how to connect the MBS-PRO sensors to a Hydro-X Pro controller using an SPH-1 splitter. Multiple MBS-PRO sensors are shown connected to the SPH-1, which then connects to the main Hydro-X Pro unit via a single RJ12 cable.
4.3 Initial Configuration
Once connected, the Hydro-X Pro/Plus system should automatically detect the MBS-PRO sensor. Refer to your Hydro-X Pro/Plus controller's manual for specific instructions on how to:
- Verify sensor detection.
- Assign the sensor to specific zones or control functions.
- Set desired environmental parameters (temperature, humidity, CO2, light intensity thresholds).
5. Operating the MBS-PRO Sensor
The MBS-PRO sensor continuously monitors the environment and transmits data to your Hydro-X Pro/Plus controller. All readings and control adjustments are managed through the main controller interface.
5.1 Understanding Readings
- Temperature: Displays the ambient air temperature in your chosen unit (e.g., °F or °C).
- Humidity: Shows the relative humidity percentage in the air.
- CO2: Indicates the carbon dioxide concentration in parts per million (PPM).
- Light Intensity: Measures the light level, often displayed in PPFD (Photosynthetic Photon Flux Density) or Lux, depending on controller settings.
5.2 Integration with Hydro-X System
The data collected by the MBS-PRO sensor enables the Hydro-X Pro/Plus system to automate various environmental controls, such as activating fans, humidifiers, dehumidifiers, CO2 generators, and lighting systems, based on your programmed settings. Regularly review your controller's dashboard to ensure optimal conditions are maintained.
Video 1: Overview of TrolMaster Hydro-X Controllers
This video provides a general overview of the TrolMaster Hydro-X controller systems, demonstrating their capabilities in managing various environmental factors. It highlights how sensors like the MBS-PRO integrate to provide comprehensive control.
Video 2: TrolMaster Controllers - Control Every Variable
This video showcases the extensive control features of TrolMaster controllers, emphasizing their ability to manage every variable in a growing environment. It illustrates the system's precision and automation for optimal plant growth.
6. Maintenance
6.1 Cleaning
To ensure accurate readings, keep the sensor clean. Gently wipe the exterior of the sensor with a soft, dry cloth. Do not use abrasive cleaners or allow moisture to enter the sensor openings.
6.2 Calibration
The MBS-PRO sensor is factory-calibrated. Under normal operating conditions, re-calibration is generally not required. If you suspect inaccurate readings, consult the Hydro-X Pro/Plus controller manual for any available calibration procedures or contact customer support.
6.3 Storage
When not in use, store the sensor in a cool, dry place away from direct sunlight and extreme temperatures. Disconnect it from the controller and store the cable neatly.
7. Troubleshooting
| Problem | Possible Cause | Solution |
|---|---|---|
| Sensor not detected by controller | Loose RJ12 cable connection; Faulty cable; Controller port issue; Sensor malfunction. | Check and secure RJ12 cable connections. Try a different RJ12 cable. Try a different port on the controller/splitter. Restart the Hydro-X system. |
| Inaccurate readings | Sensor placement issue; Dust/debris on sensor; Environmental interference. | Relocate sensor to a more representative area. Clean the sensor gently. Ensure no strong air currents or heat sources are directly affecting the sensor. |
| No data displayed | Power issue to controller; Cable disconnected; Sensor malfunction. | Verify Hydro-X controller is powered on. Check all cable connections. If issues persist, contact support. |
8. Specifications
| Feature | Detail |
|---|---|
| Model | MBS-PRO |
| Measurements | Temperature, Humidity, CO2, Light Intensity |
| Compatibility | TrolMaster Hydro-X Pro, Hydro-X Plus |
| Connection | RJ12 |
| Color | Black |
| Weight | 16 ounces (approx. 0.45 kg) |
| Material | Plastic |
9. Warranty Information
TrolMaster products are covered by a limited warranty against defects in materials and workmanship. The specific terms and duration of the warranty may vary. Please retain your proof of purchase. For detailed warranty information, refer to the official TrolMaster website or contact customer support.
Note: Unauthorized opening or modification of the device will void the warranty.
10. Customer Support
If you encounter any issues or have questions regarding your TrolMaster MBS-PRO sensor that are not covered in this manual, please contact TrolMaster customer support for assistance.
- Website: Visit the official TrolMaster website for FAQs, support resources, and contact information.
- Email: Refer to the website for the appropriate support email address.
- Phone: Refer to the website for customer service phone numbers.


