
1. Introduction
Thank you for purchasing the Hampton Bay Caprice 52-inch Integrated LED Indoor Ceiling Fan. This manual provides detailed instructions for the safe installation, operation, and maintenance of your new ceiling fan. Please read all instructions carefully before beginning installation and retain this manual for future reference.
2. Safety Information
WARNING: To reduce the risk of fire, electric shock, or personal injury, always follow these basic precautions:
- Read all instructions and safety information before installing your fan and save these instructions.
- All wiring must be in accordance with national and local electrical codes. If you are unfamiliar with wiring, consult a qualified electrician.
- Before you begin, disconnect power by turning off the circuit breakers at the main fuse box or circuit breaker panel.
- Ensure the installation site allows the fan blades to rotate without obstruction. Maintain a minimum clearance of 7 feet from the floor to the blade trailing edge.
- The outlet box and support structure must be securely mounted and capable of reliably supporting a minimum of 35 lbs (15.9 kg). Use only UL Listed outlet boxes marked "FOR FAN SUPPORT."
- Do not operate the fan with damaged parts. Replace any damaged components before use.
- Do not insert objects into the path of the fan blades while the fan is operating.
- This fan is intended for indoor use only.
3. Package Contents
Verify that all components listed below are included in your package. If any parts are missing or damaged, contact customer service for assistance.
- Ceiling Fan Motor Assembly
- Fan Blades (3)
- Light Kit Assembly
- Remote Control
- Downrod (4.5 inches)
- Mounting Bracket
- Hardware Pack (screws, wire nuts, washers)
- Instruction Manual
4. Specifications
| Feature | Detail |
|---|---|
| Brand | Hampton Bay |
| Model Number | SW19151R |
| Fan Size | 52 inches |
| Color | Matte White |
| Material | Glass (Shade) |
| Indoor/Outdoor Usage | Indoor |
| Power Source | Corded Electric |
| Installation Type | Semi Flush Mount |
| Control Method | Remote Control |
| Light Source Type | Integrated LED |
| Light Color | Warm White |
| Number of Blades | 3 |
| Item Weight | 19.2 Pounds |
| Wattage | 10 watts (LED) |
| UPC | 845952001749 |
5. Installation
Before installation, ensure the power is turned off at the circuit breaker. Follow these steps carefully.
5.1 Mounting the Fan
Attach the mounting bracket to the ceiling outlet box. Ensure the outlet box is securely fastened to the building structure and can support the fan's weight. Use the provided hardware.
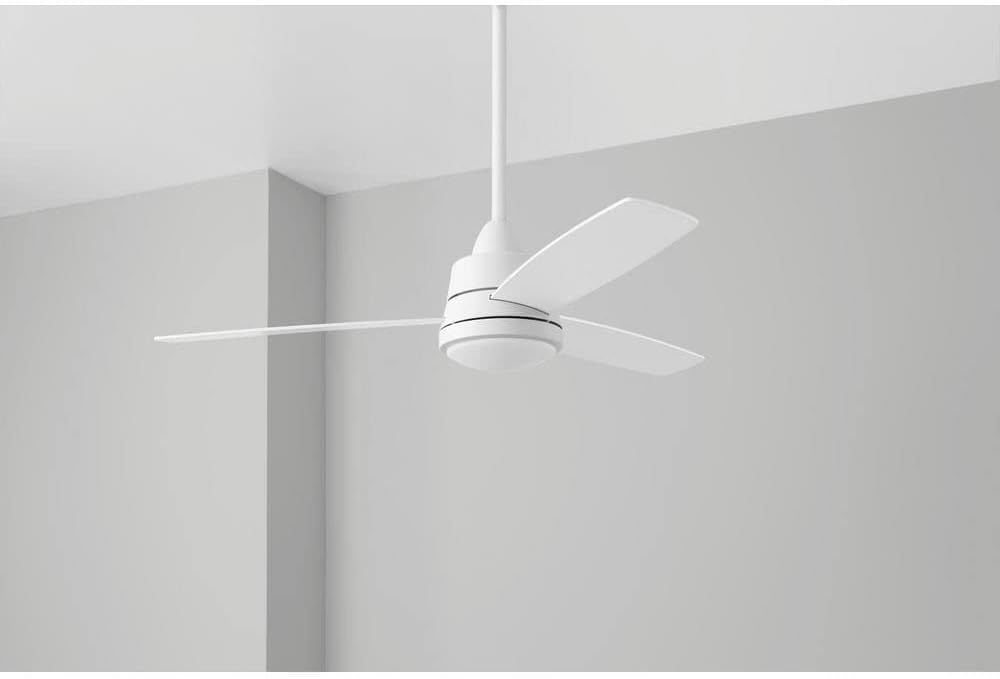
Figure 1: Hampton Bay Caprice 52-inch ceiling fan installed in a room, showcasing its matte white finish and integrated light.

Figure 2: Dimensional drawing of the fan, indicating a 4.5-inch downrod and overall 52-inch width, suitable for rooms 12ft x 12ft to 18ft x 18ft.

Figure 3: Downrod guide illustrating recommended downrod lengths based on ceiling height for optimal fan performance and air circulation.
5.2 Wiring
Connect the fan's electrical wires to the household wiring according to the wiring diagram in the full manual. Ensure all connections are secure and properly insulated with wire nuts. The remote receiver should be installed within the canopy.
5.3 Attaching Fan Blades
Securely attach the three fan blades to the motor housing using the provided screws. Ensure all screws are tightened to prevent wobbling during operation.
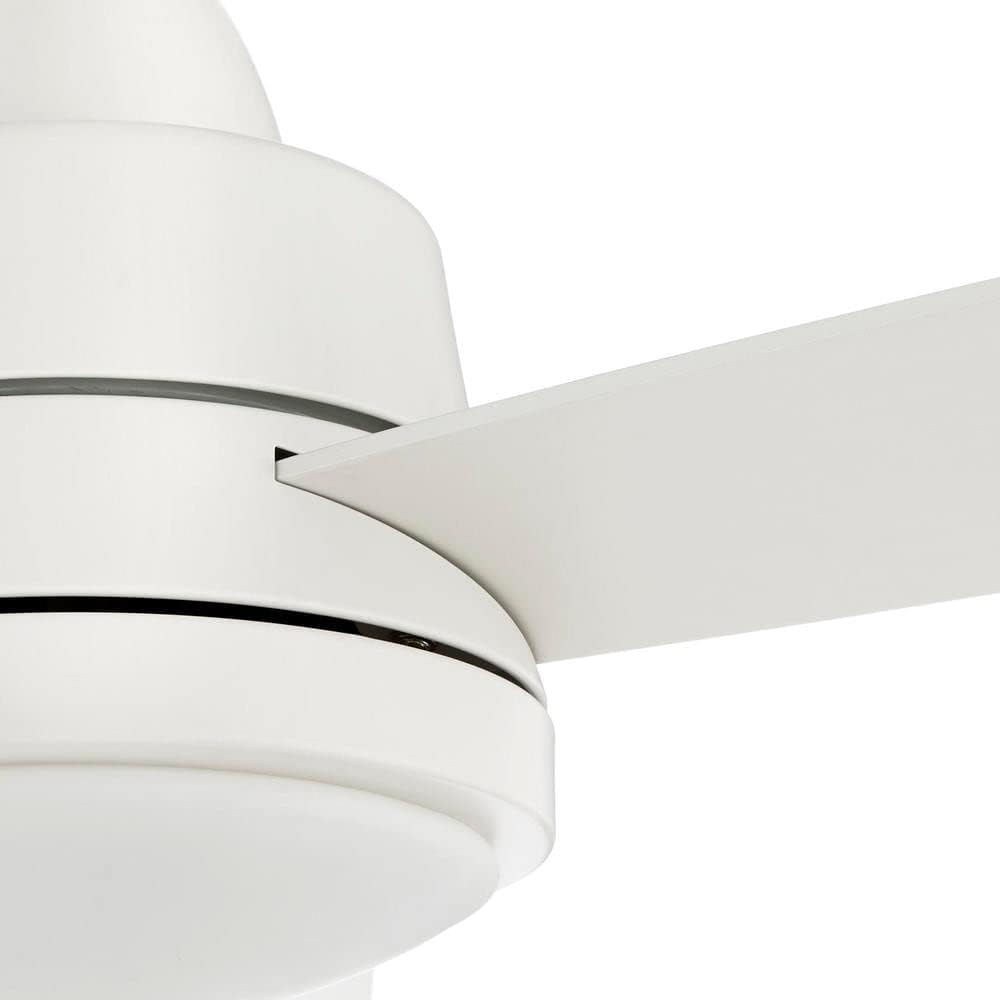
Figure 4: Close-up of a fan blade being attached to the motor housing, showing the secure connection point.
5.4 Installing the Light Kit
Connect the light kit wires to the fan motor wires. Secure the light kit assembly to the bottom of the fan motor housing. The integrated LED light is pre-installed and does not require bulb replacement.

Figure 5: Detailed view of the fan's central body, highlighting the sleek design and the integrated LED light fixture.

Figure 6: The Hampton Bay Caprice fan with its integrated LED light turned on, providing warm white illumination.
6. Operating Instructions
Your Hampton Bay Caprice ceiling fan is operated using the included remote control. Ensure the remote has working batteries (not included) before use.
6.1 Remote Control Functions
The remote control allows you to adjust fan speed and control the light. The buttons are typically labeled as follows:
- LOW: Activates the fan at low speed.
- MED: Activates the fan at medium speed.
- HI: Activates the fan at high speed.
- FAN OFF: Turns the fan off.
- LIGHT: Toggles the integrated LED light on or off.

Figure 7: The Hampton Bay Caprice 52-inch ceiling fan, showcasing its modern design and matte white finish.

Figure 8: Bottom view of the fan, highlighting the circular integrated LED light fixture.
7. Maintenance
Regular maintenance helps ensure the longevity and optimal performance of your ceiling fan.
- Cleaning: To avoid damage to the finish, clean the fan with a soft, damp cloth only. Do not use abrasive cleaners or solvents.
- Blade Inspection: Periodically check the blade attachments for tightness. Loose blades can cause wobbling and noise.
- Light Kit: The integrated LED light is designed for long-term use and does not require bulb replacement.
- Motor: The fan motor features permanently lubricated bearings and does not require oiling.
8. Troubleshooting
If you experience issues with your fan, refer to the following common problems and solutions:
| Problem | Possible Cause | Solution |
|---|---|---|
| Fan will not start | No power to the fan; Loose wire connections; Remote control battery low or dead. | Check circuit breaker and wall switch; Verify all wire connections are secure; Replace remote control battery. |
| Fan wobbles | Loose blade screws; Improperly balanced blades; Loose mounting bracket. | Tighten all blade screws; Use a blade balancing kit (not included); Ensure mounting bracket is securely fastened. |
| Light does not work | Loose wire connections in light kit; Remote control battery low or dead. | Check light kit wiring connections; Replace remote control battery. |
| Remote control not working | Incorrect pairing; Dead battery; Obstruction between remote and receiver. | Refer to the full manual for remote pairing instructions; Replace battery; Ensure clear line of sight. |
9. Warranty and Support
Hampton Bay products are manufactured to high-quality standards. For specific warranty details, please refer to the warranty card included with your purchase or visit the official Hampton Bay website. For technical assistance, replacement parts, or customer support, please contact Hampton Bay customer service directly. Keep your proof of purchase for warranty claims.


