
1. Introduction
Thank you for purchasing the VisionOwl Portable Monitor Y-156. This manual provides essential information for setting up, operating, and maintaining your monitor. Please read this manual thoroughly before use to ensure proper functionality and to prevent damage.
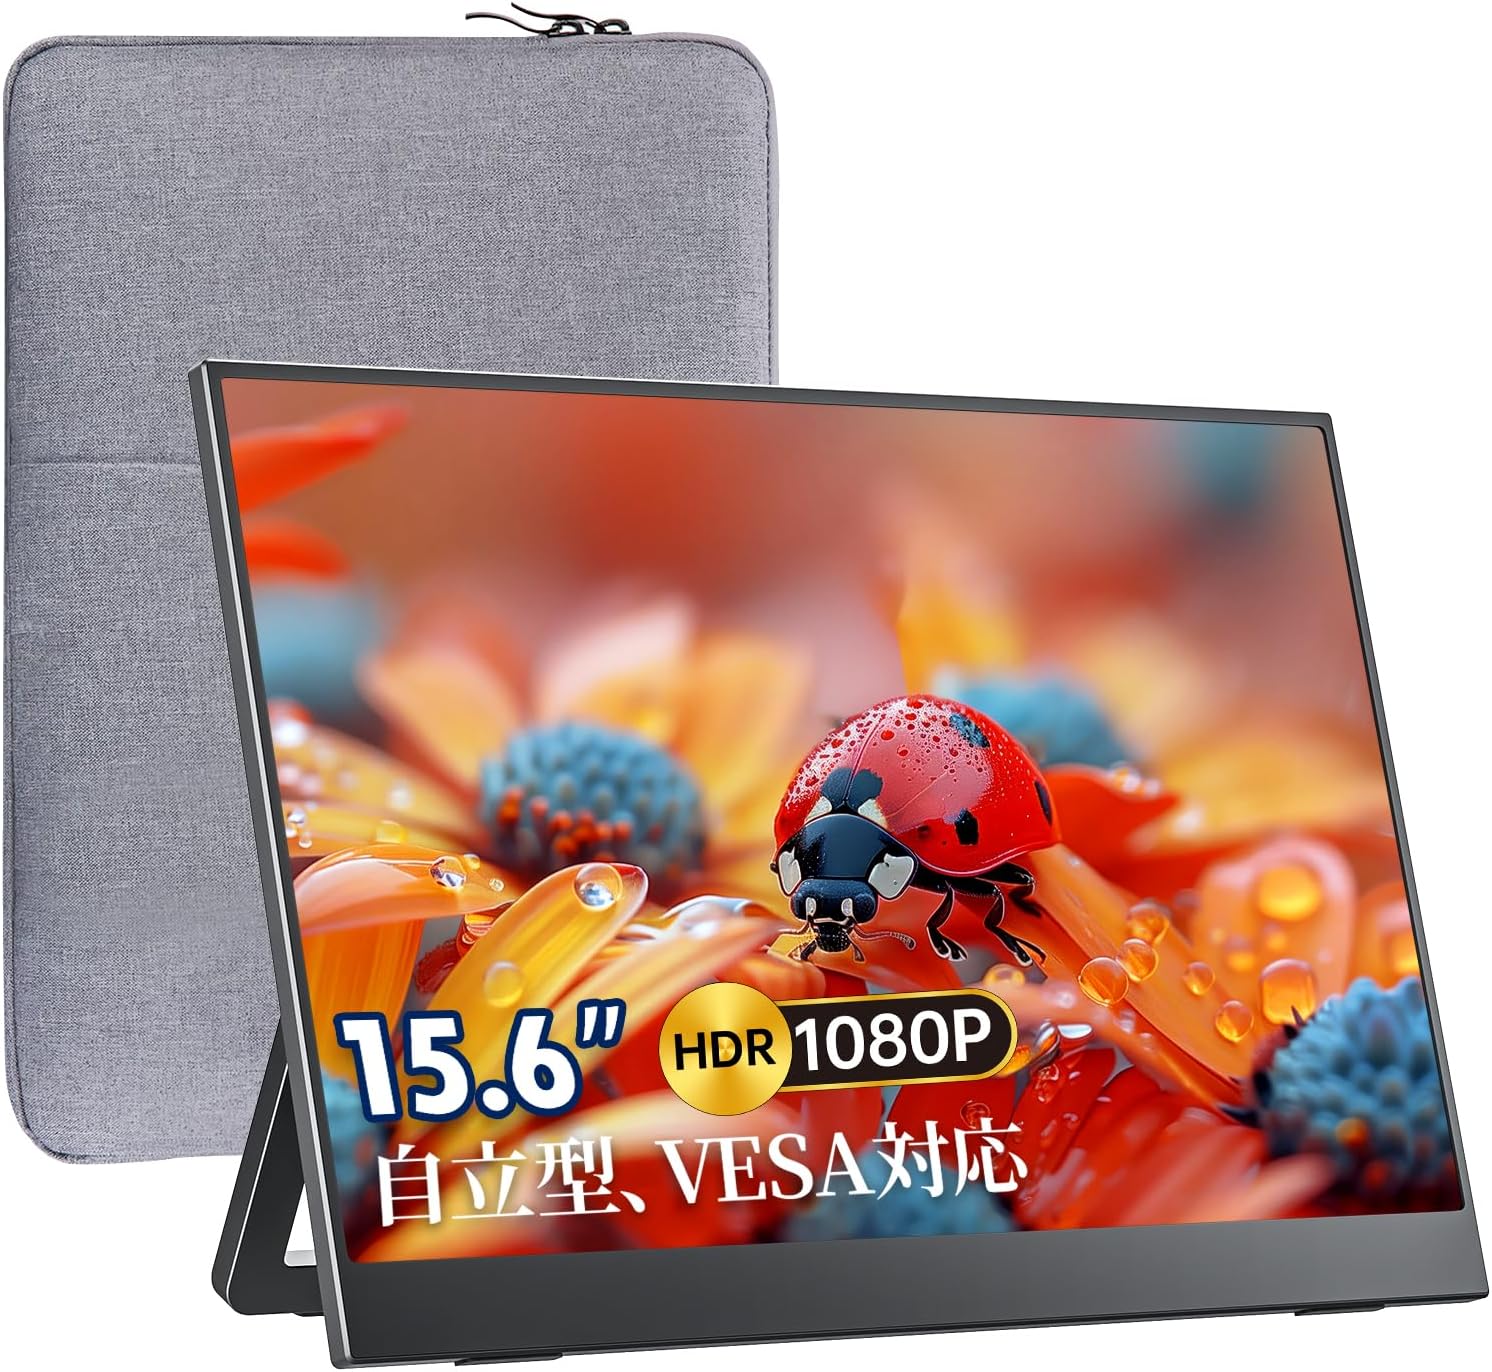
Image 1.1: VisionOwl Portable Monitor Y-156
The VisionOwl Portable Monitor Y-156 is a 15.6-inch Full HD (1920x1080) IPS display designed for portability and versatility. It features USB Type-C and Mini HDMI connectivity, dual speakers, FreeSync, and HDR support, making it suitable for various devices including laptops, PCs, gaming consoles, and smartphones.
2. Package Contents
Please check the package for the following items:
- VisionOwl Portable Monitor Y-156
- Smart Cover/Stand
- USB-C to USB-C Cable
- Mini HDMI to HDMI Cable
- USB-A to USB-C Power Cable
- Power Adapter (if included)
- User Manual (this document)
3. Product Overview
3.1 Monitor Features
- 15.6-inch Full HD (1920x1080) IPS Display: Provides wide viewing angles and vibrant colors.
- Ultra-Slim Design: Lightweight and portable for easy transport.
- Integrated Stand: Adjustable from 0° to 175° for optimal viewing angles.
- VESA Mount Compatible: Allows for flexible mounting options (75x75mm).
- Dual Speakers: Built-in audio output.
- HDR & FreeSync Support: Enhances visual experience for compatible content and devices.

Image 3.1: Monitor design highlights including thin profile (5mm), minimal bezels, fingerprint-resistant finish, and lightweight construction (approximately 730g).

Image 3.2: The monitor features an integrated stand that can be adjusted up to 175 degrees. It also supports VESA mounting for wall or arm installation.
3.2 Ports and Buttons
Image 3.3: Overview of monitor ports and control buttons. From left to right: Power Button, Earphone Jack, Menu Button, Anti-slip pads, Mini HDMI port, two USB Type-C ports (one for power/data, one for power only), and VESA mounting holes.
- Power Button: Press and hold to turn the monitor on/off. Short press to enter/exit OSD menu.
- Earphone Jack: 3.5mm audio output for headphones or external speakers.
- Menu Button: Used to navigate and select options within the On-Screen Display (OSD) menu.
- Mini HDMI Port: Connects to devices via Mini HDMI to HDMI cable for video and audio input.
- USB Type-C Ports (x2):
- One port supports both power delivery and video/audio signal (DisplayPort Alt Mode).
- The other port is primarily for power input.
4. Setup
4.1 Connecting to Devices
The VisionOwl Portable Monitor Y-156 offers flexible connectivity options:
- Single USB Type-C Cable Connection: For devices with a full-featured USB Type-C port (supporting DisplayPort Alt Mode and Power Delivery), a single USB-C to USB-C cable can provide both power and display signal. Ensure your device's USB-C port supports these functions.
- Mini HDMI Connection: Use the Mini HDMI to HDMI cable for video and audio input. An additional USB-A to USB-C cable will be required to power the monitor.
- Gaming Consoles (e.g., Nintendo Switch, PS5, Xbox): Connect via Mini HDMI for video/audio. Power the monitor using the USB-A to USB-C cable connected to a power adapter or a compatible USB port. For Nintendo Switch, remove Joy-Cons for full control.

Image 4.1: Examples of connecting the monitor. Top: A single USB-C cable connects a laptop to the monitor, providing both power and display. Bottom: A Nintendo Switch connected via Mini HDMI, with the monitor powered by a separate USB-C cable.
4.2 Powering the Monitor
The monitor can be powered in two ways:
- Via USB Type-C (Power Delivery): If your source device (e.g., laptop) supports USB-C Power Delivery, a single USB-C cable can power the monitor.
- Via External Power Adapter: Connect the provided USB-A to USB-C power cable to the monitor's power-only USB-C port and plug the USB-A end into a power adapter (not always included) or a powered USB port.
4.3 Stand and Mounting
- Integrated Stand: The monitor features a built-in stand that can be adjusted to various angles (0° to 175°). Ensure the stand is securely positioned on a flat surface.
- VESA Mounting: For alternative setups, the monitor is VESA compatible (75x75mm). Use appropriate VESA mounting hardware (not included) to attach the monitor to a wall mount or monitor arm.

Image 4.2: The monitor can be easily integrated into a multi-monitor setup using VESA mounts, allowing for flexible positioning including portrait mode.
5. Operating Instructions
5.1 Power On/Off
Press and hold the Power Button (refer to Image 3.3) for a few seconds to turn the monitor on or off.
5.2 On-Screen Display (OSD) Menu
Short press the Power Button to access the OSD menu. Use the Menu Button to navigate through options and adjust settings such as brightness, contrast, color temperature, input source, and HDR mode.
5.3 Display Modes
When connected to a computer, you can configure the display mode:

Image 5.1: Illustration of different display modes: Extend Mode (top), Duplicate Mode (bottom left), and Portrait Display (bottom right).
- Extend Mode: Extends your desktop across both screens, providing more workspace.
- Duplicate Mode (Mirror Mode): Duplicates your primary display onto the portable monitor.
- Portrait Display: Rotate the monitor to a vertical orientation for specific tasks like coding or document viewing. Adjust settings in your operating system's display settings.
6. Maintenance
6.1 Cleaning the Monitor
- Always power off the monitor and disconnect all cables before cleaning.
- Use a soft, lint-free cloth slightly dampened with water or a non-abrasive screen cleaner.
- Do not spray cleaner directly onto the screen.
- Avoid using harsh chemicals, alcohol, or abrasive materials.
6.2 Storage
- When not in use, store the monitor in its smart cover to protect the screen from scratches and dust.
- Store in a cool, dry place away from direct sunlight and extreme temperatures.
7. Troubleshooting
If you encounter issues with your monitor, please refer to the following common solutions:
| Problem | Possible Cause | Solution |
|---|---|---|
| No display/"No Signal" message | Incorrect input source selected, loose cable connection, insufficient power, source device not outputting signal. | Check all cable connections. Ensure the monitor is powered. Select the correct input source via the OSD menu. Verify your source device is configured to output to an external display. For USB-C, ensure the port supports DisplayPort Alt Mode. |
| Monitor does not power on | No power, faulty cable/adapter. | Ensure the power cable is securely connected to a working power source. Try a different USB-C port or power adapter if available. |
| Flickering or unstable display | Faulty cable, refresh rate mismatch, power fluctuations. | Try a different cable. Adjust the refresh rate in your device's display settings. Ensure stable power supply. |
| No sound from speakers/earphone jack | Volume too low, incorrect audio output selected on source device, faulty cable. | Increase monitor volume via OSD. Check audio output settings on your connected device. Ensure cables are fully inserted. |
| Image is too dark/bright/incorrect colors | OSD settings incorrect. | Adjust brightness, contrast, and color settings through the OSD menu. Reset OSD settings to factory defaults if necessary. |
If the problem persists after trying these solutions, please contact VisionOwl customer support for further assistance.
8. Specifications
| Feature | Specification |
|---|---|
| Model Number | Y-156 |
| Screen Size | 15.6 inches |
| Resolution | 1920 x 1080 (FHD 1080p) |
| Panel Type | IPS |
| Aspect Ratio | 16:9 |
| Screen Surface | Matte |
| Connectivity | 2x USB Type-C, 1x Mini HDMI |
| Audio | Dual Speakers, 3.5mm Earphone Jack |
| Voltage | 5 Volts |
| Item Weight | 3.76 pounds (approx. 1.7 kg) |
| Product Dimensions | 0.63 x 13.98 x 8.7 inches (approx. 1.6 x 35.5 x 22.1 cm) |
| Special Features | HDR, FreeSync, VESA Compatible |
9. Warranty and Support
VisionOwl products are designed for reliability and performance. For warranty information, technical support, or any inquiries regarding your VisionOwl Portable Monitor Y-156, please refer to the warranty card included in your package or visit the official VisionOwl website. You may also contact VisionOwl customer service directly through the retailer where the product was purchased.