
1. Important Safety Information
Always ensure your sewing machine is turned off and unplugged from the power outlet before performing any maintenance, installation, or replacement of parts. This prevents accidental activation and potential injury. Keep small parts away from children.
2. Product Overview
This UpStart Components Bobbin Case is a replacement part designed to hold the bobbin and regulate the lower thread tension in compatible sewing machines. Proper function of the bobbin case is crucial for consistent stitch quality.

Figure 1: Front view of the UpStart Components Bobbin Case. This image displays the general shape and opening for the bobbin.
3. Compatibility
This bobbin case is specifically designed as a replacement for the Singer 4814 Sewing Machine. It is compatible with Singer part number #421326.
4. Setup and Installation
- Power Off: Ensure your sewing machine is turned off and unplugged from the power source.
- Access Bobbin Area: Open the bobbin cover plate on your sewing machine to access the bobbin and bobbin case area.
- Remove Old Bobbin Case: Carefully remove the existing bobbin case. If a bobbin is inside, remove it first. Note how the old bobbin case was oriented.
- Insert New Bobbin Case: Place the new UpStart Components bobbin case into the designated slot. Ensure it sits securely and is correctly oriented according to your sewing machine's design. It should click or fit snugly into place.
- Test Fit: Gently rotate the handwheel of your sewing machine to ensure the bobbin case moves freely without obstruction.
- Close Cover: Close the bobbin cover plate.
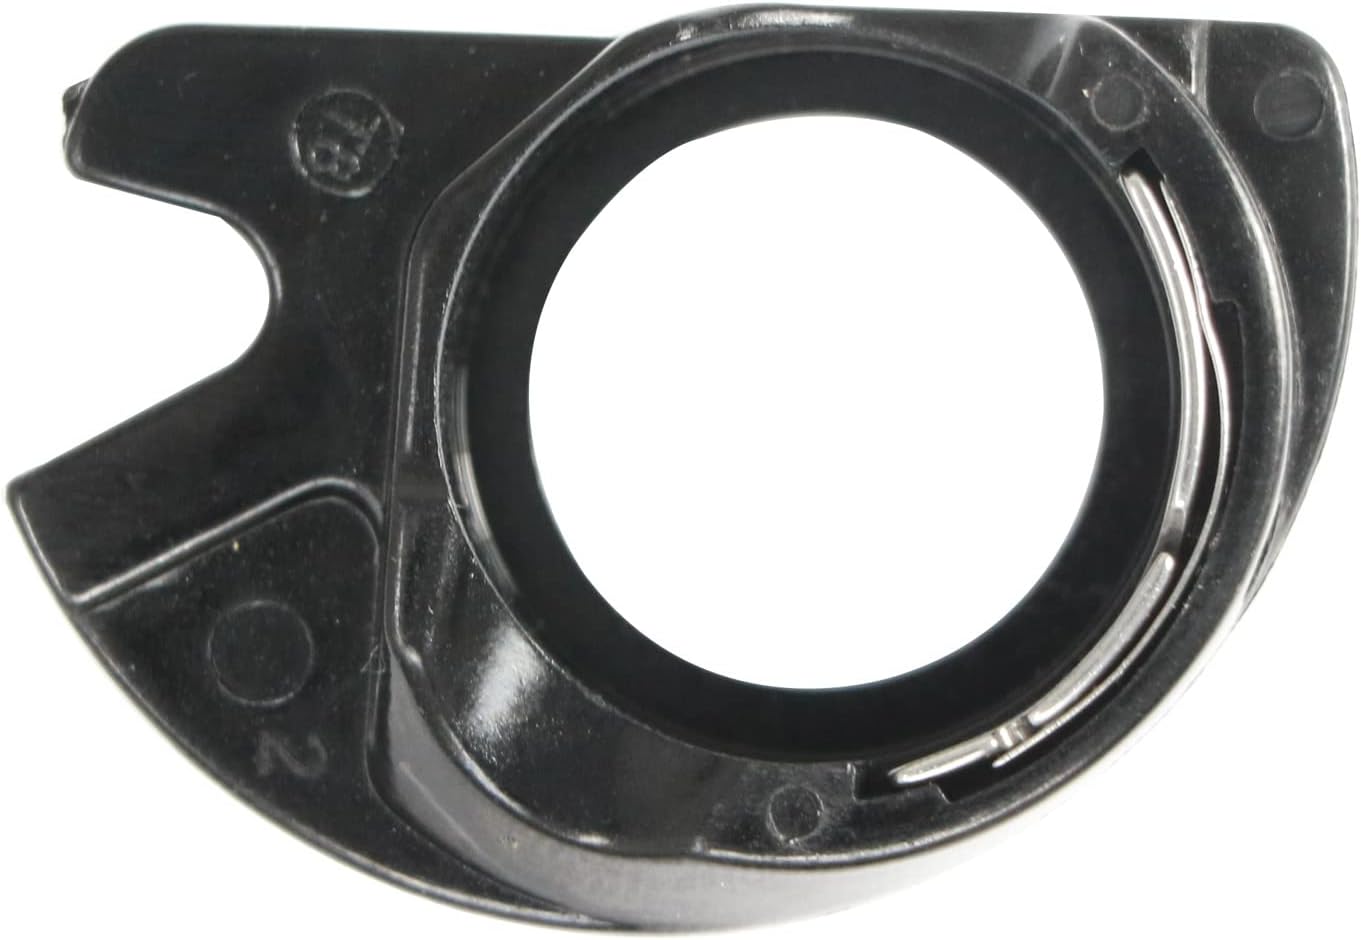
Figure 2: Interior view of the UpStart Components Bobbin Case. This image highlights the internal mechanism where the bobbin is placed and thread tension is regulated.
5. Operating Instructions
- Wind Bobbin: Wind your bobbin with the desired thread according to your sewing machine's instructions.
- Insert Bobbin: Place the wound bobbin into the bobbin case. Ensure the thread unwinds in the correct direction (usually clockwise or counter-clockwise, depending on your machine and bobbin case design).
- Thread Bobbin Case: Guide the bobbin thread through the tension spring slot on the bobbin case. The thread should pass smoothly under the tension spring.
- Install Bobbin Case: Insert the bobbin case with the bobbin into the sewing machine's bobbin area as described in Section 4.
- Draw Up Bobbin Thread: Hold the upper thread, turn the handwheel towards you to lower and raise the needle, catching the bobbin thread. Pull both threads to the back of the machine before starting to sew.
6. Maintenance
- Regular Cleaning: Periodically remove the bobbin case and clean any lint, dust, or thread fragments that may accumulate around it and in the bobbin area. Use a small brush or lint remover.
- Check for Damage: Inspect the bobbin case for any signs of wear, nicks, or damage, especially on the tension spring. A damaged bobbin case can lead to poor stitch quality.
- Lubrication: Refer to your sewing machine's manual for specific lubrication instructions for the bobbin area. The bobbin case itself typically does not require lubrication.
7. Troubleshooting
- Skipped Stitches: Ensure the bobbin is correctly inserted and threaded, and that the bobbin case is seated properly. Check for any damage to the bobbin case or bobbin.
- Thread Jamming/Nesting: This often indicates incorrect bobbin threading or improper tension. Re-thread the bobbin case carefully, ensuring the thread passes under the tension spring. Clean any lint from the bobbin area.
- Uneven Stitches: Check the bobbin thread tension. If the bobbin case has an adjustable screw, make small adjustments. Also, ensure the bobbin itself is not damaged or wound unevenly.
- Noisy Operation: A loose or improperly seated bobbin case can cause noise. Re-install the bobbin case, ensuring it is secure.
8. Specifications
| Attribute | Value |
|---|---|
| Model Number | SM-421326-DL94 |
| Compatible With | Singer 4814 Sewing Machine, Singer #421326 |
| Manufacturer | UpStart Components |
| Material | Durable plastic and metal components |
9. Warranty Information
This product is an UpStart Components Brand replacement part. Any warranties for this product are offered solely by UpStart Battery. Please refer to the warranty documentation provided with your purchase or contact UpStart Battery directly for details regarding warranty coverage and claims.
10. Customer Support
For further assistance, technical support, or inquiries regarding this product, please contact UpStart Components customer service. Refer to your purchase documentation for contact details or visit the official UpStart Components website.