
1. Introduction
Thank you for choosing the CAP Barbell Full Cage Power Rack Color Series. This manual provides detailed instructions for the proper assembly, safe operation, and routine maintenance of your new fitness equipment. Please read this manual thoroughly before assembly and use to ensure your safety and the longevity of the product.

Image 1: The CAP Barbell Full Cage Power Rack in 6-Foot Green.
2. Safety Information
WARNING: To reduce the risk of serious injury, read all instructions and warnings before using this equipment. Improper use can result in severe injury or death.
Proposition 65 Warning: This product can expose you to chemicals including Di(2-ethylhexyl)phthalate (DEHP), which is known to the State of California to cause cancer and birth defects or other reproductive harm. For more information go to www.P65Warnings.ca.gov.
- Always consult with a physician before beginning any exercise program.
- Ensure all bolts, nuts, and connections are securely tightened before each use. Regularly inspect for loose parts.
- The tested static weight capacity for the catches is 500 lb. Do not exceed this limit.
- The tested static weight capacity for the pull-up bar is 750 lb. Do not exceed this limit.
- Use the safety bars and J-hooks correctly to prevent injury during lifts.
- Do not allow children or pets near the equipment during use.
- Place the power rack on a flat, stable surface. Consider anchoring the rack to the floor for maximum stability, especially if performing dynamic exercises or using heavy loads.
- Always use a spotter when lifting heavy weights.
- Wear appropriate athletic footwear and clothing.
3. Package Contents
The CAP Barbell Full Cage Power Rack includes the following components:
- Full Cage Frame Components
- Pull-up Bar
- Safety Bars
- J-Hooks (Catches)
- All necessary hardware (bolts, washers, nuts)
Please inspect all components upon receipt. If any parts are missing or damaged, contact customer support immediately.
4. Specifications
| Item Package Dimensions L x W x H | 73 x 12 x 7 inches |
| Package Weight | 52.98 kg (116.8 pounds) |
| Assembled Dimensions L x W x H | 47.5" Deep x 43.62" Wide x 72" High |
| Item Weight | 116.8 pounds |
| Brand Name | CAP |
| Model Name | FM-905GR-6 |
| Color | Green |
| Material | Steel (12- and 14-gauge) |
| Static Weight Capacity (Catches) | 500 lb |
| Static Weight Capacity (Pull-up Bar) | 750 lb |

Image 2: Detailed dimensions of the power rack, showing height (72"), width (43.62"), and depth (47.5").
5. Setup & Assembly
Assembly typically requires two people for ease and safety, especially when raising the uprights. A 6mm Allen wrench (or impact driver with a 6mm Allen bit) will be useful.
- Unpack and Inspect: Carefully remove all components from the packaging. Check for any bent pieces or missing hardware. If any components are damaged or missing, contact customer support before proceeding.
- Identify Hardware: The rack uses two main bolt sizes: 70mm and 65mm. Ensure you use the correct bolt for each connection as indicated in the assembly diagrams (not provided here, refer to manufacturer's included manual). Incorrect bolt usage can compromise stability.
- Assemble Base Frame: Connect the base crossmembers to the uprights. Ensure the uprights are oriented correctly, as some ends may have longer lengths before the holes begin. This is crucial for proper alignment.
- Attach Top Crossmembers and Pull-up Bar: Secure the top crossmembers and the pull-up bar to the uprights. This will complete the main cage structure.
- Install Safety Bars and J-Hooks: Insert the safety bars and J-hooks into the desired height positions. Ensure they are fully seated and secure.
- Final Tightening: Once the entire rack is assembled, go back and securely tighten all nuts and bolts. Do not overtighten, but ensure there is no wobble.
- Optional Anchoring: For maximum stability, especially with heavy loads or dynamic movements, consider anchoring the rack to the floor using appropriate concrete anchors (not included).

Image 3: Side view of the power rack, illustrating the frame structure and accessory placement.
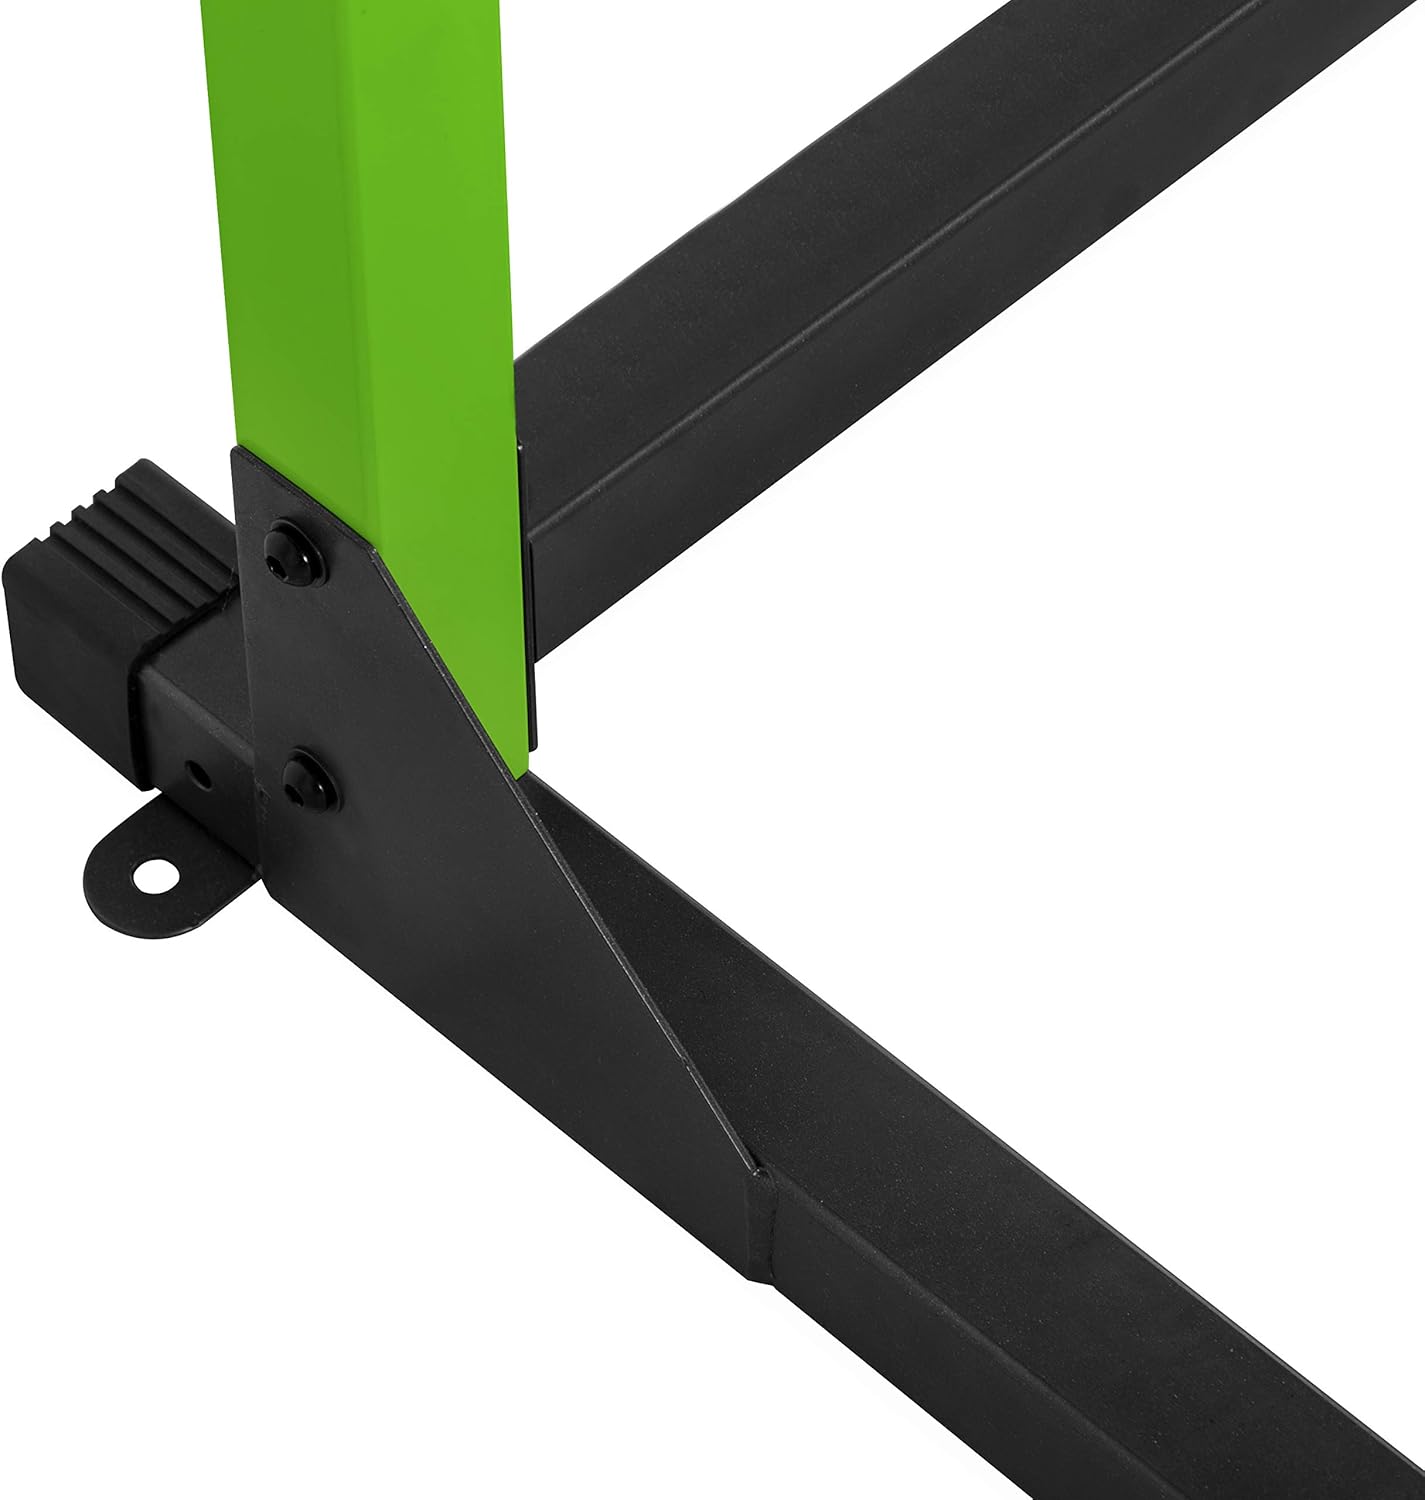
Image 4: Detail of the gusseted uprights and base connection, highlighting stability features.
6. Operating Instructions
The CAP Barbell Full Cage Power Rack is designed for a variety of strength training exercises. Always ensure proper form and safety precautions.
6.1 Adjusting J-Hooks and Safety Bars
The J-hooks and safety bars can be adjusted to various heights to accommodate different exercises and user heights. To adjust:
- Remove the J-hook or safety bar from its current position.
- Align the pin with the desired hole on the upright.
- Insert the pin fully through the upright and ensure it is securely seated.
- Always ensure both sides (left and right) are set to the same height for balance and safety.

Image 5: A close-up view of a J-hook securely inserted into an upright.

Image 6: A close-up view of a safety bar inserted into an upright, providing protection during lifts.
6.2 Squats and Bench Press
- Set the J-hooks to a height that allows you to unrack and re-rack the barbell comfortably for squats or bench press.
- Position the safety bars just below your lowest point in the exercise to catch the barbell if you fail a lift.
- Be mindful of the rack's depth when performing squats; ensure you have adequate clearance.
6.3 Pull-ups
The integrated pull-up bar allows for various grip pull-ups. Ensure the rack is stable before performing pull-ups. If the rack shows any signs of instability, consider anchoring it to the floor or adding weight to the base.

Image 7: A user demonstrating pull-ups on the integrated pull-up bar of the power rack.
7. Maintenance
Regular maintenance ensures the safety and longevity of your power rack.
- Daily: Wipe down the frame with a clean, damp cloth after each use to remove sweat and dust.
- Weekly: Inspect all nuts, bolts, and connections. Tighten any that have become loose.
- Monthly: Check the structural integrity of the frame for any signs of damage, cracks, or excessive wear. Ensure the pull-up bar, J-hooks, and safety bars are free from damage.
- Paint Chipping: Minor paint chipping on the J-hooks and safety bars is normal with regular use and does not affect the structural integrity of the rack.
8. Troubleshooting
- Issue: Rack wobbles during use.
- Solution: Ensure all assembly bolts are securely tightened. Verify the rack is on a flat, level surface. For increased stability, consider anchoring the rack to the floor or placing weight plates on the base supports.
- Issue: Paint chipping on J-hooks or safety bars.
- Solution: This is typically cosmetic wear from normal use and does not affect the safety or function of the components. You may touch up with appropriate paint if desired.
- Issue: J-hooks feel inadequate or cause bar damage.
- Solution: The included J-hooks are functional. If you desire enhanced protection for your barbell or a different design, aftermarket J-hooks compatible with 2x2 inch uprights are available from various manufacturers.
- Issue: Limited space for squats within the cage.
- Solution: This model is a compact design. Adjust your foot placement and bar path to accommodate the internal dimensions. Ensure the safety bars are correctly positioned for your range of motion.
9. Warranty & Support
9.1 Warranty
This CAP Barbell Full Cage Power Rack comes with a 30-day warranty from the date of purchase. This warranty covers manufacturing defects under normal use. Please retain your proof of purchase for any warranty claims.
9.2 Customer Support
For any questions, concerns, or assistance with your CAP Barbell Full Cage Power Rack, please contact CAP Barbell customer support. Refer to the contact information provided with your purchase documentation or visit the official CAP Barbell website for support options.


