1. Introduction
The Agatige 8.3-inch Portable Electric Tire Inflator is a versatile and convenient tool designed for quick and efficient inflation of various items. Crafted from high-quality metal and plastic, this inflator ensures stable and long-lasting performance. Its compact and lightweight design makes it an ideal companion for travel, easily fitting into bike bags, backpacks, or glove compartments.
This inflator is suitable for a wide range of applications, including electric scooters, mountain bikes, road bikes, commuter bikes, electric bikes, motorcycles, air mattresses, swimming rings, basketballs, soccer balls, air beds, and other inflatable ball toys. The ergonomic handle provides a comfortable grip, and the screw-fixing air inlet seal prevents air leakage, ensuring precise and reliable inflation every time.
2. Package Contents
Upon unpacking, please ensure all the following items are present:
- 1 x Agatige Portable Electric Tire Inflator (Model: Agatigegfkdarimy8)
- 1 x Inflation Hose
- 1 x USB-C Charging Cable
- 1 x Set of Nozzle Adapters (for various inflatables like balls, air mattresses)
- 1 x User Manual

Figure 1: Agatige Portable Electric Tire Inflator with its included accessories, including the inflation hose, charging cable, and various nozzle adapters.
3. Setup
- Charging the Inflator: Before first use, fully charge the inflator using the provided USB-C charging cable. Connect the cable to the inflator's USB-C port and a compatible power source. The display will indicate the battery level.
- Attaching the Inflation Hose: Screw the inflation hose securely into the designated port on the inflator. Ensure a tight fit to prevent air leakage during operation. For convenient storage, the hose can be screwed into both ports on the inflator, forming a loop.

Figure 2: The inflator with its hose attached for compact storage, demonstrating the loop design.
- Selecting the Correct Nozzle: Choose the appropriate nozzle adapter for the item you wish to inflate. The included set of adapters covers various valve types and inflatables. Attach the selected adapter to the end of the inflation hose.
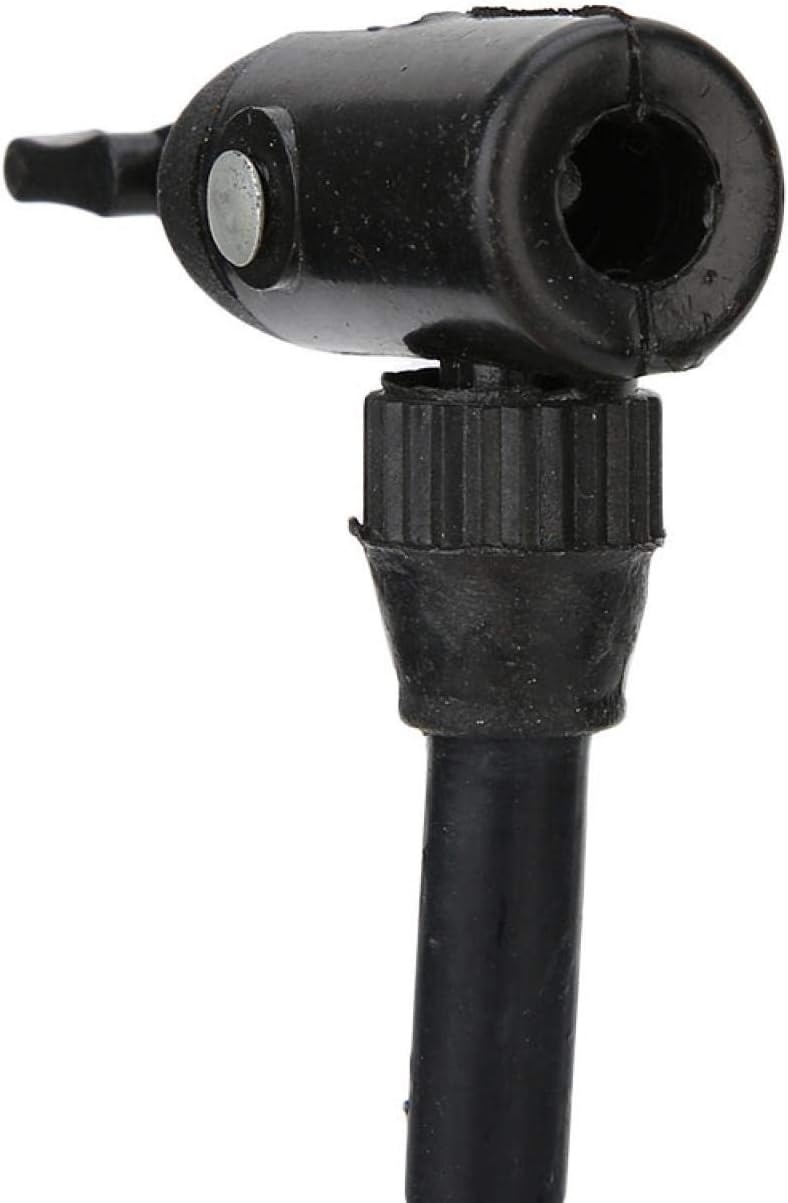
Figure 3: Close-up view of the inflator's nozzle, ready for adapter attachment.
4. Operating Instructions
- Power On: Press and hold the power button to turn on the inflator. The digital display will illuminate, showing the current pressure and preset mode.
- Select Inflation Mode: Use the mode button (often indicated by an 'M' or a symbol for different vehicles/items) to cycle through the preset inflation modes: car, motorcycle, bicycle, and ball. Each mode has a default PSI setting.
- Adjust Target Pressure: Once a mode is selected, use the '+' and '-' buttons to adjust the target PSI to your desired level. The inflator supports a wide range of pressures, up to 150 PSI.
- Connect to Item: Securely attach the inflation hose (with the correct adapter) to the valve of the item you are inflating. The display will show the current pressure of the item.
- Start Inflation: Press the power button again to begin inflation. The inflator will automatically stop once the target pressure is reached.
- Disconnect: Once inflation is complete, quickly unscrew the hose from the item's valve to minimize air loss.

Figure 4: The Agatige inflator in use, connected to a scooter tire for inflation.

Figure 5: The inflator connected to a bicycle tire, ready for or undergoing inflation.
5. Key Features
- Portable and Compact: Lightweight and small, designed for easy storage and transport in bike bags, backpacks, or vehicle glove boxes.
- Durable Construction: Made from high-quality metal and plastic with a special rubber hose for longevity and resistance to damage.
- Automatic Shut-off: Automatically stops inflation once the preset target pressure is reached, preventing over-inflation.
- Multi-purpose Use: Ideal for scooters, bicycles, motorcycles, cars, air mattresses, sports balls, and other inflatables.
- Digital Display with Presets: Clear digital screen shows current and target PSI, with pre-configured settings for common items.
- Integrated LED Light: Features a bright LED light for visibility in low-light conditions, including an SOS/emergency flashing mode.
- Secure Connection: Screw-fixing air inlet seal ensures a perfect fit and no air leakage.
6. Maintenance
- Cleaning: Wipe the exterior of the inflator with a soft, dry cloth. Do not use harsh chemicals or abrasive cleaners.
- Storage: Store the inflator in a cool, dry place away from direct sunlight and extreme temperatures. Ensure the hose is properly stored to prevent kinks or damage.
- Battery Care: For optimal battery life, charge the inflator regularly, even if not in frequent use. Avoid completely draining the battery for extended periods.
7. Troubleshooting
- Inflator Not Turning On: Ensure the battery is charged. Connect to a power source and allow it to charge for a period before attempting to power on again.
- Air Leakage During Inflation: Check that the inflation hose is securely screwed into both the inflator and the item's valve. Ensure the correct nozzle adapter is used and properly attached.
- Inaccurate Pressure Reading: Ensure the hose is fully connected to the valve. If issues persist, consult the manufacturer for calibration or replacement.
- Slow Inflation: Verify the battery is sufficiently charged. A low battery can affect inflation speed.
8. Specifications
| Item Type | Inflator |
| Brand | Agatige |
| Model | Agatigegfkdarimy8 |
| Length | Approx. 21cm / 8.3in |
| Color | Gold |
| Material | Metal, Plastic |
| Power Source | Corded Electric (Note: Product is cordless, charges via USB-C) |
| Operation Mode | Automatic |
| Package Weight | 0.01 Kilograms |
| Date First Available | November 8, 2021 |
9. Warranty and Support
For warranty information, technical support, or customer service inquiries, please refer to the contact details provided with your purchase documentation or visit the official Agatige website. Keep your purchase receipt as proof of purchase for any warranty claims.