
1. Introduction
This manual provides comprehensive instructions for the installation, operation, and maintenance of your WOLFSTORM Headlights. Please read this manual thoroughly before installation and retain it for future reference. Proper installation and care will ensure optimal performance and longevity of your headlights.

Image 1.1: A pair of WOLFSTORM headlights, showcasing their design and clear lens.
2. Compatibility
These WOLFSTORM Headlights are designed for direct OEM fitment on the following Dodge Ram models:
- 1994-2001 Dodge Ram 1500
- 1994-2002 Dodge Ram 2500
- 1994-2002 Dodge Ram 3500
- 1995-2002 Dodge Ram 4000
These headlights are compatible with models without the Sport Package.

Image 2.1: Visual guide indicating compatible Dodge Ram models and years for the headlights.
3. Product Features
- Direct OEM Fitment: Engineered to replace original factory headlights without modifications.
- Waterproof Design (IP67): The sealed chrome housing provides protection against dust, water, and moisture, enhancing durability.
- DOT & SAE Compliance: Manufactured to meet USA Department of Transportation (DOT) and Society of Automotive Engineers (SAE) standards.
- Clear Lens: Provides optimal light output and visibility.

Image 3.1: Illustration of the headlight's IP67 waterproof rating, showing resistance to water exposure.
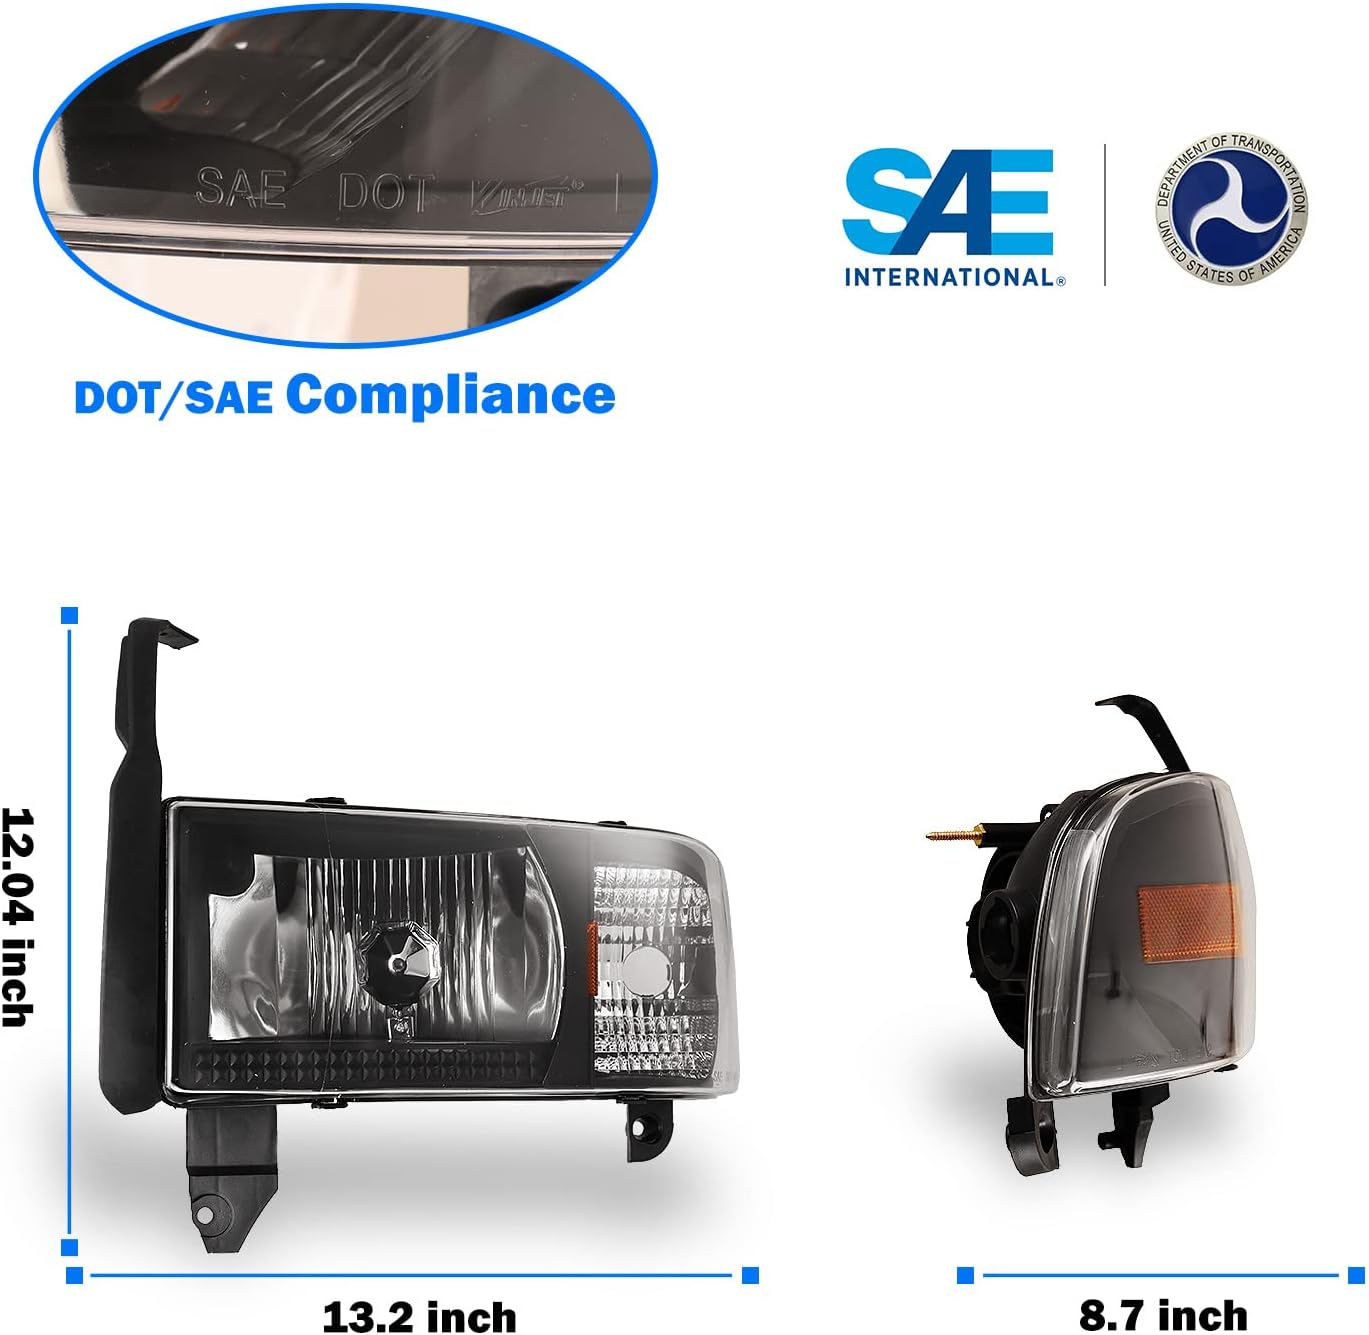
Image 3.2: Close-up view of the headlight lens showing DOT and SAE compliance markings.
4. Setup and Installation
The WOLFSTORM Headlights are designed for plug-and-play installation, requiring no additional wiring or modifications. The kit includes direct plugs and connectors.
4.1 Required Bulb Type
The headlights utilize 9004 bulbs for both high and low beam functions. Bulbs are not included with the headlight assembly and must be purchased separately.

Image 4.1: Diagram indicating the bulb type (9004) required for the high/low beam light, noting that bulbs are not included.
4.2 Installation Steps (General Guide)
- Preparation: Ensure your vehicle is turned off and the battery is disconnected for safety.
- Remove Old Headlights: Carefully unbolt and disconnect the wiring from your existing headlights.
- Install Bulbs: Insert the appropriate 9004 bulbs into the new WOLFSTORM headlight assemblies. It is often easier to install bulbs before mounting the assembly to the vehicle.
- Mount New Headlights: Position the new headlight assemblies into the vehicle's headlight housing. Secure them with the original mounting hardware.
- Connect Wiring: Attach the headlight's electrical connectors to the vehicle's wiring harness.
- Test Functionality: Reconnect the battery and test all light functions (low beam, high beam, turn signal) before final adjustment.

Image 4.2: View of the rear of the headlight assembly, showing the light position and bulb socket for installation.
5. Operation
Your WOLFSTORM Headlights function identically to your vehicle's original equipment, providing both low beam and high beam illumination. Activate these functions using your vehicle's standard headlight switch and stalk controls.
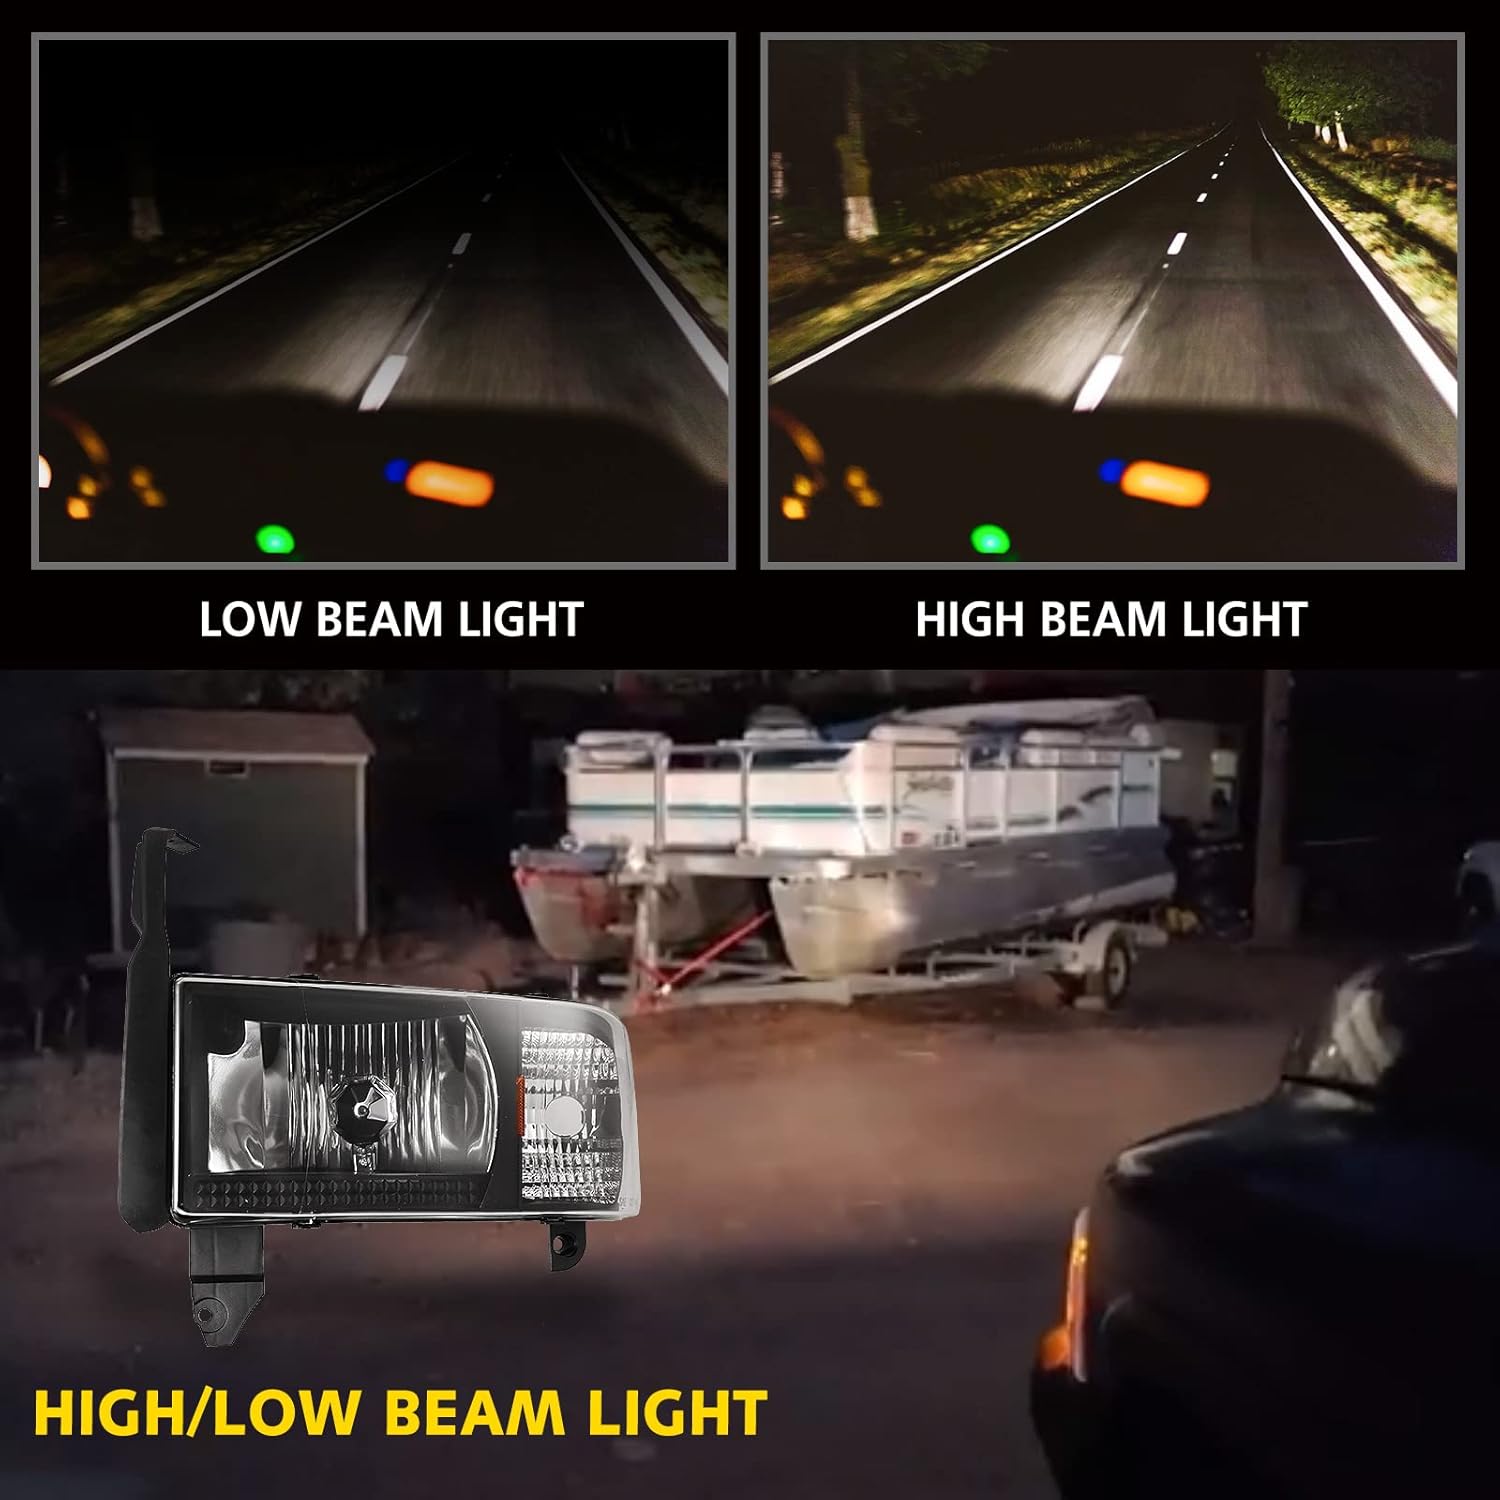
Image 5.1: Comparison of low beam and high beam light patterns on a road, demonstrating the difference in illumination range.
6. Maintenance
The WOLFSTORM Headlights are designed for minimal maintenance due to their sealed, waterproof construction. Regular cleaning with a soft cloth and mild soap solution is recommended to maintain lens clarity. Avoid abrasive cleaners.
6.1 Moisture Management
Each headlight assembly includes a one-way vent designed to release any accumulated moisture from inside the housing, preventing condensation and maintaining light performance.

Image 6.1: Detailed view of the headlight's rear, highlighting the one-way vent for moisture release and the high/low beam adjuster.
7. Troubleshooting
7.1 Beam Angle Adjustment
If the headlight beam appears too high or too low after installation, the beam angle can be adjusted. Locate the high/low beam adjuster screw on the back of the headlight assembly (refer to Image 6.1). Use an appropriate tool to turn the screw, adjusting the beam vertically until the desired alignment is achieved. It may be necessary to remove the headlight assembly to access the adjustment screw on some vehicle models.
7.2 Condensation Inside Lens
Minor condensation inside the headlight lens can occur due to temperature fluctuations. The integrated one-way vent is designed to manage this. If excessive or persistent condensation occurs, ensure the vent is clear and unobstructed. Verify that all seals and bulb covers are properly seated and intact.
8. Specifications
| Brand | WOLFSTORM |
| Model Number | WSA10-0292 |
| Color | Chrome Housing, Clear Lens |
| Specific Uses | Head Lights |
| Vehicle Service Type | Truck |
| Special Feature | Waterproof (IP67) |
| Auto Part Position | Front |
| Lens Material | Plastic |
| Item Dimensions (L x W x H) | 13.2 x 8.7 x 12.04 inches |
| Item Weight | 7.88 pounds |
| OEM Part Number (Right) | 55076748AO; 55076748AD; 55076748AI |
| OEM Part Number (Left) | 55076749AO; 55076749AD; 55076749AI |
9. Warranty and Support
WOLFSTORM offers a 30-day refund policy and a 12-month limited warranty on these headlights. For any questions regarding purchase, installation, or after-sales support, please contact WOLFSTORM customer service. Technical support is available 24/7.
For assistance, please refer to the contact information provided with your purchase or visit the official WOLFSTORM website.