1. Introduction
This manual provides detailed instructions for the installation, operation, and maintenance of your Walfront Central Air Conditioning Thermostat 1A. This mechanical thermostat is designed for central air conditioning systems, offering control over heating, cooling, and fan speeds. Please read this manual thoroughly before installation and use to ensure proper function and safety.
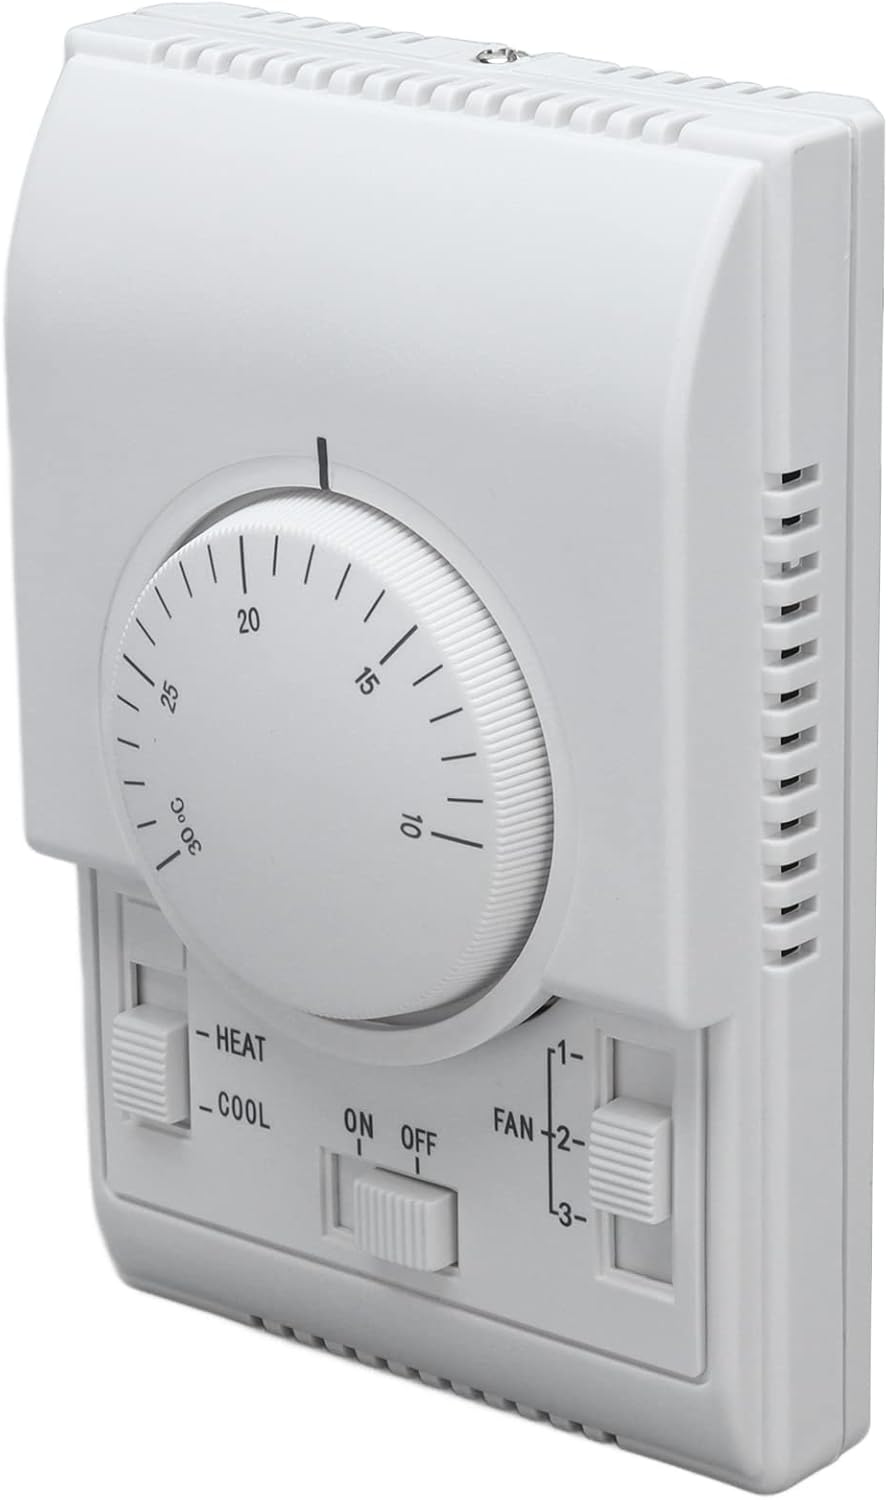
Figure 1: Front angled view of the Walfront Central Air Conditioning Thermostat.
2. Product Overview
The Walfront Central Air Conditioning Thermostat 1A is a reliable mechanical control unit for your HVAC system. It features a precise metallic bellows temperature sensing component for stable performance and a comfortable hand feeling. The unit includes multiple operating modes and wiring options to suit various central air conditioning setups.
Key Features:
- Multiple Operating Modes: Supports various wiring methods, including single wire (valve stops, fan continues) or double wire (valve and fan stop simultaneously).
- Integrated External Installation: Designed for standard 86-type installation cassettes, ensuring easy integration.
- Durable Construction: Thermostat switch life exceeds 100,000 cycles at 220V and full load; manual operation switch life exceeds 60,000 cycles.
- Stable Performance: Equipped with a precise metallic bellows temperature sensing component for consistent operation.
- Intuitive Controls: Features clear toggle switches for power (ON/OFF), operating mode (HEAT/COOL), and fan speed (Low 1, Medium 2, High 3).

Figure 2: Front view of the thermostat, showing the temperature dial and control switches.

Figure 3: Detailed view of the thermostat controls, highlighting the power, mode, and fan speed switches.
3. Installation
Installation should be performed by a qualified technician to ensure safety and proper functionality. The thermostat is designed for integrated external installation using a standard 86-type installation cassette.
3.1 Wiring Options
The thermostat supports different wiring configurations:
- Single Wire Configuration: In this setup, the valve stops when the desired temperature is reached, but the fan continues to operate.
- Double Wire Configuration: In this setup, both the valve and the fan stop simultaneously when the desired temperature is reached.
Refer to the wiring diagram provided with your product packaging for specific connection details. Ensure all power is disconnected before performing any wiring.

Figure 4: Rear view of the thermostat, indicating mounting points and internal structure for wiring access.
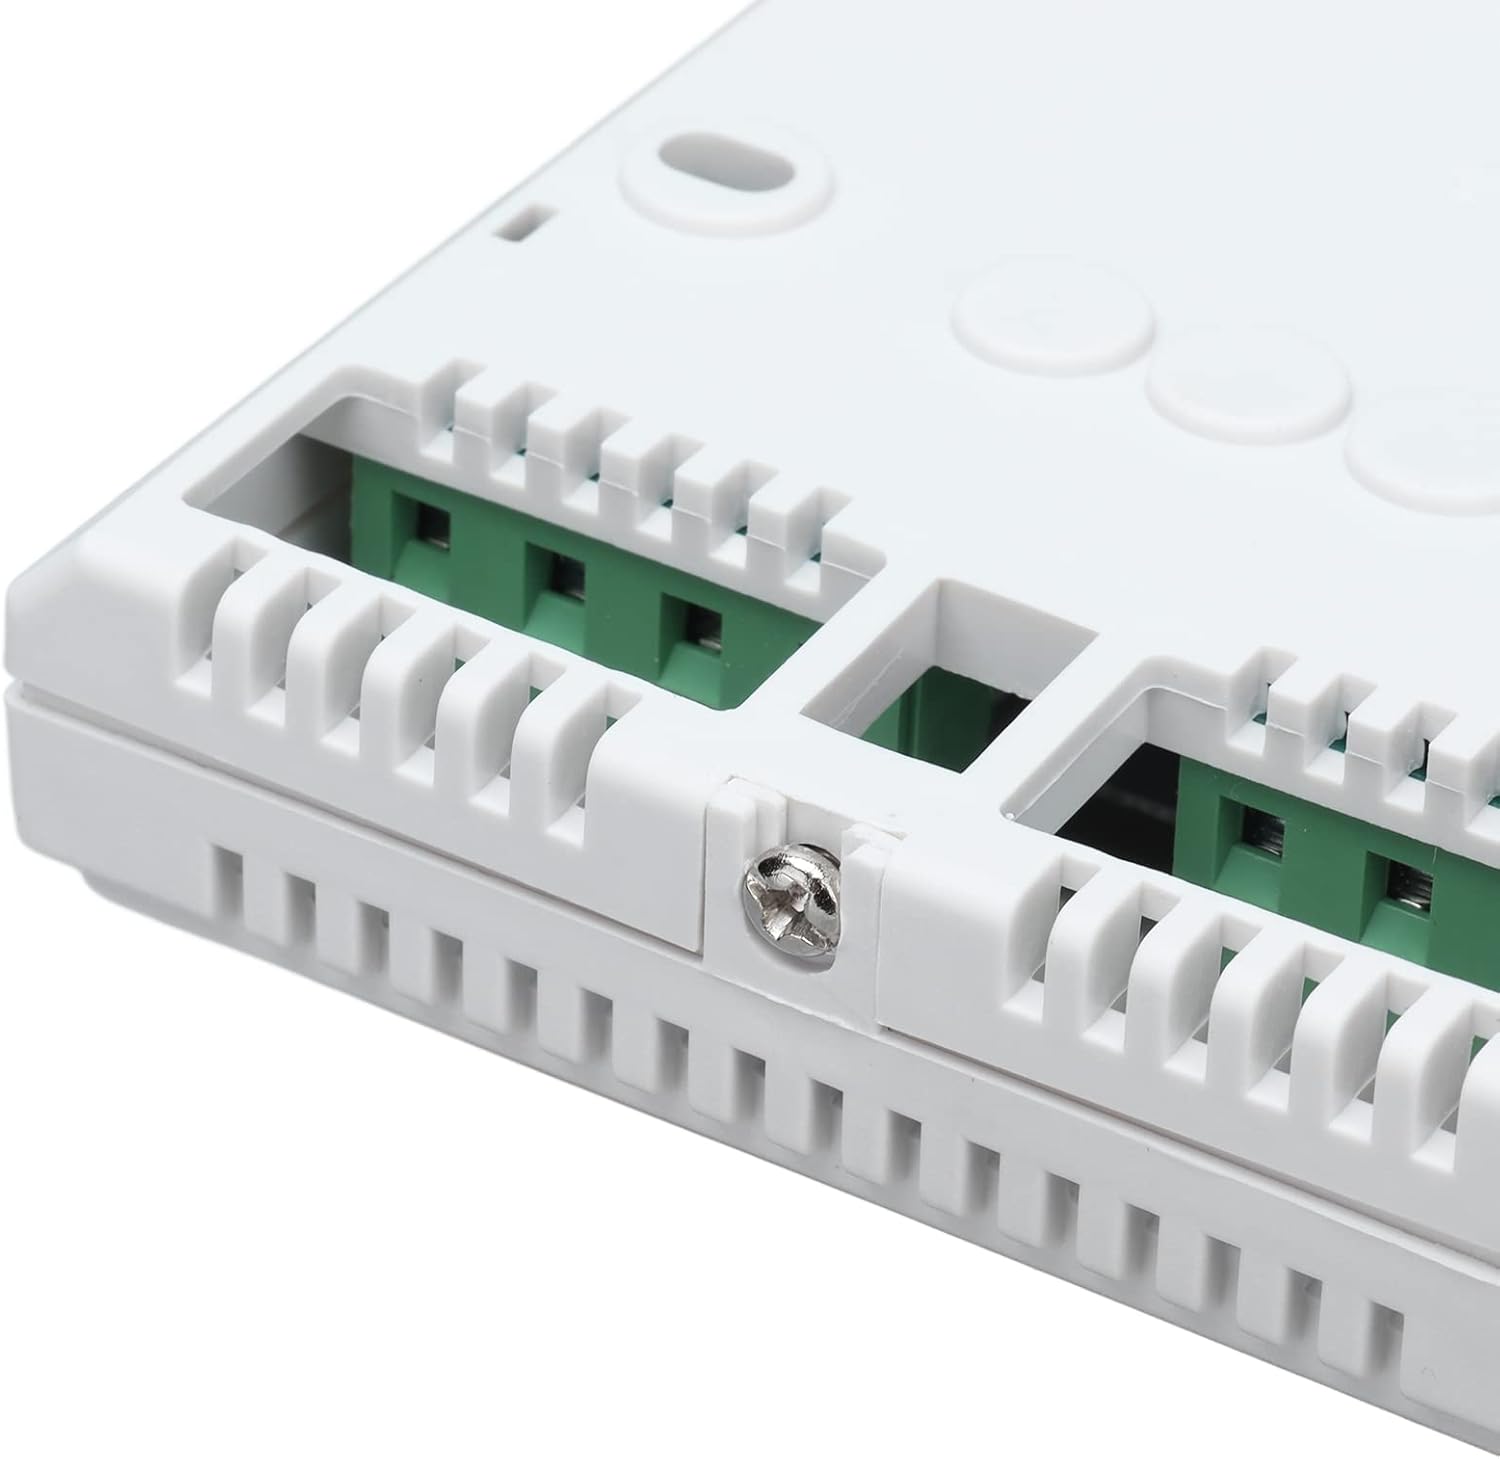
Figure 5: Close-up of the wiring terminals on the thermostat, where electrical connections are made.
3.2 Installation Steps (General)
- Power Disconnection: Turn off the main power supply to your HVAC system at the circuit breaker before beginning installation.
- Mounting: Secure the thermostat base to the wall using the provided screws, ensuring it is level and properly aligned with the standard 86-type installation cassette.
- Wiring: Connect the electrical wires according to the specific wiring diagram for your system and the chosen operating mode (single or double wire). Ensure all connections are secure.
- Attach Thermostat Body: Carefully attach the main body of the thermostat to its base.
- Power Restoration: Restore power to the HVAC system.
- Testing: Test the thermostat's functions (heating, cooling, fan speeds) to ensure correct operation.
Video 1: Installation guide for the Walfront Central Air Conditioning Thermostat. This video demonstrates the physical installation process and basic setup.
4. Operating Instructions
The Walfront thermostat provides straightforward controls for managing your indoor climate.
4.1 Power Control (ON/OFF Switch)
The central toggle switch labeled "ON OFF" controls the power to the thermostat and the HVAC system. Slide the switch to "ON" to activate the thermostat, and to "OFF" to deactivate it.
4.2 Mode Selection (HEAT/COOL Switch)
The left toggle switch allows you to select the operating mode:
- HEAT: Select this mode for heating your space.
- COOL: Select this mode for cooling your space.
4.3 Temperature Adjustment (Dial)
The large rotary dial in the center is used to set your desired room temperature. Rotate the dial clockwise to increase the set temperature and counter-clockwise to decrease it. The scale typically ranges from 10°C to 30°C.

Figure 6: Close-up view of the temperature adjustment dial, showing temperature markings.
4.4 Fan Speed Control (FAN Switch)
The right toggle switch controls the fan speed. You can select from three settings:
- 1 (Low Speed): For quieter operation and less air circulation.
- 2 (Medium Speed): A balanced setting for general use.
- 3 (High Speed): For maximum air circulation and faster temperature changes.
Video 2: Product overview of the Walfront Central Air Conditioning Thermostat, demonstrating its features and controls.
5. Maintenance
The Walfront thermostat requires minimal maintenance. To ensure optimal performance and longevity:
- Cleaning: Periodically wipe the exterior of the thermostat with a soft, dry cloth. Avoid using abrasive cleaners or solvents, as these can damage the finish.
- Dust Removal: Ensure the ventilation slots on the thermostat are free from dust and debris to allow for accurate temperature sensing.
- Inspection: Annually inspect the wiring connections for any signs of wear or looseness. If any issues are found, consult a qualified technician.
6. Troubleshooting
If you encounter issues with your Walfront thermostat, consider the following common troubleshooting steps:
- No Power: Check the main power supply to your HVAC system and ensure the thermostat's ON/OFF switch is in the "ON" position. Verify circuit breakers are not tripped.
- Incorrect Temperature Reading/Control: Ensure the thermostat is not exposed to direct sunlight, drafts, or heat sources that could affect its temperature sensing. Verify the temperature dial is set to the desired temperature.
- Fan Not Operating: Check the fan speed switch. Ensure it is set to 1, 2, or 3, not off.
- System Not Heating/Cooling: Confirm the mode switch is set to the correct mode (HEAT or COOL). Ensure the set temperature is appropriately above (for heating) or below (for cooling) the ambient room temperature.
- Intermittent Operation: Inspect all wiring connections for looseness or corrosion. If issues persist, professional assistance may be required.
For complex issues or if you are unsure about any troubleshooting steps, contact a qualified HVAC technician.
7. Specifications
| Feature | Specification |
|---|---|
| Brand | Walfront |
| Model Number | Walfrontgfxrtzimh72519 |
| Color | White |
| Dimensions (Package) | 13.6 x 9.4 x 4.9 cm |
| Voltage | 220 Volts |
| Material | Acrylonitrile Butadiene Styrene (ABS), Plastic |
| Product Weight | 190 g |
| Controller Type | Mechanical Switch |
| Special Features | Cooling, Lighting, Programmable (Note: "Programmable" here refers to setting a temperature, not advanced scheduling, as this is a mechanical thermostat.) |
| Specific Uses | Temperature Control |
| Temperature Control Type | Cooling (Note: Also supports heating as per product description) |
| Connectivity Technology | Wi-Fi (Note: This specification appears to contradict the mechanical nature of the thermostat and product images. Please verify with manufacturer if Wi-Fi functionality is expected.) |
8. Warranty and Support
For information regarding product warranty, returns, or technical support, please refer to the documentation included with your purchase or contact Walfront customer service directly. Details may also be available on the official Walfront website or through your retailer.
