
1. Introduction
This manual provides essential information for the safe and effective operation of your Rayfoto RD-881 Mini Projector. Please read it thoroughly before using the device and retain it for future reference.

Image 1.1: Rayfoto RD-881 Mini Projector and accessories. The projector is black with a lens on the front and control buttons on top. A carrying case is visible behind it, along with a smartphone displaying key features.
2. Safety Information
To ensure safe operation and prolong the lifespan of your projector, please observe the following safety guidelines:
- Do not look directly into the projector lens when the lamp is on. The intense light can cause eye damage.
- Ensure proper ventilation. Do not block the ventilation openings on the projector.
- Avoid placing the projector in direct sunlight, near heat sources, or in environments with high humidity or dust.
- Use only the power adapter supplied with the projector.
- Do not attempt to disassemble or repair the projector yourself. Contact qualified service personnel for assistance.
- Keep the projector away from water or other liquids.
3. Package Contents
Verify that all items are present in the package:
- Rayfoto RD-881 Mini Projector
- Remote Control
- Power Cable
- HDMI Cable
- AV Cable
- User Manual
- Carrying Bag

Image 3.1: The image displays the Rayfoto RD-881 projector, its remote control, power cable, HDMI cable, AV cable, user manual, and a black carrying bag, laid out on a grey background.
4. Product Overview
4.1 Projector Ports and Connections

Image 4.1: The side panel of the projector, illustrating the various ports including headphone jack, AV input, two USB ports, and two HDMI inputs.
- Headphone Jack (3.5mm): Connect external headphones or speakers.
- AV Input: Connect devices using the provided AV cable.
- USB Ports (x2): Connect USB storage devices for media playback.
- HDMI Inputs (x2): Connect devices such as laptops, game consoles, or streaming sticks.
4.2 Top Panel Controls

Image 4.2: The top surface of the projector, featuring touch-sensitive control buttons for navigation, volume, and power.
- Power Button: Turns the projector on or off.
- Navigation Buttons (Up/Down/Left/Right): Navigate through menus.
- OK Button: Confirm selections.
- Back Button: Return to the previous menu.
- Source Button: Select input source.
- Volume Buttons: Adjust audio volume.
5. Setup
5.1 Placement
Place the projector on a stable, flat surface. Ensure there is adequate space around the projector for ventilation. The projection distance will determine the screen size. For optimal viewing, position the projector directly in front of the screen or wall.
5.2 Power Connection
- Connect the power cable to the projector's power input.
- Plug the other end of the power cable into a power outlet.
- The power indicator light will illuminate.
5.3 Focus and Keystone Adjustment
Adjust the image clarity and shape using the focus and keystone rings located near the lens.

Image 5.1: The image illustrates how keystone correction adjusts a distorted trapezoidal image into a rectangular shape, correcting for angled projection.
- Focus Ring: Rotate the focus ring until the projected image is clear and sharp.
- Keystone Correction (±15°): If the projected image appears trapezoidal, adjust the keystone ring to correct the vertical distortion.
6. Operating Instructions
6.1 Power On/Off
Press the power button on the projector or the remote control to turn the projector on or off.
6.2 Input Source Selection
Press the 'Source' button on the projector or remote control to cycle through available input sources (HDMI1, HDMI2, AV, USB, Screen Mirroring).
6.3 Wireless Screen Mirroring (iOS/Android)
The projector supports wireless screen mirroring for iOS and Android devices.

Image 6.1: This image illustrates the process of connecting iOS and Android devices wirelessly to the projector for screen mirroring. It shows a laptop, smartphone, and the projector connected via Wi-Fi signals.
- Select 'Screen Mirroring' as the input source on the projector.
- Ensure your mobile device and the projector are connected to the same Wi-Fi network.
- For iOS devices: Open Control Center, tap 'Screen Mirroring', and select the projector from the list.
- For Android devices: Go to your device's screen casting settings (e.g., 'Smart View', 'Wireless Projection', 'Cast'), and select the projector.
Note: Due to copyright restrictions, streaming services like Netflix, Amazon Prime Video, and Hulu may require an HDMI connection to play content.
6.4 Bluetooth Audio Connection
Connect external Bluetooth speakers or headphones for enhanced audio.
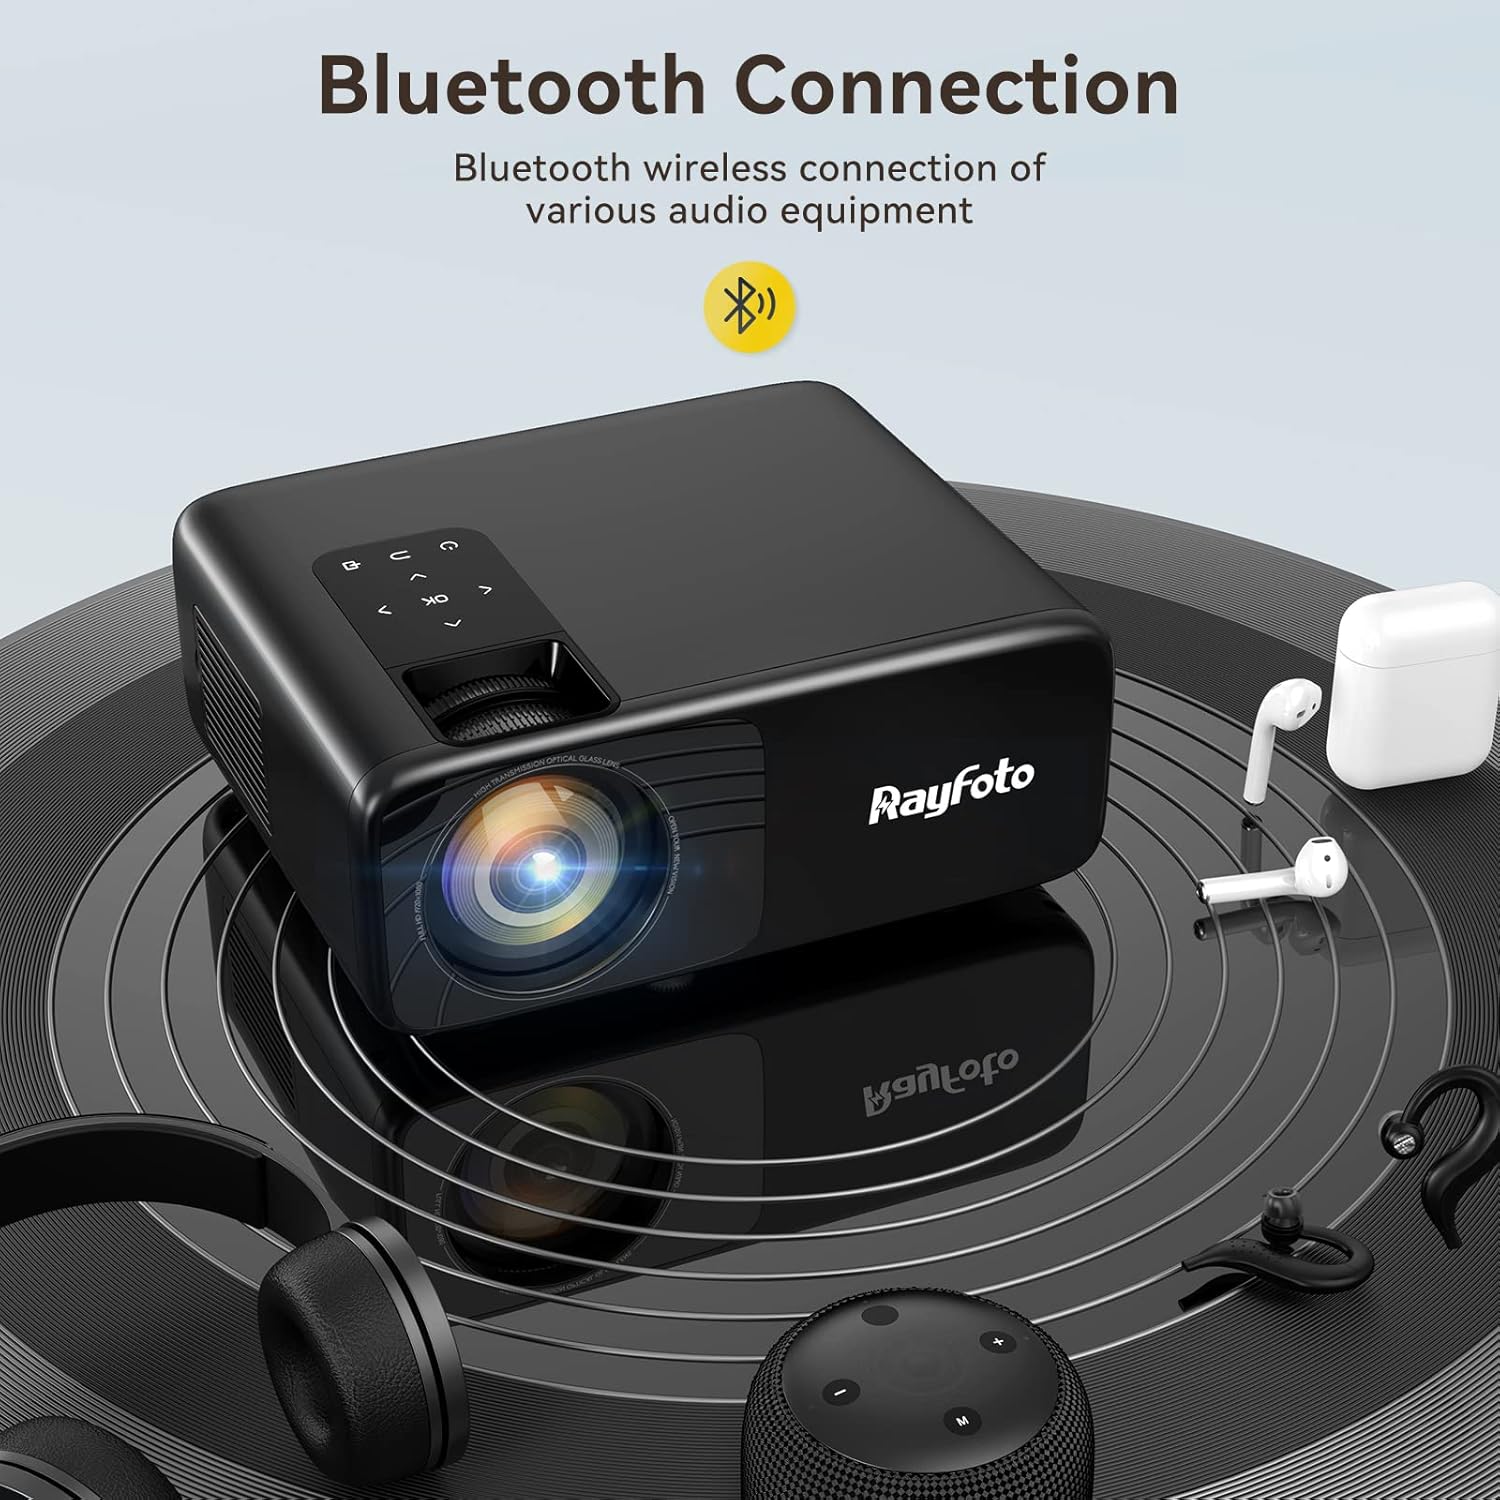
Image 6.2: The projector is shown wirelessly connected to headphones, earbuds, and a Bluetooth speaker, demonstrating its audio output capabilities.
- Ensure your Bluetooth audio device is in pairing mode.
- On the projector, navigate to the Bluetooth settings menu.
- Select your device from the list of available Bluetooth devices to pair.
Note: Bluetooth on this projector is for audio transmission only.
6.5 Connecting External Devices (HDMI, USB, AV)
- HDMI: Connect your device (e.g., laptop, game console, TV stick) to one of the HDMI ports. Select the corresponding HDMI input source.
- USB: Insert a USB flash drive into a USB port. The projector will automatically detect the drive, allowing you to browse and play media files. (Note: USB playback supports up to 1080p resolution.)
- AV: Use the provided AV cable to connect older devices. Select the AV input source.
6.6 Zoom Function
The projector features a digital zoom function, allowing you to adjust the screen size from 75% to 100% without moving the projector.

Image 6.3: A couple is shown watching a movie projected onto a wall, illustrating the projector's ability to create a large screen (up to 300 inches) and the zoom function to adjust the image size from 50 to 300 inches.
Access the zoom setting in the projector's menu and adjust the percentage as desired.
7. Maintenance
7.1 Cleaning
- Lens: Use a soft, lint-free cloth specifically designed for optical lenses. Do not use abrasive cleaners.
- Projector Body: Wipe with a soft, dry cloth. For stubborn marks, a slightly damp cloth can be used, followed by a dry cloth.
- Ventilation Openings: Use a soft brush or compressed air to remove dust from the ventilation openings to ensure proper airflow.
7.2 Storage
When not in use for extended periods, store the projector in a cool, dry, and dust-free environment. Use the provided carrying bag for protection.
8. Troubleshooting
| Problem | Possible Cause | Solution |
|---|---|---|
| No image projected | Power cable not connected; Incorrect input source; Device not powered on. | Check power connection; Select correct input source; Ensure connected device is on. |
| Image is blurry | Focus not adjusted; Lens is dirty. | Adjust the focus ring; Clean the projector lens. |
| Image is trapezoidal | Keystone not adjusted. | Adjust the keystone correction ring. |
| No sound | Volume too low; Muted; Incorrect audio output selected on source device; Bluetooth not connected. | Increase volume; Unmute; Check audio settings on source device; Reconnect Bluetooth. |
| Wireless screen mirroring fails | Not on same Wi-Fi network; Device not compatible; Firewall issues. | Ensure both devices are on the same Wi-Fi; Check device compatibility; Temporarily disable firewall. |
9. Specifications
| Feature | Specification |
|---|---|
| Brand | Rayfoto |
| Model Number | RD-881 |
| Product Type | Portable Projector |
| Display Technology | LCD |
| Native Resolution | 1920 x 1080p Full HD |
| Maximum Display Resolution | 3840 x 2160 (4K Support) |
| Brightness | 9500 Lumens |
| Contrast Ratio | 10000:1 |
| Projection Screen Size | Up to 300 inches |
| Keystone Correction | ±15° Vertical |
| Zoom Function | 75% to 100% Digital Zoom |
| Connectivity Technology | Bluetooth, WiFi, HDMI, USB |
| Input Ports | 2x HDMI, 2x USB, 1x AV |
| Output Ports | 1x 3.5mm Headphone Jack |
| Special Features | Wireless Projection, Bluetooth, Portable |
| Recommended Uses | Home Cinema, Conference |
| Manufacturer | Rayfoto |
10. Warranty and Support
The Rayfoto RD-881 Mini Projector comes with the following:
- 6-Month Warranty: Covers manufacturing defects.
- 3-Year Repair Service: For eligible repairs.
- Lifetime Professional Technical Support: Assistance with product usage and troubleshooting.
For warranty claims or technical support, please contact Rayfoto customer service through your purchase platform or the official Rayfoto website.
