Bernette B05 Academy Sewing Machine Instruction Manual
Model: B05 Academy
1. Introduction
Welcome to the Bernette B05 Academy Sewing Machine instruction manual. This guide provides essential information for setting up, operating, maintaining, and troubleshooting your new sewing machine. Please read this manual thoroughly before using the machine to ensure safe and efficient operation.
2. Important Safety Instructions
- Always unplug the sewing machine from the electrical outlet immediately after using and before cleaning, making any adjustments, or removing covers.
- Never operate the machine if it has a damaged cord or plug, if it is not working properly, or if it has been dropped or damaged.
- Keep fingers away from all moving parts. Special care is required around the sewing machine needle.
- Always use the proper needle plate. The wrong plate can cause the needle to break.
- Do not pull or push fabric while stitching. This may deflect the needle, causing it to break.
- Use only accessories recommended by the manufacturer as contained in this manual.
3. Getting Started
3.1. Unpacking and Initial Setup
Carefully remove your Bernette B05 Academy sewing machine from its packaging. Ensure all accessories are present. Place the machine on a stable, flat surface.

Figure 1: Bernette B05 Academy Sewing Machine with the extension table attached, showcasing its sleek design and functional layout.
3.2. Connecting Power and Foot Pedal
Locate the power cord and foot pedal. Connect the power cord to the machine's power input and then to a suitable electrical outlet. Plug the foot pedal into its designated port on the machine. Ensure the power switch is in the 'off' position before connecting.
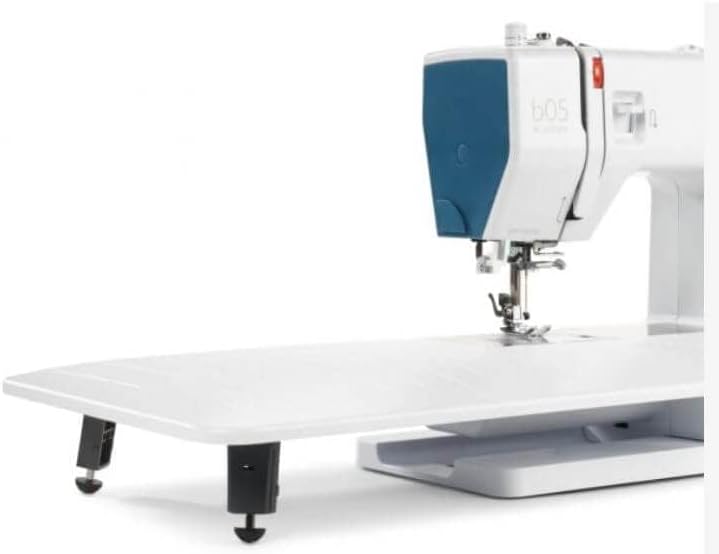
Figure 2: Rear view of the machine, highlighting the power input and foot pedal connection ports.
3.3. Attaching the Extension Table
For larger projects like quilting or embroidery, attach the included extension table. Align the table's connectors with the corresponding slots on the machine's free arm and slide it into place until it clicks securely. This provides additional workspace and stability.

Figure 3: The Bernette B05 Academy with its large extension table, ideal for expanding your sewing area.
4. Threading the Machine
Proper threading is crucial for optimal stitch quality. Always ensure the presser foot is in the 'up' position before threading to ensure the tension discs are open.
4.1. Upper Threading
- Place the spool of thread on the spool pin at the top of the machine. Secure it with the appropriate spool cap.
- Guide the thread through the upper thread guide.
- Bring the thread down through the right channel, around the tension discs, and up through the left channel.
- Thread the take-up lever from right to left.
- Guide the thread down through the remaining thread guides to the needle.
- Use the built-in needle threader (if desired) or manually thread the needle from front to back. Pull about 6 inches of thread through the needle eye.
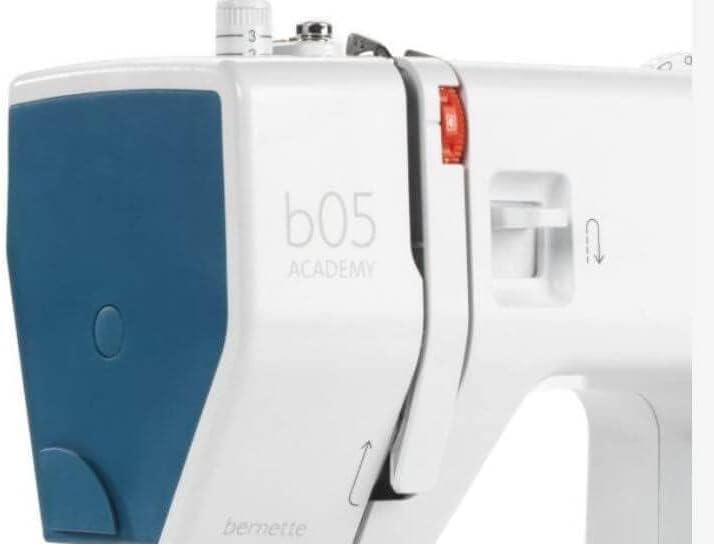
Figure 4: Detailed view of the needle area, showing the process of threading the needle.
4.2. Bobbin Winding
- Place an empty bobbin onto the bobbin winding spindle.
- Guide the thread from the spool through the bobbin winding tension disc.
- Wrap the thread around the bobbin a few times clockwise.
- Push the bobbin winding spindle to the right.
- Press the foot pedal gently to start winding. The machine will automatically stop when the bobbin is full.
- Cut the thread, push the spindle back to the left, and remove the wound bobbin.
4.3. Lower Thread (Inserting the Bobbin)
- Open the bobbin cover plate located on the needle plate.
- Insert the wound bobbin into the bobbin case, ensuring the thread unwinds in the correct direction (usually counter-clockwise).
- Guide the bobbin thread through the tension spring in the bobbin case.
- Hold the upper thread lightly with one hand and turn the handwheel towards you to lower and raise the needle. This will catch the bobbin thread, bringing a loop up through the needle plate.
- Pull both the upper and lower threads to the back under the presser foot.
- Close the bobbin cover plate.
5. Basic Operation
5.1. Stitch Selection
Your Bernette B05 Academy offers 30 built-in stitches. To select a stitch, turn the stitch selector dial located on the front of the machine until the desired stitch number aligns with the indicator mark.
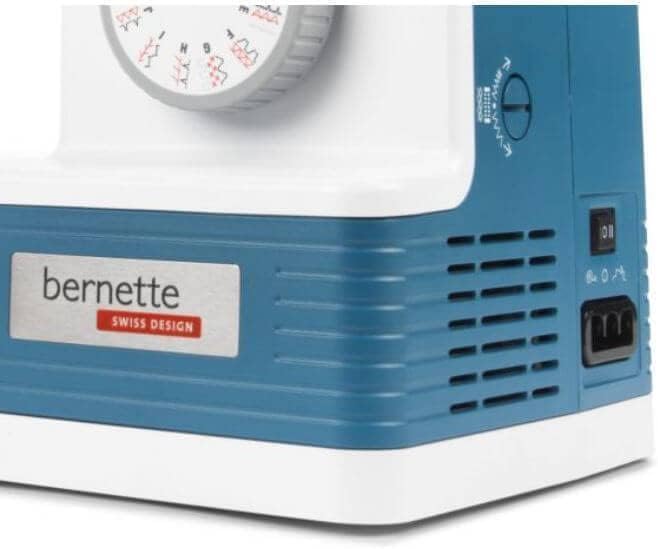
Figure 5: Adjusting the stitch selector dial to choose from 30 available stitches.
5.2. Adjusting Stitch Settings
- Stitch Length: Use the stitch length dial to adjust the length of your stitches. Higher numbers result in longer stitches.
- Stitch Width: Use the stitch width dial to adjust the width of zigzag or decorative stitches.
- Thread Tension: Adjust the upper thread tension dial according to your fabric and thread type. Test on a scrap piece of fabric to find the ideal tension.
- Presser Foot Pressure: The adjustable presser foot pressure allows you to sew various fabric types, from delicate to heavy-duty, by controlling how much pressure the foot applies to the fabric.
5.3. Speed Control
The machine features a speed limiter, allowing you to adjust the maximum sewing speed. This is particularly useful for delicate tasks or for beginners learning to control the machine. The maximum speed is 1100 stitches per minute.
5.4. Reverse Stitching
To secure the beginning and end of a seam, press and hold the reverse stitch lever/button. The machine will sew backward. Release the lever/button to resume forward stitching.
6. Maintenance
6.1. Cleaning
Regular cleaning helps maintain your machine's performance. Use the included lint brush to remove lint and dust from the bobbin area and feed dogs. Always unplug the machine before cleaning.
6.2. Needle Care and Replacement
Use the correct needle type and size for your fabric. Replace bent or dull needles immediately to prevent skipped stitches or fabric damage. To replace, loosen the needle clamp screw, remove the old needle, insert a new needle with the flat side facing the back, and tighten the screw.
7. Troubleshooting
- Skipped Stitches: Check if the needle is bent or dull, ensure it's inserted correctly, and verify you're using the appropriate needle for your fabric.
- Thread Breaking: Re-thread the machine completely, check for correct thread tension, ensure the thread is not snagging on the spool, and use good quality thread.
- Fabric Puckering: Adjust thread tension, use a smaller stitch length, or adjust presser foot pressure.
- Machine Not Starting: Ensure the machine is plugged in, the power switch is on, and the foot pedal is correctly connected.
8. Specifications
| Feature | Value |
|---|---|
| Hook system | Drop-in |
| Maximum stitch length | 4 mm |
| Needle threader | Yes |
| Thread cutter | Manual |
| Sewing space to the right of the needle | 165 mm |
| Sewing light | 2 LEDs |
| Number of stitches | 30 |
| Maximum sewing speed | Up to 1100 spm |
| Power switch with speed limitation | Yes |
| Maximum stitch width | 6 mm |
| Package Dimensions | 18 x 14 x 10 inches |
| Item Weight | 17 pounds |
| Product Dimensions | 8"D x 14"W x 12"H |
| Material | Aluminum |
| Power Source | Corded Electric |

Figure 6: Detailed specifications and included contents of the Bernette B05 Academy.

Figure 7: Visual representation of the machine's dimensions.
9. Included Accessories
The Bernette B05 Academy comes equipped with a comprehensive accessory kit:
- 12 Presser Feet (for various techniques)
- Bobbins
- Threader
- Needles (full needle pack)
- Spool Caps
- Seam Ripper
- Screwdriver
- Scissors
- Lint Brush
- Spool Holder
- Feed Plate
- Power Cord
- Foot Control
- Large Extension Table
- Soft Carrying Bag
10. Warranty and Support
For warranty information, technical support, or service inquiries, please refer to the warranty card included with your product or visit the official Bernette website. Keep your proof of purchase for any warranty claims.


