1. Introduction
Thank you for choosing the Planika Outdoor Gas Fire Table, Model GO-SQ-01-K3. This manual provides important information for the safe assembly, operation, and maintenance of your new fire table. Please read all instructions carefully before use and retain this manual for future reference.
Safety Warning: Always use with caution and follow all instructions for safe operation. Failure to do so may result in property damage, injury, or death.
2. Product Overview
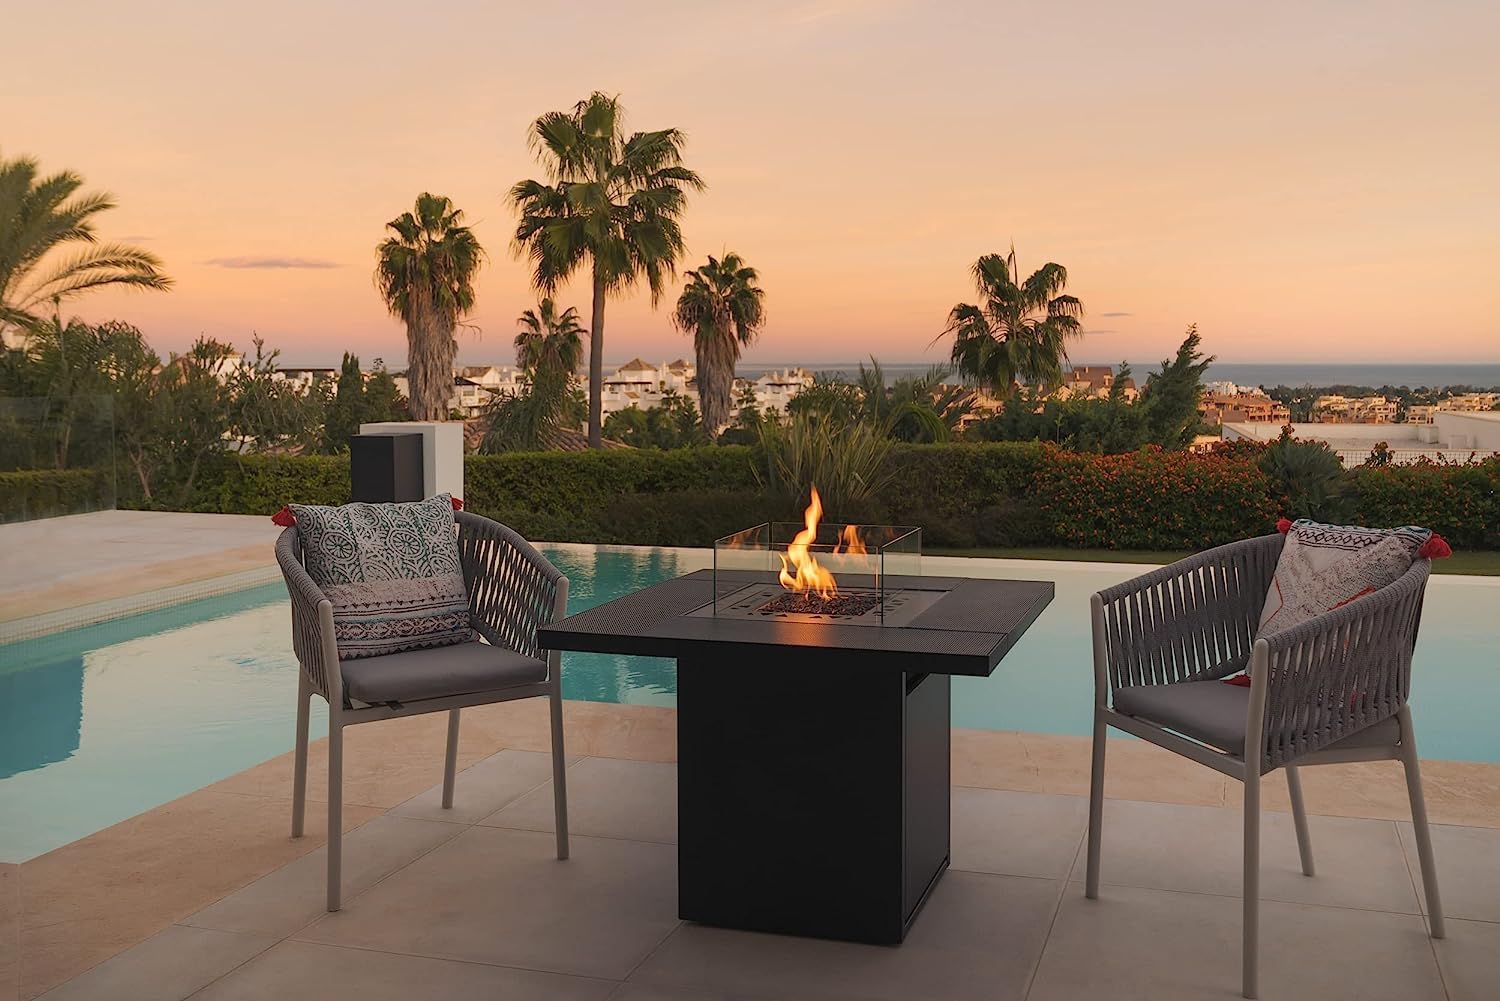
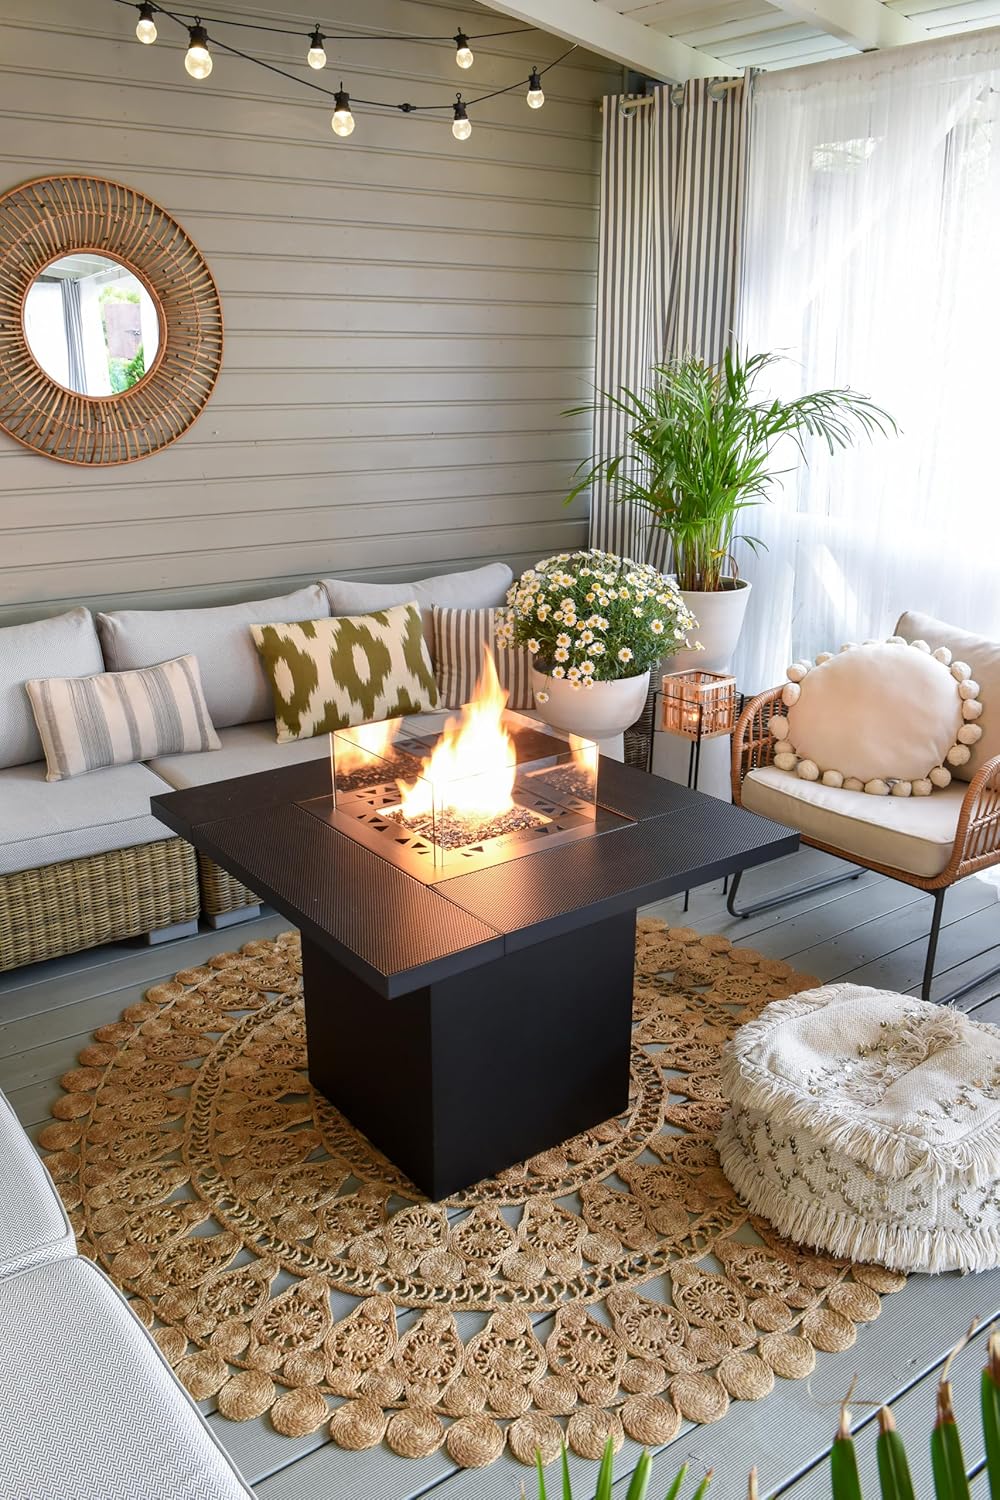
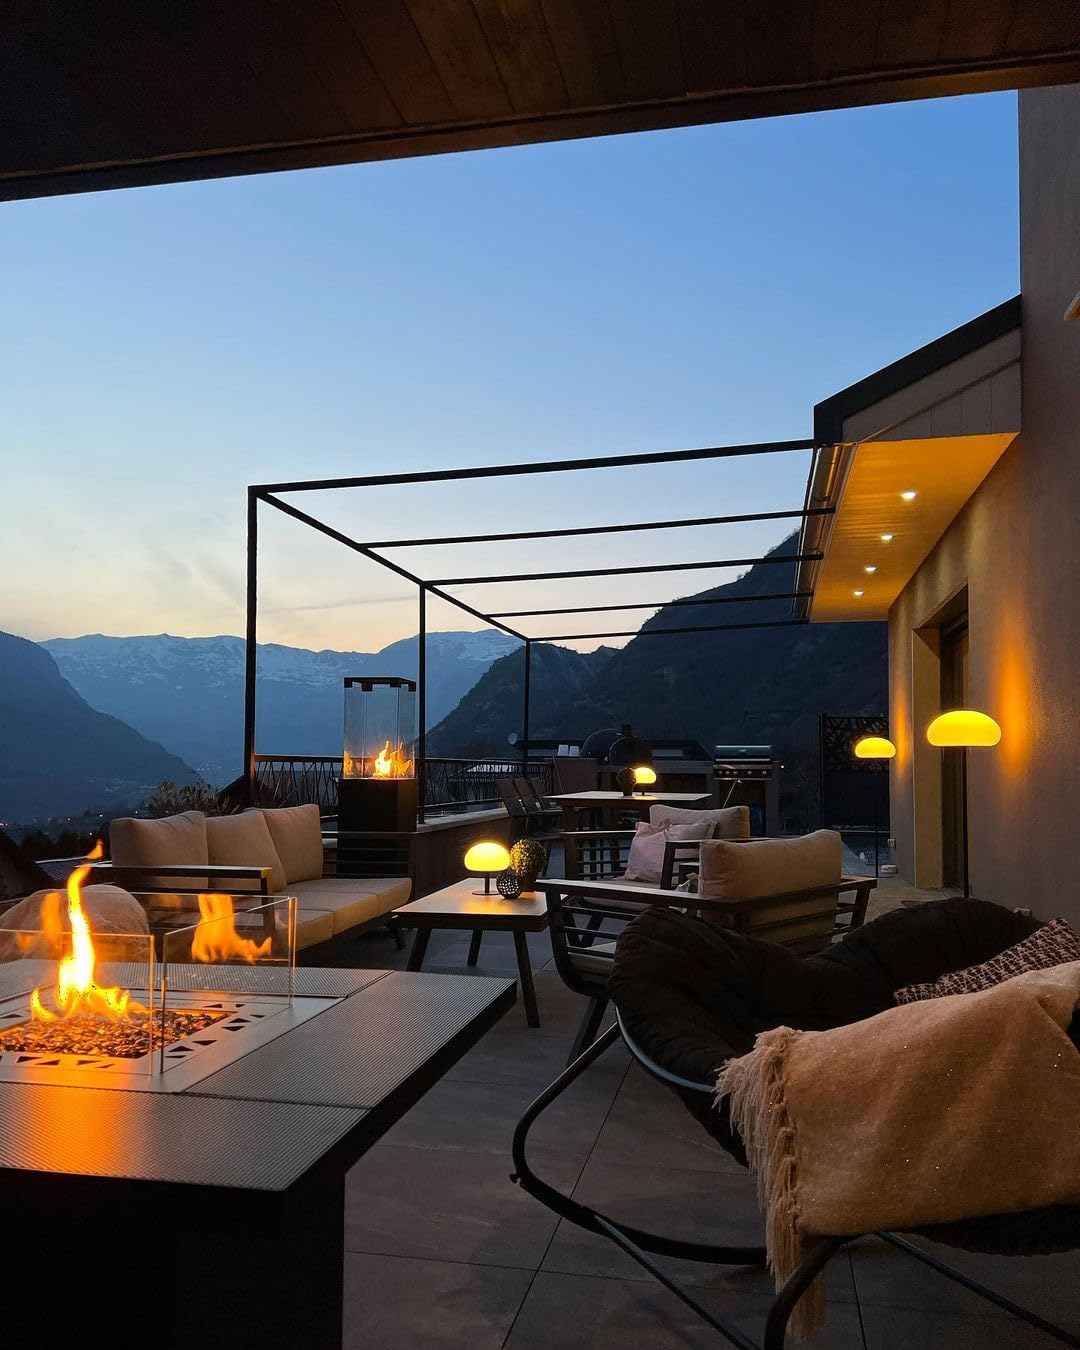
The Planika GO-SQ-01-K3 is a freestanding gas fire table designed to be a central feature in your outdoor living space. It combines functionality with elegant design, offering warmth and ambiance.
Key Features:
- Practical Design: Features four independent, removable tabletop trays that can be combined to form a functional table surface around the fire.
- Enhanced Safety: Equipped with a thermoelectric sensor that automatically shuts off the gas valve in case of accidental leakage, ensuring optimal safety.
- Flexible Placement: Compact size allows for versatile placement on terraces or in gardens. The base accommodates a 5 kg LPG gas bottle internally. Larger gas bottles can be connected externally via a gas hose.
- Durable Construction: Made from rust-resistant galvanized steel, designed to withstand harsh weather conditions.
- Elegant Aesthetic: Stylish black finish complements various outdoor decors.
- CE Certified: Certified by KIWA, CSA compliant.
- Tilt Sensor: Additional safety feature.
- Heat Output: Up to 35,000 BTU.
- Included Accessories: Gas hose with regulator and a protective cover.
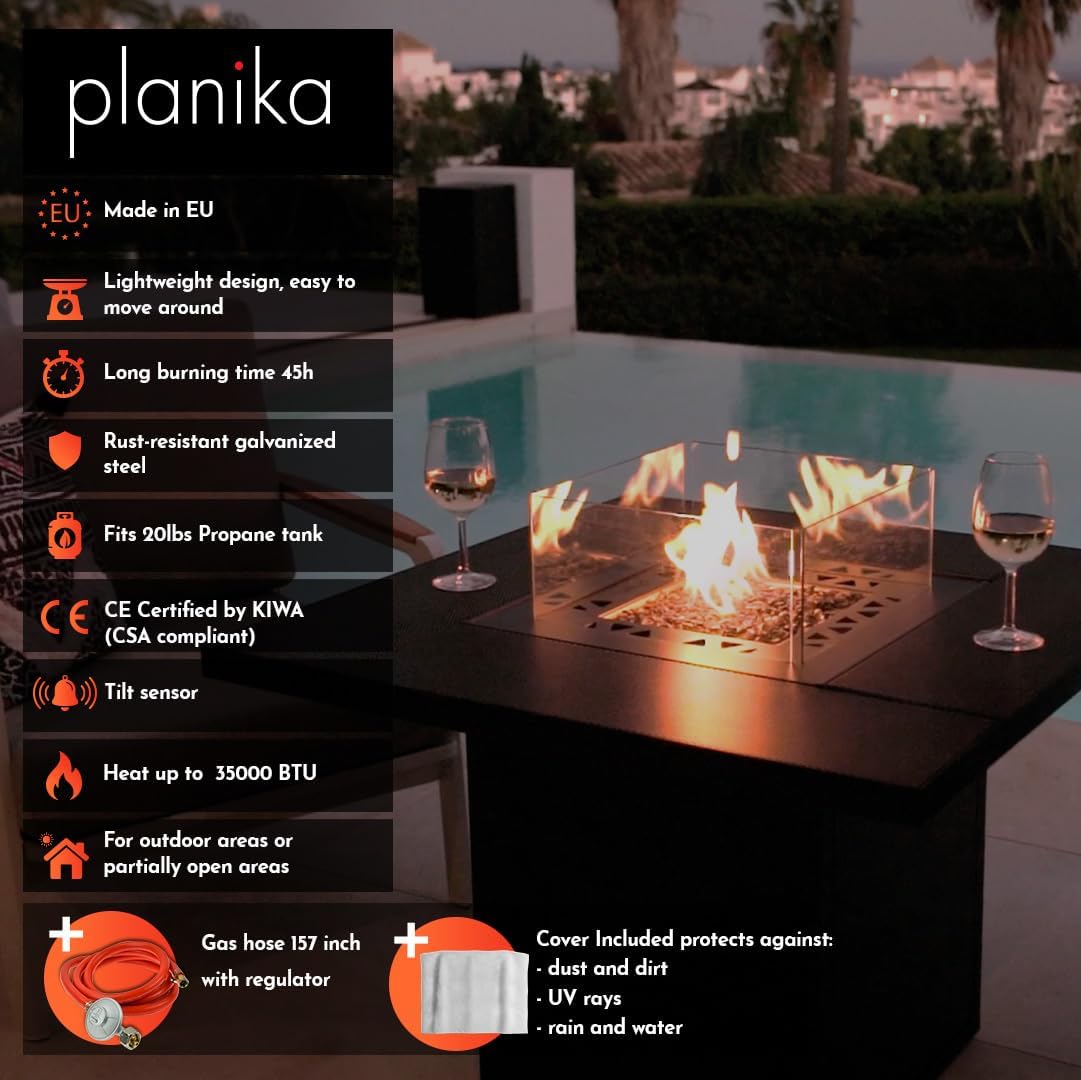
Figure 1: Key features of the Planika Gas Fire Table.
3. Safety Information
Read and understand all safety warnings and instructions before assembling, operating, or servicing this appliance.
- For outdoor use only. Do not use indoors or in enclosed spaces.
- Keep children and pets away from the fire table.
- Maintain a safe distance from combustible materials (e.g., walls, furniture, dry leaves). Refer to local regulations for specific clearances.
- Never leave the fire table unattended when in operation.
- Do not store or use gasoline or other flammable vapors and liquids in the vicinity of this or any other appliance.
- Ensure the gas bottle is securely placed and connected according to instructions.
- Check for gas leaks regularly using a soapy water solution. Never use an open flame to check for leaks.
- Do not touch hot surfaces. Use protective gloves if necessary.
- Allow the unit to cool completely before moving or performing maintenance.
- In case of a gas leak, immediately shut off the gas supply, ventilate the area, and contact qualified service personnel.
- Do not modify the appliance. Any modification may be dangerous and will void the warranty.
- Use only the type of gas and gas bottle specified for this appliance.
4. Assembly Instructions
The Planika Gas Fire Table is designed for easy assembly. Follow these steps carefully.
Components:
- Fire Table Base
- Burner Assembly (pre-installed)
- Glass Wind Guard Panels
- Tabletop Trays (4 pieces)
- Decorative Media (e.g., lava rocks, glass beads)
- Gas Hose with Regulator
- Protective Cover
- AAA Battery (for igniter)
Assembly Steps:
- Unpack: Carefully remove all components from the packaging. Check for any damage.
- Position the Base: Place the fire table base in its desired outdoor location, ensuring it is on a stable, level, non-combustible surface and away from flammable materials.
- Install Battery: Open the igniter compartment (usually a push-button cap) and insert the provided AAA battery, ensuring correct polarity.
- Place Decorative Media: Carefully distribute the decorative media (lava rocks or glass beads) around the burner pan. Do not cover the igniter or burner ports.
- Install Glass Wind Guard: Assemble the glass wind guard panels around the burner using the provided brackets and screws. Ensure they are securely fastened.
- Attach Tabletop Trays: Place the four tabletop trays onto the designated slots around the fire pit opening. These can be removed for a more compact setup.

Figure 2: Key assembly points including piezo igniter, removable trays, glass shield, and gas bottle storage.
5. Gas Connection
This fire table uses Liquefied Petroleum Gas (LPG). Ensure your gas bottle is compatible and in good condition.
- Internal Gas Bottle (5 kg): Open the access door on the fire table base. Place a 5 kg LPG gas bottle inside the compartment.
- Connect Regulator: Attach the regulator on the gas hose to the gas bottle valve. Hand-tighten firmly. Do not overtighten.
- Check for Leaks: Turn on the gas supply at the bottle. Apply a soapy water solution to all connections. If bubbles appear, there is a leak. Immediately turn off the gas, tighten connections, and re-test. If leaks persist, do not use the appliance and contact a qualified technician.
- External Gas Bottle (Larger): If using a larger gas bottle, it must be placed outside the fire table base. Connect the gas hose and regulator as described above, ensuring the hose is routed safely and not a tripping hazard.
6. Operating Instructions
Ignition:
- Ensure the gas bottle valve is fully open.
- Locate the control knob on the side of the fire table.
- Push and turn the control knob to the 'LOW' position while simultaneously pressing the electronic igniter button.
- Hold the control knob in for 10-15 seconds after ignition to allow the thermoelectric sensor to heat up. Release the knob. If the flame extinguishes, repeat the process.
- If the burner does not ignite after several attempts, turn off the gas, wait 5 minutes, and try again.
Flame Adjustment:
- Once lit, rotate the control knob to adjust the flame height from 'LOW' to 'HIGH' as desired.
Shutting Down:
- Turn the control knob to the 'OFF' position.
- Close the gas supply valve on the gas bottle.
- Allow the fire table to cool completely before covering or moving.
7. Maintenance and Care
Cleaning:
- Ensure the fire table is completely cool and the gas supply is off before cleaning.
- Wipe exterior surfaces with a soft cloth and mild soapy water. Rinse thoroughly and dry.
- Clean the glass wind guard with a glass cleaner.
- Periodically inspect the burner and gas connections for debris or damage.
Storage:
- When not in use, especially during adverse weather or extended periods, use the provided protective cover. The cover protects against dust, dirt, UV rays, rain, and water.
- Disconnect the gas bottle if storing for a long period. Store the gas bottle in a well-ventilated area, away from direct sunlight and heat sources.

Figure 3: Planika Gas Fire Table with its protective cover.
8. Troubleshooting
| Problem | Possible Cause | Solution |
|---|---|---|
| Burner does not ignite | Gas bottle empty Gas valve closed Igniter battery dead/incorrectly installed Air in gas line Igniter electrode dirty/damaged | Replace gas bottle Open gas valve fully Replace/reinstall AAA battery Purge air by attempting ignition several times Clean/inspect electrode |
| Flame is weak or inconsistent | Low gas pressure Partially closed gas valve Burner ports clogged | Check gas bottle level Ensure gas valve is fully open Clean burner ports (when cool) |
| Flame extinguishes after releasing control knob | Thermoelectric sensor not heated sufficiently Thermoelectric sensor faulty | Hold control knob in longer (10-15 seconds) Contact customer support |
| Smell of gas | Gas leak | Immediately turn off gas supply. Perform leak test with soapy water. If leak persists, do not use and contact qualified service personnel. |
If you encounter issues not listed here or if solutions do not resolve the problem, please contact Planika customer support.
9. Specifications
| Feature | Detail |
|---|---|
| Model Number | GO-SQ-01-K3 |
| Product Dimensions (L x W x H) | 90 x 90 x 80 cm |
| Item Weight | 22 kg |
| Material | Galvanized steel, tempered glass |
| Fuel Type | Liquefied Petroleum Gas (LPG) |
| Power Source Type | Liquefied Petroleum Gas (LPG) |
| Color | Black (Square Table + Cover variant) |
| Finish Type | Painted |
| Shape | Square |
| Included Components | Tabletop trays |
| Battery | 1 AAA (included) |
| Manufacturer | Planika |

Figure 4: Technical dimensions of the Planika Gas Fire Table.
10. Warranty and Support
Planika products are manufactured to high-quality standards. For warranty information, please refer to the documentation included with your purchase or visit the official Planika website. For technical support, spare parts, or any questions regarding your fire table, please contact Planika customer service.
Manufacturer: Planika
Contact Information: Please refer to your purchase documentation or the official Planika website for the most up-to-date contact details.
11. Product in Use (Lifestyle Images)