Introduction
Thank you for purchasing the SZELAM Digital Alarm Clock. This manual provides detailed instructions for setting up and operating your new alarm clock. Please read it thoroughly to ensure proper use and to maximize the features of your device.
Product Overview
Key Features:
- Large 14cm LED Display: High-resolution display clearly shows time, date, and temperature. HD white LED digits ensure visibility from a distance.
- Adjustable Brightness: 6 levels of brightness (5% to 100%) to suit various lighting conditions.
- 8 Alarm Ringtones: Choose from 8 distinct alarm tones.
- Adjustable Alarm Volume: 6 volume levels, ranging from 30 to 90 dB.
- Snooze Function: Provides an additional 9 minutes of sleep after the alarm sounds.
- 12/24 Hour Format: Switch between 12-hour (AM/PM) and 24-hour time displays.
- Date and Temperature Display: Shows current date and indoor temperature.
- USB Powered with Battery Backup: Operates via USB cable; 3 AAA batteries (not included) provide memory function for settings during power outages.
Package Contents:
- 1 x SZELAM Digital Alarm Clock
- 1 x USB Charging Cable
- 1 x User Manual
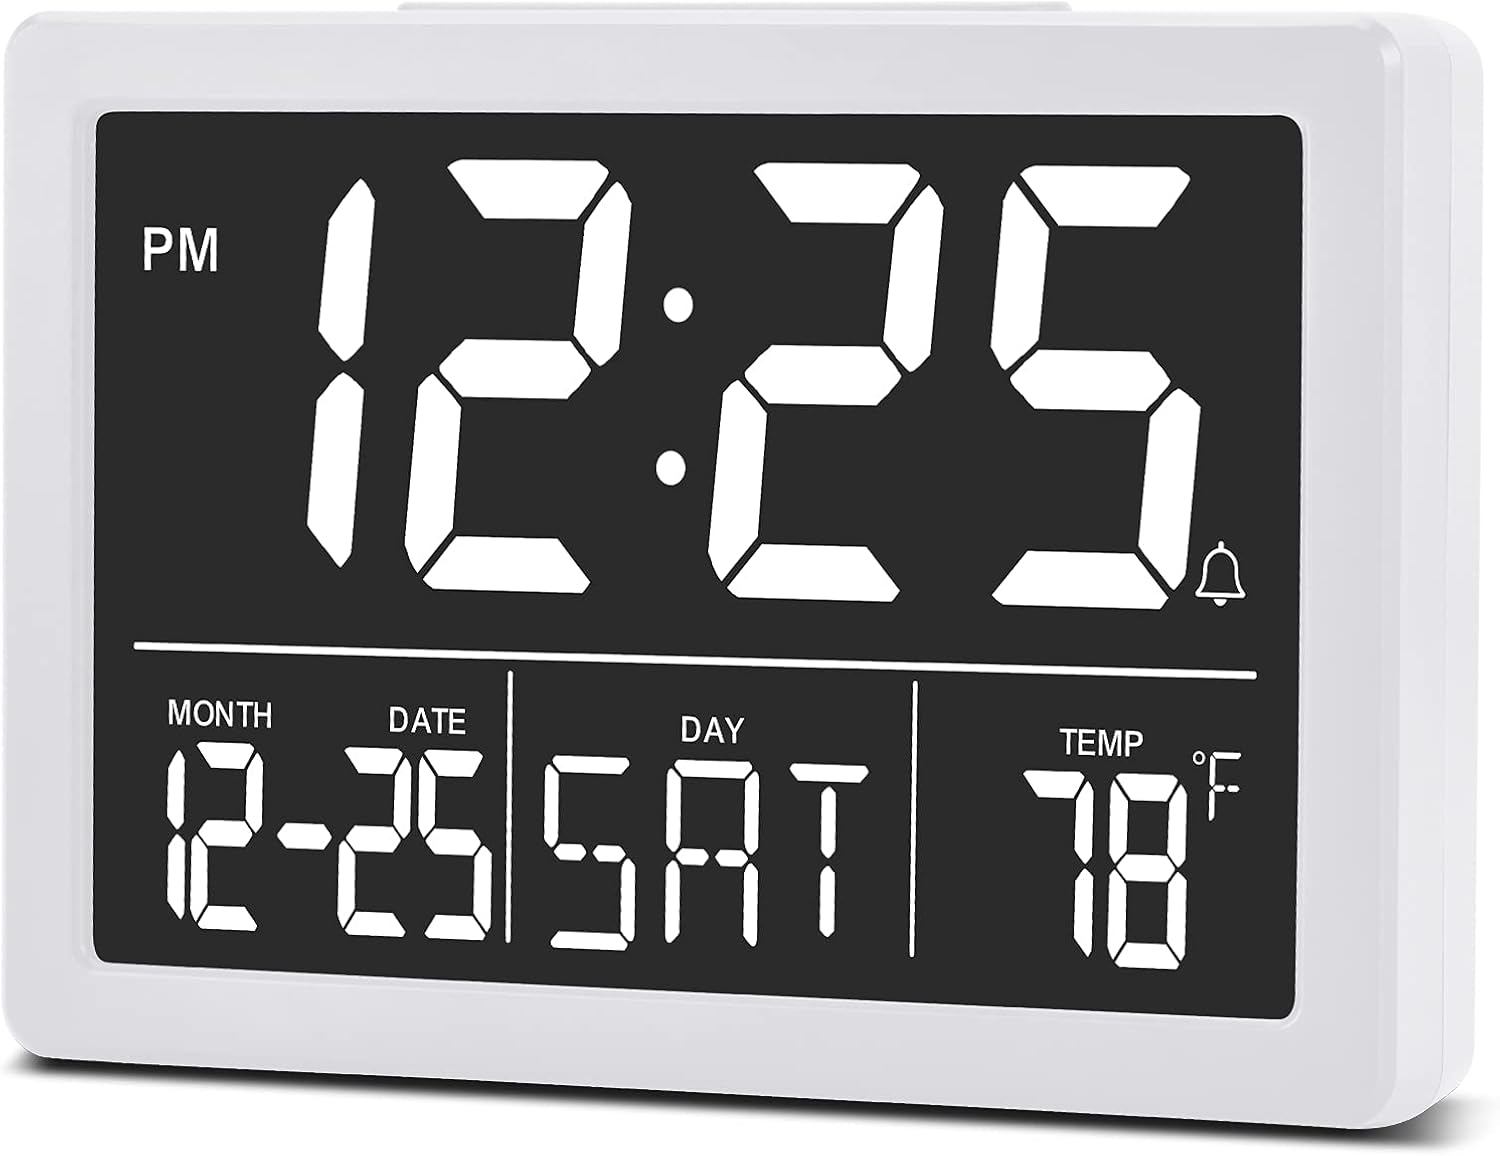
Image: Front view of the SZELAM Digital Alarm Clock displaying time, date, and temperature.
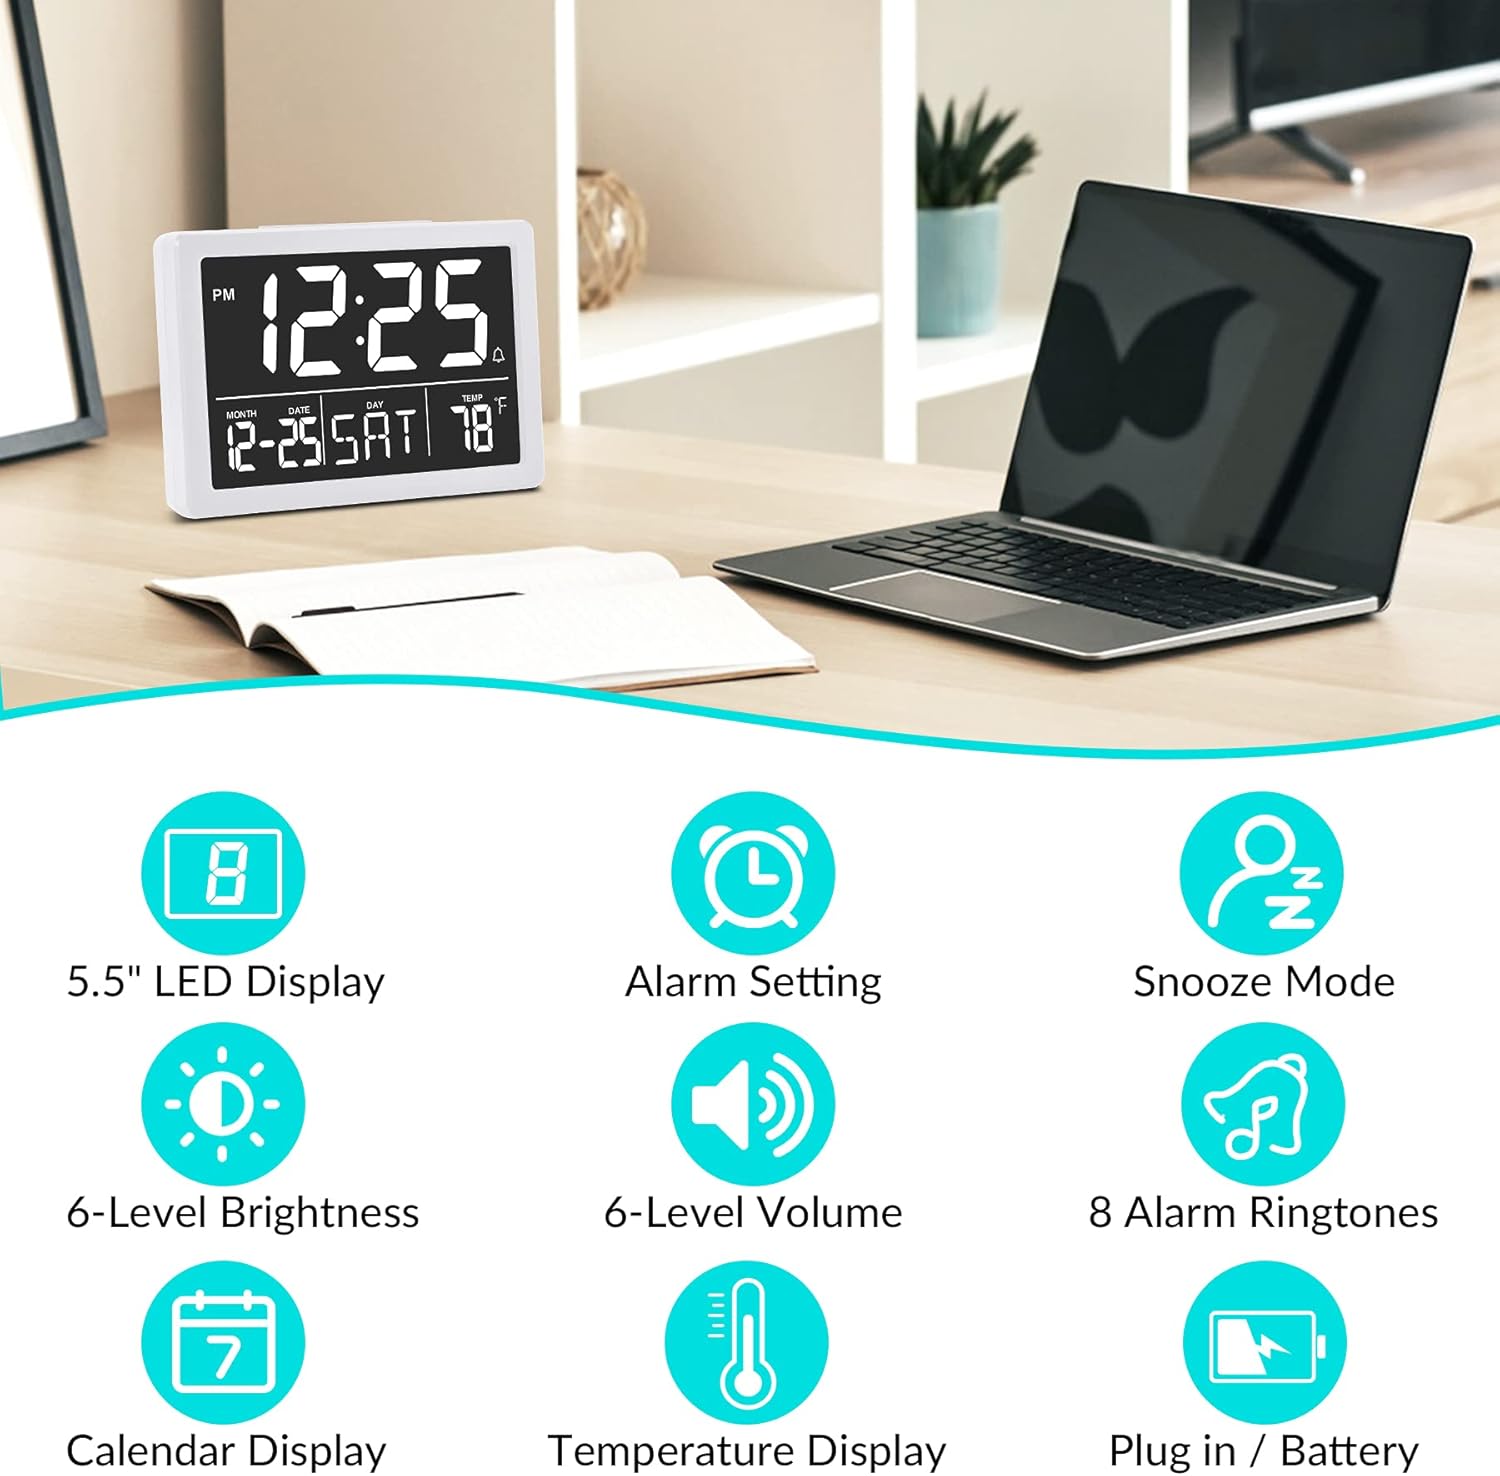
Image: Graphic illustrating key features: 5.5" LED Display, Alarm Setting, Snooze Mode, 6-Level Brightness, 6-Level Volume, 8 Alarm Ringtones, Calendar Display, Temperature Display, Plug in / Battery operation.
Setup
Powering the Clock:
- Connect USB Power: Insert the provided USB cable into the clock's USB port and connect the other end to a USB power adapter (not included) or a powered USB port. The clock will power on and the display will illuminate.
- Install Backup Batteries (Optional but Recommended): Open the battery compartment on the back of the clock. Insert 3 new AAA batteries (not included), ensuring correct polarity (+/-). These batteries will preserve your time and alarm settings in case of a power outage. Note: The clock display will not remain continuously lit when operating solely on battery power. The display will turn off after 10 seconds to conserve energy; press any button to temporarily illuminate it. For continuous display, USB power is required.

Image: Illustration showing the alarm clock powered by a USB cable for continuous display and a note about battery backup for memory function only.
Operating Instructions
Refer to the back panel diagram for button locations.

Image: Rear view of the alarm clock, highlighting the USB port, 6 Levels Volume switch, Alarm/Time Setting buttons, Alarm Sounds Switch, °C/°F switch, and 12/24H switch, and 6 Levels Brightness switch.
1. Setting Time and Date:
- Press and hold the "SET" button (located on the back) until the hour digits flash.
- Use the "UP" or "DOWN" buttons to adjust the hour.
- Press "SET" again to move to minute setting, then use "UP" or "DOWN" to adjust minutes.
- Continue pressing "SET" to cycle through year, month, and day settings, adjusting each with "UP" or "DOWN".
- Press "SET" one last time or wait a few seconds for the settings to save automatically.
2. Switching 12/24 Hour Format:
- Locate the "12/24H" switch on the back of the clock.
- Slide the switch to select either 12-hour (with AM/PM indicator) or 24-hour format.
3. Setting the Alarm:
- Press the "ALARM" button (located on the back) once. The alarm time will appear, and the hour digits will flash.
- Use the "UP" or "DOWN" buttons to adjust the alarm hour.
- Press "ALARM" again to move to minute setting, then use "UP" or "DOWN" to adjust alarm minutes.
- Press "ALARM" one last time or wait a few seconds to save the alarm setting.
- To activate/deactivate the alarm, press the "ALARM" button briefly. An alarm icon (bell symbol) will appear on the display when the alarm is active.
4. Adjusting Alarm Volume:
- Locate the "6 Levels Volume" switch on the back of the clock.
- Slide the switch to your desired volume level (L1 to L6).

Image: A family enjoying the alarm clock, illustrating the 8 pleasant alarm bells feature and volume adjustment levels.
5. Selecting Alarm Ringtones:
- Locate the "Alarm Sounds Switch" on the back of the clock.
- Slide the switch to cycle through the 8 available alarm tones. Select your preferred tone.
6. Using the Snooze Function:
- When the alarm sounds, press the large "SNOOZE" button on the top of the clock.
- The alarm will pause for 9 minutes and then sound again.
- To turn off the alarm completely, press any other button on the back of the clock.
7. Adjusting Display Brightness:
- Locate the "6 Levels Brightness" switch on the back of the clock.
- Slide the switch to cycle through the 6 brightness levels (from 5% to 100%).
- The clock also features an automatic dimming function between 6 PM and 7 AM. You can adjust the brightness during these hours, and the setting will be saved for the night mode.

Image: A series of six alarm clock displays showing the different brightness levels from dimmest to brightest.
8. Temperature Display:
- The clock displays the indoor temperature by default.
- To switch between Celsius (°C) and Fahrenheit (°F), locate the "°C/°F" switch on the back of the clock and slide it to your desired unit.
Maintenance
- Cleaning: Wipe the clock with a soft, dry cloth. Do not use abrasive cleaners or solvents.
- Battery Replacement: If using backup batteries, replace them annually or when the clock fails to retain settings during a power interruption. Ensure correct polarity when inserting new batteries.
- Storage: If storing the clock for an extended period, remove the AAA batteries to prevent leakage.
Troubleshooting
| Problem | Possible Cause | Solution |
|---|---|---|
| Display is off or flickering. | No USB power; loose USB connection; batteries depleted (if running on battery only). | Ensure USB cable is securely connected to a working power source. If using batteries, replace them. Remember, continuous display requires USB power. |
| Clock does not keep correct time. | Incorrect time setting; backup batteries depleted or not installed. | Re-set the time following the "Setting Time and Date" instructions. Ensure fresh AAA batteries are installed for backup. |
| Alarm does not sound. | Alarm not activated; alarm volume too low; incorrect alarm time set. | Verify the alarm icon is visible on the display. Adjust alarm volume using the switch. Check and re-set the alarm time. |
| Snooze function not working. | Snooze button not pressed correctly. | Ensure you press the large "SNOOZE" button on top when the alarm sounds. Pressing other buttons will turn off the alarm. |
| Display is too bright or too dim. | Brightness level needs adjustment. | Adjust the "6 Levels Brightness" switch on the back of the clock to your preferred level. |
Specifications
| Brand: | SZELAM |
| Model: | Digital Alarm Clock |
| Color: | White |
| Display Type: | Digital LED |
| Product Dimensions (L x W x H): | 13.31 x 3.81 x 9.3 cm (5.24 x 1.5 x 3.66 inches) |
| Item Weight: | 200 grams |
| Power Source: | USB Powered (for continuous display), 3x AAA Batteries (for memory backup only, not included) |
| Special Features: | Temperature Display, Alarm, Snooze, Adjustable Brightness, Adjustable Volume, 12/24H Format |

Image: Diagram showing the approximate visual dimensions of the SZELAM Digital Alarm Clock, including display size and overall width.
Warranty and Support
Your SZELAM Digital Alarm Clock comes with a 1-year warranty from the date of purchase. We also offer a 30-day unconditional refund/exchange policy.
If you encounter any issues or have questions regarding your product, please contact our customer support team via email. We aim to provide solutions within 24 hours.
For further assistance, please refer to the contact information provided on the product packaging or the seller's page.


