1. Setup and Installation
This section provides instructions for the initial setup and physical installation of your ESSGOO Android 9.1 Double Din Car Stereo.
1.1 Package Contents
Before beginning installation, verify that all components are present in the package:

Image: The package contents include the main head unit, backup camera, microphone, GPS antenna, camera input cable, 2 USB cables, RCA input/output cables, power cable, fixed brackets, spare fuse, and user manual.
- Main Head Unit
- Backup Camera
- Microphone
- GPS Antenna
- Camera Input Cable
- 2 USB Cables
- RCA Input/Output Cables
- Power Cable (ISO Power Cable)
- Fixed Brackets
- Spare Fuse
- User Manual
1.2 Physical Dimensions
Ensure your vehicle's dashboard opening is compatible with the unit's dimensions.

Image: Diagram showing the dimensions of the head unit: 230mm (width), 130mm (height), 40mm (depth). Also shows the rear panel connections.
- Width: 230mm (approximately 9.06 inches)
- Height: 130mm (approximately 5.12 inches)
- Depth: 40mm (approximately 1.57 inches)
1.3 Wiring and Connections
Carefully follow the wiring diagram to connect the head unit to your vehicle's electrical system. Incorrect wiring can cause damage to the unit or vehicle.

Image: Detailed wiring diagram showing connections for power, speakers, video, audio, USB, GPS antenna, and camera input.

Image: The ISO power cable provided for connecting the head unit to the vehicle's power supply.
- Power Cable: Connect the main power harness to the vehicle's power supply (B+ Battery, ACC, GND).
- Speaker Wires: Connect the speaker output wires (FRONT L/R, REAR L/R) to your vehicle's speakers. Ensure correct polarity.
- GPS Antenna: Connect the GPS antenna to the dedicated port on the rear of the unit and mount it in a location with a clear view of the sky.
- USB Cables: Connect the provided USB cables for external devices or data transfer.
- RCA Cables: Use RCA input/output cables for external amplifiers, subwoofers, or auxiliary audio/video sources.
- Camera Input: Connect the rear view camera cable to the 'Camera Input' port.
- Steering Wheel Control (SWC): Connect the KEY1 and KEY2 wires to your vehicle's steering wheel control wires, if applicable.
1.4 Rear View Camera Installation
The included rear view camera provides assistance when reversing. Connect the camera's video output to the 'Camera Input' on the head unit and its power to your vehicle's reverse light circuit.

Image: The car stereo displaying the rear view camera feed with parking guidelines, alongside an illustration of the camera mounted on a car.
2. Operating Instructions
This section details the various functions and features of your ESSGOO Android 9.1 Double Din Car Stereo.
2.1 Basic Controls and Touch Screen
The unit features a 9-inch capacitive touchscreen for intuitive operation. Physical buttons on the left side provide quick access to essential functions.
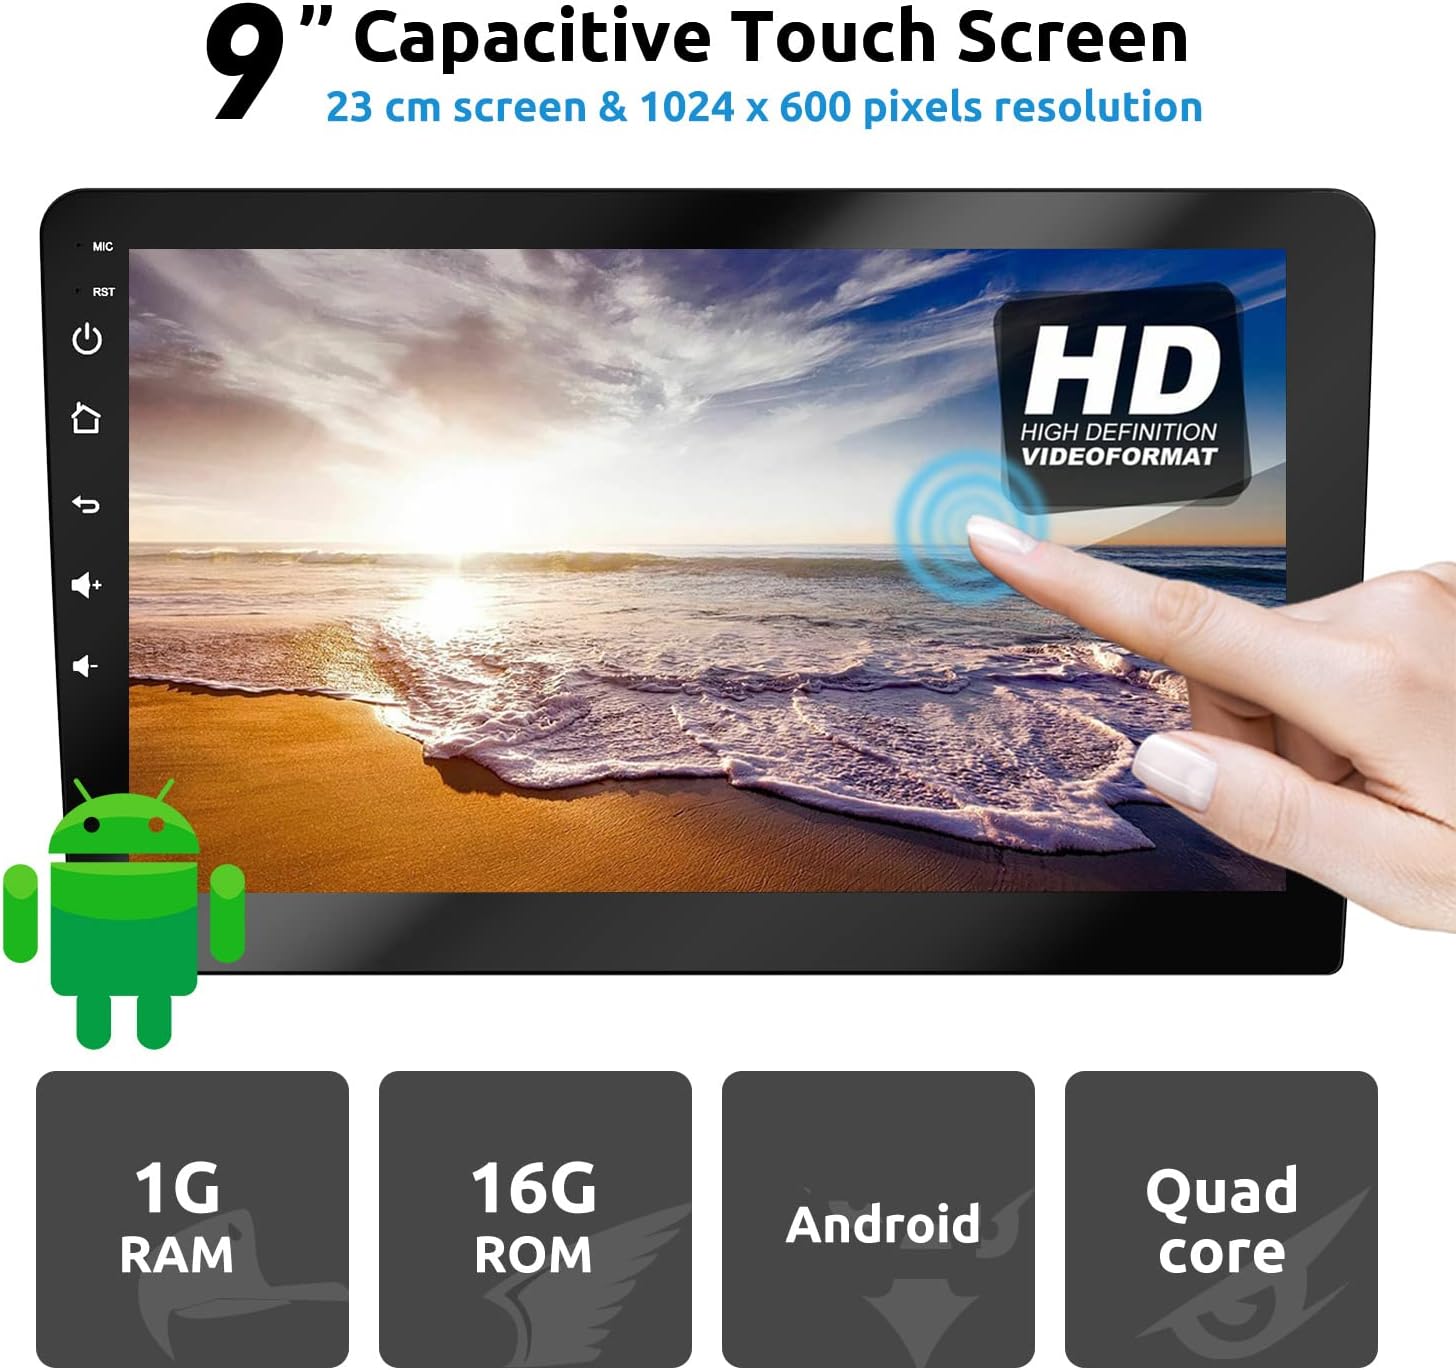
Image: The 9-inch capacitive touch screen displaying a high-definition video format, with physical buttons for MIC, RST, Power, Home, Back, Volume Up/Down on the left bezel.
- Power Button: Press and hold to turn the unit on/off. Short press to mute/unmute.
- Volume Buttons: Adjust audio output level.
- Home Button: Return to the main Android home screen.
- Back Button: Go back to the previous screen or menu.
- RST (Reset) Button: A small pinhole button to reset the unit if it becomes unresponsive.
2.2 GPS Navigation
The unit supports both online and offline navigation. You can download GPS applications from the Google Play Store.
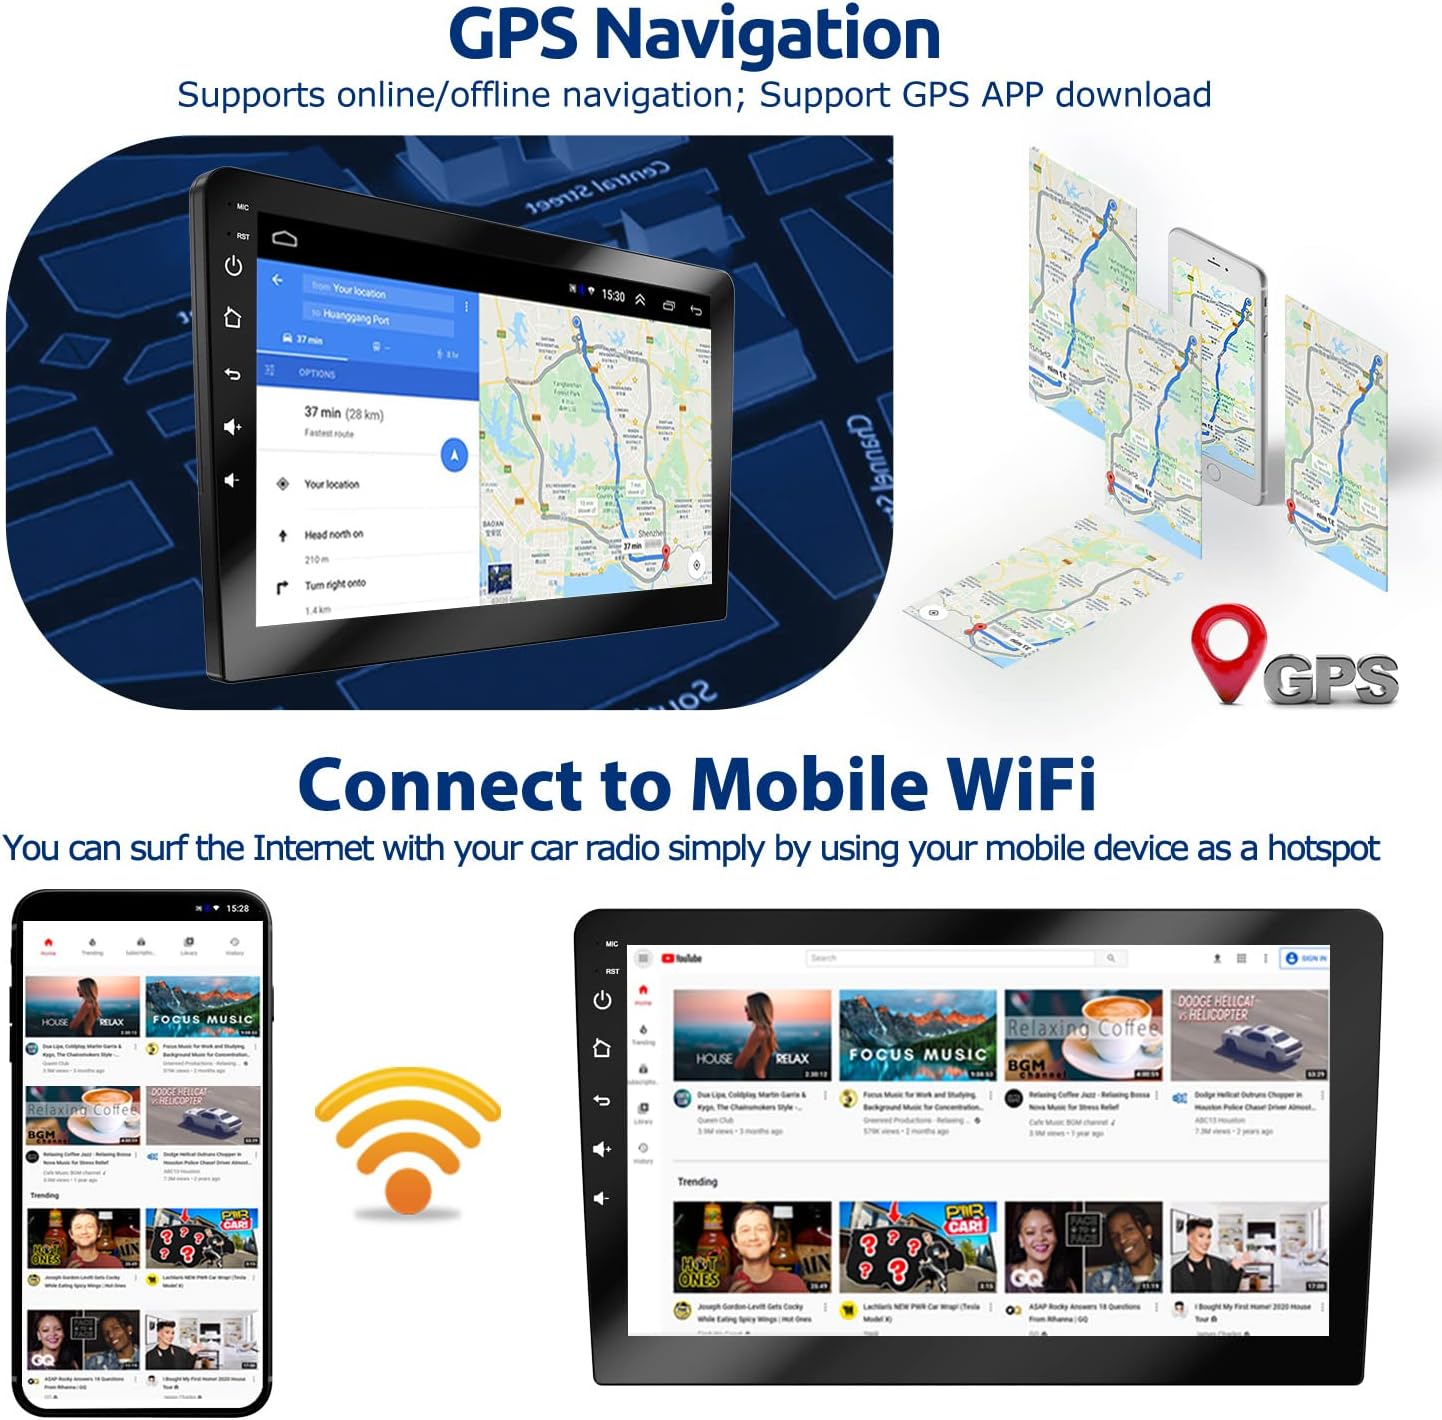
Image: The car stereo displaying a navigation map, with an illustration of mobile phones providing a WiFi hotspot for internet connectivity.
- Ensure the GPS antenna is properly connected and positioned.
- Access navigation apps from the main menu.
- For online navigation, ensure the unit is connected to the internet via WiFi.
2.3 Bluetooth Connectivity
Connect your smartphone via Bluetooth for hands-free calling and music playback.

Image: The car stereo displaying a Bluetooth dial pad and music playback interface, with a person using a phone for hands-free calling.
- Go to the Bluetooth menu on the head unit.
- Enable Bluetooth on your phone and search for available devices.
- Select the car stereo (usually named 'BT_Android' or similar) and pair.
- Once paired, you can make/receive calls and stream audio.
2.4 WiFi Connectivity
Connect to a WiFi network (e.g., your phone's hotspot) to access online features, download apps, and browse the internet.

Image: The car stereo displaying a WiFi connection icon and a smartphone showing YouTube, indicating internet access.
- Navigate to 'Settings' > 'Network & Internet' > 'Wi-Fi'.
- Turn on Wi-Fi and select your desired network.
- Enter the password if prompted.
2.5 Mirror Link
Mirror Link allows you to display your smartphone's screen on the car stereo. This feature supports both Android and iOS devices.

Image: Diagram illustrating Mirror Link connectivity for iOS (WiFi connection, one-way control) and Android (USB cable or WiFi connection, two-way control).
- Android Phones: Can be controlled in two directions (phone to radio or radio to phone) via USB cable or WiFi connection.
- iOS Phones: Can only perform one-way control (from phone to radio) via WiFi connection.
- Access the 'Mirror Link' application from the main menu and follow the on-screen instructions for connection.
2.6 FM Radio
Tune into your favorite FM radio stations.
Image: The car stereo displaying the FM radio interface with frequency selection and preset options.
- Select the 'Radio' application from the main menu.
- Use the on-screen controls to scan for stations, manually tune, or select presets.
2.7 Steering Wheel Controls
If your vehicle supports it, you can program the unit to respond to your steering wheel controls for convenience.
Image: The car stereo displaying the steering wheel control learning interface, with an inset showing a hand operating steering wheel buttons.
- Go to 'Settings' > 'Steering Wheel Control' (or similar).
- Follow the on-screen instructions to assign functions to your vehicle's steering wheel buttons.
2.8 Split Screen Function
The split-screen feature allows you to run two applications simultaneously, such as navigation and music playback.

Image: The car stereo displaying two applications side-by-side in split-screen mode, showing navigation on one side and music playback on the other.
- To activate, open an app, then long-press the recent apps button or drag an app to one side of the screen.
- Select a second app to fill the other half of the screen.
2.9 EQ Settings
Adjust the audio equalizer settings to customize your sound experience.

Image: The car stereo displaying the audio equalizer interface with adjustable frequency bands and sound field settings.
- Access the 'EQ' or 'Sound Settings' application.
- Adjust frequency bands, balance, fader, and preset sound modes to your preference.
3. Maintenance
Proper maintenance ensures the longevity and optimal performance of your car stereo.
3.1 Cleaning the Unit
- Use a soft, dry cloth to wipe the screen and exterior surfaces.
- For stubborn smudges on the screen, use a screen cleaner specifically designed for electronic displays and a microfiber cloth.
- Avoid using abrasive cleaners, solvents, or harsh chemicals, as these can damage the screen or finish.
3.2 Software Updates
- Periodically check for available software updates to ensure optimal performance and access to new features.
- Updates can typically be found in the 'Settings' menu under 'About device' or 'System updates'.
- Ensure a stable internet connection during updates to prevent interruption.
4. Troubleshooting
This section addresses common issues you might encounter with your car stereo.
| Problem | Possible Cause | Solution |
|---|---|---|
| Unit does not power on. | Incorrect power wiring; Blown fuse; Vehicle battery issue. | Check power cable connections (B+, ACC, GND). Verify the fuse is intact. Check vehicle battery voltage. |
| No sound from speakers. | Incorrect speaker wiring; Volume too low; Mute function active. | Check speaker wire connections and polarity. Increase volume. Disable mute. Check EQ settings. |
| GPS signal is weak or unavailable. | GPS antenna improperly connected or positioned; Obstruction. | Ensure GPS antenna is securely connected and mounted in a clear location (e.g., dashboard, not under metal). |
| Bluetooth connection issues. | Bluetooth not enabled; Device not paired; Interference. | Ensure Bluetooth is enabled on both devices. Re-pair the devices. Move closer to the unit. |
| Touchscreen unresponsive. | Temporary software glitch. | Press the RST (Reset) button with a thin object (e.g., paperclip). |
| Rear view camera not displaying. | Camera wiring issue; Camera power issue. | Check camera video input connection. Verify camera power connection to reverse light. |
If you encounter issues not listed here or require further assistance, please contact ESSGOO customer support.
5. Specifications
Key technical specifications for the ESSGOO Android 9.1 Double Din Car Stereo.
| Feature | Detail |
|---|---|
| Operating System | Android 9.1 |
| Screen Size | 9 Inches |
| Resolution | 1024 x 600 |
| Memory (RAM) | 1GB |
| Storage (ROM) | 16GB |
| Connectivity Technology | Bluetooth, USB, Wi-Fi |
| Special Features | Bluetooth, Touchscreen, GPS Navigation, Mirror Link, FM Radio, Rear View Camera Support |
| Audio Output Mode | Stereo |
| Mounting Type | Panel Mount |
| Product Dimensions | 9.06 x 5.12 x 3.15 inches (230 x 130 x 80 mm) |
| Item Weight | 3.06 pounds |
| Manufacturer | ESSGOO |
6. Warranty and Support
For warranty information and customer support, please refer to the details below.
6.1 Warranty Information
ESSGOO products typically come with a manufacturer's warranty. Please refer to the warranty card included in your product packaging or visit the official ESSGOO website for specific warranty terms and conditions.
6.2 Customer Support
If you have any questions, require technical assistance, or need to report an issue, please contact ESSGOO Support. You can typically reach support via Amazon Messages or through the contact information provided on the ESSGOO official website.
- Online Support: Contact ESSGOO Support via Amazon Messages for prompt assistance.
- Technical Guidance: Professional technical guidance is available to help with installation or operational queries.


