Introduction
The Royal 520DX Electronic Cash Register is an entry-level cash management system designed for efficient cash management in retail and hospitality environments. This reliable and secure system is equipped to handle daily transaction needs, featuring front and rear LCD displays for clear viewing and a built-in thermal printer for customer receipts. It includes a medium-duty locking cash drawer with dedicated compartments for bills and coins.
Key features include:
- Facilitates transactions and stores data for future tracking.
- Single thermal printer for receipt generation.
- Tracks up to 24 departments and supports up to 4000 Price Look-Ups (PLUs).
- Capable of managing up to 10 clerk IDs.
- Features an anti-bacterial keytop for hygiene.
Product Overview

Figure 1: Front view of the Royal 520DX Electronic Cash Register with its integrated cash drawer.
Setup
Initial Unpacking and Placement
Carefully remove all components from the packaging. Place the cash register on a stable, flat surface, ensuring adequate ventilation around the unit.

Figure 2: Side view of the cash register, illustrating its compact design suitable for various counter spaces.
Power Connection
Connect the provided AC adapter to the power input port on the rear of the cash register. Plug the adapter into a standard electrical outlet. Ensure the power switch is in the 'OFF' position before connecting.
Paper Roll Installation
Open the printer cover located at the top of the unit. Insert a new thermal paper roll, ensuring the paper feeds from the bottom and the leading edge is straight. Close the cover firmly, leaving a small amount of paper extending from the slot.
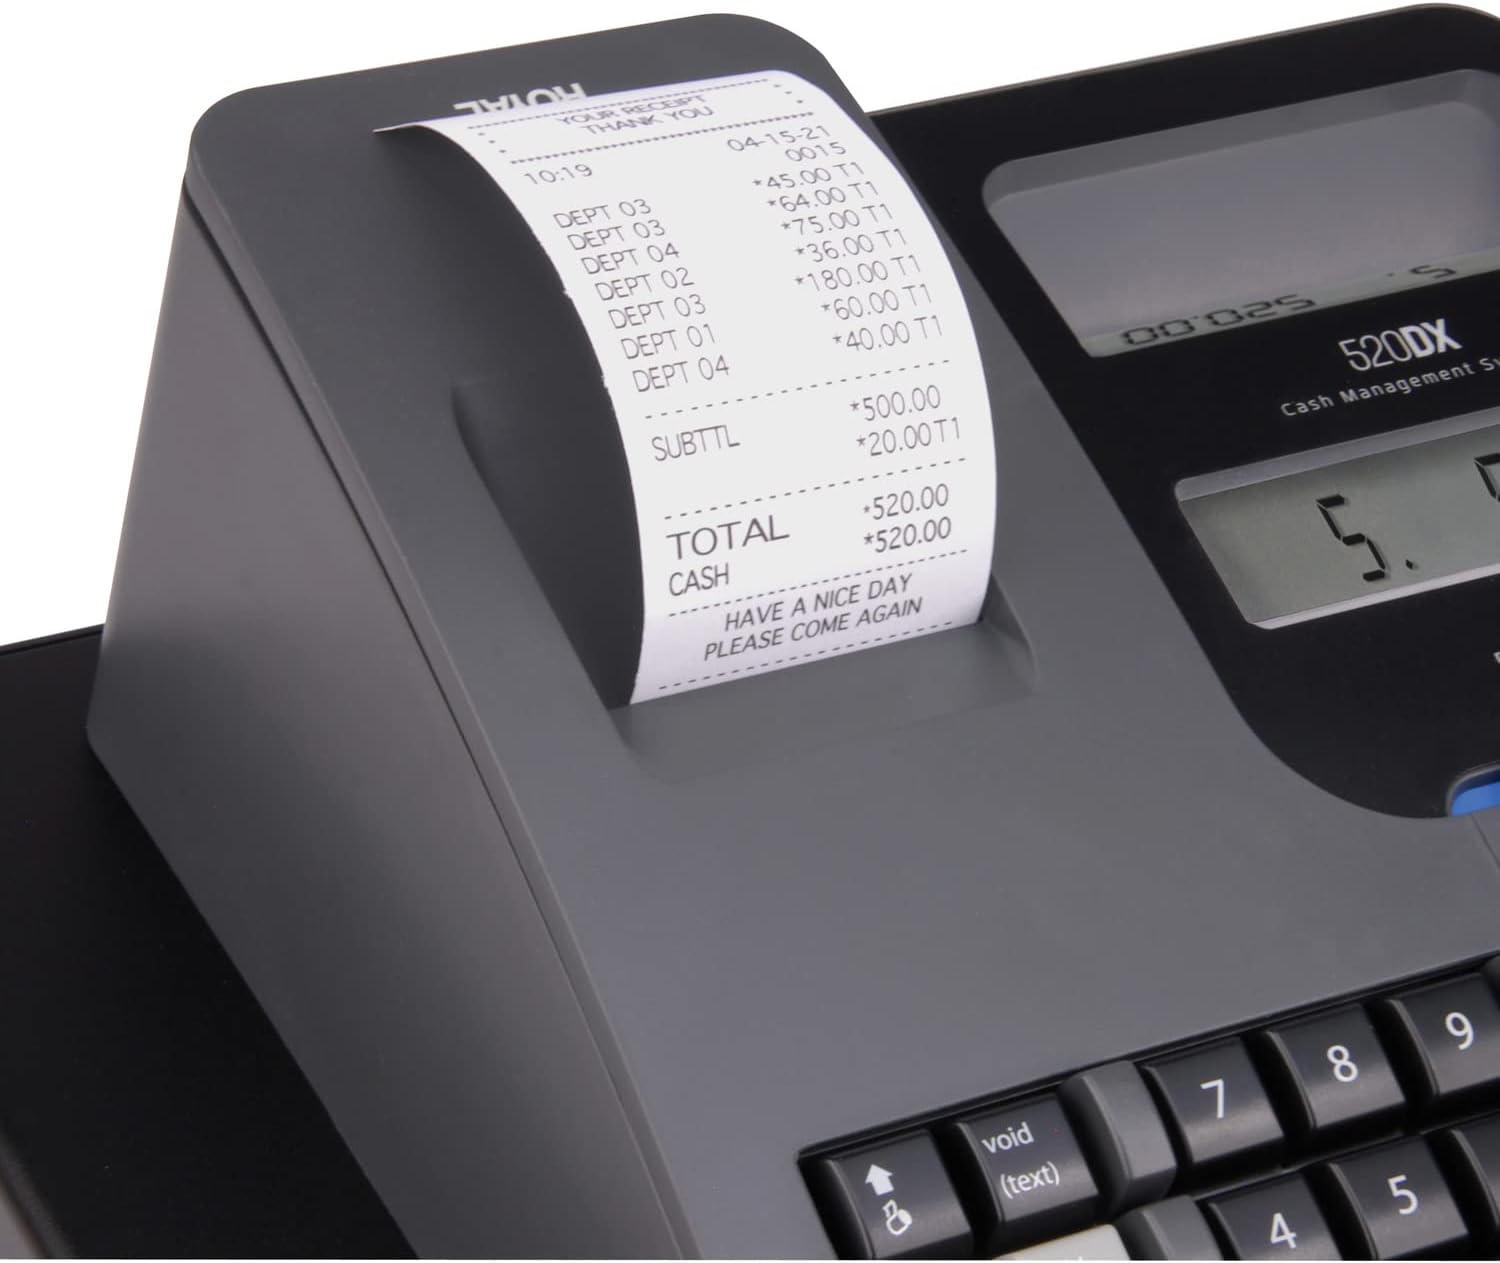
Figure 3: Detailed view of the thermal printer and receipt paper output.
Cash Drawer Setup
The cash drawer is integrated with the main unit. Ensure the drawer is securely attached and the key is available for locking/unlocking. Organize bills and coins within the designated compartments.

Figure 4: The cash drawer in an open position, displaying its internal organization for currency.
Initial Programming
Before first use, it is essential to program basic settings. This typically includes setting the current date and time, configuring tax rates, and defining departments. Refer to the detailed programming section in the comprehensive user manual for specific key sequences and options. Ensure two AA batteries are installed for memory retention in case of power loss.

Figure 5: The main display and keypad, used for programming and daily operations.
Operating Instructions
Basic Transaction
- Enter Amount: Use the numeric keypad to enter the price of the item.
- Select Department: Press the corresponding department key (e.g., DEPT 1, DEPT 2). Repeat for multiple items.
- Total: Press the 'TOTAL' key to finalize the transaction. The cash drawer will open, and a receipt will print.
- Cash Tendered: Enter the amount of cash received from the customer, then press 'CASH'. The display will show the change due.
Voiding Transactions
To correct an error during a transaction, use the 'VOID' key. For specific voiding procedures (e.g., voiding the last item, voiding a previous transaction), consult the detailed operating manual.
Price Look-Up (PLU)
For items with pre-programmed prices, enter the PLU code using the numeric keypad, then press the 'PLU' key. This will automatically register the item's price and department.
Clerk ID Management
To track sales by individual clerks, each clerk can be assigned a unique ID. Before starting transactions, a clerk can log in using their ID. This feature helps in generating individual sales reports.
Receipt Printing
The cash register automatically prints a customer receipt for each completed transaction. Ensure the paper roll is correctly installed and sufficient for continuous operation.
Maintenance
Cleaning
Regularly clean the exterior of the cash register with a soft, damp cloth. Avoid using abrasive cleaners or solvents. For the anti-bacterial keytop, a mild disinfectant can be used. Ensure no liquids enter the internal components.
Paper Roll Replacement
When the paper roll is nearing its end (indicated by a red line on the paper), replace it promptly to avoid interruptions. Follow the installation steps outlined in the Setup section.
Battery Replacement
The cash register uses two AA batteries to retain programmed data (like departments, PLUs, and tax rates) when the main power is disconnected. Replace these batteries periodically, or if the display shows a low battery indicator, to prevent data loss. Refer to the full manual for the exact location of the battery compartment.
Troubleshooting
| Problem | Solution |
|---|---|
| Paper Jam | Open the printer cover, carefully remove any jammed paper, and re-insert the paper roll correctly. Ensure the paper path is clear. |
| Display is Blank or Unresponsive | Check if the power adapter is securely connected and the unit is powered on. Verify that the AA backup batteries are installed and have sufficient charge. |
| Cash Drawer Does Not Open | Ensure the transaction is properly finalized (e.g., by pressing 'TOTAL' or 'CASH'). Check if the cash drawer key is in the unlocked position. Verify the connection between the main unit and the drawer. |
| Incorrect Calculations | Review programmed tax rates and department settings. Ensure correct item prices are entered or PLUs are correctly assigned. |
Specifications
- Model Number: 89395U
- Brand: Royal
- Manufacturer: ROYAL CONSUMER PRODUCTS
- Item Weight: 13.12 pounds
- Product Dimensions: 14.13 x 13.38 x 9 inches
- Color: Black
- Printer Type: Thermal
- Display: Front and Rear LCD
- Departments: Up to 24
- PLUs (Price Look-Ups): Up to 4000
- Clerk IDs: Up to 10
Warranty and Support
For detailed warranty information, including coverage period and terms, please refer to the warranty card included with your product or visit the official Royal Consumer Products website. Keep your proof of purchase for any warranty claims.
For technical support, troubleshooting assistance beyond this manual, or to inquire about replacement parts, please contact Royal Consumer Products customer service. Contact details are typically available on the manufacturer's website or in the full product manual.


