1. Introduction
This manual provides essential information for the safe and efficient use of your Aligator A675 Senior Double SIM 2G Mobile Phone. Please read it carefully before using the device and keep it for future reference. The Aligator A675 is designed for ease of use, featuring large buttons and a clear display, making it ideal for senior users.
2. Package Contents
Ensure all items are present in the package:
- Aligator A675 Mobile Phone
- Battery
- Charger
- User Manual (this document)
If any items are missing or damaged, please contact your retailer.
3. Device Overview
Familiarize yourself with the key components of your Aligator A675 phone.

Image 3.1: Front and back view of the Aligator A675 mobile phone. The front shows the display, keypad, and navigation buttons. The back features the speaker and camera module.
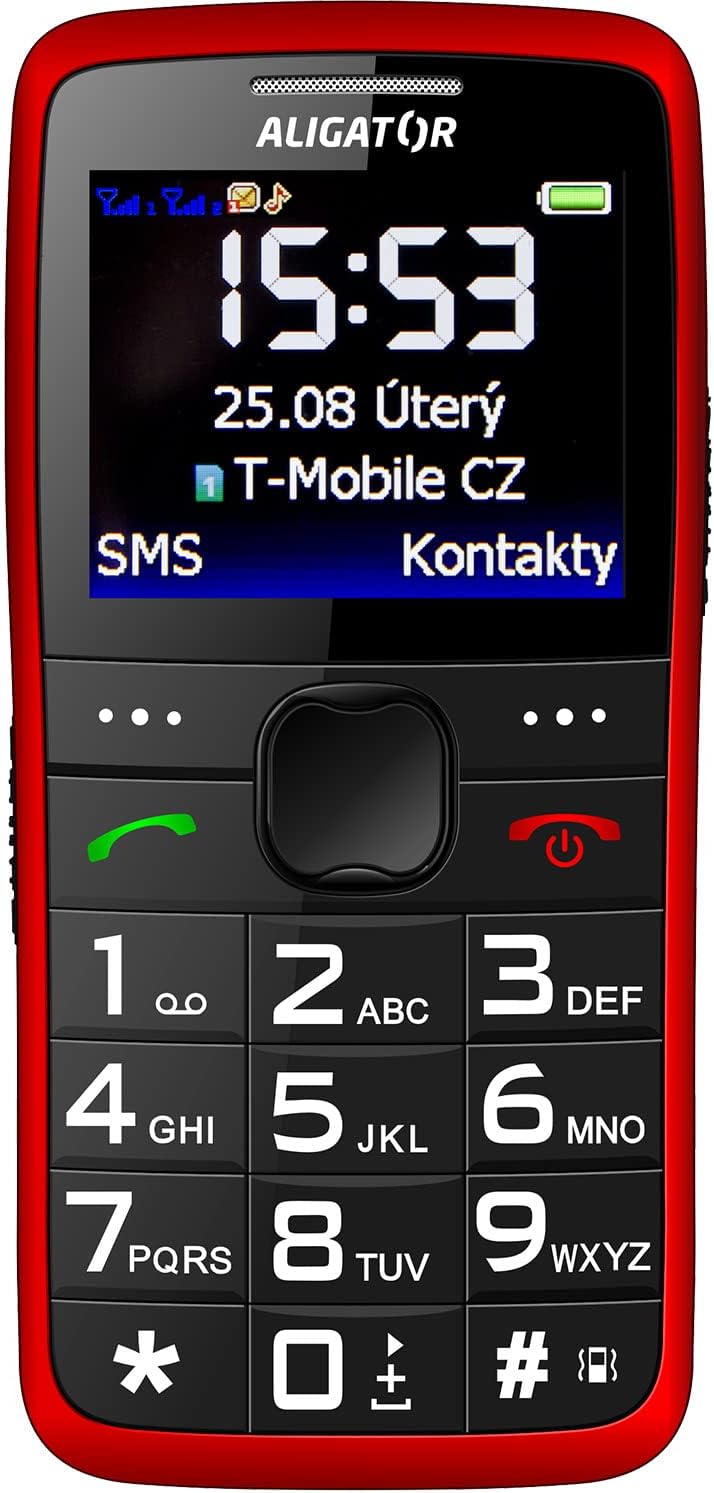
Image 3.2: Detailed front view of the Aligator A675 mobile phone, highlighting the large display, clear numeric keypad, and dedicated call/end buttons.
3.1 Front View
- Display: Shows time, date, network status, battery level, and menu options.
- Navigation Key: Used to scroll through menus and options.
- Call Button (Green): Initiates calls and answers incoming calls.
- End/Power Button (Red): Ends calls, returns to the home screen, and powers the phone on/off.
- Keypad: Numeric keys (0-9), asterisk (*), and hash (#) for dialing and text input.
3.2 Back View
- Loudspeaker: For ringtones and hands-free calls.
- Camera: For basic photo capture.
- SOS Button: A dedicated button for emergency calls/SMS (refer to section 5.4 for setup).
4. Setup
Follow these steps to prepare your phone for first use.
4.1 Inserting SIM Cards
- Remove the back cover of the phone by gently prying it open from the notch.
- If the battery is inserted, remove it.
- Locate the SIM card slots. The Aligator A675 supports two SIM cards (Dual SIM).
- Carefully insert your 2G GSM SIM card(s) into the designated slot(s) with the gold contacts facing down, ensuring they are correctly oriented.
- Ensure the SIM cards are securely in place.
4.2 Inserting the Battery
- Align the battery contacts with the contacts in the phone's battery compartment.
- Gently press the battery into place until it fits snugly.
- Replace the back cover, ensuring it clicks into position.
4.3 Charging the Phone
- Connect the charger cable to the charging port on the phone (usually located at the bottom).
- Plug the charger into a power outlet.
- The battery icon on the display will indicate charging status.
- Allow the phone to charge completely before first use. This typically takes a few hours.
5. Operating the Phone
Basic functions and features of your Aligator A675.
5.1 Powering On/Off
- To Power On: Press and hold the End/Power Button (red button) until the screen lights up.
- To Power Off: Press and hold the End/Power Button until the power-off options appear, then confirm.
5.2 Making and Receiving Calls
- To Make a Call: Enter the phone number using the keypad and press the Call Button (green button).
- To Answer a Call: Press the Call Button when the phone rings.
- To End a Call: Press the End/Power Button.
5.3 Sending and Receiving SMS
- Navigate to the 'Messages' menu using the navigation key.
- Select 'Write Message' to compose a new SMS.
- Enter the recipient's number or select from contacts.
- Type your message using the keypad. Press the appropriate key multiple times for different letters (e.g., '2' for A, B, C).
- Select 'Send'.
- Incoming messages will be displayed on the screen and stored in the 'Inbox'.
5.4 SOS Function
The SOS function allows you to quickly contact pre-set emergency numbers.
- Setting Up SOS Numbers: Go to 'Settings' > 'SOS Settings'. Add up to 5 emergency contact numbers.
- Activating SOS: Press and hold the SOS Button on the back of the phone for a few seconds.
- The phone will automatically send an emergency SMS to the pre-set numbers and then start dialing them one by one until a call is answered.
5.5 Contacts
- Adding a Contact: Go to 'Contacts' > 'Add New'. Enter the name and phone number, then save.
- Searching for a Contact: Go to 'Contacts' and use the navigation key to scroll or type the first letters of the name.
6. Maintenance and Care
Proper care ensures the longevity of your Aligator A675 phone.
- Cleaning: Use a soft, dry cloth to clean the phone's surface. Avoid liquid cleaners or abrasive materials.
- Battery Care: Do not expose the battery to extreme temperatures. Avoid fully discharging the battery frequently.
- Storage: Store the phone in a cool, dry place away from direct sunlight and moisture.
- Water Resistance: This phone is not water-resistant. Avoid contact with liquids.
7. Troubleshooting
Common issues and their solutions.
| Problem | Possible Cause | Solution |
|---|---|---|
| Phone does not power on | Low battery; Battery not inserted correctly | Charge the battery; Reinsert the battery correctly |
| Cannot make/receive calls | No network signal; SIM card not inserted; SIM card not activated | Move to an area with better signal; Reinsert SIM card; Contact your network provider |
| No sound during calls | Volume too low; Speaker blocked | Increase call volume; Check if speaker is obstructed |
| SOS function not working | SOS numbers not set; No network signal | Set up SOS numbers in settings; Ensure network coverage |
If the problem persists, please contact customer support.
8. Specifications
Key technical details of the Aligator A675.
- Brand: ALIGATOR
- Model: A675
- Wireless Carrier: Unlocked
- Wireless Network Technology: GSM (2G)
- Screen Size: 3 inches
- Human Interface Input: Keypad
- SIM Support: Dual SIM
9. Warranty and Support
Your Aligator A675 phone is covered by a standard manufacturer's warranty. Please refer to the warranty card included in your package for specific terms and conditions, including the warranty period and coverage details.
For technical support, service, or warranty claims, please contact your retailer or the official Aligator customer service. Contact information can typically be found on the manufacturer's website or on the packaging.
Keep your proof of purchase (receipt or invoice) as it will be required for any warranty service.