
1. Introduction and Overview
The Cudy AC1200 WiFi Extender (Model RE1200) is designed to expand the coverage of your existing Wi-Fi network, eliminating dead zones and providing reliable internet access throughout your home or office. It supports dual-band Wi-Fi (2.4GHz and 5GHz) for high-speed connectivity and offers flexible operating modes including Range Extender and Access Point.

Image: Front view of the Cudy AC1200 WiFi Extender RE1200.
2. Product Features
- Dual-Band AC1200 Wi-Fi Speeds: Offers up to 300Mbps on the 2.4GHz band for general browsing and 867Mbps on the 5GHz band for demanding tasks like online gaming and HD streaming.
- Extended Wi-Fi Coverage: Equipped with two external high-gain antennas to boost the range of your existing Wi-Fi network, effectively eliminating Wi-Fi dead zones.
- Connect Multiple Devices: Supports connection for over 30 Wi-Fi devices simultaneously.
- Gigabit Ethernet Port: Allows the extender to function as a media bridge, connecting wired devices such as PCs, multimedia players, gaming consoles, and smart TVs to your network.
- Easy Setup & Flexible Placement: Features a simple WPS button setup for quick connection to your router. Once configured, it can be relocated to an optimal position without re-configuration.
- 2-IN-1 Functionality: Operates as both a Range Extender to expand Wi-Fi coverage and an Access Point to transform a wired network into a wireless one.

Image: The Cudy AC1200 WiFi Extender extending network coverage to eliminate dead zones.

Image: Illustration of the high-gain antennas providing 5GHz (867Mbps) and 2.4GHz (300Mbps) Wi-Fi coverage.
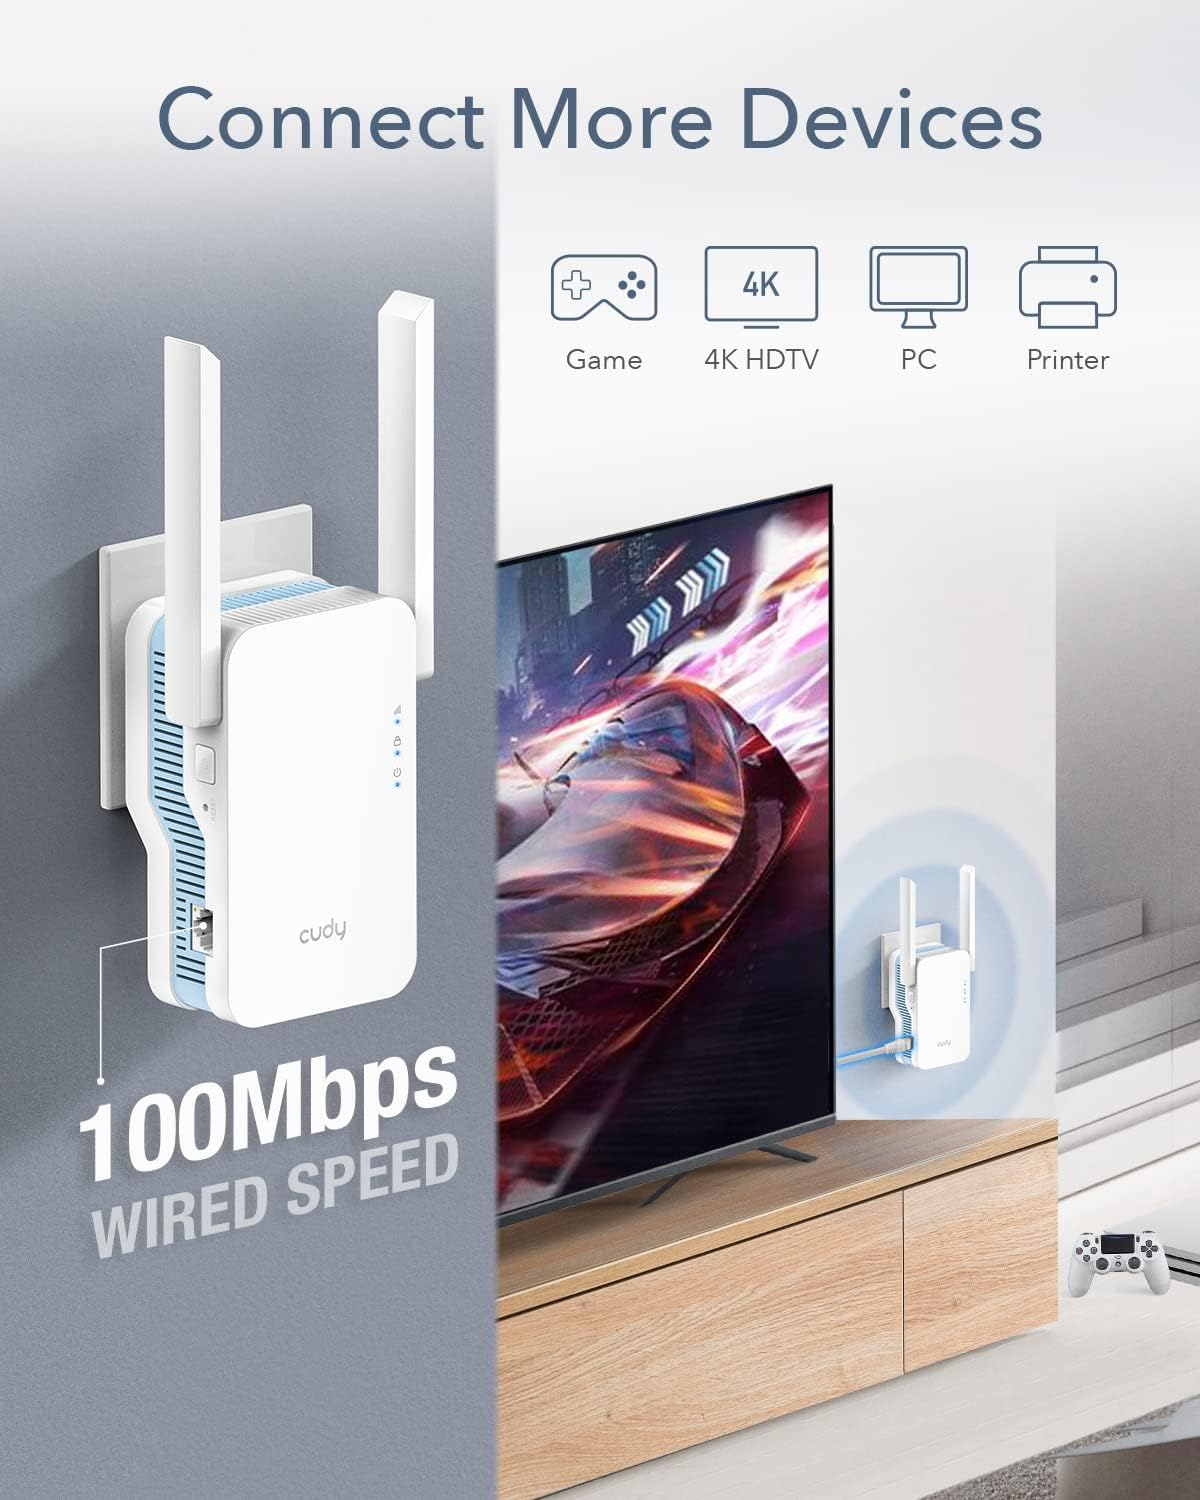
Image: The Cudy AC1200 WiFi Extender connected via Ethernet to a smart TV, enabling wired and wireless device connections.
3. Package Contents
The following items are included in the product package:
- Cudy AC1200 WiFi Extender (RE1200)
- Instruction Manual

Image: The Cudy AC1200 WiFi Extender and its retail packaging, indicating included items.
4. Physical Overview
The Cudy RE1200 features a compact design with essential indicators and ports for easy operation.
LED Indicators
- Signal LED: Indicates the strength of the signal received from the main router. A blue light typically signifies a strong connection, while a purple or red light may indicate a weaker signal.
- Wi-Fi LED: Indicates the status of the Wi-Fi connection.
- Power LED: Indicates if the device is powered on.
Ports and Buttons
- Ethernet Port: A Gigabit Ethernet port for connecting wired devices.
- WPS/Pair Button: Used for quick setup with WPS-enabled routers.
- Reset Button: Used to restore the device to factory default settings.

Image: The Cudy AC1200 WiFi Extender plugged into a wall outlet, showing its compact form factor and LED indicators.
5. Setup Guide
The Cudy RE1200 offers two primary methods for setup: WPS (Wi-Fi Protected Setup) for quick configuration, and Web UI for more detailed settings.
5.1. WPS Setup (Recommended for Quick Setup)
- Plug the RE1200 into a power outlet near your main Wi-Fi router. Wait for the Power LED to turn solid on.
- Press the WPS button on your main Wi-Fi router.
- Within two minutes, press the WPS/Pair button on your Cudy RE1200.
- Wait for the Signal LED on the RE1200 to turn solid on. This indicates a successful connection. It may take a few minutes.
- Once connected, you can unplug the RE1200 and relocate it to a suitable middle position between your router and the Wi-Fi dead zone. Ensure the Signal LED remains solid blue for optimal performance.

Image: Diagram illustrating the easy WPS setup process by pressing buttons on both the Wi-Fi router and the RE1200 extender.
Video: How to Set Up Your Cudy Range Extender by Pressing WPS Buttons
Video: This official Cudy video demonstrates the step-by-step process of setting up the range extender using the WPS buttons on both the router and the extender.
5.2. Web UI Setup (Alternative Method)
If WPS setup is not preferred or fails, you can configure the extender via its web management interface:
- Plug the RE1200 into a power outlet.
- Connect your computer or mobile device to the extender's default Wi-Fi network (e.g., "Cudy_RE1200" or similar, usually found on a label on the device). No password is required for the initial connection.
- Open a web browser and enter the default IP address (e.g., 192.168.10.1) or domain name (e.g., cudyre.net) provided in the quick installation guide.
- Follow the on-screen instructions to select your existing Wi-Fi network and enter its password.
- Once configured, the extender will broadcast an extended Wi-Fi network. For standard routers, the extended Wi-Fi name ends with "-EXTxx". For Cudy Mesh routers, the extended Wi-Fi name remains as the original.
6. Operating Modes
The Cudy RE1200 supports two main operating modes:
6.1. Range Extender Mode
In this mode, the RE1200 wirelessly connects to your existing router's Wi-Fi network and re-broadcasts it, extending the coverage area. This is ideal for eliminating Wi-Fi dead zones and improving signal strength in areas with weak coverage.
6.2. Access Point (AP) Mode
In AP mode, the RE1200 connects to your existing wired network (e.g., via an Ethernet cable from your router) and transforms it into a wireless network. This is useful for adding Wi-Fi capability to a wired-only network or creating a new Wi-Fi hotspot.
7. Optimal Placement Guidelines
For the best performance, the Cudy RE1200 should be placed in a location where it can receive a strong signal from your main router while also being able to extend coverage to the desired areas. The Signal LED indicator on the device will help you find the optimal spot:
- Blue Light: Indicates a strong connection to the main router. This is the ideal signal strength.
- Purple/Red Light: Indicates a weak signal. Try moving the extender closer to your main router until the LED turns blue.
Avoid placing the extender near large metal objects, concrete walls, or other devices that emit strong electromagnetic interference (e.g., microwaves, cordless phones).

Image: The Cudy RE1200 integrated into a Whole Home Mesh Wi-Fi System, demonstrating its role in expanding network coverage.
8. Specifications
| Feature | Detail |
|---|---|
| Model Number | RE1200 |
| Product Dimensions | 1.5 x 3.15 x 5.12 inches |
| Item Weight | 10.5 ounces |
| Wireless Communication Standard | 802.11ac, 802.11n |
| Data Transfer Rate | Up to 867 Megabits Per Second (5GHz) / 300 Megabits Per Second (2.4GHz) |
| Frequency Band Class | Dual-Band (2.4GHz & 5GHz) |
| Special Feature | Access Point Mode, Mesh Supported |
| Manufacturer | Shenzhen Cudy Technology Co., Ltd. |
| Date First Available | November 30, 2021 |
9. Troubleshooting
If you encounter issues with your Cudy RE1200, consider the following common troubleshooting steps:
- No Power: Ensure the extender is securely plugged into a working power outlet. Check if the Power LED is on.
- No Internet Access: Verify that your main router has an active internet connection.
- Weak Signal/Frequent Disconnections: Relocate the extender to a position closer to your main router. Observe the Signal LED; it should be blue for optimal performance. Avoid physical obstructions like thick walls or large metal objects.
- Setup Failure: If WPS setup fails, try the Web UI setup method. Ensure you are entering the correct Wi-Fi password for your main router.
- Forgot Web UI Password: If you cannot access the web management page, perform a factory reset by pressing and holding the Reset button for about 5-10 seconds while the device is powered on. This will revert all settings to default.
- Extended Network Not Visible: After setup, ensure your device is scanning for Wi-Fi networks. The extended network name will typically be your original Wi-Fi name followed by "-EXT" or "-EXT2G"/"-EXT5G" unless it's a Cudy Mesh system.
10. Warranty and Support
For warranty information, please refer to the warranty card included with your product or visit the official Cudy website. If you require further assistance or have technical questions, please contact Cudy customer support.
You can also find additional resources, including a PDF version of the installation manual, on the product's Amazon page or the Cudy support website.
For more information and support, visit: Cudy Official Store on Amazon