
1. Introduction
Thank you for choosing the Vikeri B1 Trail Camera. This manual provides detailed instructions for setting up, operating, and maintaining your camera to ensure optimal performance for wildlife monitoring, hunting, farm surveillance, and home security. Please read this manual thoroughly before using the camera.

Figure 1.1: Vikeri B1 Trail Camera
2. Product Overview
2.1 Components

Figure 2.1: Front view of the camera with key components labeled, including 40pcs No Glow IR-LEDs, Blue LED Indicator, 20 MP HD Lens, Red/Yellow LED Indicator, Center Motion Sensor, and Side Motion Sensors.
- 40pcs 940nm No Glow IR-LEDs: For invisible night vision illumination.
- 20 MP HD Lens: Captures high-resolution photos and 1520P videos.
- Motion Sensors (PIR): Central and side sensors for wide-angle motion detection.
- LED Indicators: Blue, Red/Yellow LEDs for status indication.
- Micro SD Card Slot: For memory storage (Micro SD card required, not standard SD).
- Micro USB Port: For connecting to a computer.
- Power Switch: To turn the camera On/Off.
- DC Port (6V 1.5A): For external power supply.
- Fixation Port: For mounting accessories.
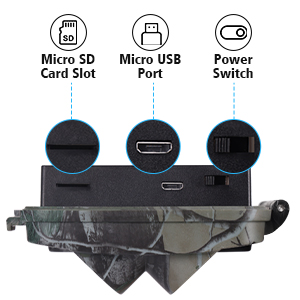
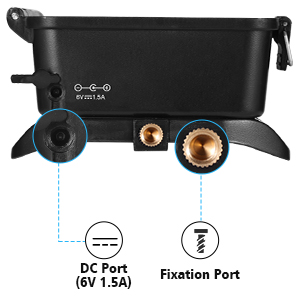
Figure 2.2: Top and bottom views showing the Micro SD card slot, Micro USB port, power switch, DC port, and fixation port.
2.2 Key Features
- High Resolution Imaging: Captures 20 MP still photos and 1520P video resolution.
- Fast Trigger Speed: Ultra-fast 0.1-second trigger speed to capture quick movements.
- Wide Angle Detection: 120° wide-angle PIR sensor with an 80 ft detection distance.
- Enhanced Night Vision: 65 ft night vision range with 40pcs 940nm no-glow infrared LEDs for discreet monitoring.
- Durable & Waterproof: IP66 waterproof rating ensures reliable operation in various weather conditions.
- Versatile Applications: Ideal for hunting, wildlife monitoring, farm surveillance, and home security.

Figure 2.3: Comparison of daytime and nighttime image quality, highlighting the 20 MP HD lens for daytime and 40pcs 940nm IR-LEDs for clear night vision.

Figure 2.4: Diagram illustrating the 120° wide-angle PIR detection and 80 ft detection distance.
3. Setup
3.1 Battery Installation
The Vikeri B1 Trail Camera requires 4 AA batteries (included). For optimal performance and longer battery life, it is recommended to use high-quality alkaline or rechargeable AA batteries.
- Open the camera casing by unlatching the side clips.
- Locate the battery compartment.
- Insert 4 AA batteries, ensuring correct polarity (+/-) as indicated inside the compartment.
- Close the battery compartment and secure the side clips.
3.2 Micro SD Card Installation
A Micro SD card (not included) is required to store photos and videos. The camera supports Micro SD cards. It is recommended to use a Class 10 or higher Micro SD card for best results.

Figure 3.1: Reminder to use a Micro SD card, not a standard SD card.
- With the camera powered off, locate the Micro SD card slot.
- Insert the Micro SD card into the slot with the gold contacts facing down until it clicks into place.
- To remove, gently push the card until it springs out.
Important: Ensure the camera is powered off before inserting or removing the Micro SD card to prevent data corruption.
3.3 Mounting the Camera
The camera can be mounted using the included strap or a tripod mount (not included).
- Strap Mounting: Thread the provided strap through the slots on the back of the camera and secure it around a tree or pole.
- Tripod Mounting: Use the 1/4"-20 threaded insert on the bottom of the camera to attach it to a tripod or other mounting accessory.
Position the camera at a height of approximately 3-6 feet (1-2 meters) from the ground, pointing towards the area you wish to monitor. Ensure there are no obstacles directly in front of the camera that could trigger false detections (e.g., swaying branches).
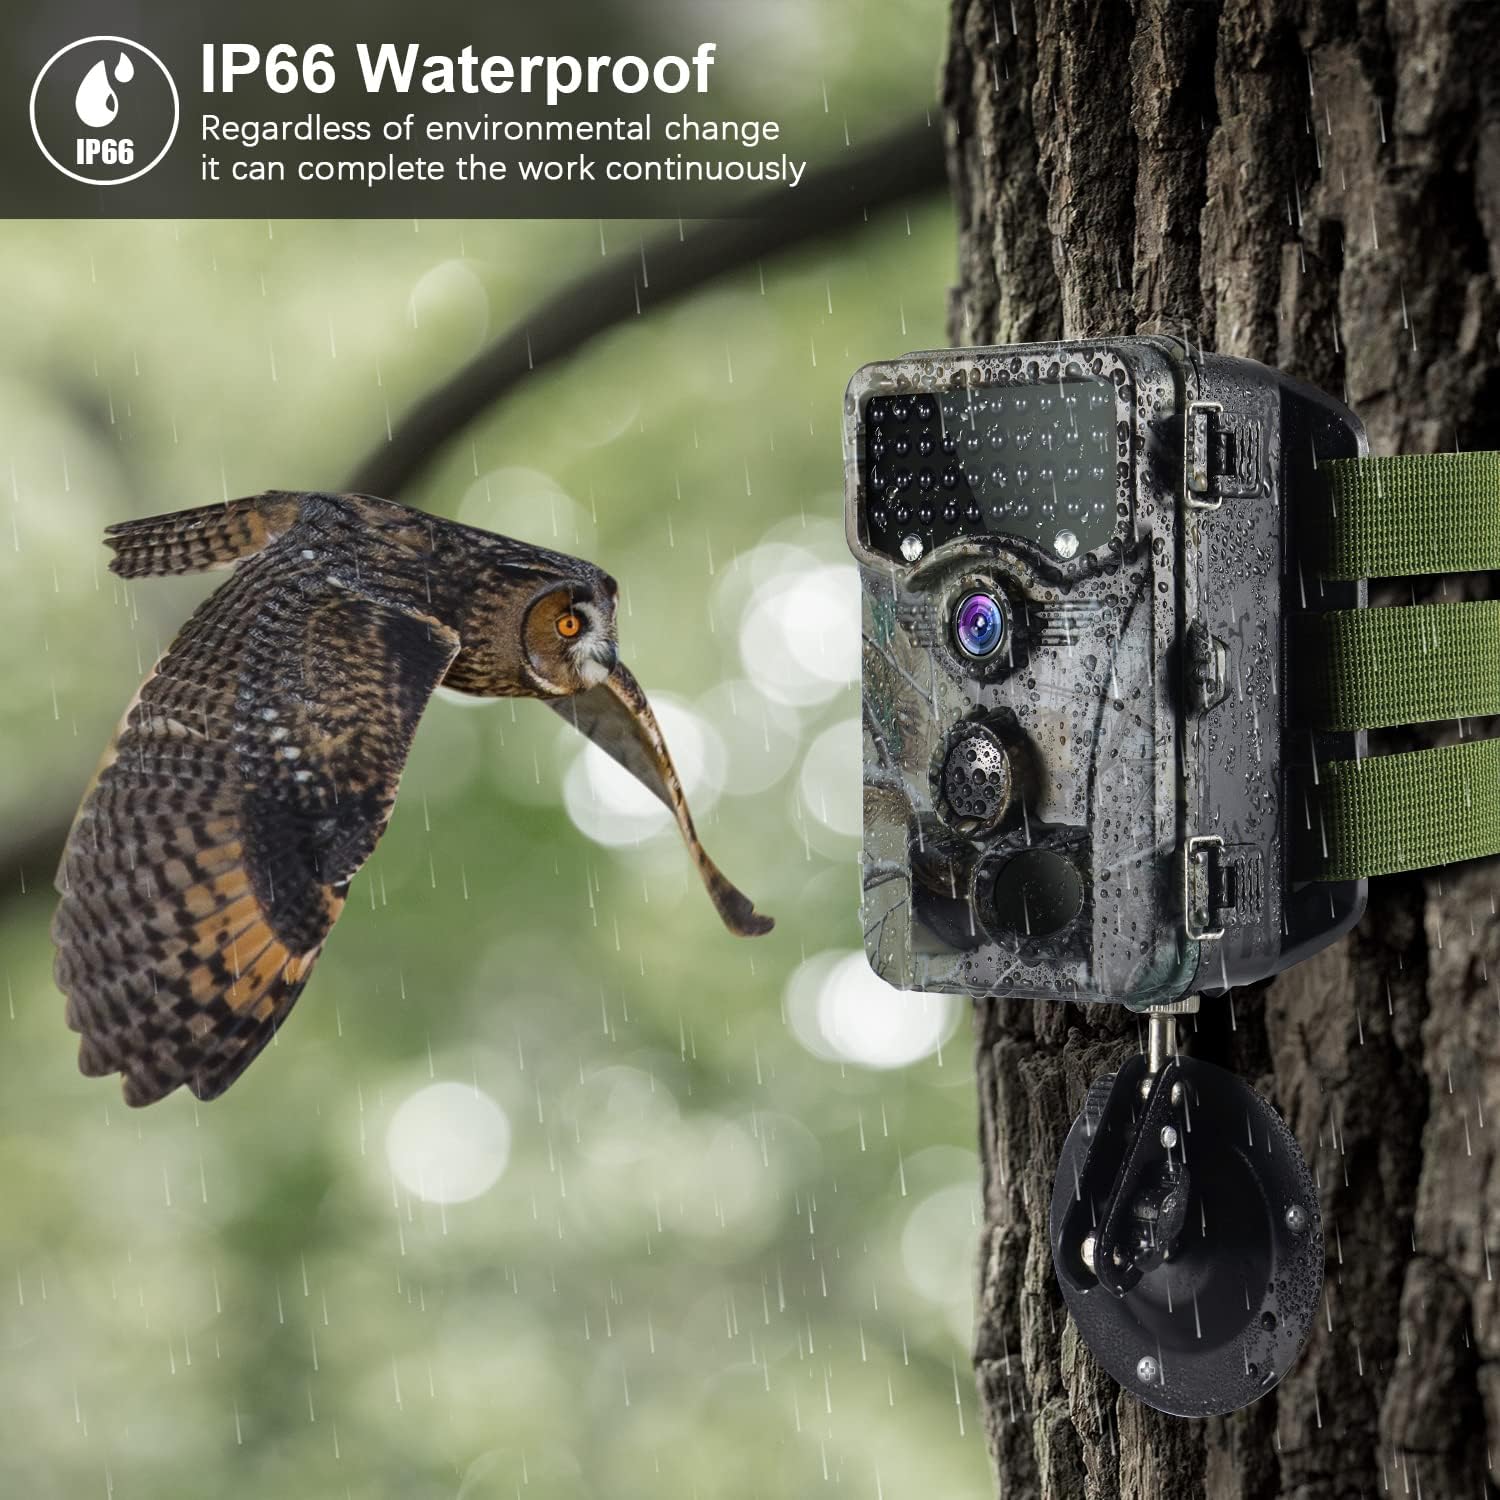
Figure 3.2: The camera mounted on a tree, demonstrating its IP66 waterproof capability in rainy conditions.
4. Operating Instructions
4.1 Powering On/Off
- To power on, slide the Power Switch to the "ON" position.
- To power off, slide the Power Switch to the "OFF" position.
4.2 Mode Selection
The camera typically has different operating modes, such as Photo, Video, and Photo+Video. Refer to the on-screen menu for specific mode selection and settings.
- Photo Mode: Captures still images when motion is detected.
- Video Mode: Records video clips when motion is detected.
- Photo+Video Mode: Captures a still image followed by a video clip when motion is detected.
4.3 Menu Settings
Access the camera's menu to configure various settings, including:
- Resolution: Set photo (up to 20MP) and video (up to 1520P) resolution.
- PIR Sensitivity: Adjust the sensitivity of the motion sensors (Low, Medium, High).
- Trigger Interval: Set the delay between detections.
- Video Length: Define the duration of video recordings (up to 10 minutes).
- Time Lapse: Enable time-lapse photography.
- Date & Time: Set the current date and time for timestamps on recordings.
- Format SD Card: Format the inserted Micro SD card. This will erase all data.
Navigate the menu using the control buttons (usually Up, Down, Left, Right, OK/Menu) on the camera's interface.
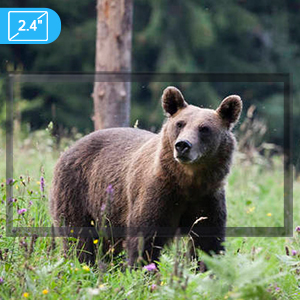
Figure 4.1: The camera features a built-in screen for reviewing images and configuring settings.
5. Maintenance
- Cleaning: Use a soft, dry cloth to clean the camera lens and PIR sensors. Avoid abrasive cleaners or solvents.
- Battery Replacement: Replace batteries when the low battery indicator appears or when performance degrades.
- SD Card Management: Regularly back up data from your Micro SD card and format it periodically to maintain optimal performance and prevent errors.
- Storage: When not in use for extended periods, remove batteries and store the camera in a cool, dry place.
6. Troubleshooting
| Problem | Possible Cause | Solution |
|---|---|---|
| Camera not turning on. | Low or dead batteries; incorrect battery polarity. | Replace batteries; ensure correct polarity. |
| No photos/videos captured. | SD card full or corrupted; PIR sensitivity too low; camera in wrong mode; no motion detected. | Format/replace SD card; increase PIR sensitivity; check camera mode; ensure camera is in an active area. |
| Poor image/video quality at night. | IR LEDs obstructed; object too far or too close. | Clear obstructions from IR LEDs; adjust camera distance to subject. |
| Excessive false triggers. | PIR sensitivity too high; swaying branches or grass in detection zone; direct sunlight. | Decrease PIR sensitivity; clear detection zone; reposition camera. |
| Cannot connect to computer. | Faulty USB cable; driver issue. | Try a different USB cable; ensure camera is in USB mode (if applicable); check computer's device manager. |
7. Specifications
| Feature | Detail |
|---|---|
| Photo Resolution | Up to 20 MP |
| Video Resolution | 1520P |
| Trigger Speed | 0.1 seconds |
| PIR Detection Angle | 120 degrees |
| Detection Distance | 80 ft |
| Night Vision Range | 65 ft |
| IR LEDs | 40pcs 940nm No Glow Infrared LEDs |
| Water Resistance | IP66 |
| Storage | Micro SD Card (not included) |
| Power Source | 4 AA Batteries (included) or 6V 1.5A DC external power |
| Dimensions | 5.4 x 3.5 x 1.8 inches |
| Weight | 1.37 pounds |
8. Warranty and Support
For warranty information and technical support, please refer to the contact details provided with your purchase or visit the official Vikeri website. Keep your purchase receipt as proof of purchase for warranty claims.
Online Support: Visit the Vikeri Store on Amazon
9. Usage Scenarios
The Vikeri B1 Trail Camera is designed for a variety of outdoor monitoring applications:

Figure 9.1: Common applications for the Vikeri B1 Trail Camera, including hunting, wildlife monitoring, farm monitoring, and home security.
- Hunting: Monitor game trails and animal activity for hunting preparation.
- Wildlife Monitoring: Observe and record local wildlife behavior in natural habitats.
- Farm Monitoring: Keep an eye on livestock, property boundaries, or potential intruders.
- Home Security: Provide discreet surveillance for your property, especially in remote areas.


