
1. Introduction
This manual provides detailed instructions for the setup, operation, maintenance, and troubleshooting of your j5create USB-C 4K HDMI Docking Station, model JCD533. Please read this manual thoroughly before using the device to ensure proper functionality and to prevent damage.
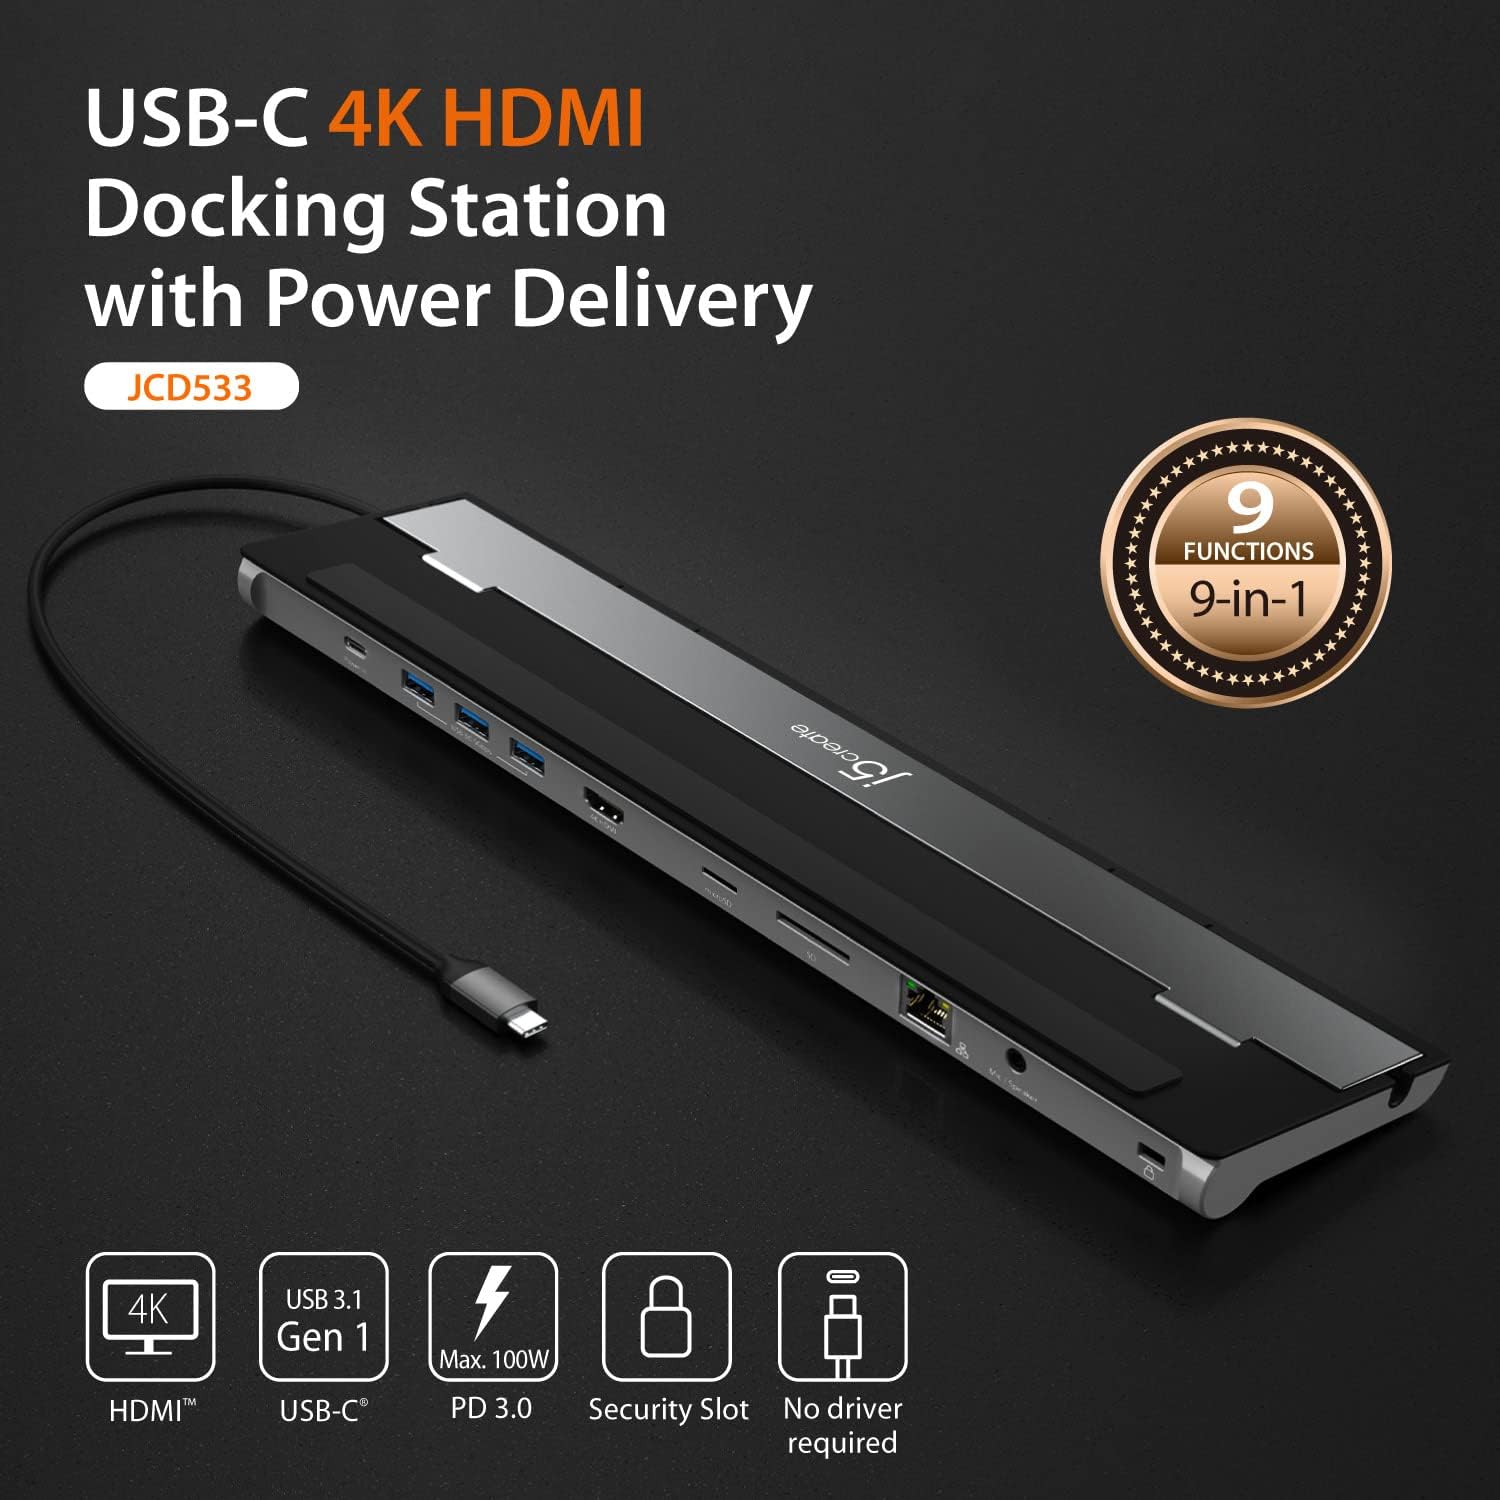
The j5create JCD533 is a 9-in-1 docking station designed to expand the connectivity of your USB-C enabled laptop, including MacBooks and Windows laptops. It offers a single 4K HDMI display output, multiple USB-A ports, a card reader, Gigabit Ethernet, a combo audio jack, and up to 100W Power Delivery pass-through.
2. Package Contents
Verify that all items are present in the package:
- j5create USB-C 4K HDMI Docking Station (JCD533)
- Quick Installation Guide (if applicable, not provided in input)
Note: A USB-C power adapter is not included and must be purchased separately for power delivery functionality.
3. Key Features
- 9-in-1 Connectivity: Integrates essential ports into one compact device.
- 4K HDMI Output: Supports a single 4K display for extended or mirrored desktop.
- USB 3.0 Ports: Three SuperSpeed USB 5Gbps Type-A ports for peripherals.
- Power Delivery (PD) 100W: Charges your laptop and powers connected peripherals via USB-C (adapter not included).
- Gigabit Ethernet: Provides stable and fast wired network connectivity.
- Card Reader: Direct access to SD and microSD memory cards.
- Combo Audio Jack: Connect headphones or a microphone.
- Cable Storage: Double-sided cable storage compartment for organization.
- Heat Dissipation Design: Elevated design assists with heat elimination.
- Driver-Free: No additional drivers required for most operating systems.
4. Product Overview
Familiarize yourself with the ports and components of the JCD533 docking station.


5. Setup Instructions
Follow these steps to set up your j5create JCD533 docking station:
- Connect to Laptop: Plug the integrated USB-C cable from the docking station into an available USB-C port on your laptop.

Image 5.1: The JCD533 docking station connected to a laptop via its integrated USB-C cable, with an external monitor also connected via HDMI. - Connect Power (Optional, for PD): If you require laptop charging or power for high-power peripherals, connect your laptop's USB-C power adapter (up to 100W) to the "Power In" USB-C port on the docking station.
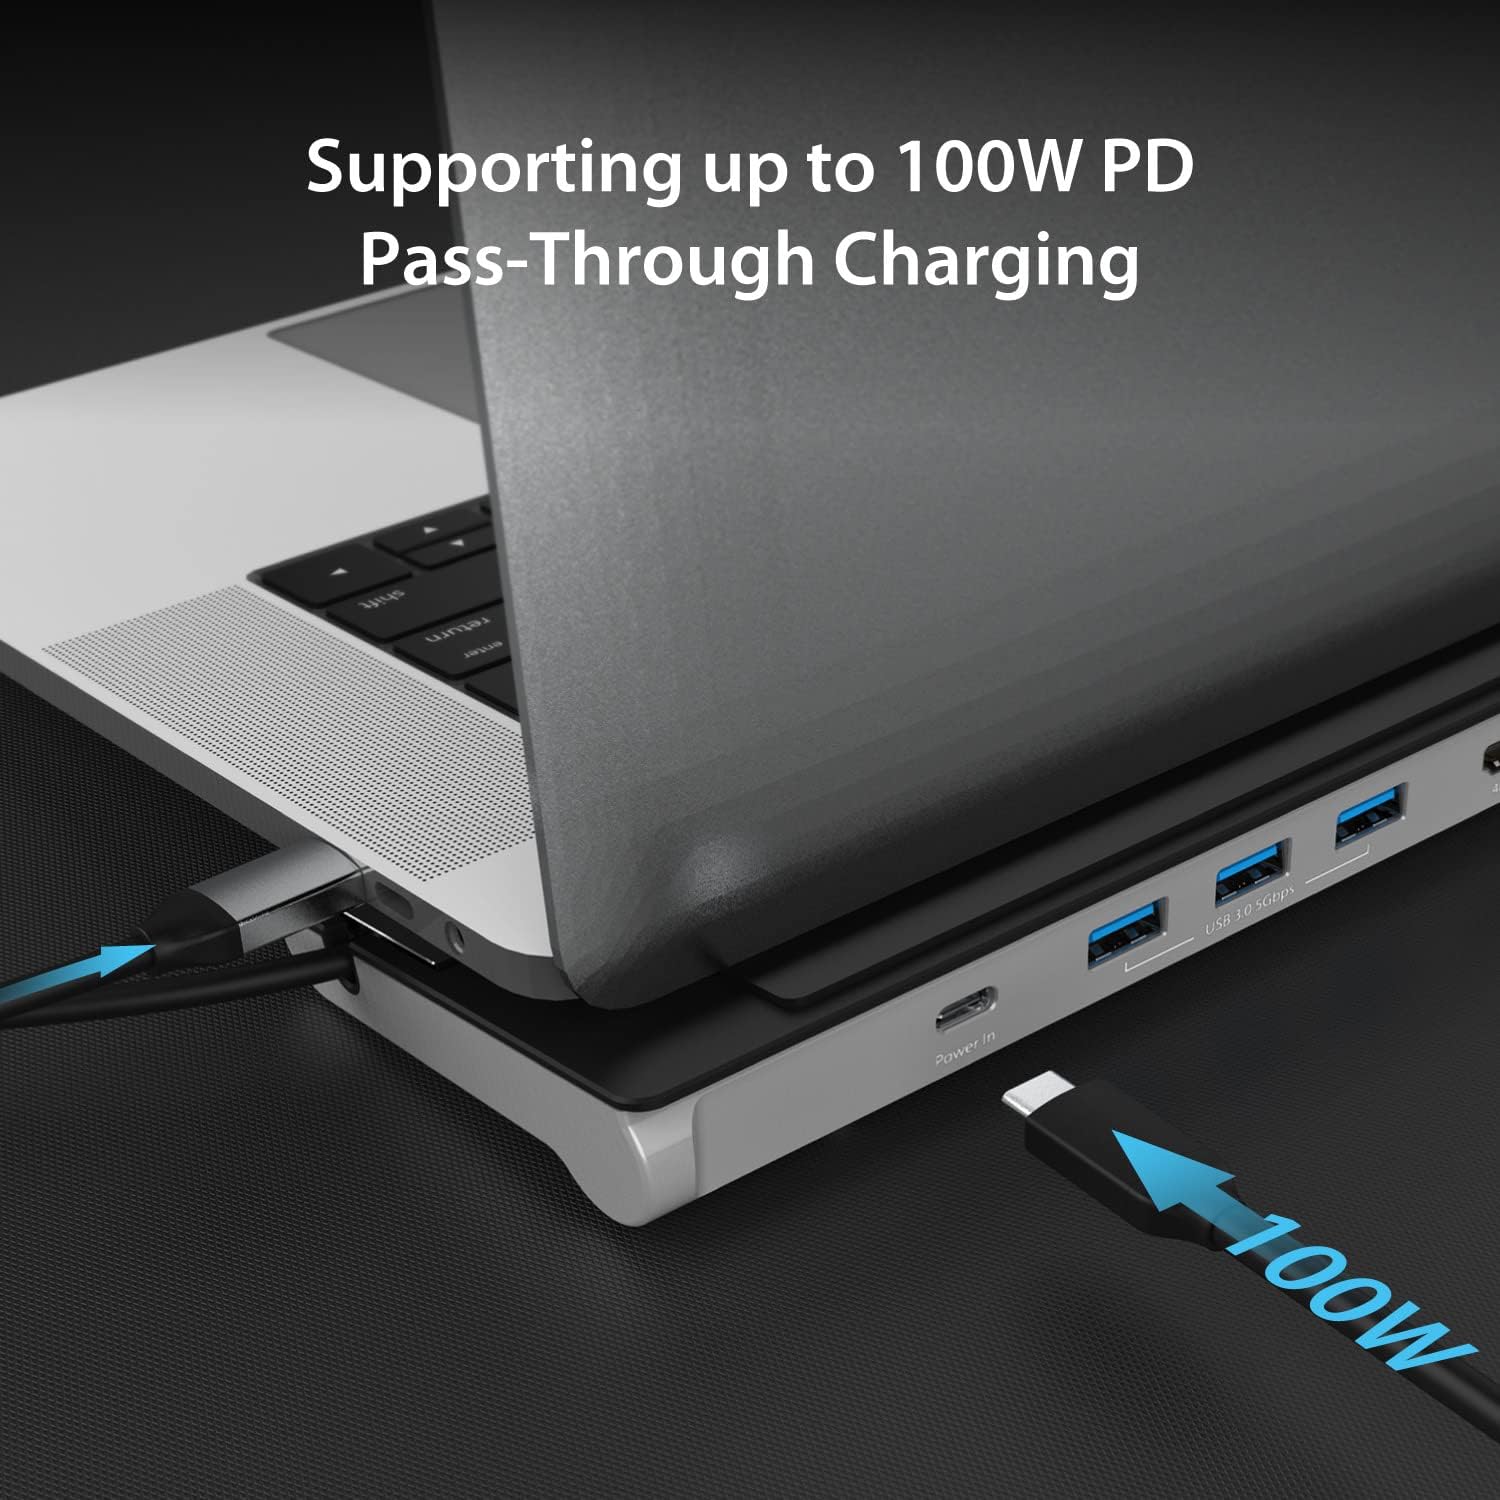
Image 5.2: A USB-C power adapter connected to the "Power In" port of the JCD533, illustrating 100W Power Delivery pass-through to the connected laptop. - Connect HDMI Display: Use an HDMI cable to connect your external monitor to the 4K HDMI port on the docking station.
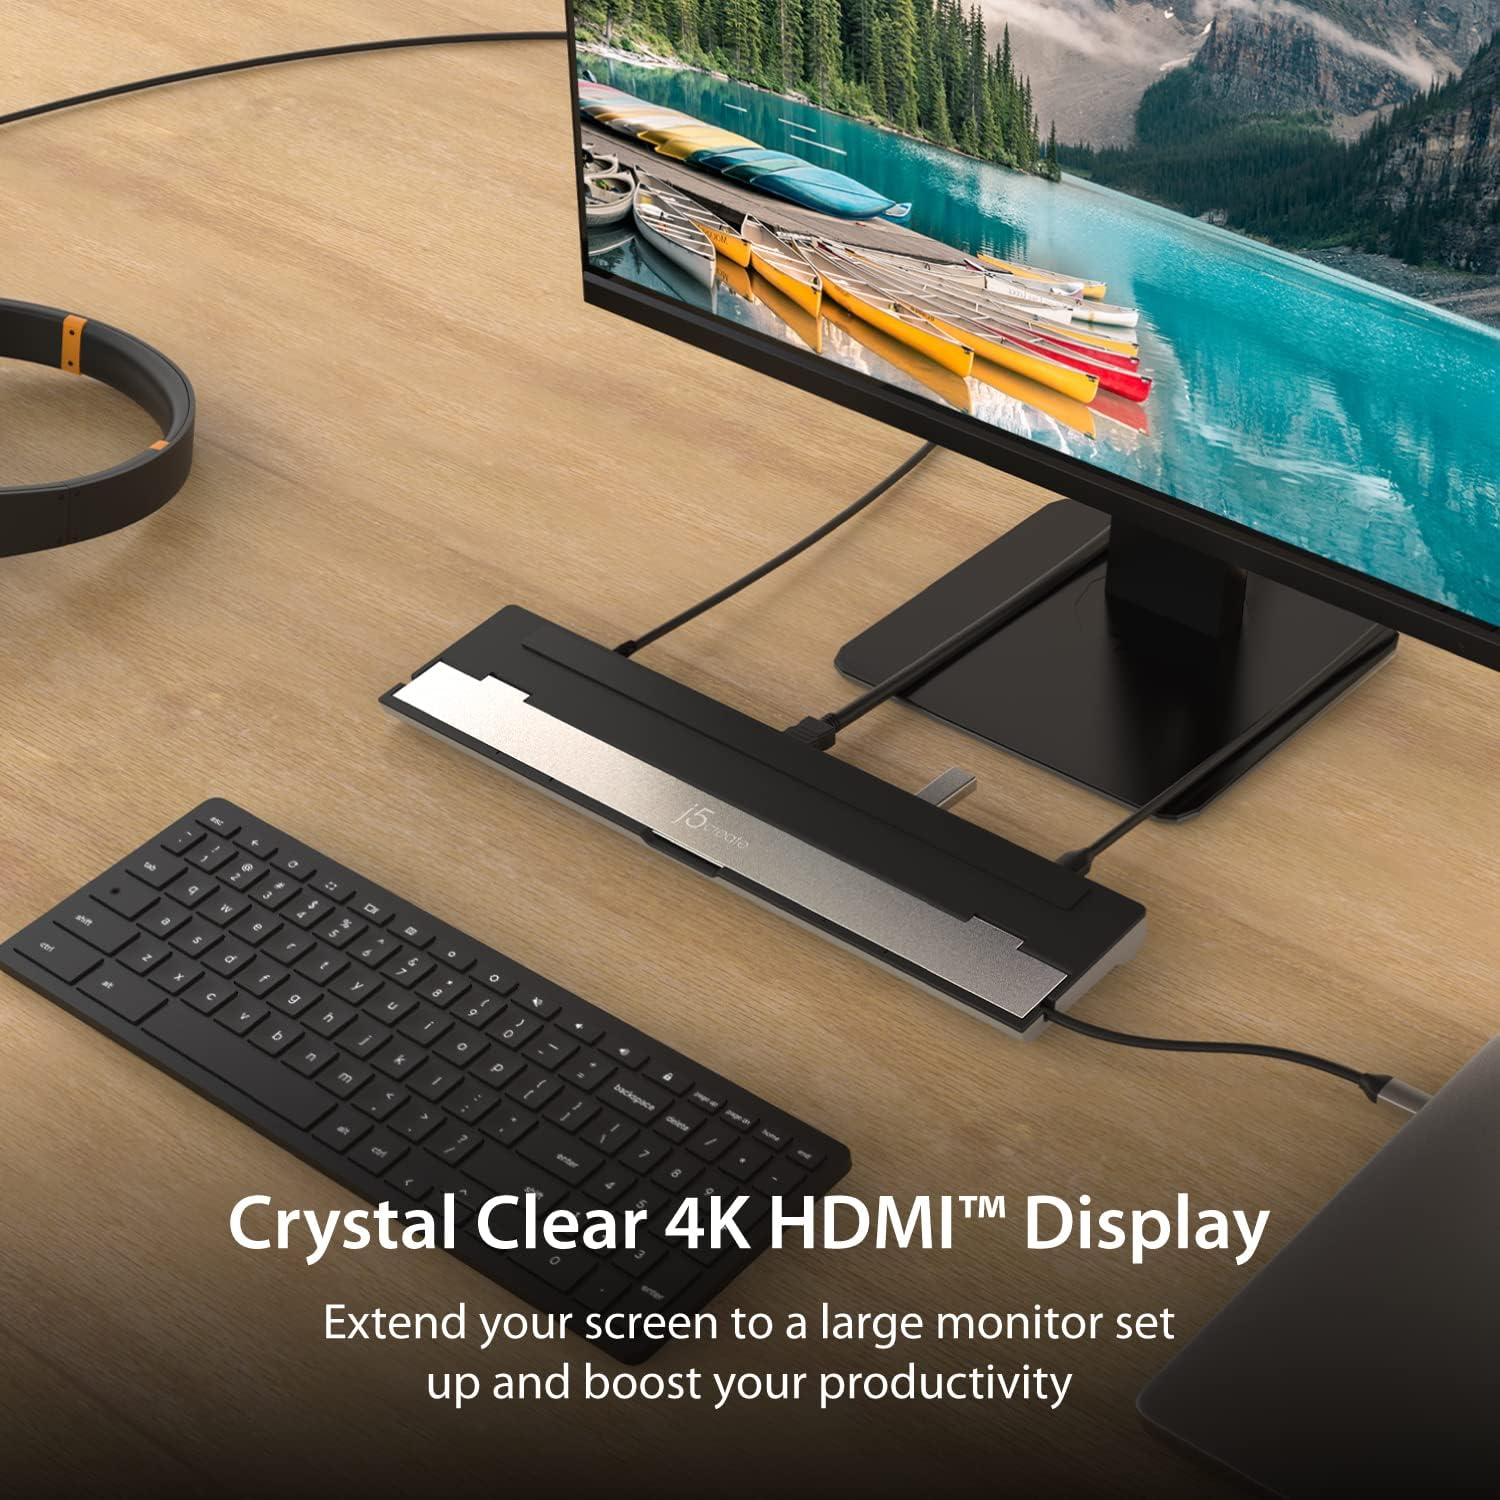
Image 5.3: The JCD533 docking station facilitating a 4K HDMI display connection, extending the laptop's screen to a larger monitor. - Connect USB Peripherals: Plug your USB devices (e.g., keyboard, mouse, external hard drive) into the USB 3.0 Type-A ports.

Image 5.4: Close-up view of the JCD533 with multiple USB devices, such as a USB drive and a USB cable, connected to its SuperSpeed USB 5Gbps Type-A ports. - Connect Ethernet: For a wired network connection, plug an Ethernet cable into the Gigabit Ethernet port.
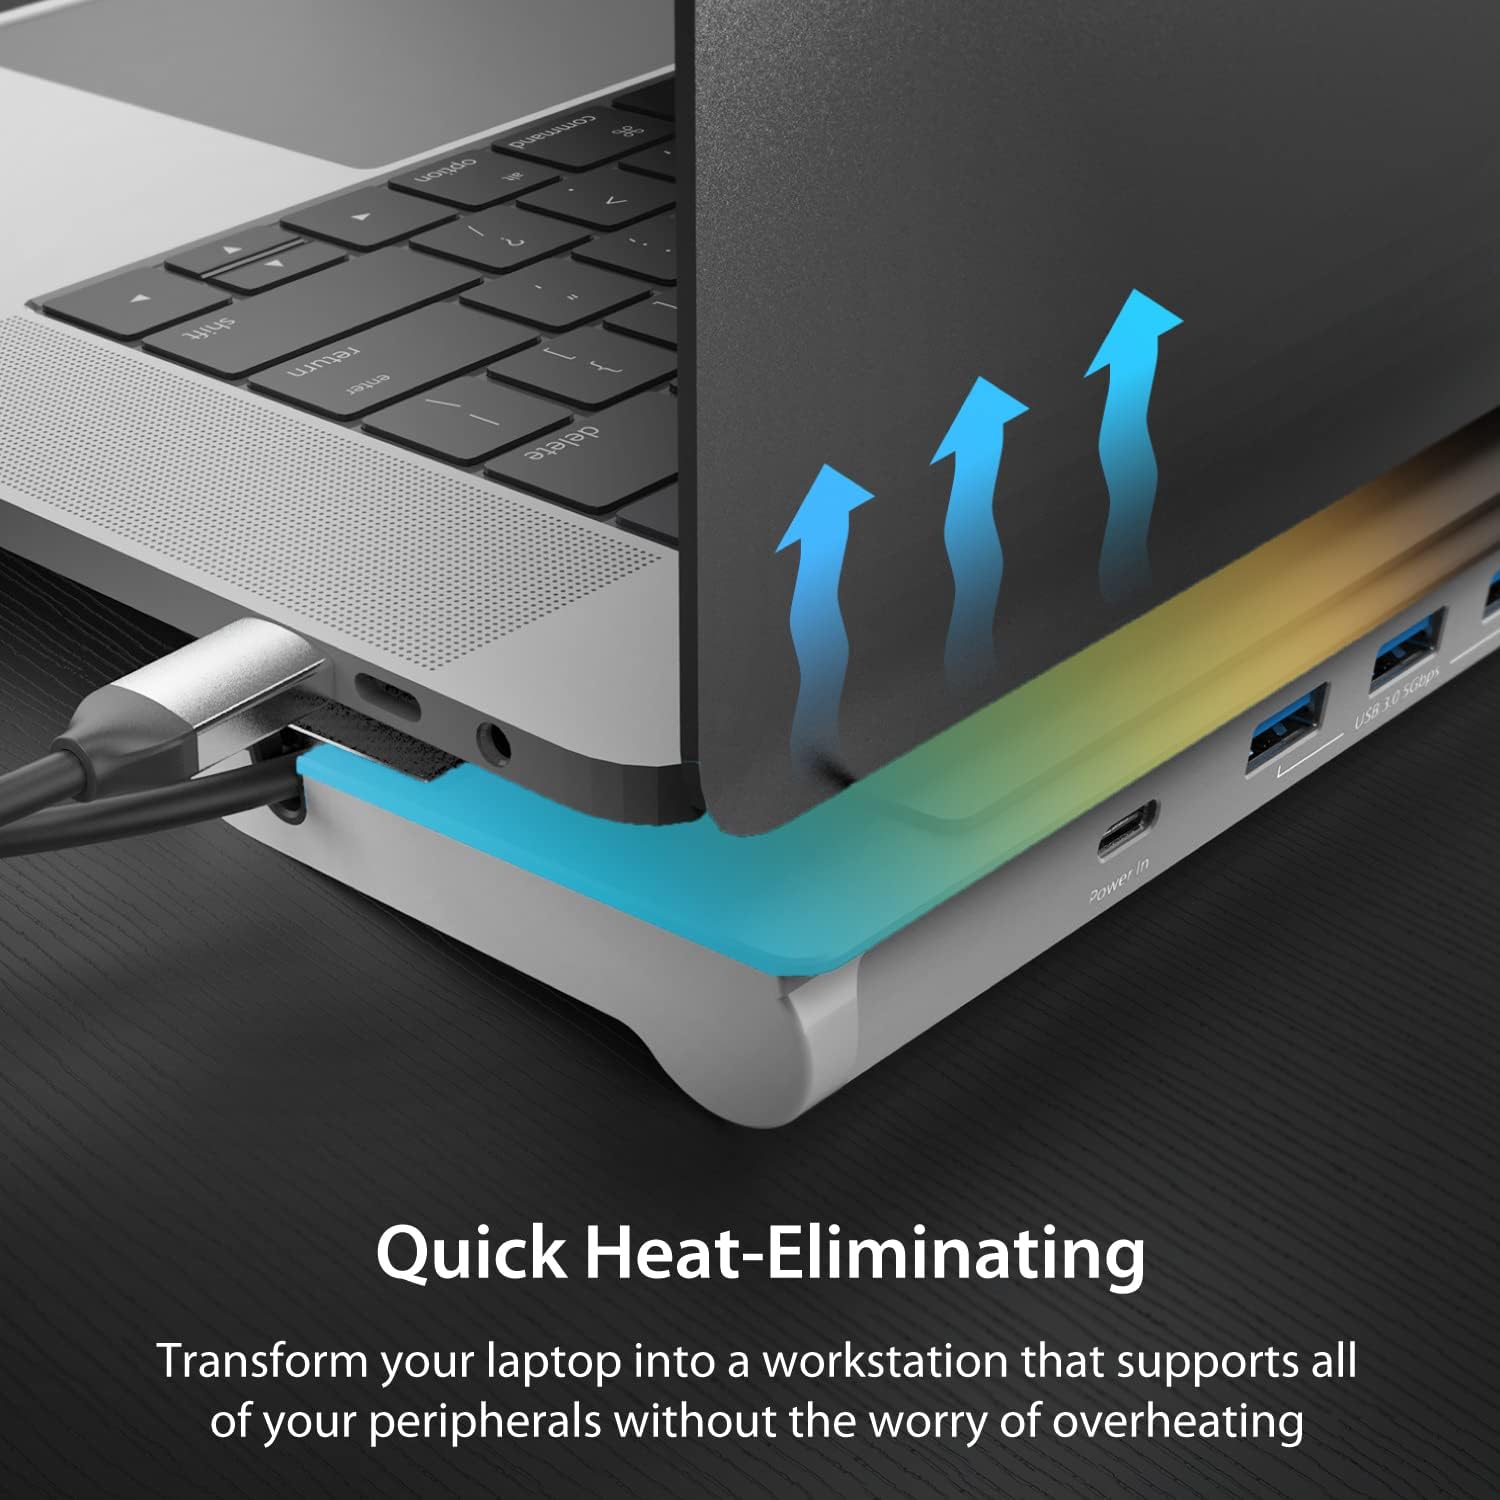
Image 5.5: An RJ45 Ethernet cable connected to the Gigabit Ethernet port of the JCD533, indicating stable network connectivity. - Insert Memory Cards: Insert SD or microSD cards into the corresponding slots for data transfer.
- Connect Audio Devices: Plug your headphones or microphone into the 3.5mm combo audio jack.
The docking station is designed for plug-and-play operation, requiring no driver installation for basic functionality on compatible operating systems.
6. Operating Instructions
6.1 Display Configuration
After connecting your external display via HDMI, your operating system should automatically detect it. You can configure display settings (e.g., extend, duplicate, resolution) through your computer's display settings:
- Windows: Right-click on the desktop, select "Display settings."
- macOS: Go to "System Settings" (or "System Preferences"), then "Displays."
6.2 Power Delivery
When a USB-C power adapter is connected to the docking station's "Power In" port, it will pass through power to your connected laptop and provide power to the docking station's ports. Ensure your power adapter meets the wattage requirements of your laptop for optimal charging.
6.3 Data Transfer
The USB 3.0 ports support data transfer speeds up to 5Gbps. The SD and microSD card slots allow for direct access to memory card contents. Ensure cards are inserted correctly into their respective slots.
6.4 Network Connection
The Gigabit Ethernet port provides a stable wired network connection. Once connected, your operating system should automatically configure the network interface.
7. Maintenance and Care
- Keep the docking station in a dry environment, away from liquids and extreme temperatures.
- Clean the device with a soft, dry cloth. Avoid using harsh chemicals or abrasive cleaners.
- Do not attempt to disassemble or repair the device yourself. Refer to qualified service personnel.
- Utilize the integrated cable storage to protect the USB-C cable when not in use or during transport.

Image 7.1: The JCD533 docking station with its integrated USB-C cable neatly stored within the double-sided compartment, demonstrating the cable management feature. - The elevated design aids in heat dissipation. Ensure adequate airflow around the device.

Image 7.2: An illustration showing airflow (blue arrows) underneath a laptop placed on the elevated JCD533 docking station, highlighting its heat-eliminating design.
8. Troubleshooting
- No display output:
- Ensure the USB-C cable from the docking station is securely connected to your laptop.
- Verify the HDMI cable is properly connected to both the docking station and the monitor.
- Check your laptop's display settings to ensure the external monitor is detected and configured correctly.
- Try a different HDMI cable or monitor to rule out cable/monitor issues.
- Ensure your laptop's USB-C port supports DisplayPort Alternate Mode (Alt Mode).
- USB devices not recognized:
- Reconnect the USB device to a different port on the docking station.
- Ensure the docking station is receiving sufficient power, especially for high-power USB devices. Connect a USB-C power adapter if not already.
- Try connecting the USB device directly to your laptop to confirm functionality.
- Laptop not charging via docking station:
- Ensure a compatible USB-C power adapter is connected to the "Power In" port of the docking station.
- Verify that your laptop's USB-C port supports Power Delivery.
- Check the wattage of your power adapter; it must be sufficient for your laptop's charging requirements.
- Ethernet connection issues:
- Ensure the Ethernet cable is securely connected to both the docking station and your router/modem.
- Check your laptop's network settings.
- Try a different Ethernet cable.
- Docking station feels warm:
- It is normal for the docking station to generate some heat during operation, especially when multiple ports are in use or when charging a laptop.
- Ensure the device has adequate ventilation and is not covered. The elevated design helps with heat dissipation.
9. Specifications
| Feature | Detail |
|---|---|
| Model Number | JCD533 |
| Host Interface | USB-C |
| Video Output | 1x HDMI (4K @ 30Hz) |
| USB Ports | 3x USB 3.0 Type-A (5Gbps) |
| Power Delivery | Up to 100W Pass-Through (via USB-C Power In port) |
| Ethernet | Gigabit Ethernet (RJ45) |
| Card Reader | SD / microSD |
| Audio | 1x 3.5mm Combo Audio Jack (Mic/Speaker) |
| Dimensions | 13.78 x 3.25 x 0.92 inches (350 x 82.5 x 23.3 mm) |
| Weight | 14.1 ounces (401 grams) |
| Compatibility | macOS, Windows USB-C Laptops |
10. Warranty and Support
For warranty information and technical support, please visit the official j5create website or contact their customer service. The manufacturer's contact information is typically found on the product packaging or their official website.
Manufacturer: j5create
Contact: service@j5create.com, Tel: 1-888-988-0488
Website: www.j5create.com
Note: Features and specifications are subject to change without notice.
11. Safety Information
WARNING: This product may contain chemicals known to the State of California to cause cancer and reproductive harm. For more information, visit www.P65Warnings.ca.gov.
Always handle electronic devices with care. Do not expose to water or extreme temperatures. Discontinue use if the device is damaged or malfunctions.


