1. Setup Guide
1.1 Unboxing and Initial Preparation
Carefully remove the printer from its packaging. Ensure all protective tapes and materials are removed from the exterior and interior of the printer. Verify that all included accessories, such as the power cord and ink bottles, are present.

Image: Front view of the Epson EcoTank L4260 printer with paper in the input tray.
1.2 Ink Filling
The EcoTank L4260 utilizes an integrated ink tank system. Open the ink tank unit cover. Carefully open each ink tank cap. Align the correct color ink bottle with its corresponding tank and insert it. The spill-free design ensures ink flows only into the correct tank and stops automatically when full. Close the caps and the unit cover once all tanks are filled.

Image: Overview of the Epson EcoTank L4260 printer highlighting its features, including the ink tank system and Wi-Fi connectivity.
1.3 Power On and Initial Settings
Connect the power cord to the printer and a wall outlet. Press the power button to turn on the printer. Follow the on-screen instructions on the LCD display to select your language, country/region, date, and time. The printer will then begin the initial ink charging process, which may take several minutes.
1.4 Paper Loading
Open the paper support and pull out the output tray. Load A4 plain paper into the rear paper feed slot, ensuring the print side is facing up. Adjust the edge guides to fit the paper width. The printer supports up to 100 sheets of plain paper.

Image: Front view of the Epson EcoTank L4260 printer with the paper output tray extended.
1.5 Software Installation
For full functionality, install the printer software on your computer or mobile device. Visit the Epson support website for your model (L4260) to download the latest drivers and utilities. The Epson Smart Panel app is recommended for seamless setup and control from smartphones and tablets.
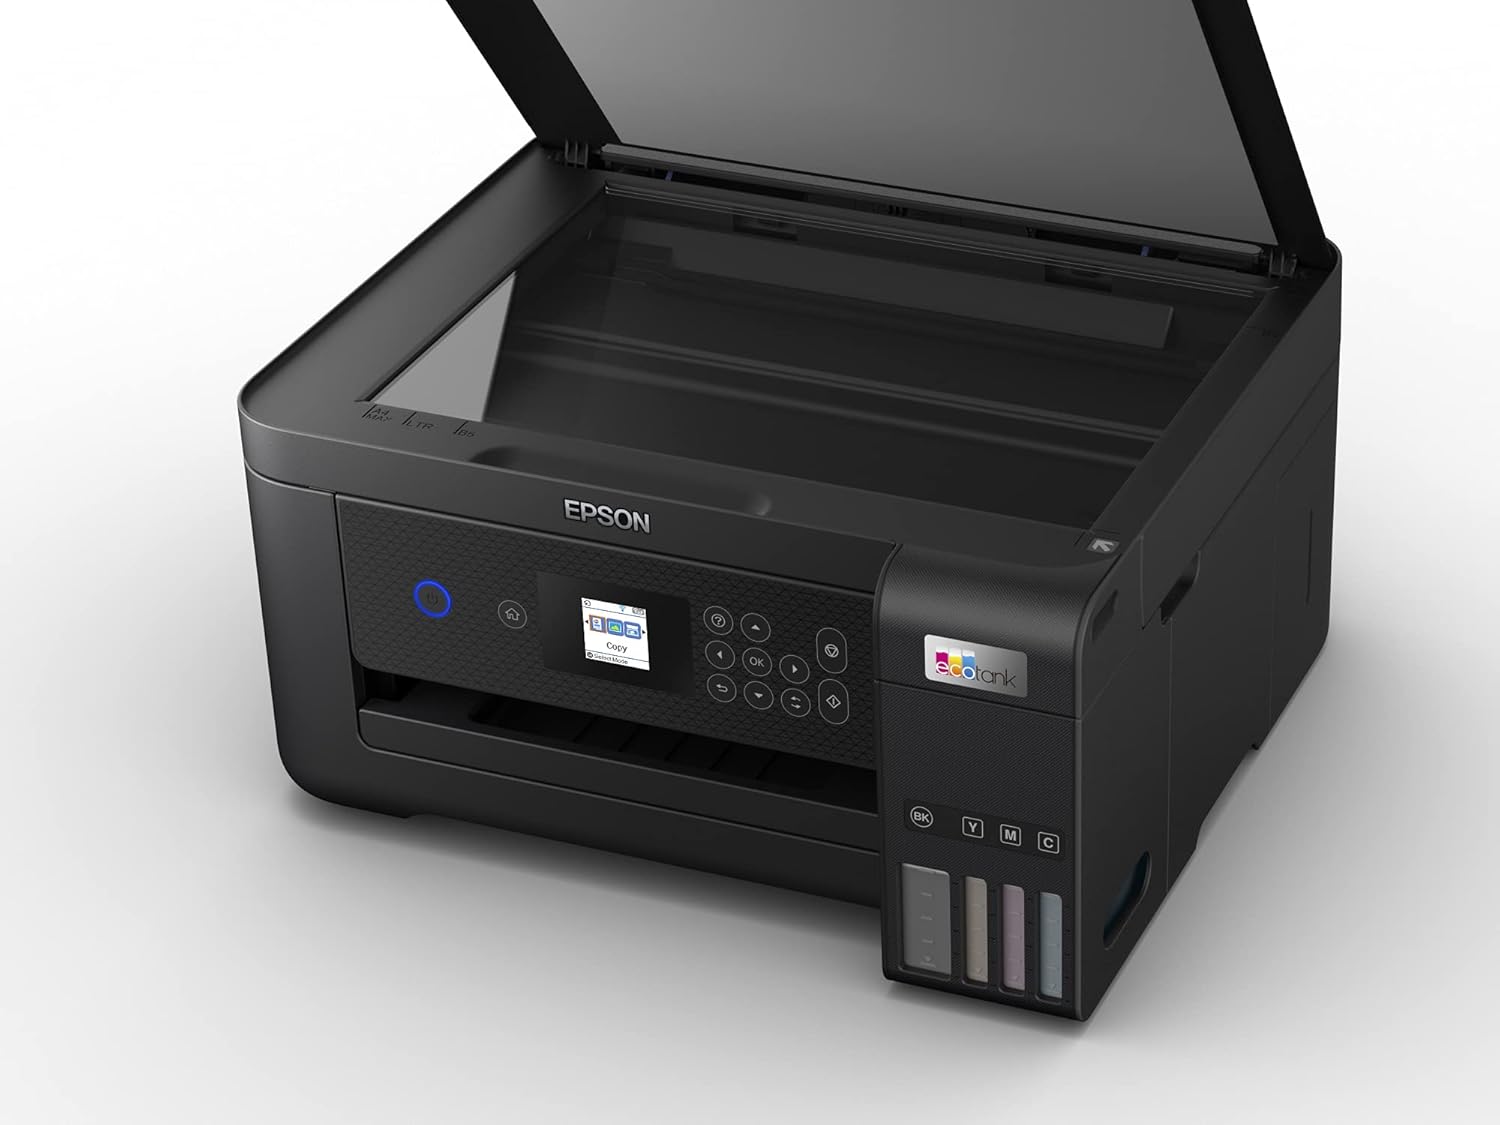
Image: A smartphone displaying the Epson Smart Panel app, demonstrating direct printing from a mobile device to the EcoTank L4260 printer.
2. Operating Instructions
2.1 Printing
To print, ensure the printer is powered on and connected to your device (via USB or Wi-Fi). Open the document or image you wish to print on your computer or mobile device. Select the print option from the application. Choose the Epson EcoTank L4260 as your printer. Adjust print settings such as paper size, print quality, and color/monochrome. The L4260 supports auto-duplex printing for automatic double-sided prints.

Image: The Epson EcoTank L4260 printer in the process of printing a document, with paper emerging from the output tray.
2.2 Copying
Place the document face-down on the scanner glass. Close the scanner lid. On the printer's LCD panel, select the "Copy" function. You can adjust settings such as the number of copies, paper size, and quality. Press the black or color copy button to start copying.

Image: The Epson EcoTank L4260 printer with a document placed on the scanner glass, ready for copying.
2.3 Scanning
Place the document or photo face-down on the scanner glass. Close the scanner lid. On the printer's LCD panel, select the "Scan" function. You can choose to scan to a computer, to a cloud service, or to a memory device (if supported). Adjust scan settings like resolution and file type as needed. Initiate the scan from the printer or your computer's scanning software.

Image: The Epson EcoTank L4260 printer with its scanner lid open, showing items placed on the scanner glass.
2.4 Wireless Connectivity
The EcoTank L4260 supports Wi-Fi and Wi-Fi Direct. To connect to a Wi-Fi network, navigate to the network settings on the printer's LCD panel, select your network, and enter the password. For Wi-Fi Direct, enable the feature on the printer and connect your device directly to the printer's Wi-Fi Direct network without a router.
3. Maintenance
3.1 Nozzle Check
If print quality declines (e.g., missing lines, incorrect colors), perform a nozzle check. From the printer's maintenance menu, select "Nozzle Check." The printer will print a pattern. Examine the pattern for any gaps or missing segments. If imperfections are present, proceed with a head cleaning.
3.2 Print Head Alignment
If prints appear blurry or misaligned, perform a print head alignment. From the maintenance menu, select "Print Head Alignment." The printer will print alignment patterns. Follow the on-screen instructions to select the best pattern for each alignment type to optimize print quality.
3.3 Ink Refilling
When ink levels are low, refill the tanks using genuine Epson ink bottles. The unique key-lock bottle design ensures that each color ink bottle fits only its corresponding tank, preventing accidental misfilling. Simply open the tank cap, insert the bottle, and let it fill automatically.
3.4 Cleaning
Regularly clean the exterior of the printer with a soft, damp cloth. For the scanner glass, use a lint-free cloth and a small amount of glass cleaner. Avoid abrasive materials or excessive liquid that could damage the components.
4. Troubleshooting
4.1 Common Issues
- Printer Not Responding: Check power connection, USB cable, or Wi-Fi connection. Restart both the printer and your computer/device.
- Poor Print Quality: Perform a nozzle check and head cleaning. Ensure genuine Epson ink is used and ink tanks are adequately filled.
- Paper Jams: Carefully remove any jammed paper from the paper feed, output tray, or internal areas as indicated by the printer's display.
- Connectivity Problems: Verify Wi-Fi network settings. For Wi-Fi Direct, ensure your device is connected to the printer's direct network.
4.2 Support and Resources
For more detailed troubleshooting steps or technical assistance, please refer to the comprehensive online user guide available on the official Epson support website. You can also scan the QR code below for direct access to support resources.

Image: QR code for quick access to Epson support and troubleshooting information.
For additional support, visit: Epson Support
5. Specifications
| Feature | Detail |
|---|---|
| Product Dimensions | 13.66"D x 14.76"W x 7.36"H |
| Printing Technology | Inkjet |
| Printer Output | Color |
| Max Print Speed (Monochrome) | 33 ppm |
| Max Print Speed (Color) | 15 ppm |
| Max Color Print Resolution | 5760 x 1440 dpi |
| Max Black and White Print Resolution | 5760 x 1440 dpi |
| Scanner Type | Flatbed |
| Max Copy Speed (Black & White) | 7.7 ppm |
| Connectivity Technology | USB, Wi-Fi |
| Max Input Sheet Capacity | 100 sheets |
| Dual-sided printing | Yes (Automatic) |
| Power Consumption | 12 Watts (On-mode) |
| Included Components | Ink Bottles |
6. Warranty and Support
6.1 Product Warranty
The Epson EcoTank L4260 comes with a warranty of 2 years or 30,000 pages, whichever comes first. Please retain your proof of purchase for warranty claims. For full warranty details, refer to the documentation included with your product or visit the official Epson website.
6.2 Customer Support
For technical support, product registration, or to find service centers, please visit the Epson support website. Online resources include FAQs, drivers, firmware updates, and troubleshooting guides. You may also contact Epson customer service directly for personalized assistance.


