1. Introduction
This manual provides comprehensive instructions for the installation, operation, and maintenance of your KarParts360 Heater Control Valve. This product is designed as a direct replacement for the original equipment manufacturer (OEM) part, ensuring proper fit and function for compatible vehicles. Please read this manual thoroughly before beginning any installation or service to ensure safe and correct usage.
The heater control valve regulates the flow of engine coolant to the heater core, controlling the temperature of the air entering the vehicle's cabin. A properly functioning heater control valve is essential for effective climate control.
2. Safety Information
WARNING: Automotive repair can be dangerous. Always exercise caution and follow proper safety procedures.
- Always wear appropriate personal protective equipment (PPE), including safety glasses and gloves.
- Ensure the vehicle is turned off, cooled down, and properly supported on jack stands before working underneath it.
- Disconnect the vehicle's battery before performing any electrical work.
- Be aware that engine coolant can be hot and under pressure. Allow the engine to cool completely before draining coolant or disconnecting hoses.
- Dispose of old coolant and parts responsibly according to local regulations.
- If you are unsure about any step, consult a qualified automotive technician.
This product is a direct replacement aftermarket product. It is not OEM and is neither manufactured nor sold by the vehicle manufacturer listed. We are not affiliated with the vehicle manufacturer.
3. Package Contents
Upon opening the package, please verify that all components are present and undamaged.
- 1 x KarParts360 Heater Control Valve (Model: CLX-M0-USA-RF38310003-CL360A73)
- Accessories (if applicable, as per product description)
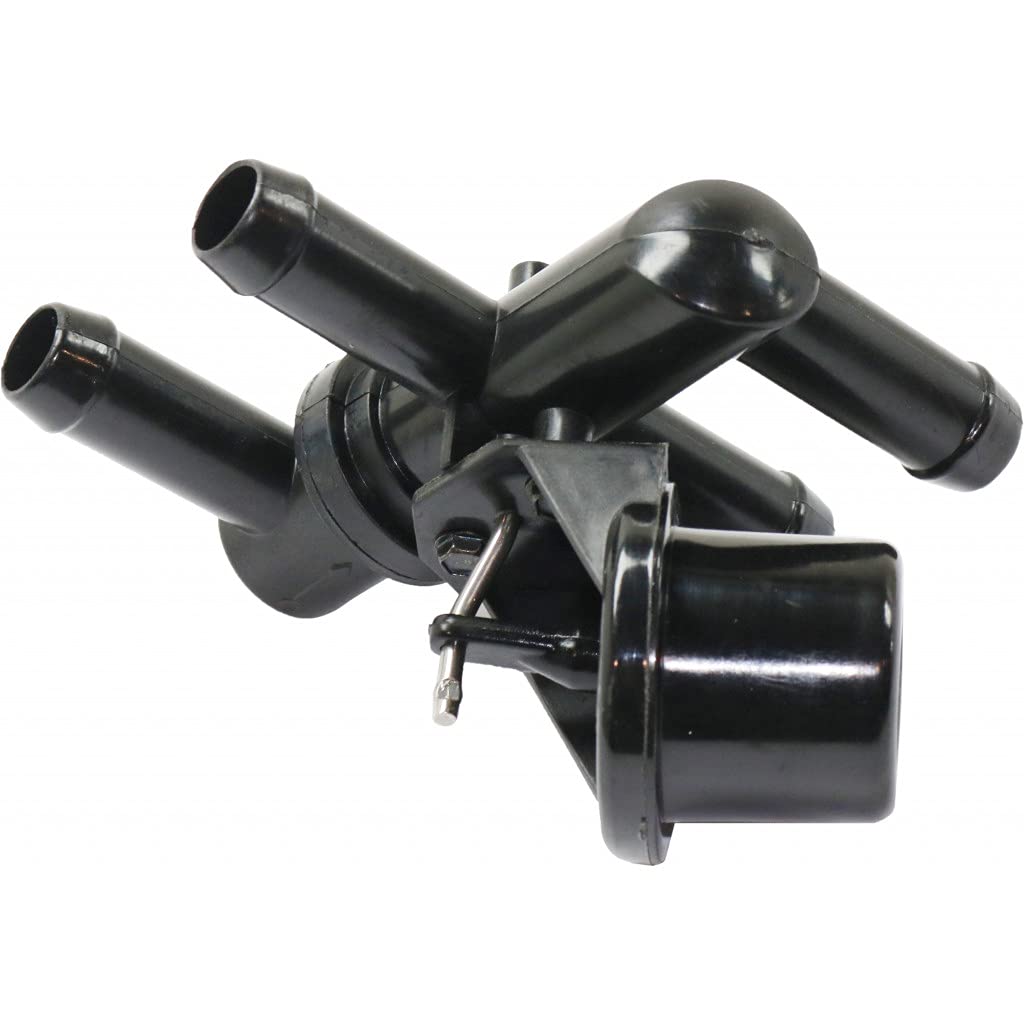
Image: The KarParts360 Heater Control Valve, showing its multi-port design. This is the main product image.
4. Specifications
| Feature | Detail |
|---|---|
| Brand | KarParts360 |
| Model Number | CLX-M0-USA-RF38310003-CL360A73 |
| OEM Part Numbers | F87H18495AA, F87Z18495AA |
| Material | Metal |
| Item Dimensions (L x W x H) | 13.5 x 6 x 4 inches |
| Item Weight | 4.8 ounces |
| Exterior Finish | Unfinished |
| Inlet Connection Size | 4 Inches |
| Inlet Connection Type | Port |
| Outlet Connection Size | 4 Inches |
| Outlet Connection Type | Port |
| Number of Ports | 4 |
| Specification Met | DOT & SAE compliance standards |

Image: Display of the OEM part numbers F87H18495AA and F87Z18495AA, which this product replaces.
5. Compatibility
This KarParts360 Heater Control Valve is designed to be a direct fit replacement for the following vehicle models:
- Mazda B2300: 1995-2004
- Mazda B3000: 1995-2004
- Mazda B4000: 1995-2004
It is also compatible with certain Ford Explorer and Ranger models. Please cross-reference the OEM part numbers (F87H18495AA, F87Z18495AA) with your vehicle's existing part to ensure proper fitment.

Image: Graphic indicating compatibility with Mazda B2300, B3000, and B4000 models from 1995 to 2004.
For a detailed list of compatible Ford models, refer to the tables below:
Ford Explorer Compatibility

Image: Table showing Ford Explorer models and years compatible with the heater control valve.
Ford Aerostar Compatibility

Image: Table showing Ford Aerostar models and years compatible with the heater control valve (Part 1).

Image: Table showing Ford Aerostar models and years compatible with the heater control valve (Part 2).

Image: Table showing Ford Aerostar models and years compatible with the heater control valve (Part 3).
6. Setup and Installation
Installation of the heater control valve typically involves working with the vehicle's cooling system. It is recommended that this procedure be performed by a qualified technician or individuals with experience in automotive repair.
Required Tools (Not Included):
- Socket wrench set
- Screwdriver set
- Pliers (for hose clamps)
- Drain pan for coolant
- New engine coolant (compatible with your vehicle)
- Hose clamp tool (optional, but recommended)
Installation Steps:
- Prepare the Vehicle: Park the vehicle on a level surface and engage the parking brake. Allow the engine to cool completely. Disconnect the negative terminal of the battery.
- Drain Coolant: Place a drain pan under the radiator. Open the radiator drain cock or remove the lower radiator hose to drain the engine coolant. Ensure sufficient coolant is drained to prevent spills when removing the heater control valve.
- Locate the Heater Control Valve: The heater control valve is typically located in the engine bay, often near the firewall, where the heater hoses connect. Refer to your vehicle's service manual for the exact location.
- Remove Old Valve:
- Carefully loosen and remove the hose clamps securing the heater hoses to the old valve.
- Disconnect the heater hoses from the valve. Be prepared for some residual coolant to spill.
- Disconnect any electrical connectors attached to the valve.
- Remove any mounting bolts or clips holding the old valve in place.
- Carefully remove the old heater control valve from the vehicle.
- Install New Valve:
- Position the new KarParts360 Heater Control Valve in the same location as the old one.
- Secure the valve with any mounting bolts or clips.
- Reconnect the electrical connectors, ensuring they are fully seated.
- Attach the heater hoses to the new valve, ensuring they are correctly oriented (inlet/outlet). Secure them with the hose clamps. Ensure clamps are tight to prevent leaks.
- Refill Coolant and Bleed Air:
- Close the radiator drain cock or reattach the lower radiator hose.
- Refill the cooling system with the appropriate type and amount of engine coolant.
- Start the engine with the heater on full heat and the fan on low. Allow the engine to reach operating temperature.
- Monitor the coolant level in the reservoir and top up as needed. Squeeze the upper and lower radiator hoses to help purge air from the system.
- Check for any leaks around the new heater control valve and hose connections.
- Final Checks: Once the system is bled and no leaks are present, reconnect the negative battery terminal. Test the heater operation to ensure proper temperature control.
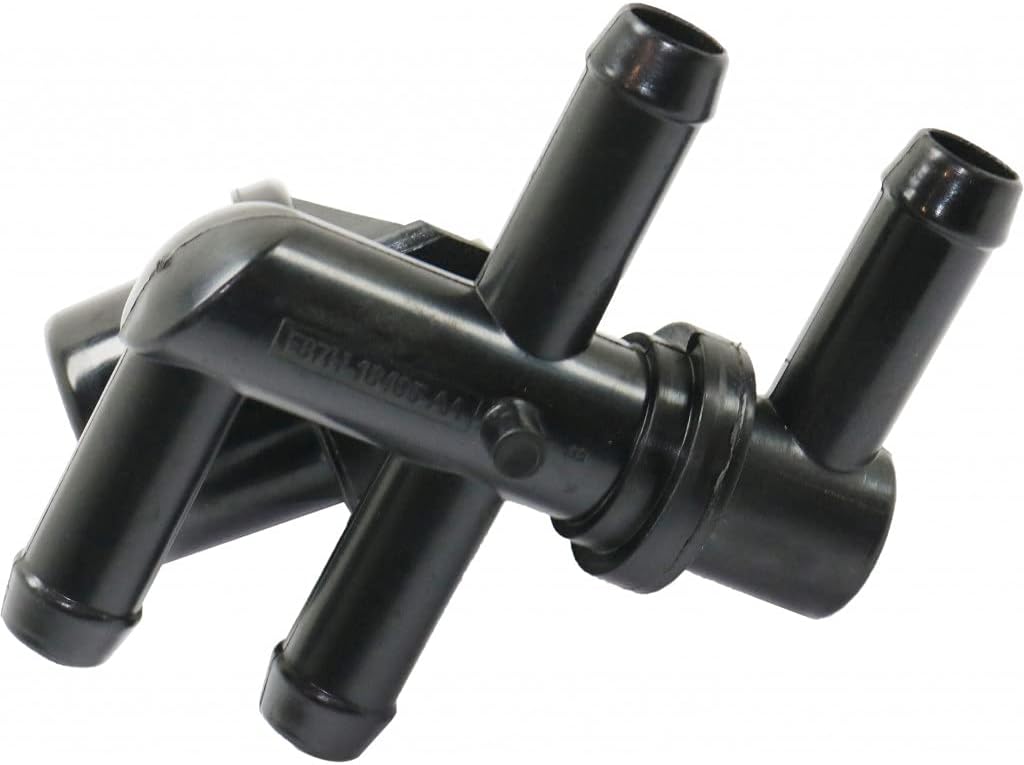
Image: A detailed view of the heater control valve, highlighting its various hose connection ports.
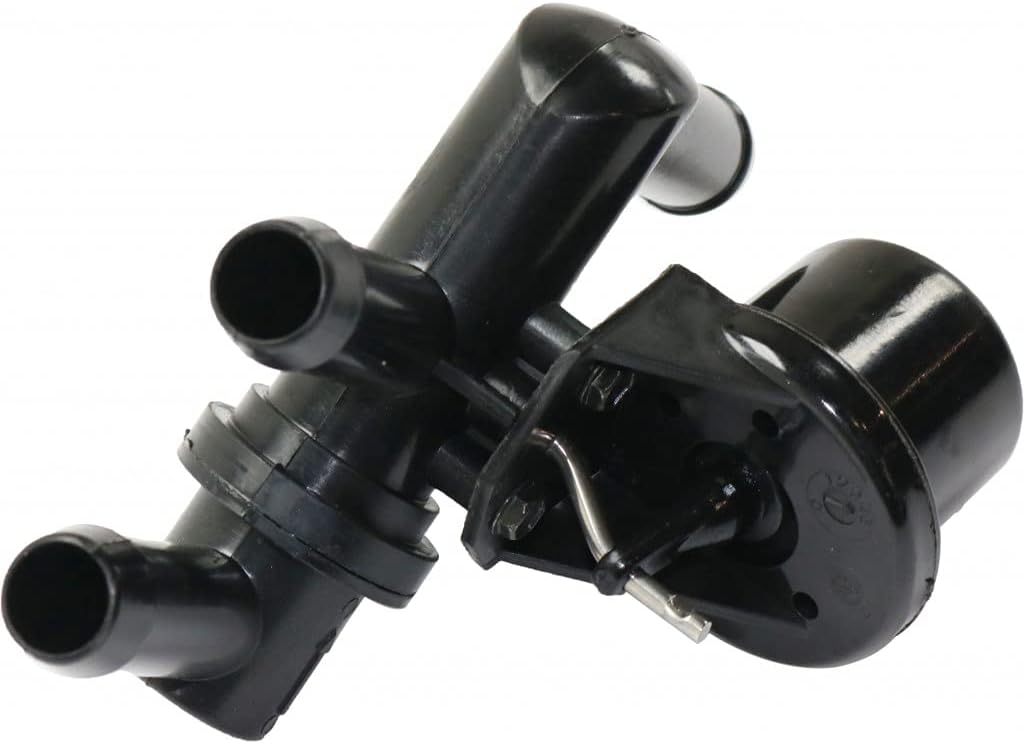
Image: Another perspective of the heater control valve, showing the electrical connection point.
7. Operation
The heater control valve operates automatically in conjunction with your vehicle's climate control system. When you adjust the temperature setting inside your vehicle:
- For Heat: The climate control system sends a signal to the heater control valve, opening it to allow hot engine coolant to flow through the heater core. Air passing over the hot heater core is warmed and then directed into the cabin.
- For Cooling/No Heat: The climate control system signals the valve to close, restricting or stopping the flow of hot coolant to the heater core. This prevents unwanted heat from entering the cabin, allowing the air conditioning system to cool the air effectively.
Ensure your vehicle's climate control system is functioning correctly to allow the heater control valve to operate as intended.
8. Maintenance
The KarParts360 Heater Control Valve is designed for durability and typically requires minimal maintenance once installed. However, regular maintenance of your vehicle's cooling system is crucial for the longevity of all components, including the heater control valve.
- Coolant Flushes: Follow your vehicle manufacturer's recommendations for regular coolant flushes and replacements. Old or contaminated coolant can lead to corrosion and blockages, affecting the valve's operation.
- Inspect Hoses: Periodically inspect the heater hoses connected to the valve for signs of wear, cracks, or leaks. Replace any damaged hoses promptly.
- Check for Leaks: Regularly check around the heater control valve and its connections for any signs of coolant leaks. Address leaks immediately to prevent further damage to the cooling system.
9. Troubleshooting
If you experience issues with your vehicle's heating or climate control after installing the new heater control valve, consider the following common problems and solutions:
| Problem | Possible Cause | Solution |
|---|---|---|
| No Heat or Insufficient Heat |
|
|
| Constant Heat (Cannot Turn Off) |
|
|
| Coolant Leak at Valve |
|
|
If troubleshooting steps do not resolve the issue, it is recommended to seek assistance from a certified automotive mechanic.
10. Warranty and Support
KarParts360 stands behind the quality of its products. This heater control valve is manufactured to meet or exceed DOT & SAE compliance standards, ensuring reliability and performance.
For specific warranty details, including coverage period and terms, please refer to the warranty information provided at the point of purchase or visit the official KarParts360 website. Keep your purchase receipt as proof of purchase.
Customer Support:
If you have any questions regarding the installation, operation, or troubleshooting of your KarParts360 Heater Control Valve, please contact our customer support team:
- Website: KarParts360 Official Store
- Email: Refer to website for contact form or email address.
- Phone: Refer to website for phone number.
When contacting support, please have your product model number (CLX-M0-USA-RF38310003-CL360A73) and purchase details readily available.


