1. Introduction
This manual provides detailed instructions for the installation, operation, and maintenance of your Oversteel Iridium PC Gaming Case. Please read this manual thoroughly before beginning assembly to ensure proper setup and safe operation. Keep this manual for future reference.
2. Safety Information
- Always disconnect the power supply from the wall outlet before installing or servicing any components inside the PC case.
- Handle components with care to avoid damage from electrostatic discharge (ESD). Consider using an anti-static wrist strap.
- Be cautious of sharp edges inside the case.
- Do not obstruct ventilation openings. Ensure adequate airflow around the case.
- Keep the case away from liquids and excessive humidity.
3. Package Contents
Verify that all items are present in your package:
- Oversteel Iridium PC Gaming Case
- Accessory box (screws, standoffs, cable ties)
- User Manual (this document)
- A-RGB fan (pre-installed at rear)
- A-RGB remote control (if included with your specific model)
4. Product Overview
The Oversteel Iridium PC Gaming Case features a mesh front panel for optimal airflow, a tempered glass side panel for component visibility, and integrated A-RGB lighting for aesthetic customization.
4.1 External Views

Figure 4.1: Front-left view of the Oversteel Iridium PC Gaming Case, showcasing the mesh front panel, tempered glass side, and rear A-RGB fan.
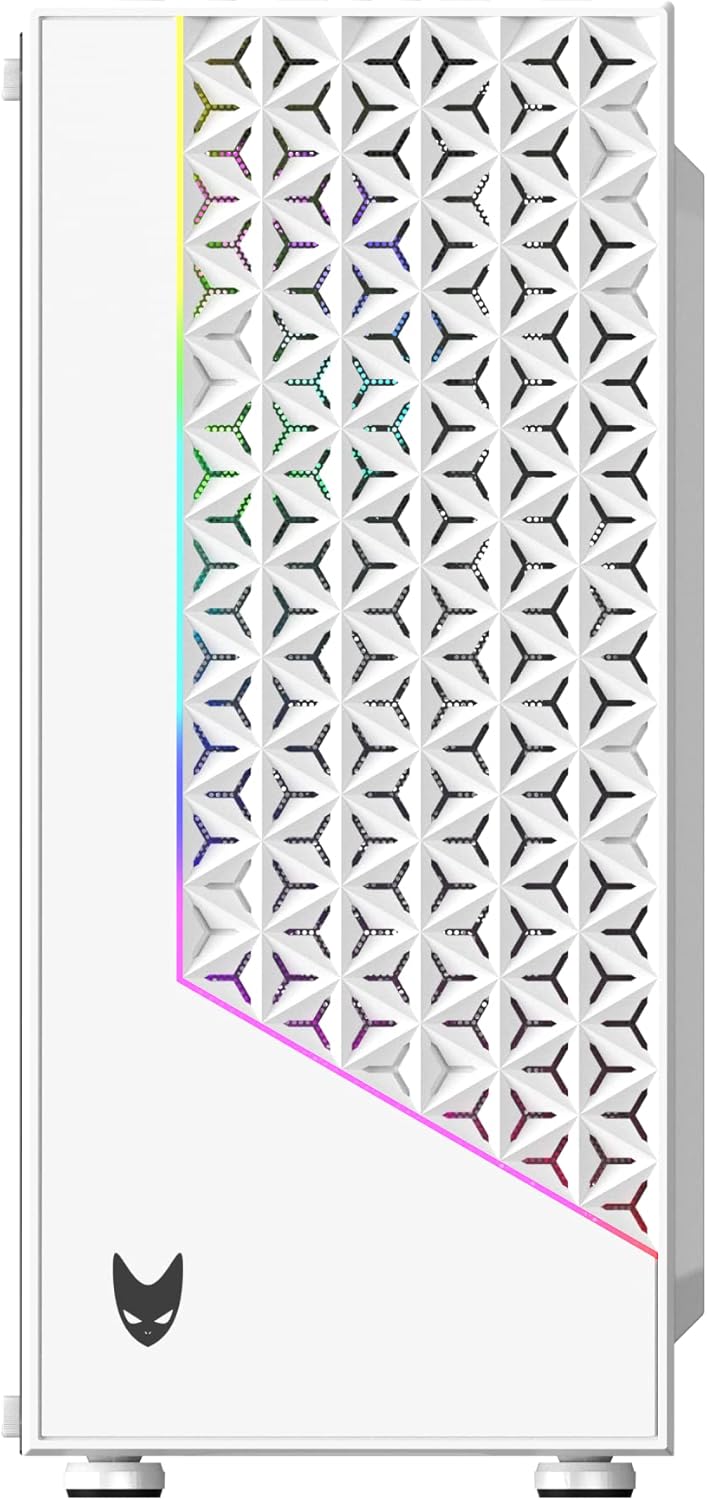
Figure 4.2: Detailed view of the mesh front panel with integrated A-RGB lighting strip.

Figure 4.3: Top panel showing power button, reset/RGB control button, audio jacks, 2x USB 2.0 ports, and 1x USB 3.0 port.
4.2 Internal Layout

Figure 4.4: Internal view of the case, highlighting motherboard tray, drive bays, and cable routing options.
The case supports ATX, Micro ATX, and ITX motherboards. It features dedicated areas for power supply installation and storage drives, along with cutouts for efficient cable management.
5. Setup and Component Installation
5.1 Preparing the Case
- Place the case on a flat, stable surface.
- Remove the tempered glass side panel by unscrewing the four thumb screws. Carefully set the panel aside on a soft, non-abrasive surface.
- Remove the solid metal side panel by unscrewing the two thumb screws at the rear of the case and sliding the panel backward.
5.2 Motherboard Installation
- Install the I/O shield that came with your motherboard into the opening at the rear of the case.
- Ensure the correct standoffs are installed for your motherboard form factor (ATX, Micro ATX, or ITX). The case typically comes with pre-installed standoffs for ATX. Adjust as needed.
- Carefully place your motherboard onto the standoffs, aligning the screw holes.
- Secure the motherboard with the provided screws. Do not overtighten.
5.3 Power Supply Unit (PSU) Installation
- Position the PSU in the dedicated compartment at the bottom rear of the case.
- Ensure the PSU fan faces downwards (if there's a filtered vent at the bottom) or upwards (if no bottom vent).
- Secure the PSU to the case with the provided screws from the rear.
5.4 Storage Drive Installation
- 3.5" HDDs: Locate the drive cage, typically beneath the PSU shroud. Slide the HDD into the drive tray and secure it with screws.
- 2.5" SSDs: Mount SSDs to the designated mounting points on the motherboard tray or PSU shroud using the provided screws.
5.5 Graphics Card and Expansion Card Installation
- Remove the necessary PCI-E slot covers at the rear of the case.
- Insert your graphics card or other expansion cards into the motherboard's PCI-E slots.
- Secure the cards with screws.
5.6 Cable Management
Utilize the cable routing cutouts and tie-down points behind the motherboard tray to organize cables. This improves airflow and aesthetics.
5.7 Connecting Front Panel I/O
Connect the front panel cables (USB 3.0, USB 2.0, HD Audio, Power Switch, Reset Switch, Power LED, HDD LED) to the corresponding headers on your motherboard. Refer to your motherboard manual for exact pin layouts.
6. Operating the Case
6.1 Powering On
Once all components are installed and cables are connected, replace both side panels. Connect the power cable to your PSU and a wall outlet. Press the power button on the top panel to start your system.
6.2 A-RGB Lighting Control
The Oversteel Iridium case features an A-RGB front panel strip and a pre-installed A-RGB rear fan. These are typically connected to an integrated controller.
- Case Button Control: Press the dedicated RGB/Reset button on the top panel (often shared with the reset function) to cycle through various lighting modes and colors.
- Remote Control: If your model includes an A-RGB remote, use it to select specific colors, effects, brightness levels, and fan speeds (if fans are connected to the controller).
- Motherboard Sync: If the A-RGB controller is connected to a compatible 3-pin 5V A-RGB header on your motherboard, you can control the lighting via your motherboard's RGB software (e.g., ASUS Aura Sync, MSI Mystic Light, Gigabyte RGB Fusion, ASRock Polychrome Sync). Ensure the remote control is set to motherboard sync mode if applicable.
7. Maintenance
7.1 Dust Filter Cleaning
The Oversteel Iridium case includes dust filters to prevent dust buildup. Regularly clean these filters to maintain optimal airflow and cooling performance.
- Top Filter: The magnetic top filter can be easily lifted off for cleaning.
- Bottom Filter: The bottom filter (for the PSU intake) can be slid out from the rear or side.
- Front Filter: The mesh front panel acts as a filter. It may require removal of the front panel to clean thoroughly. Consult the manufacturer's website for specific instructions on front panel removal.
Clean filters using compressed air or by gently washing with water and allowing them to dry completely before reinstallation.
7.2 General Cleaning
Use a soft, damp cloth to wipe down the exterior of the case. Avoid abrasive cleaners or solvents that could damage the finish or tempered glass.
8. Troubleshooting
8.1 No Power
- Ensure the PSU is switched on and properly connected to the wall outlet.
- Verify that the front panel power switch cable is correctly connected to the motherboard header.
- Check all power connections from the PSU to the motherboard and components.
8.2 Fans Not Spinning / RGB Not Working
- Confirm that the fan power cables (e.g., 3-pin, 4-pin PWM, or SATA power for controller) are securely connected.
- Check the A-RGB connections to the controller or motherboard.
- If using motherboard software, ensure it is up-to-date and configured correctly.
- If using a remote, check its battery.
8.3 Overheating
- Clean all dust filters and internal components.
- Ensure fans are spinning correctly and oriented for optimal airflow (intake at front, exhaust at rear/top).
- Verify that there is sufficient space around the PC case for proper ventilation.
8.4 USB Ports Not Functioning
- Check that the front panel USB cables are correctly connected to the motherboard's USB headers.
- Ensure motherboard USB drivers are installed and up-to-date.
9. Specifications
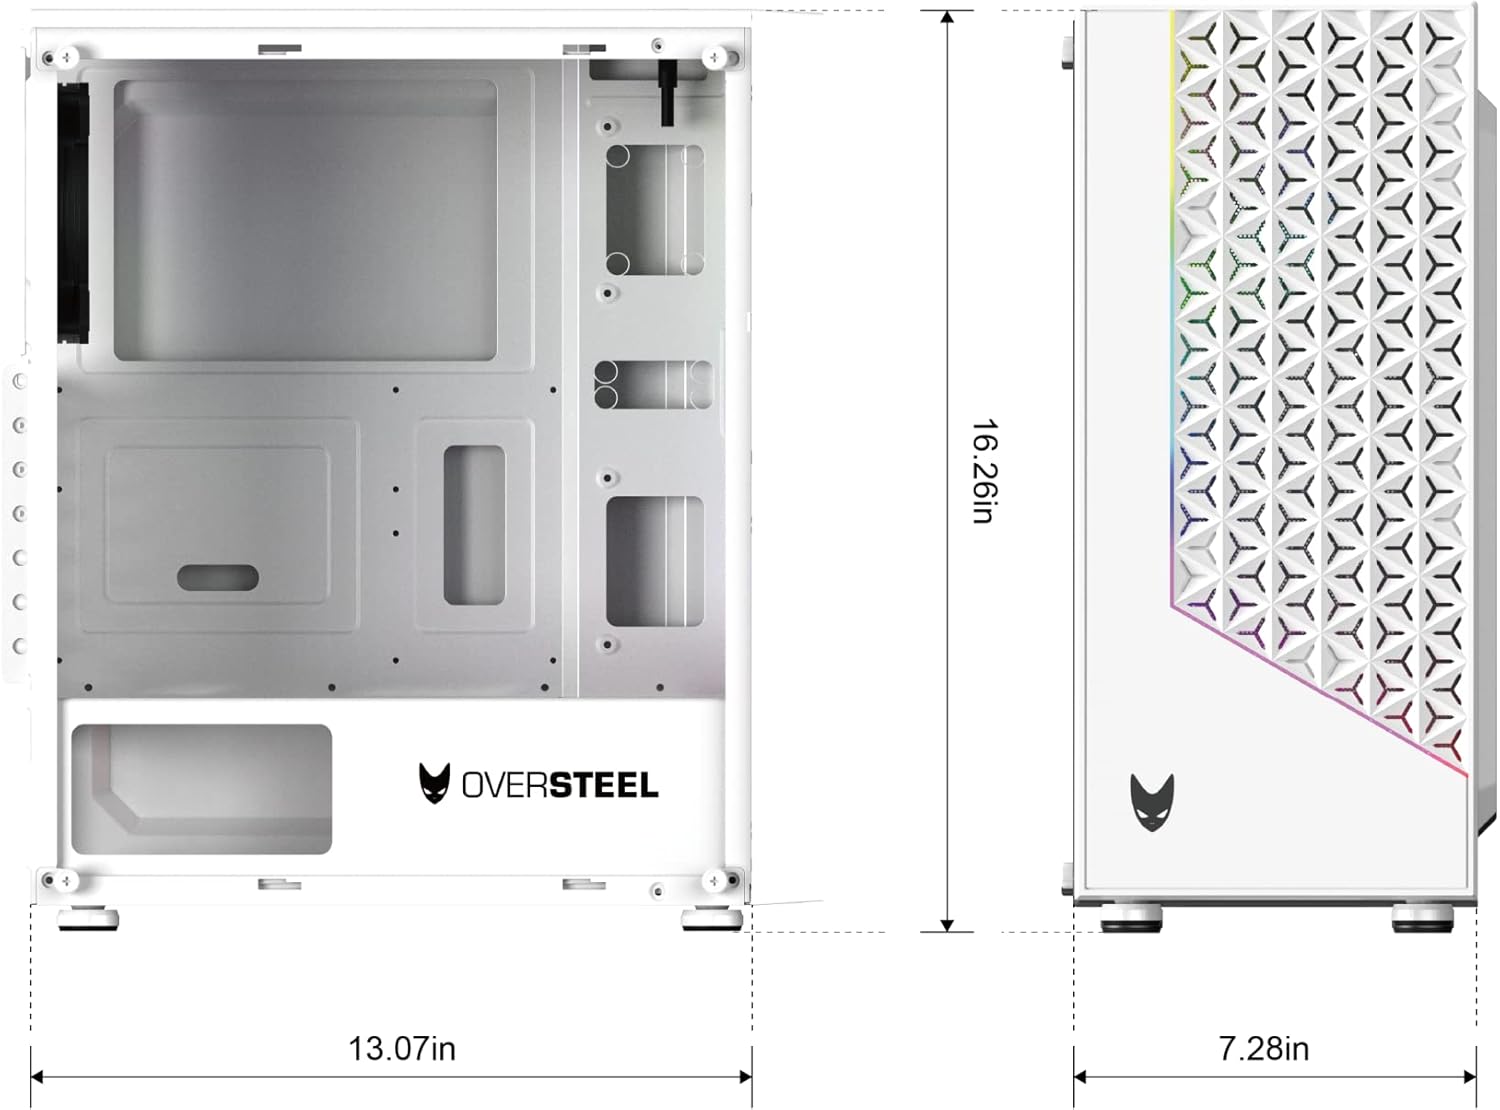
Figure 9.1: Dimensions of the Oversteel Iridium PC Gaming Case.
| Feature | Specification |
|---|---|
| Model Name | Iridium |
| Model Number | NAT-OV-CS-IRIDIUM-W |
| Case Type | Mid-Tower |
| Motherboard Compatibility | ATX, Micro ATX, ITX |
| Material | Tempered Glass (side panel) |
| Color | White |
| Cooling Method | Air |
| Pre-installed Fans | 1x 120mm A-RGB fan (rear) |
| Front I/O Ports | 2x USB 2.0, 1x USB 3.0, Audio In/Out, Power Button, Reset/RGB Button |
| Special Features | Dust filters, Integrated A-RGB lighting |
| Dimensions (Approx.) | Height: 16.26 in (41.3 cm), Depth: 13.07 in (33.2 cm), Width: 7.28 in (18.5 cm) |
10. Warranty and Support
For warranty information and technical support, please refer to the official Oversteel website or contact your retailer. Keep your proof of purchase for warranty claims.


